Activity
1. To start the activity, click on www.blokdust.com.

2. This is BlokDust, a program that allows you to play and explore various sounds and make music by choosing and combining different blocks. Basically, it is a synthesizer, because you can synthesize (i.e. create) the sounds you want to use.
SIDE NOTE: You may click the images to amplify.
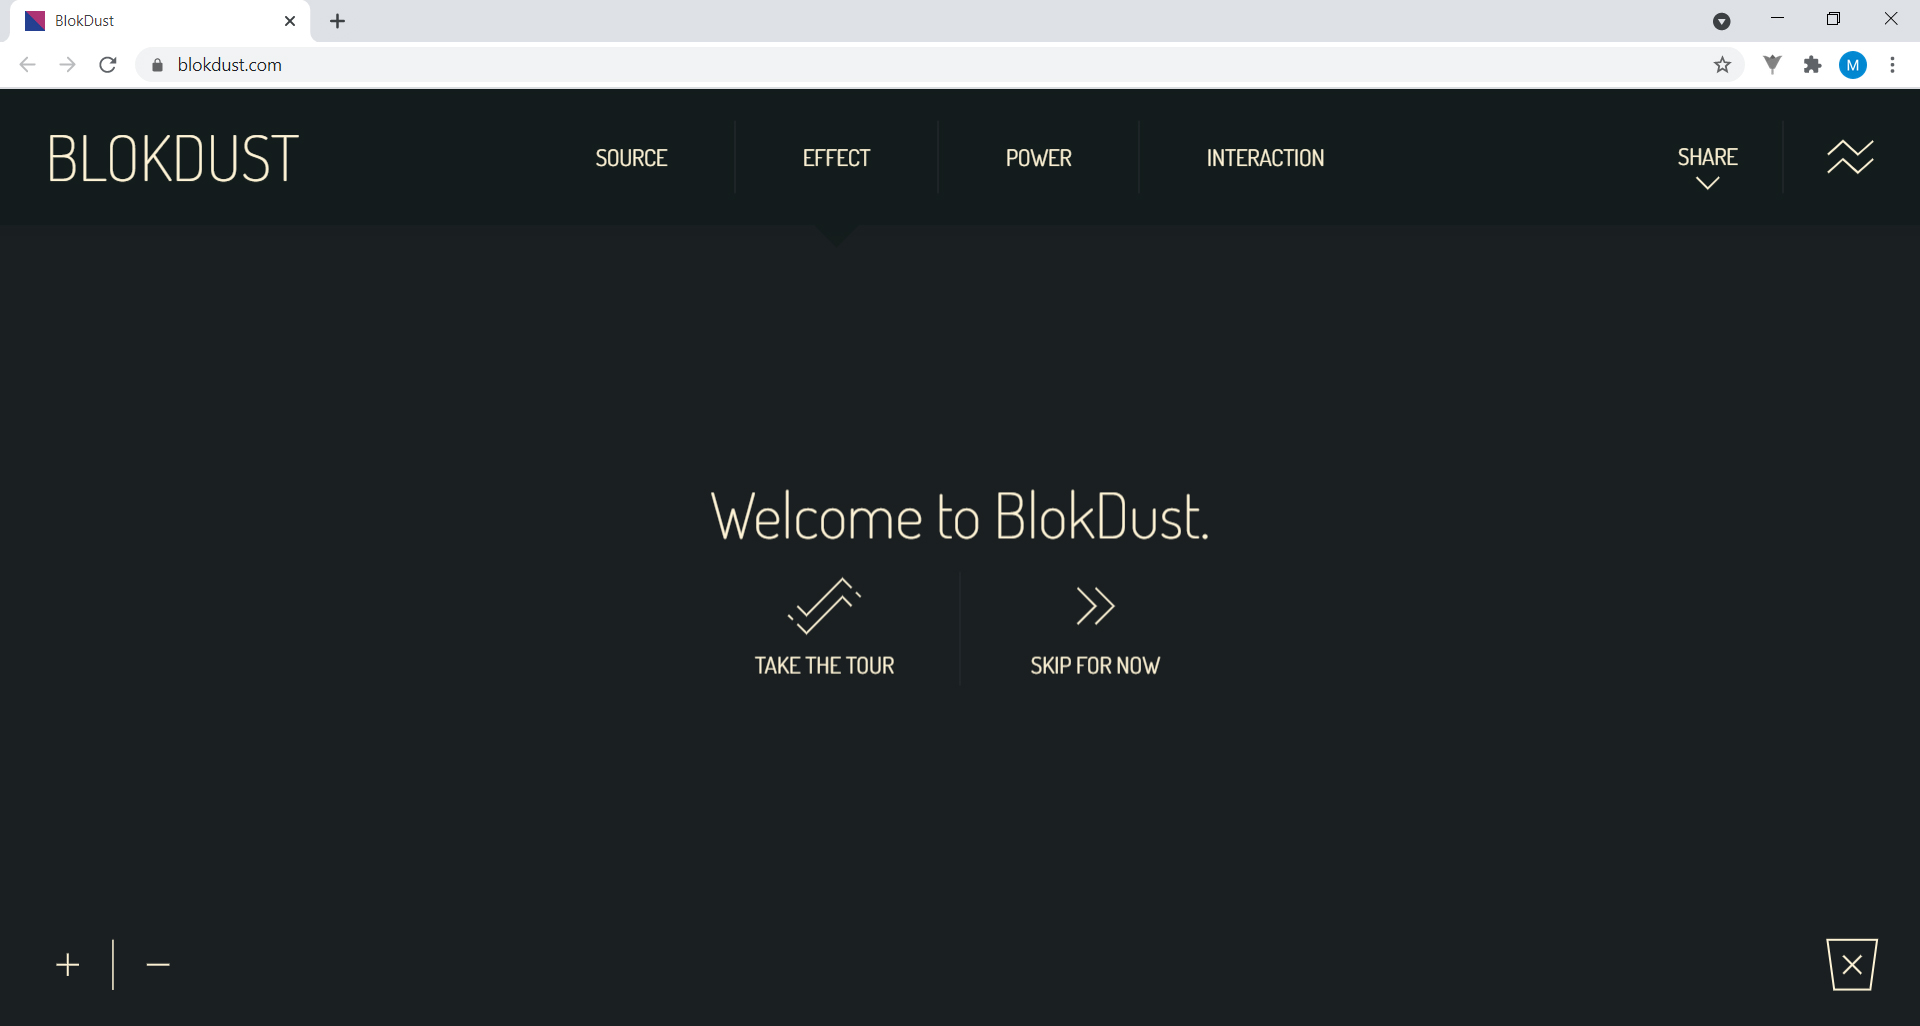
Click SKIP FOR NOW to go directly to the program explanation. Don’t worry, we’ll explain in a fun way how you can use BlokDust to unleash your creativity!
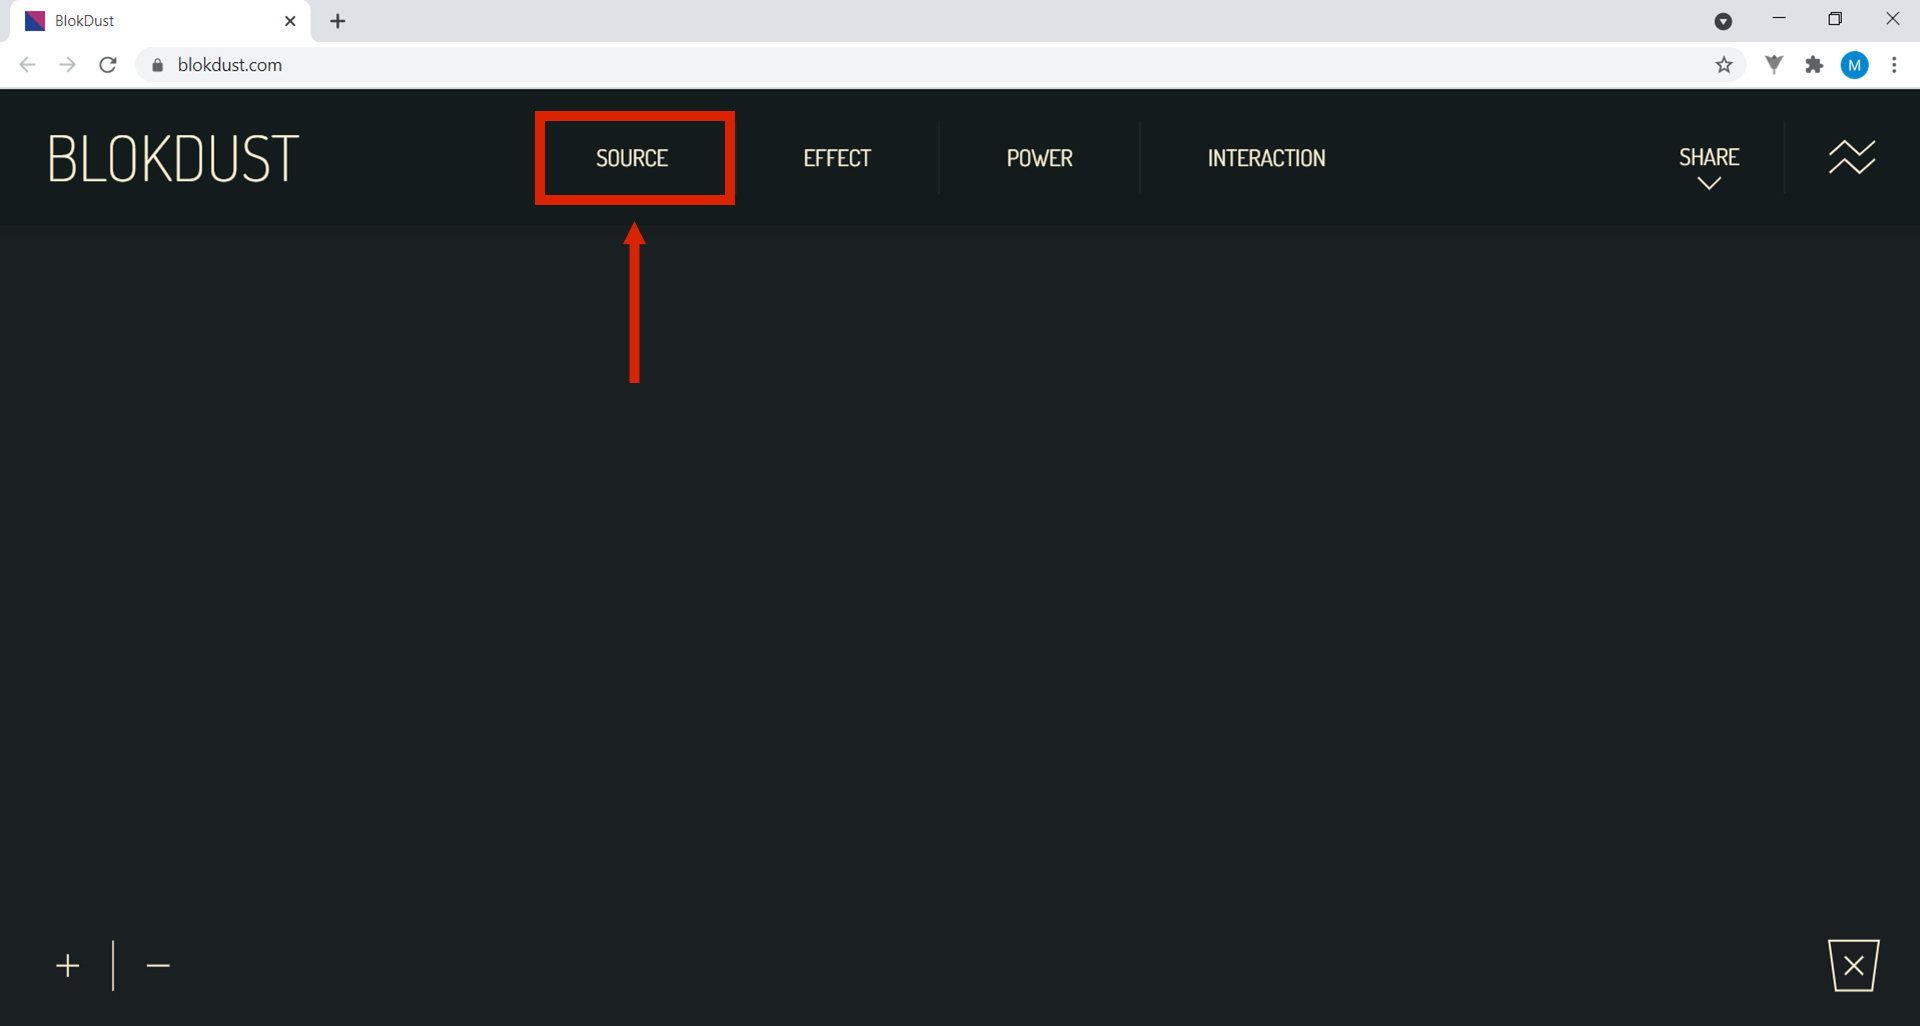
3. At the top, you have a menu bar with various options. Each option corresponds to a different set of blocks. Select SOURCE.
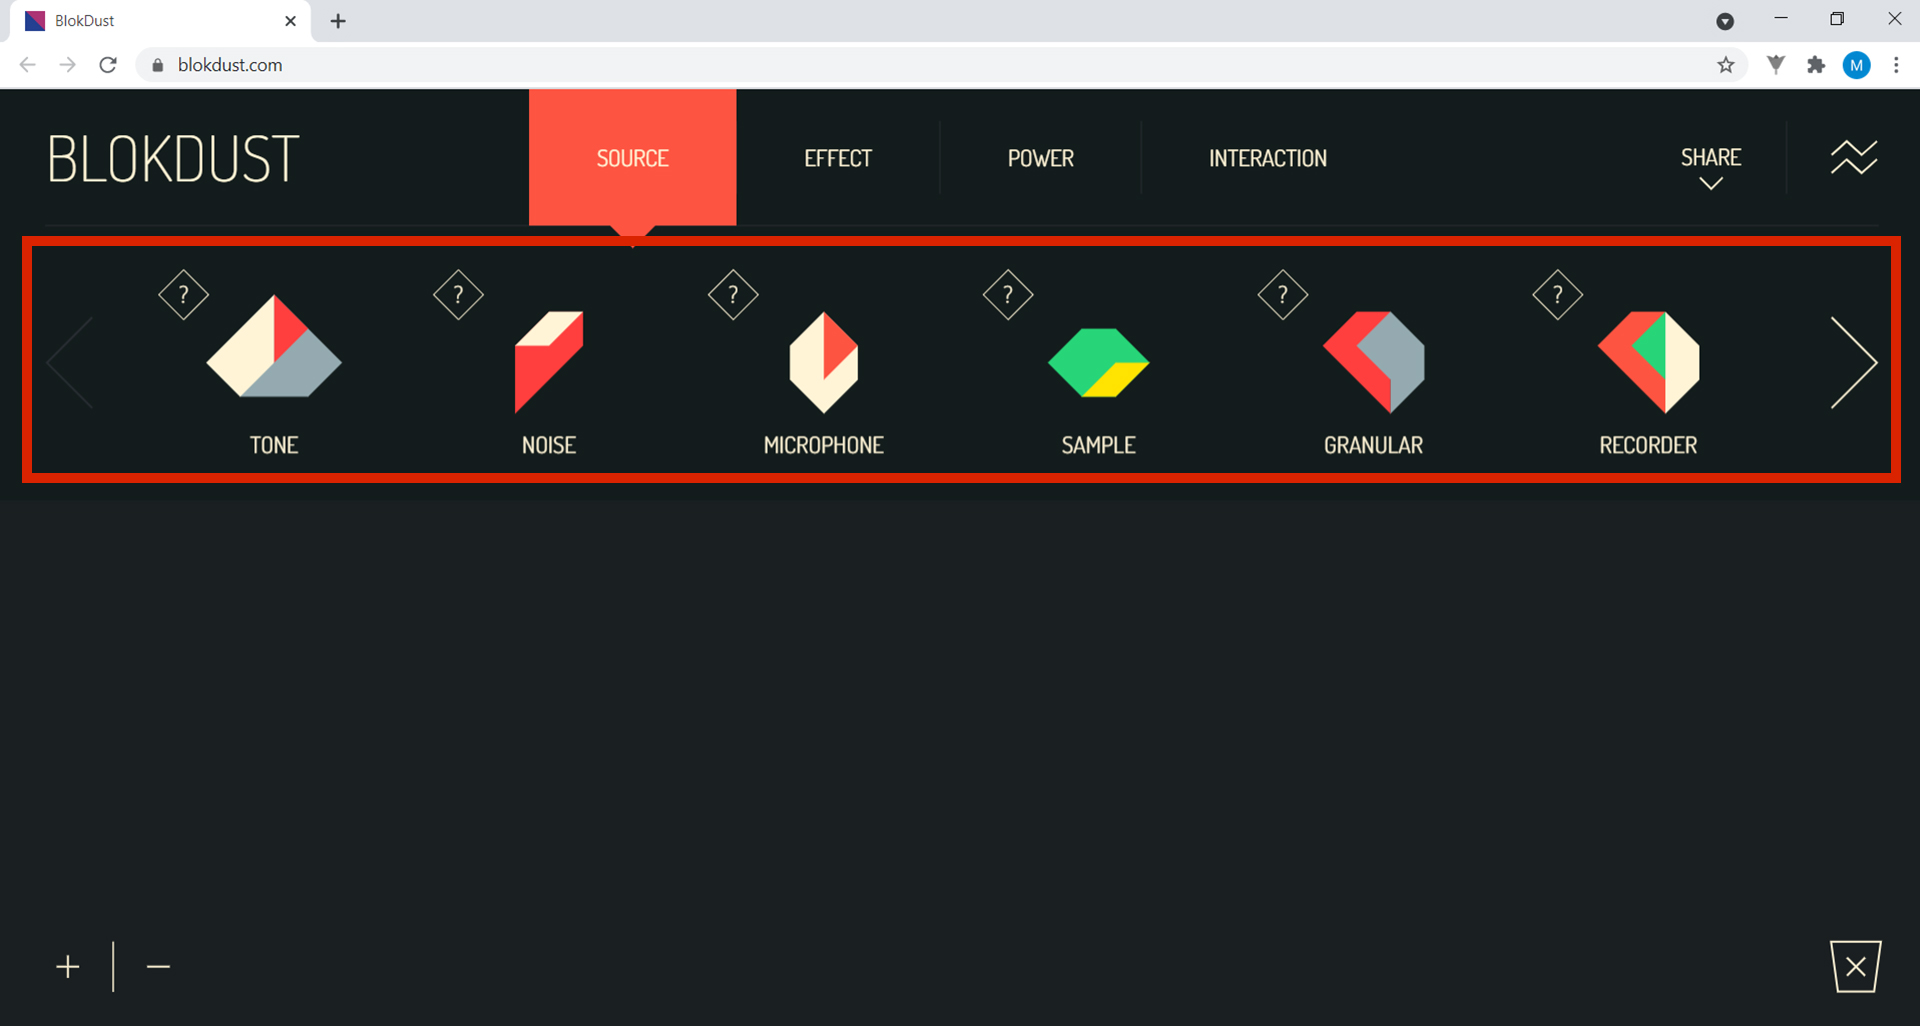
The Source menu blocks allow you to choose where the sound you want to create comes from. The sound can be created in the program, as a TONE or NOISE, or it can be recorded with a microphone using the MICROPHONE block or a sound already recorded with the SAMPLE block.
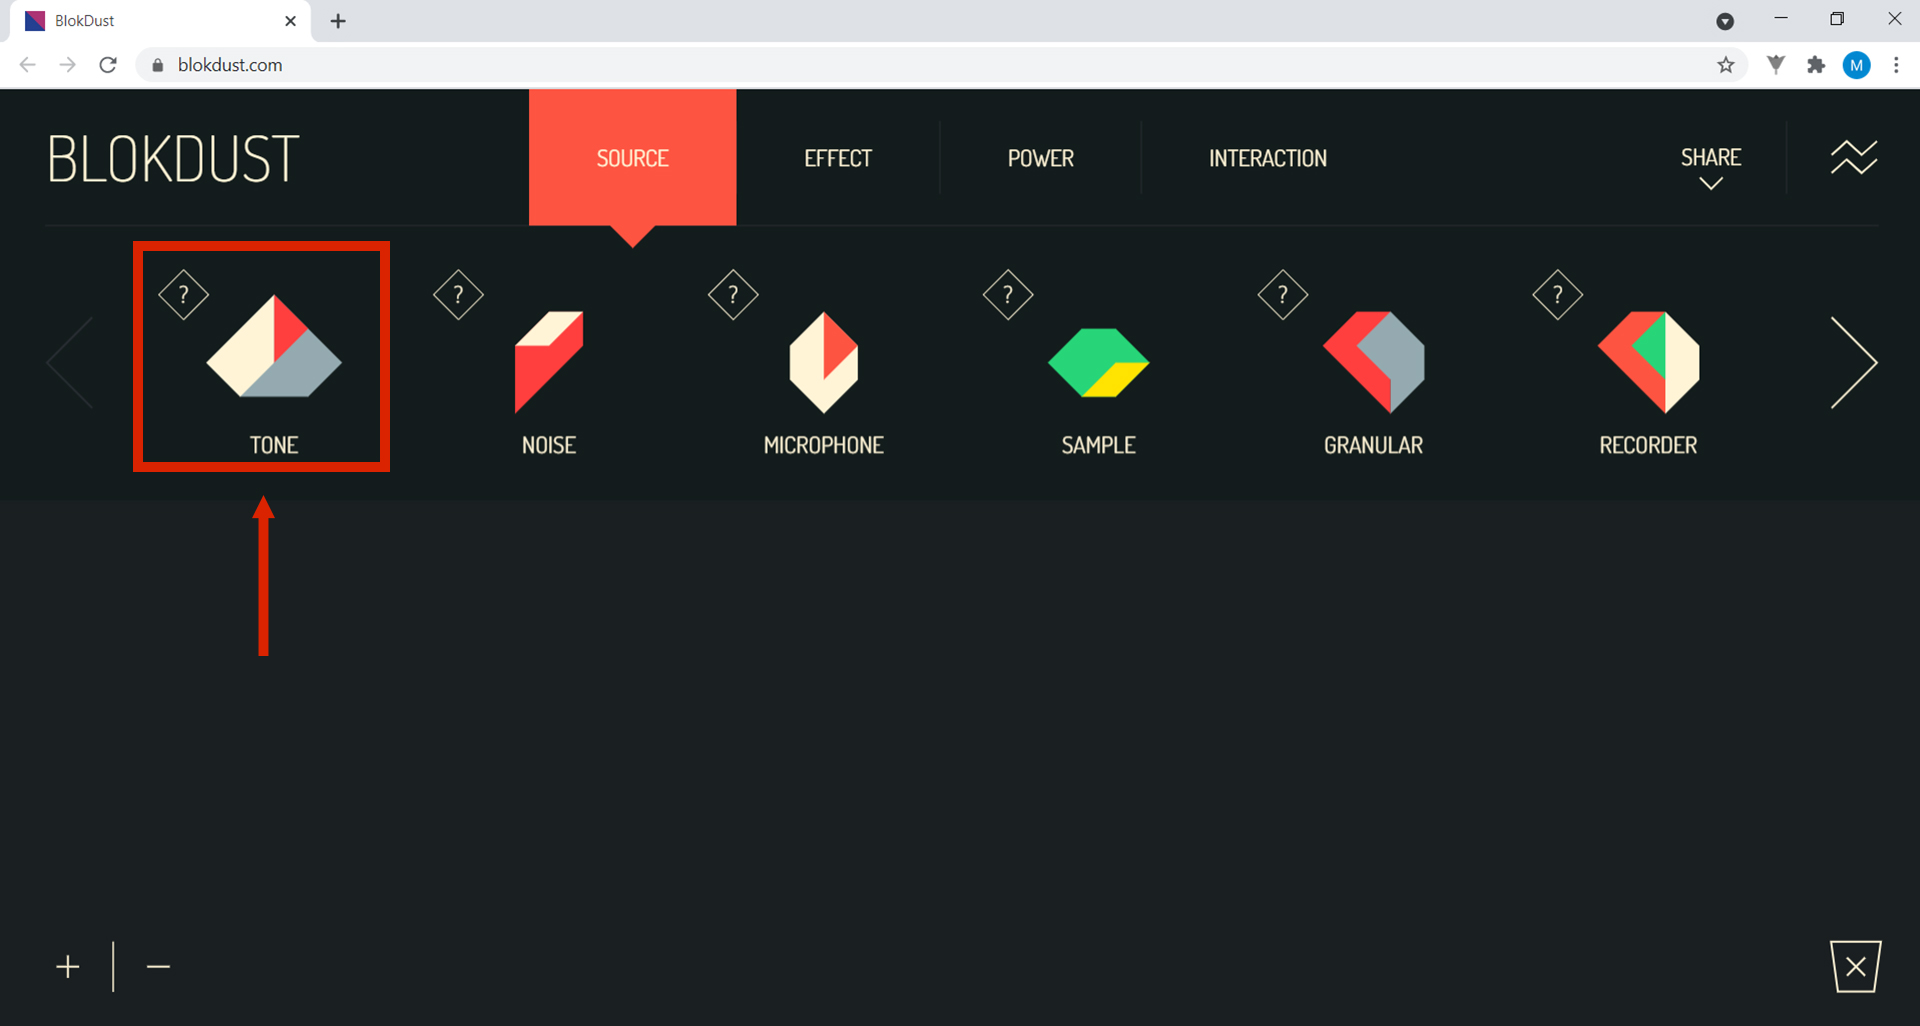
Click on the TONE block, hold down the left mouse button and drag the block to the middle of the screen, where the stage is.
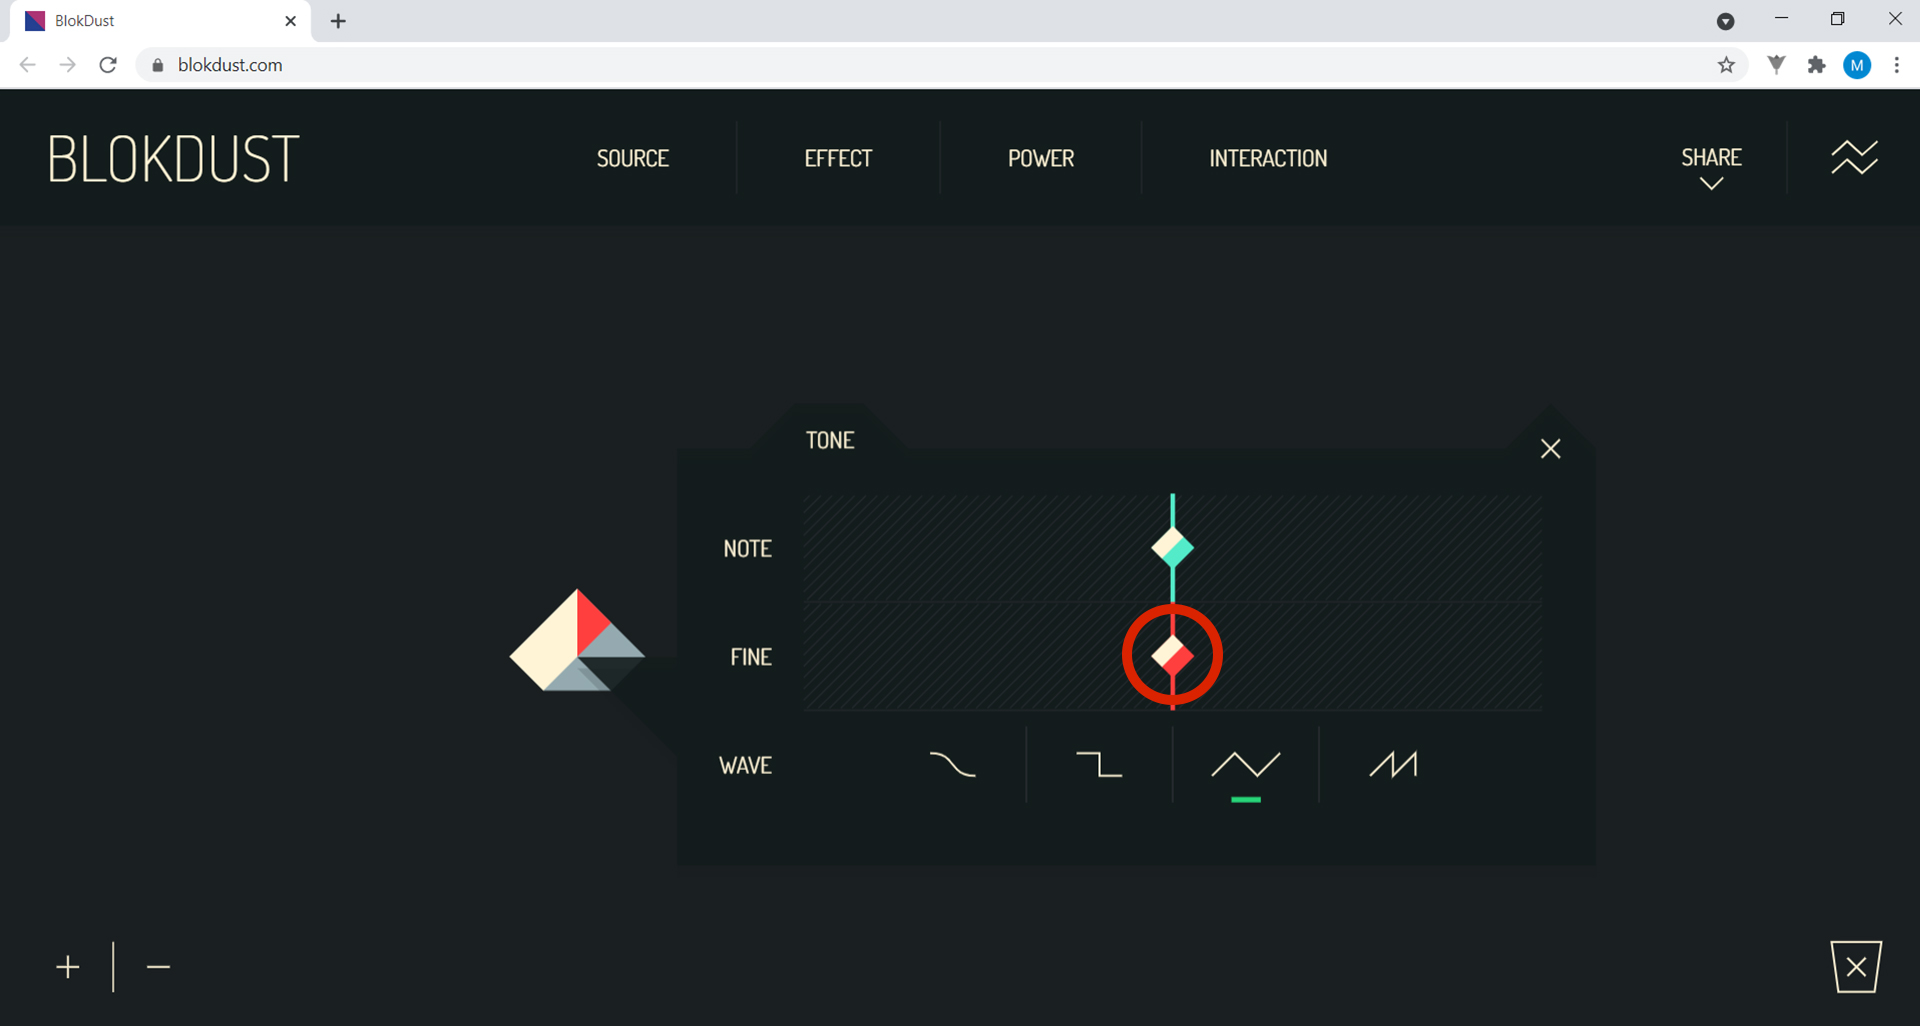
4. When you click on the block, a new box appears with several options. In the first line, for example, you can choose the note of the block. To do this, click on the green diamond and drag it to the right for higher notes or to the left for lower notes.
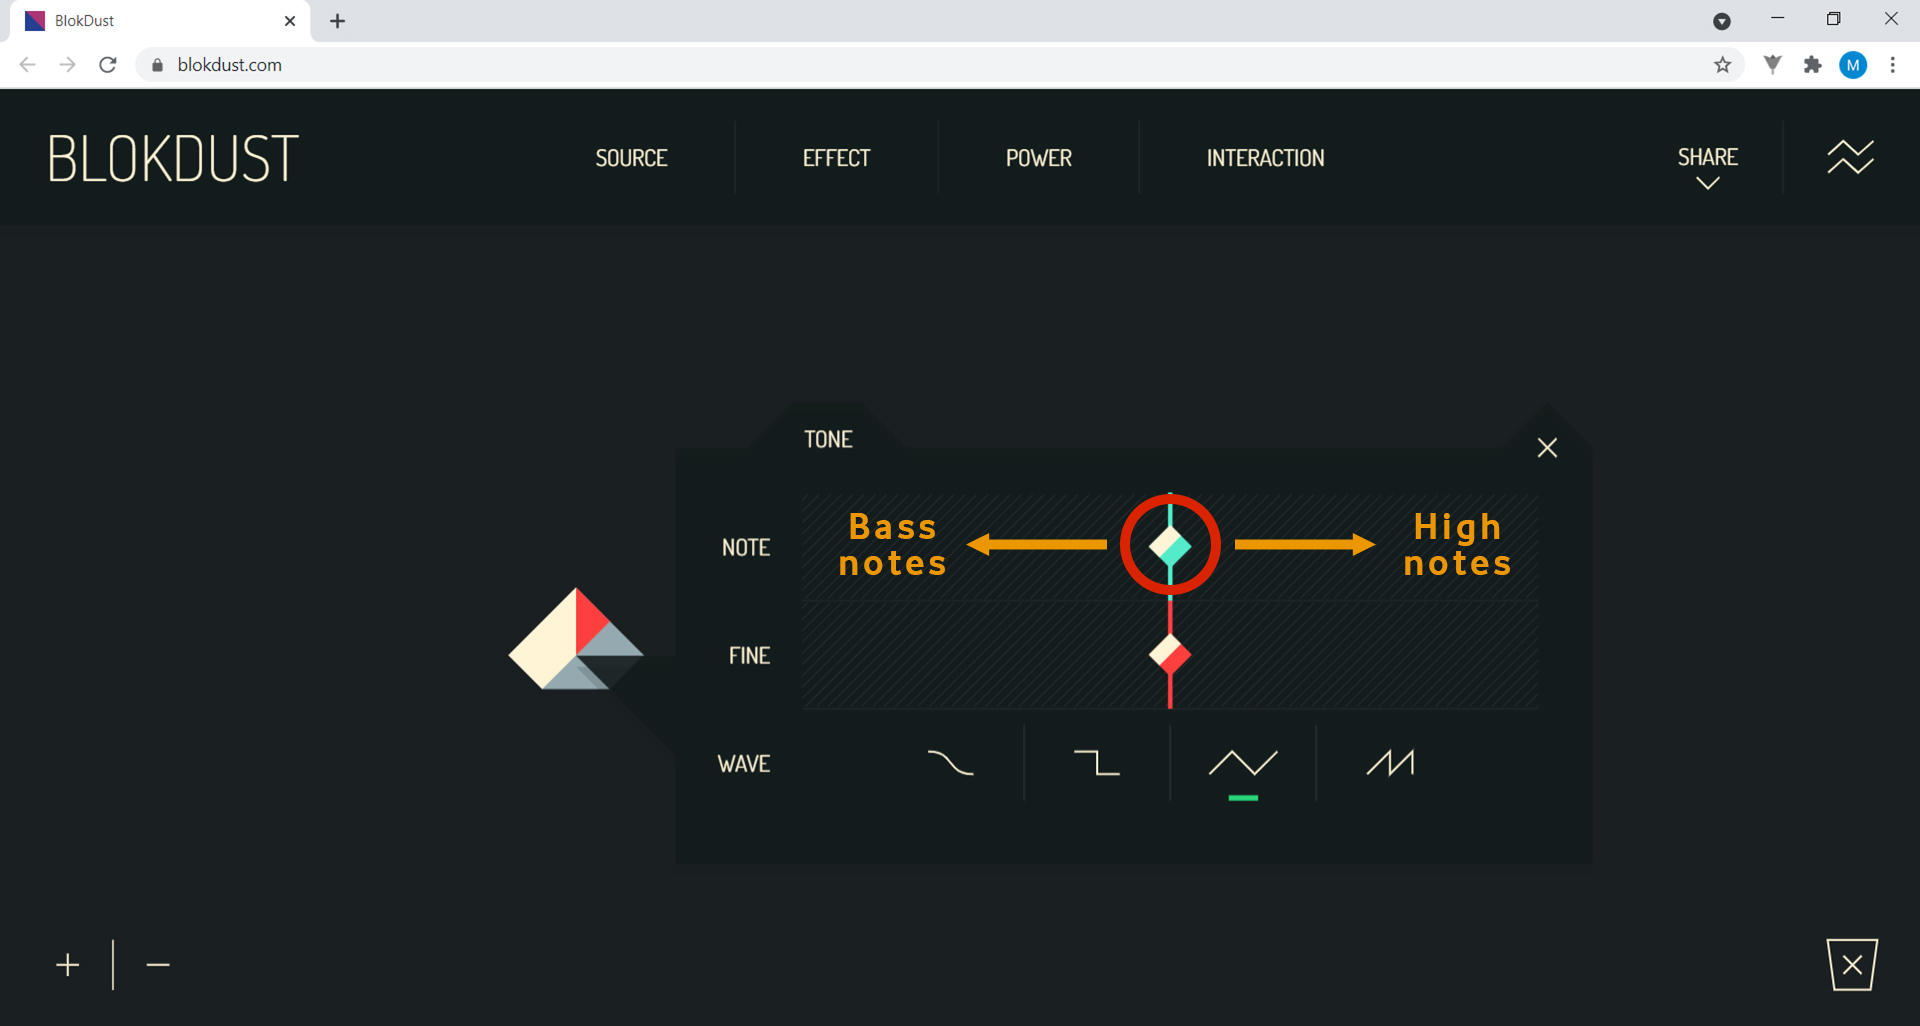
Below, you can see a second red diamond which allows you to tune the note you chose before.

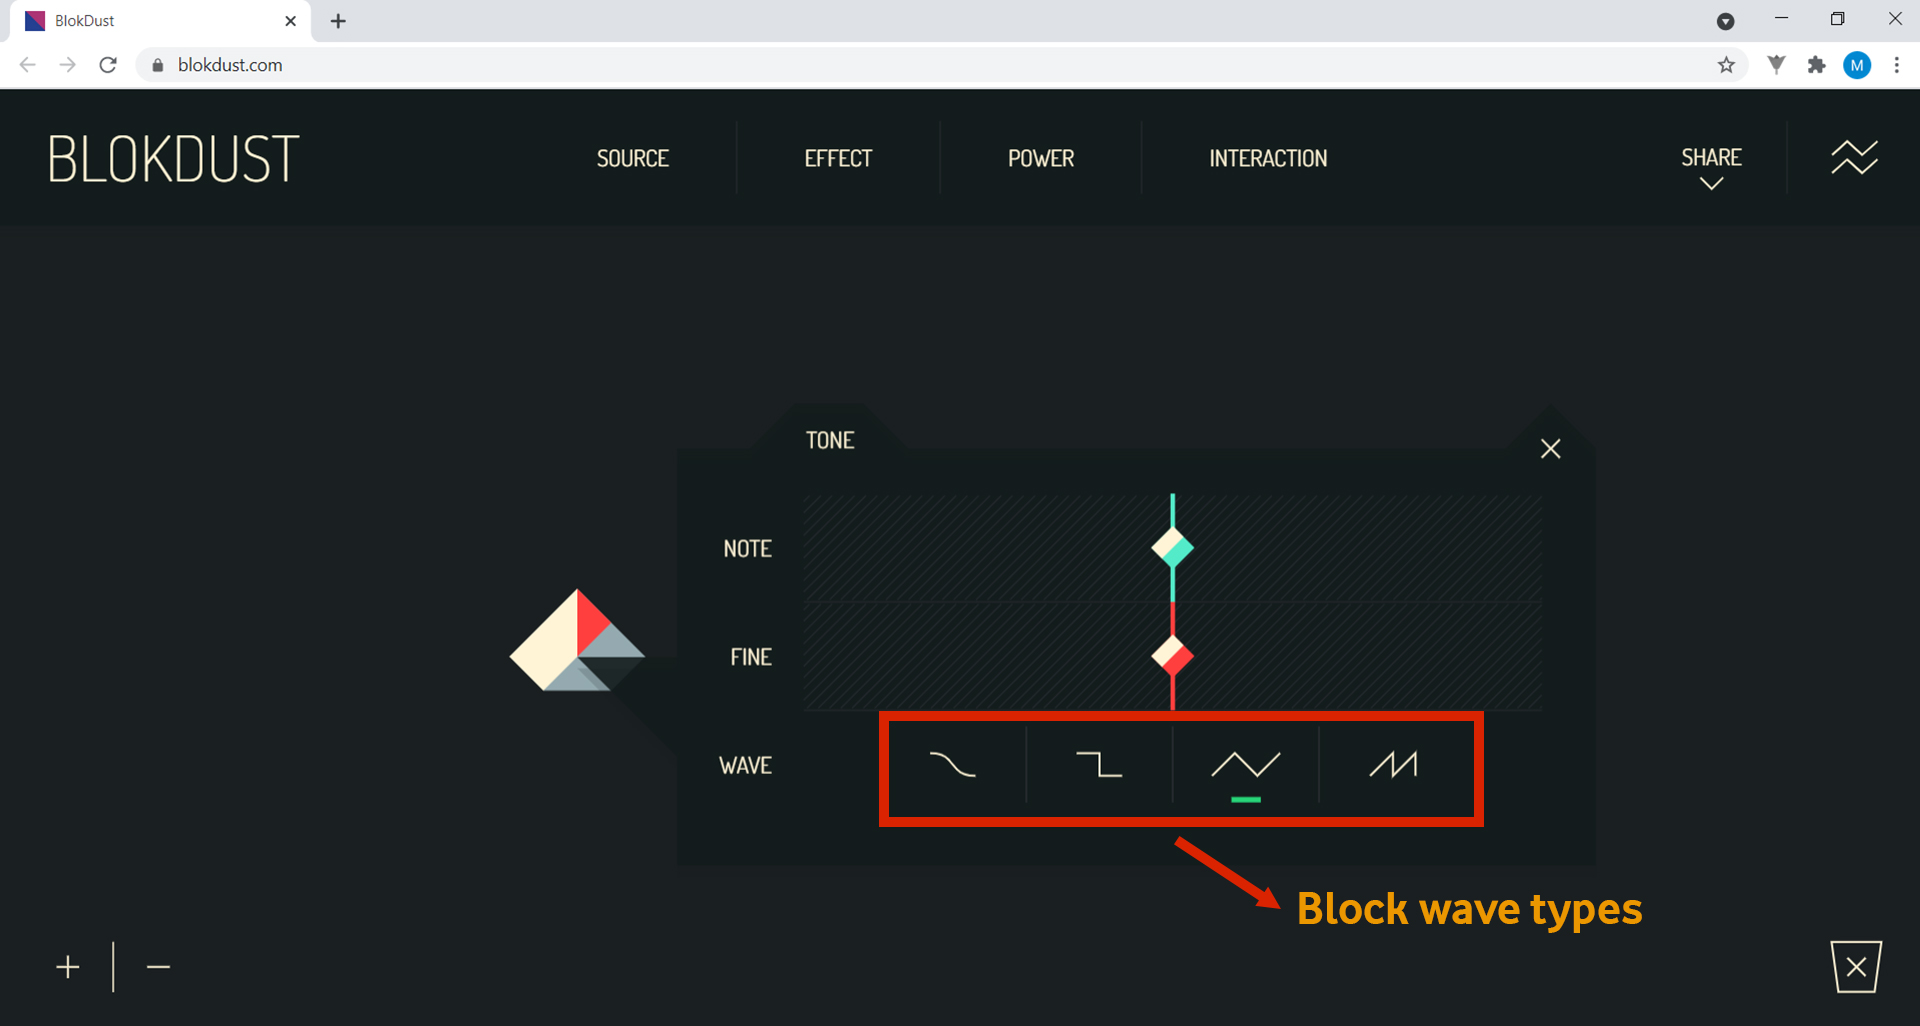
The note C on a piano sounds different from C on a guitar, because the timbre of the instruments is different. On the last line, you can choose the wave type of your sound, i.e. what timbre you want the sound to have. From left to right you have the sine wave, the rectangle wave, the triangle wave and finally the sawtooth wave. All of these create different timbres. You can explore them. Choose one you like.
5. To be able to interact with or use the block you have put on your stage, you need an interaction block. To do this, in the menu bar on the right, click on INTERACTION and choose the COMPUTER KEYBOARD block.
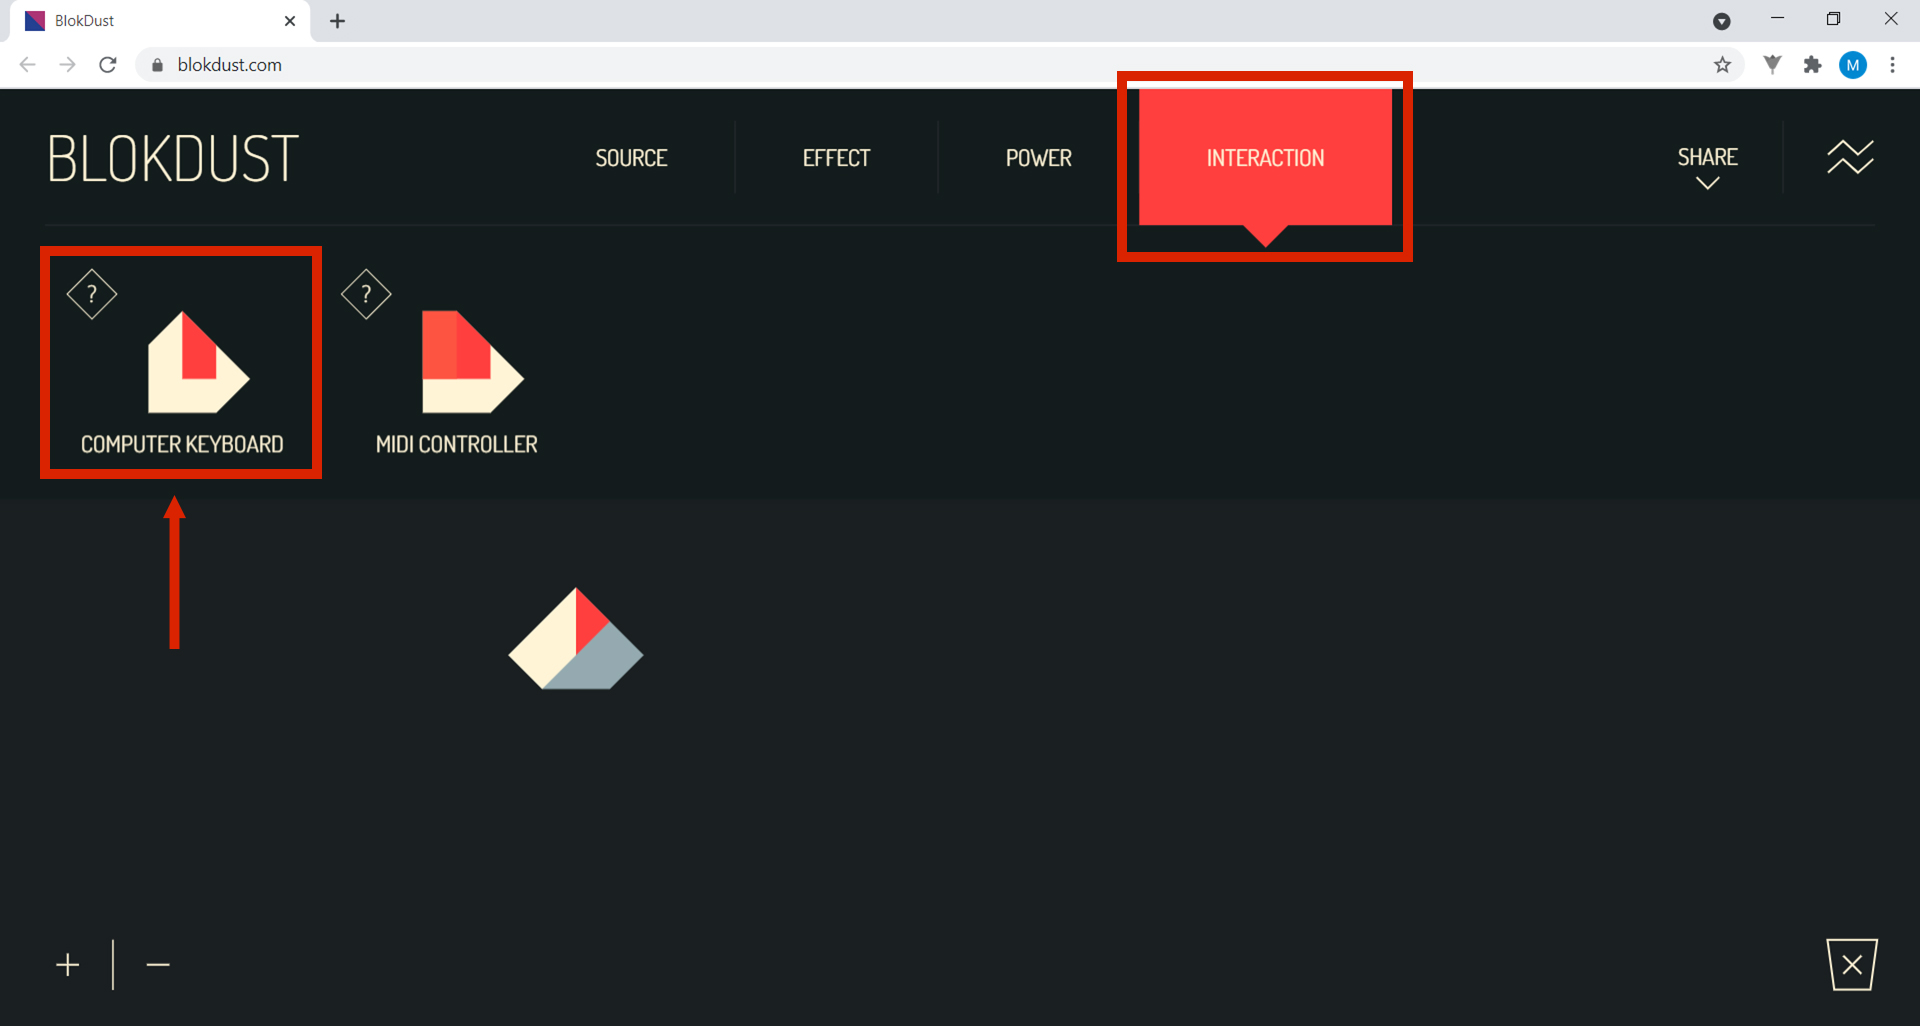
Select the block and drag it to the left side of the Tone block so that they are touching.
Use the keys on your computer keyboard to play. The keyboard row starting with Z works like the white keys on a piano. The above row of keys works like the black keys. Check it out!
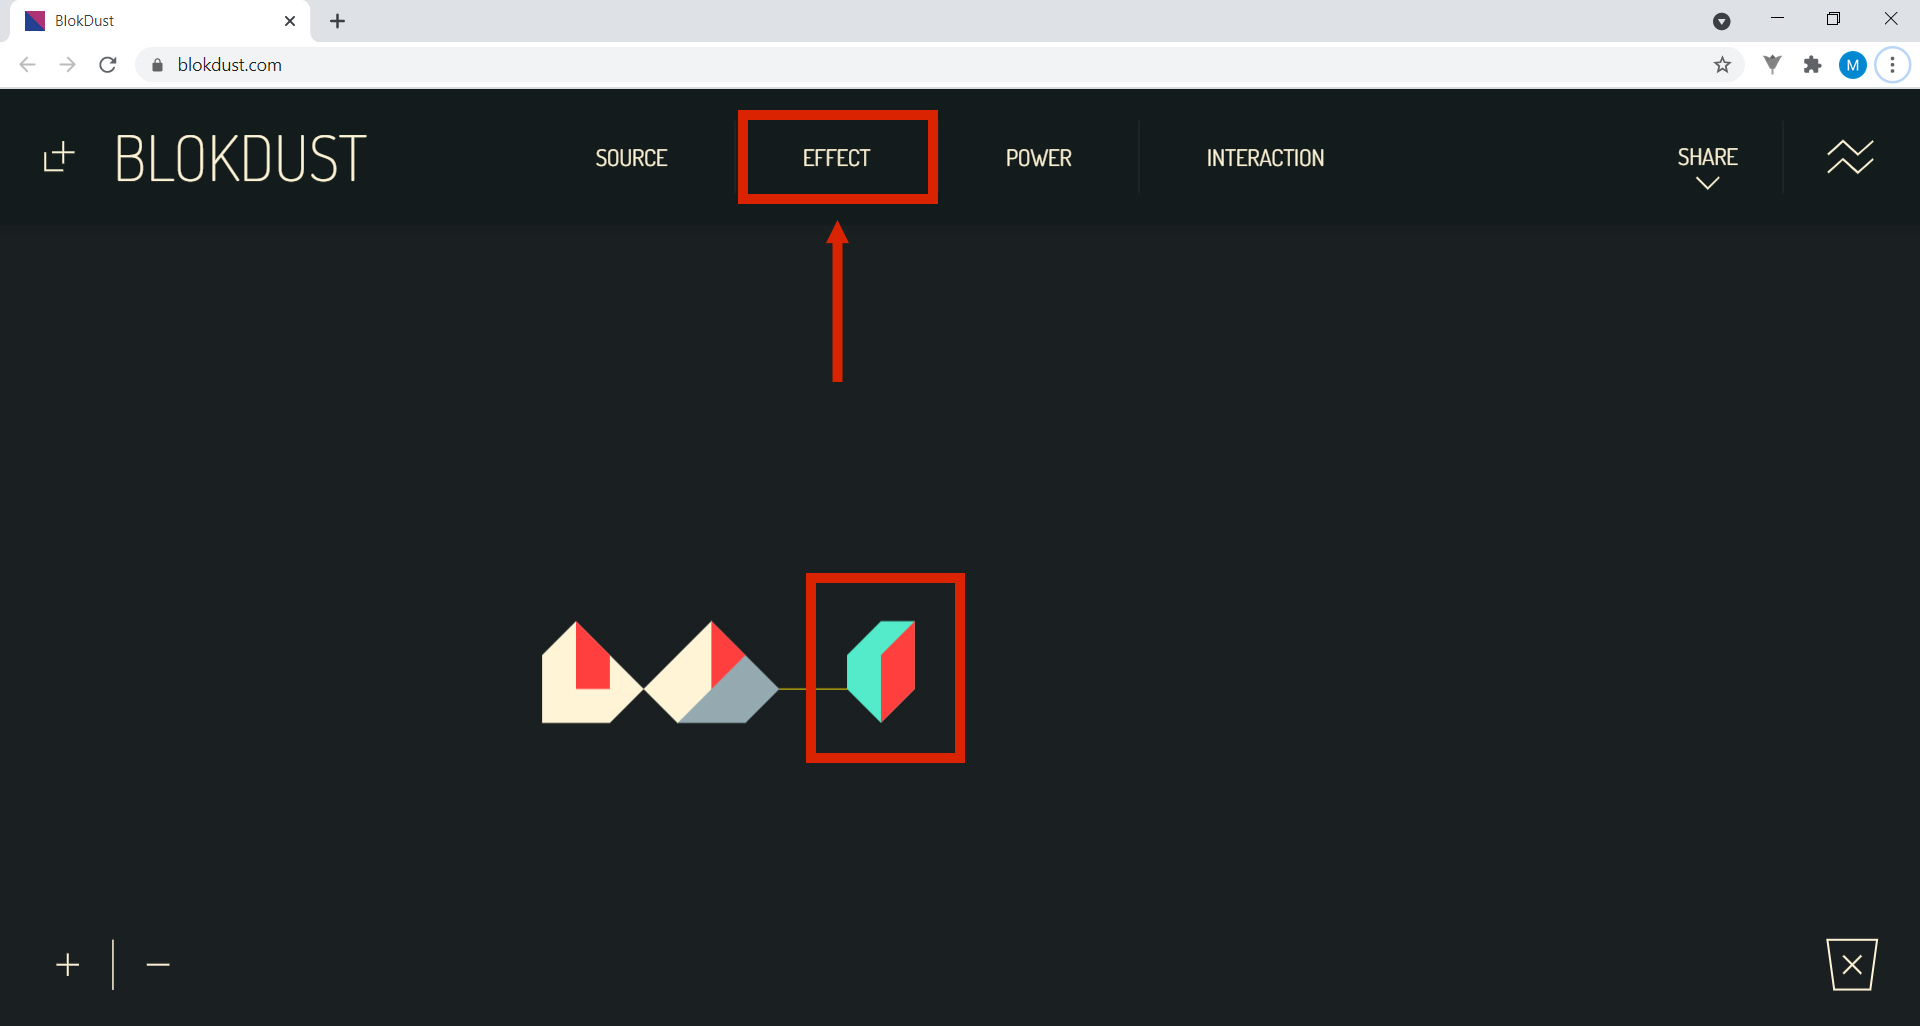
6. Now add an effect to the sound. In the menu bar, click EFFECT, select the CHOPPER block and drag it to the right side of the Tone sound block.
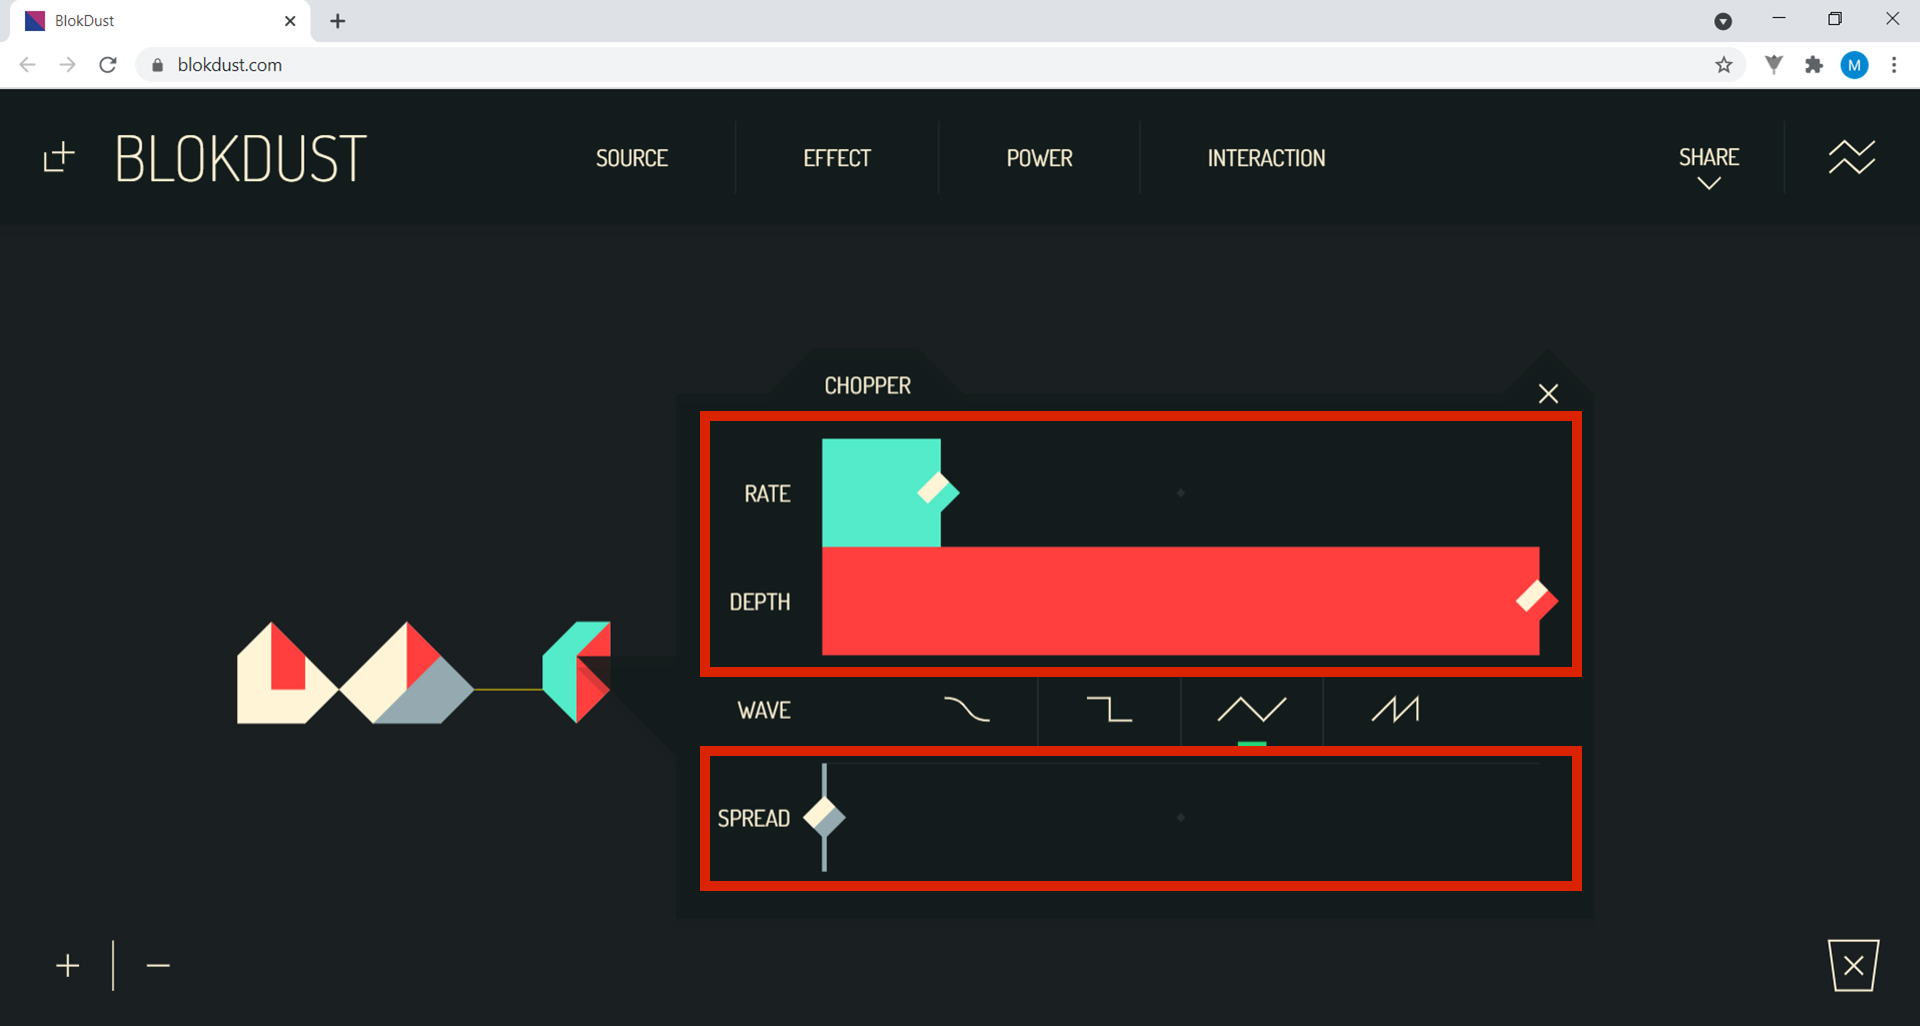
This new effect causes the sound coming out of the block to be repeated over a very short interval. You can alter this effect by clicking on the CHOPPER block and changing the characteristics that appear. The RATE characteristic changes the repetition interval of the sound, i.e. whether the sound oscillates faster or slower. As its name suggests, the DEPTH feature changes the effect’s depth, as if the oscillation were deeper or shallower. The SPREAD feature causes the sound to open up more in stereo, being more separated in the left and right sound channels. Try changing some of these options to see how it modifies your sound.
7. There are other ways to interact with blocks. To begin, let’s delete the COMPUTER KEYBOARD block. Click on it and drag it to the trash icon in the bottom right-hand corner.

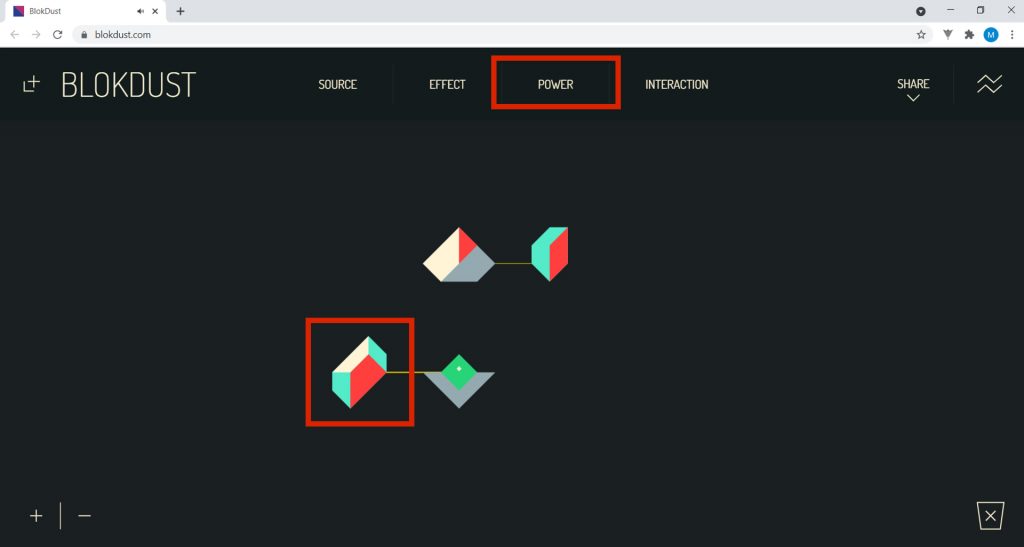
In the menu bar, click on POWER.
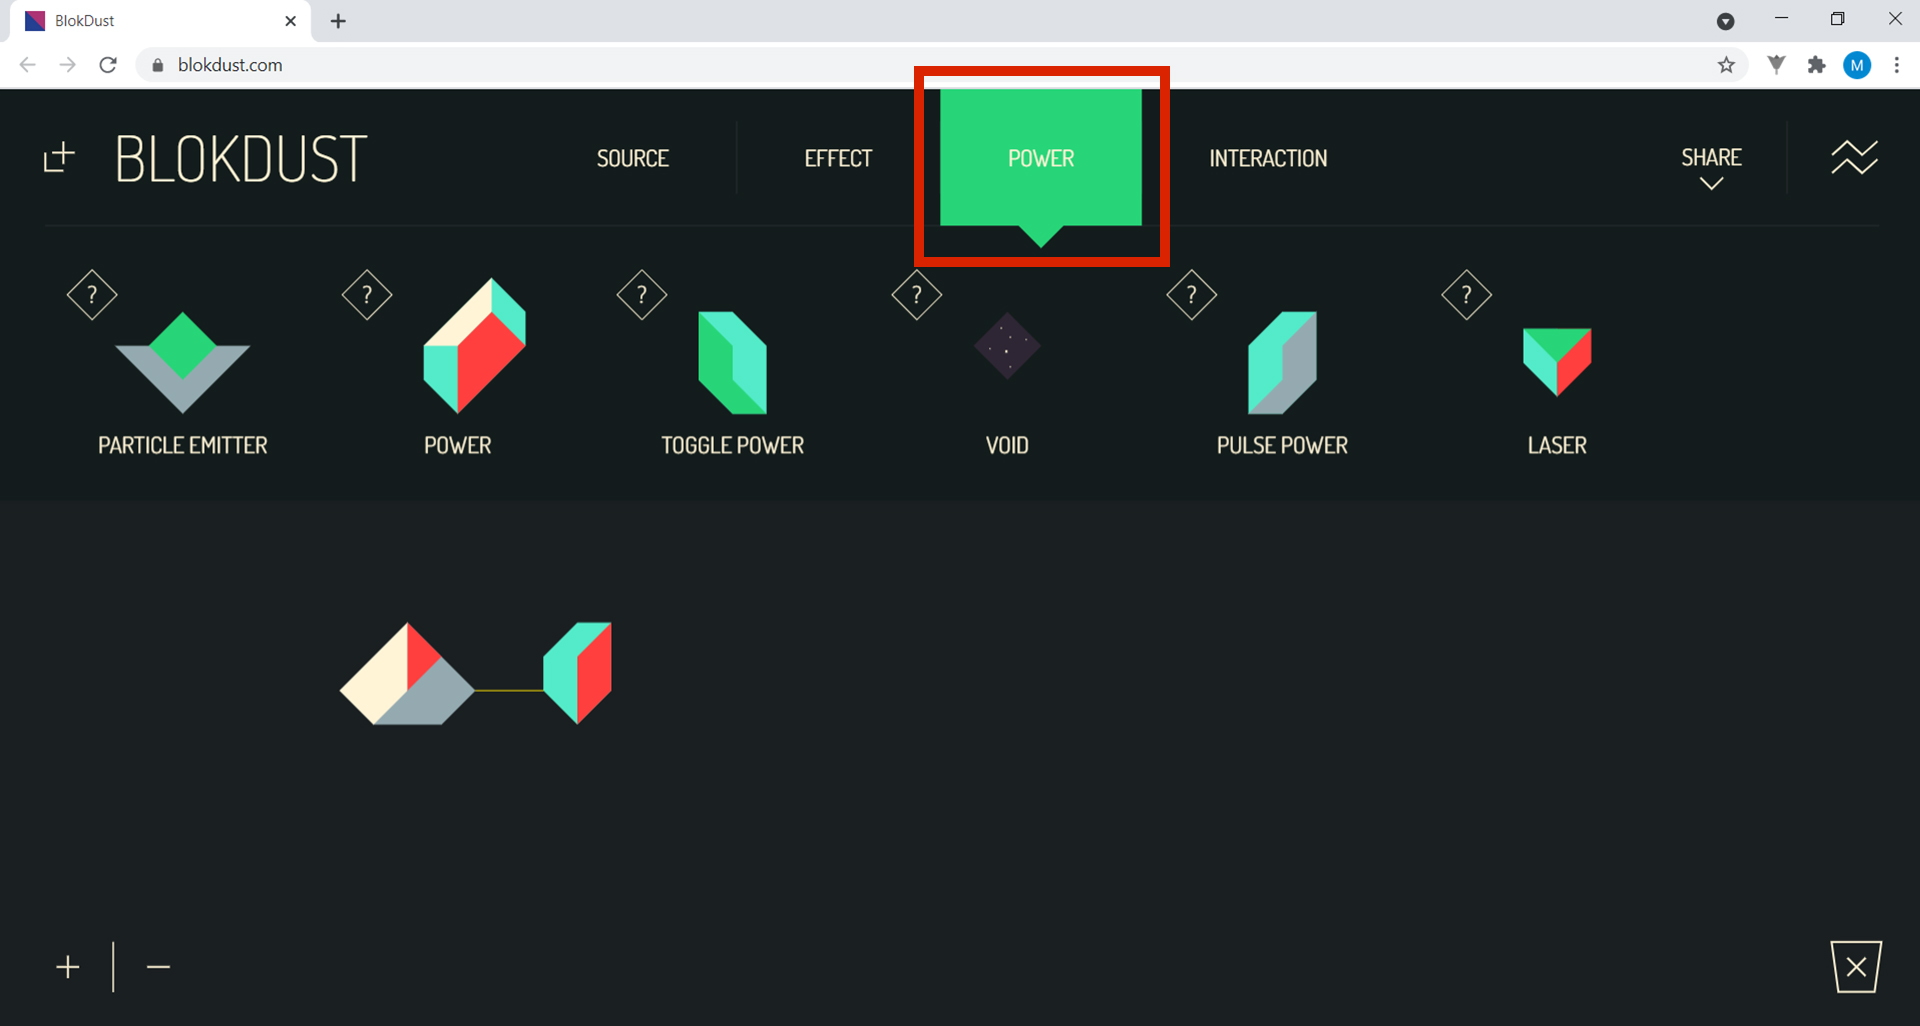
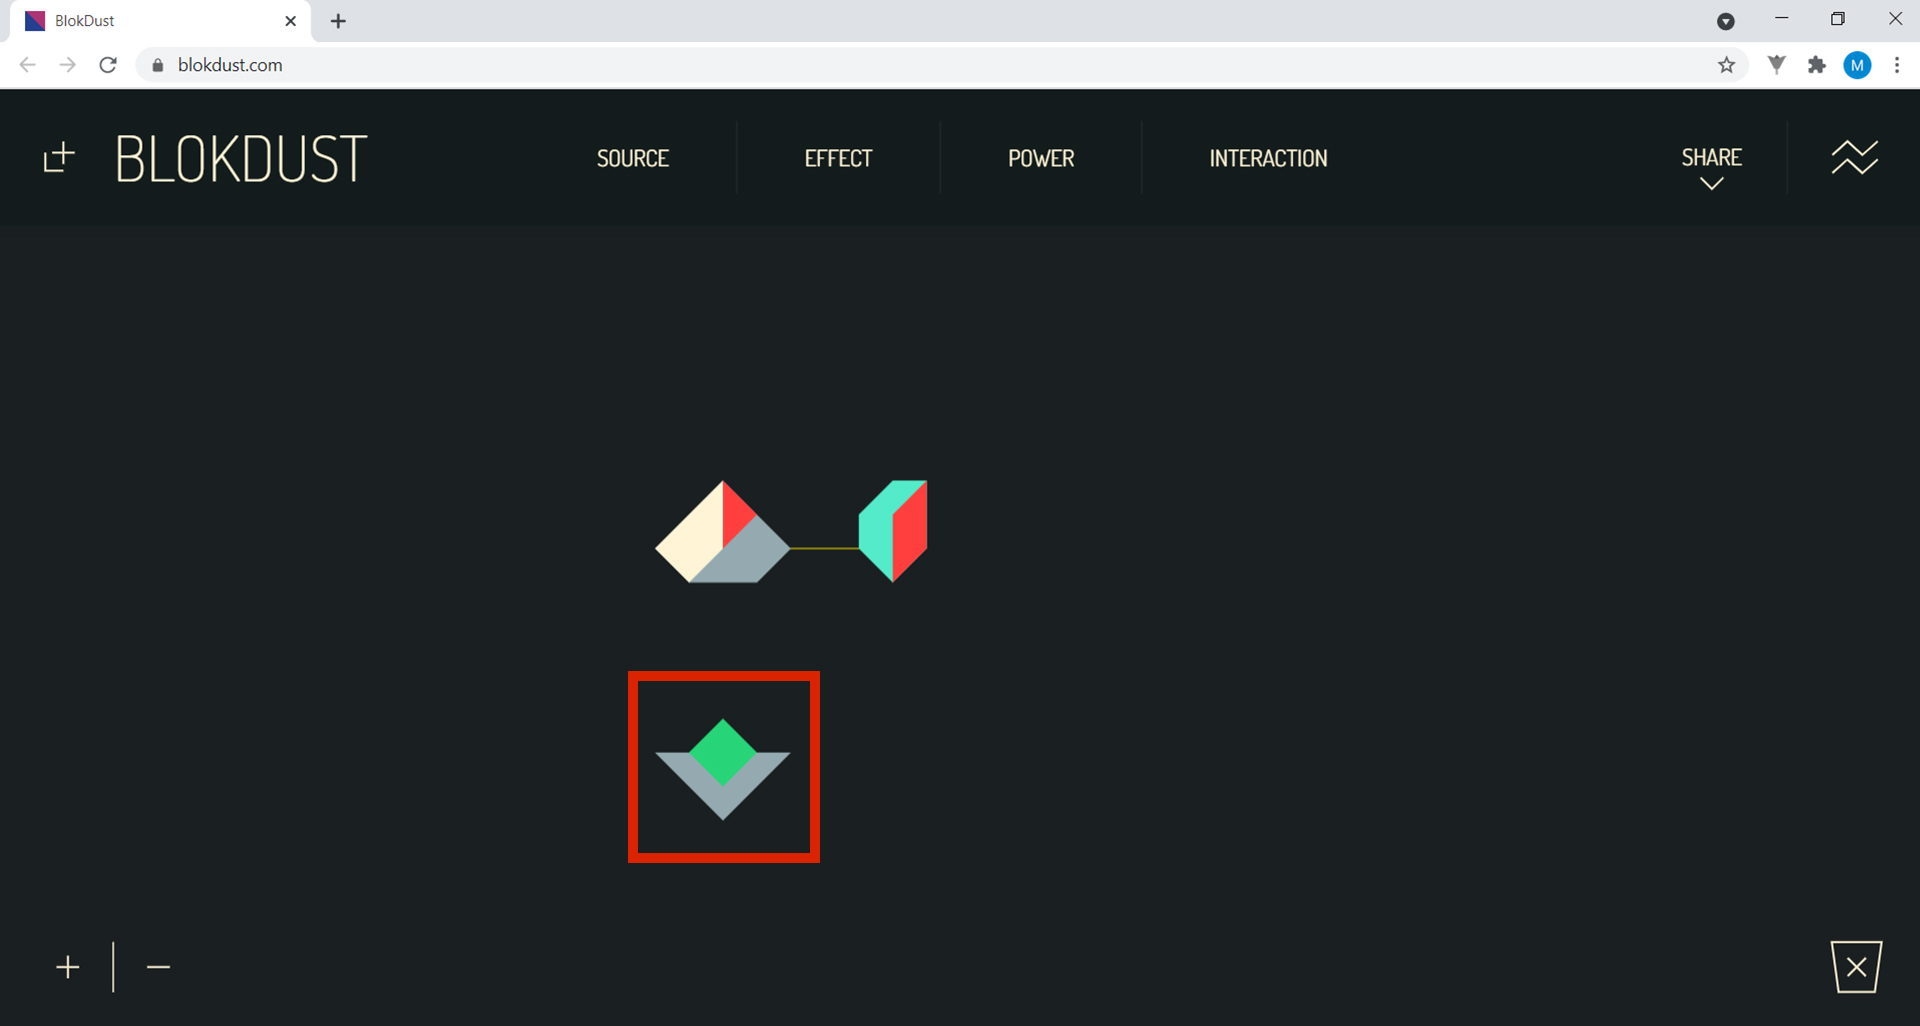
Drag the PARTICLE EMITTER block and place it under the sound block, as shown in the image. When you click on the PARTICLE EMITTER block, it launches a small shot upwards towards the sound block. When it hits that block, you hear the sound!
Check it out! You can click as many times as you like.
You can change some of the features of the PARTICLE EMITTER block by clicking on it. You can change the ANGLE
from which the shots are fired. You can also change the FIRE RATE, which allows you to fire more shots in less time. You can even change the P. SPEED, which makes the particles leave the block faster. Finally, you can change the RANGE, i.e. how far the particles go.

To make the block fire by itself, in the menu bar, click on POWER and select the POWER block. Drag it to the left side of the PARTICLE EMITTER block. As you can see, the block fires itself!
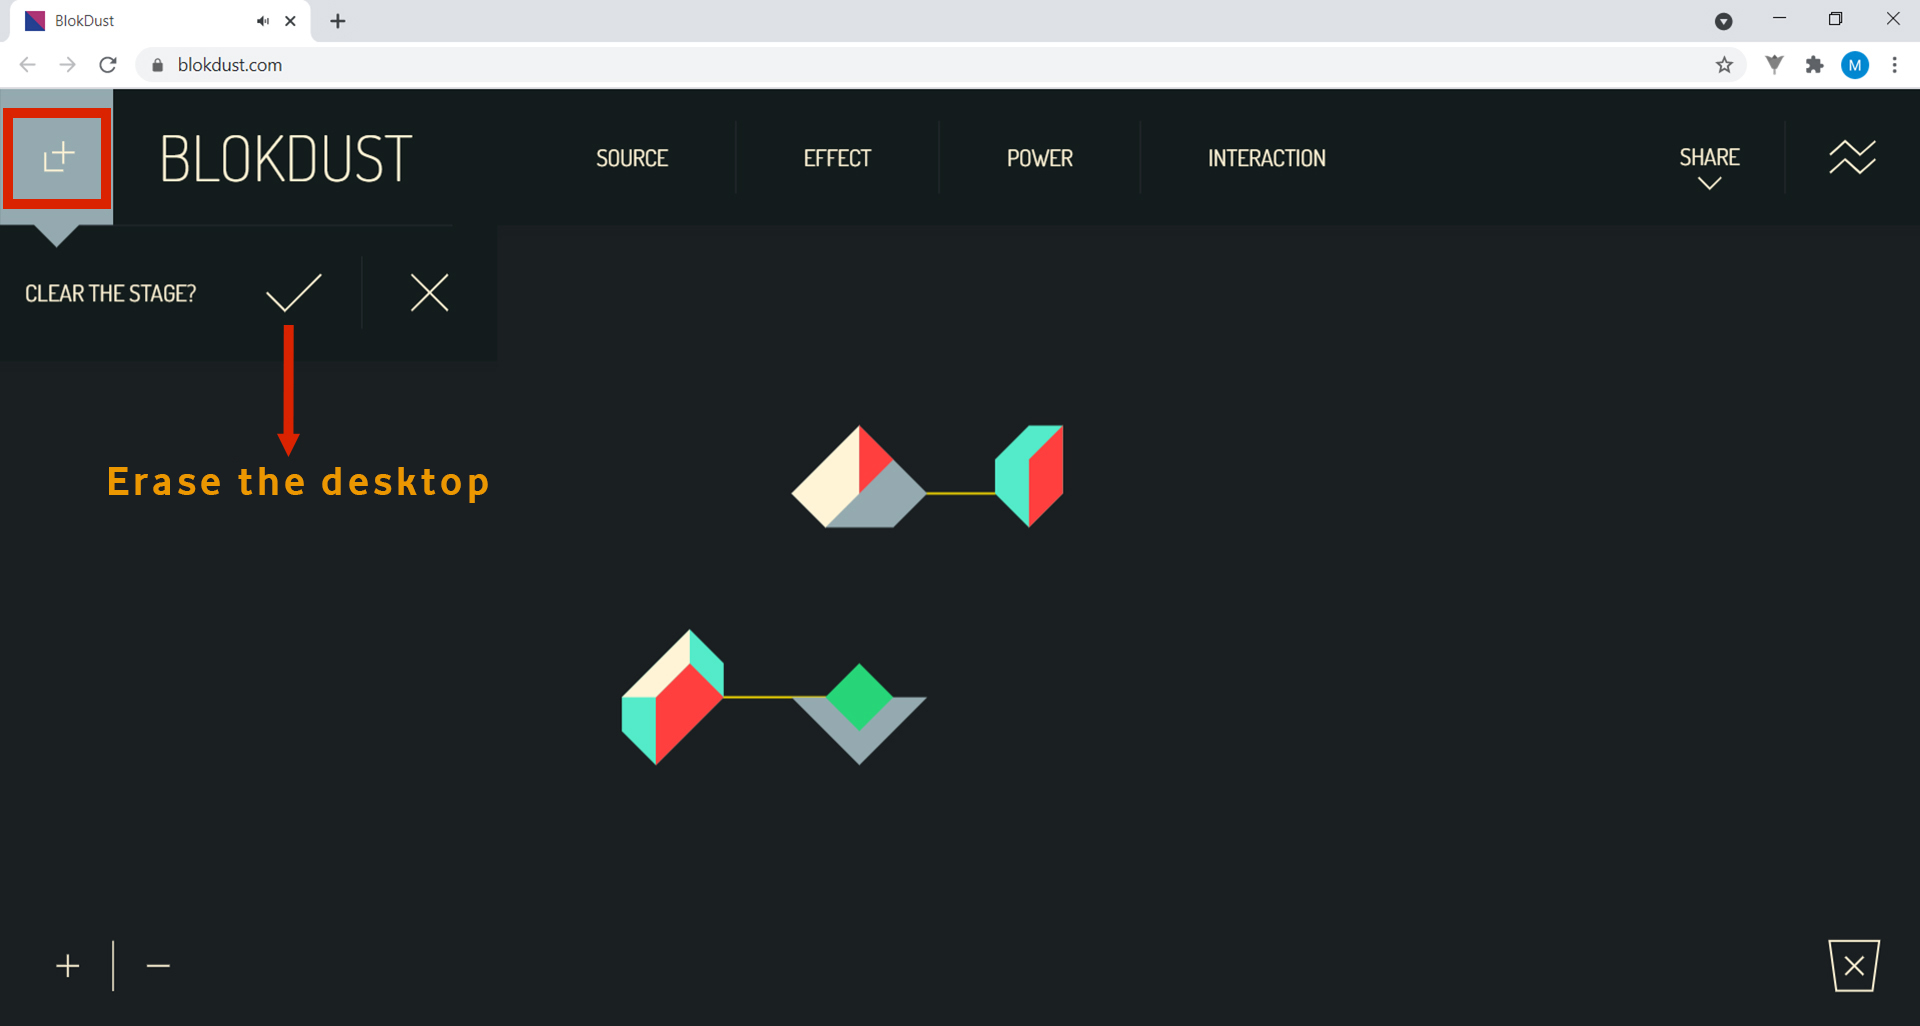
8. To finish, let’s explore some options of the program itself. In the top left-hand corner, there is a button. If you click on it, the message CLEAR THE STAGE? appears. If you click on checkmark, the program erases everything you have done so far. If you click on the cross, what you have done is not erased.
In the bottom left-hand corner, the + and – buttons allow you to zoom in and out of the blocks, i.e. control the zoom of the window.

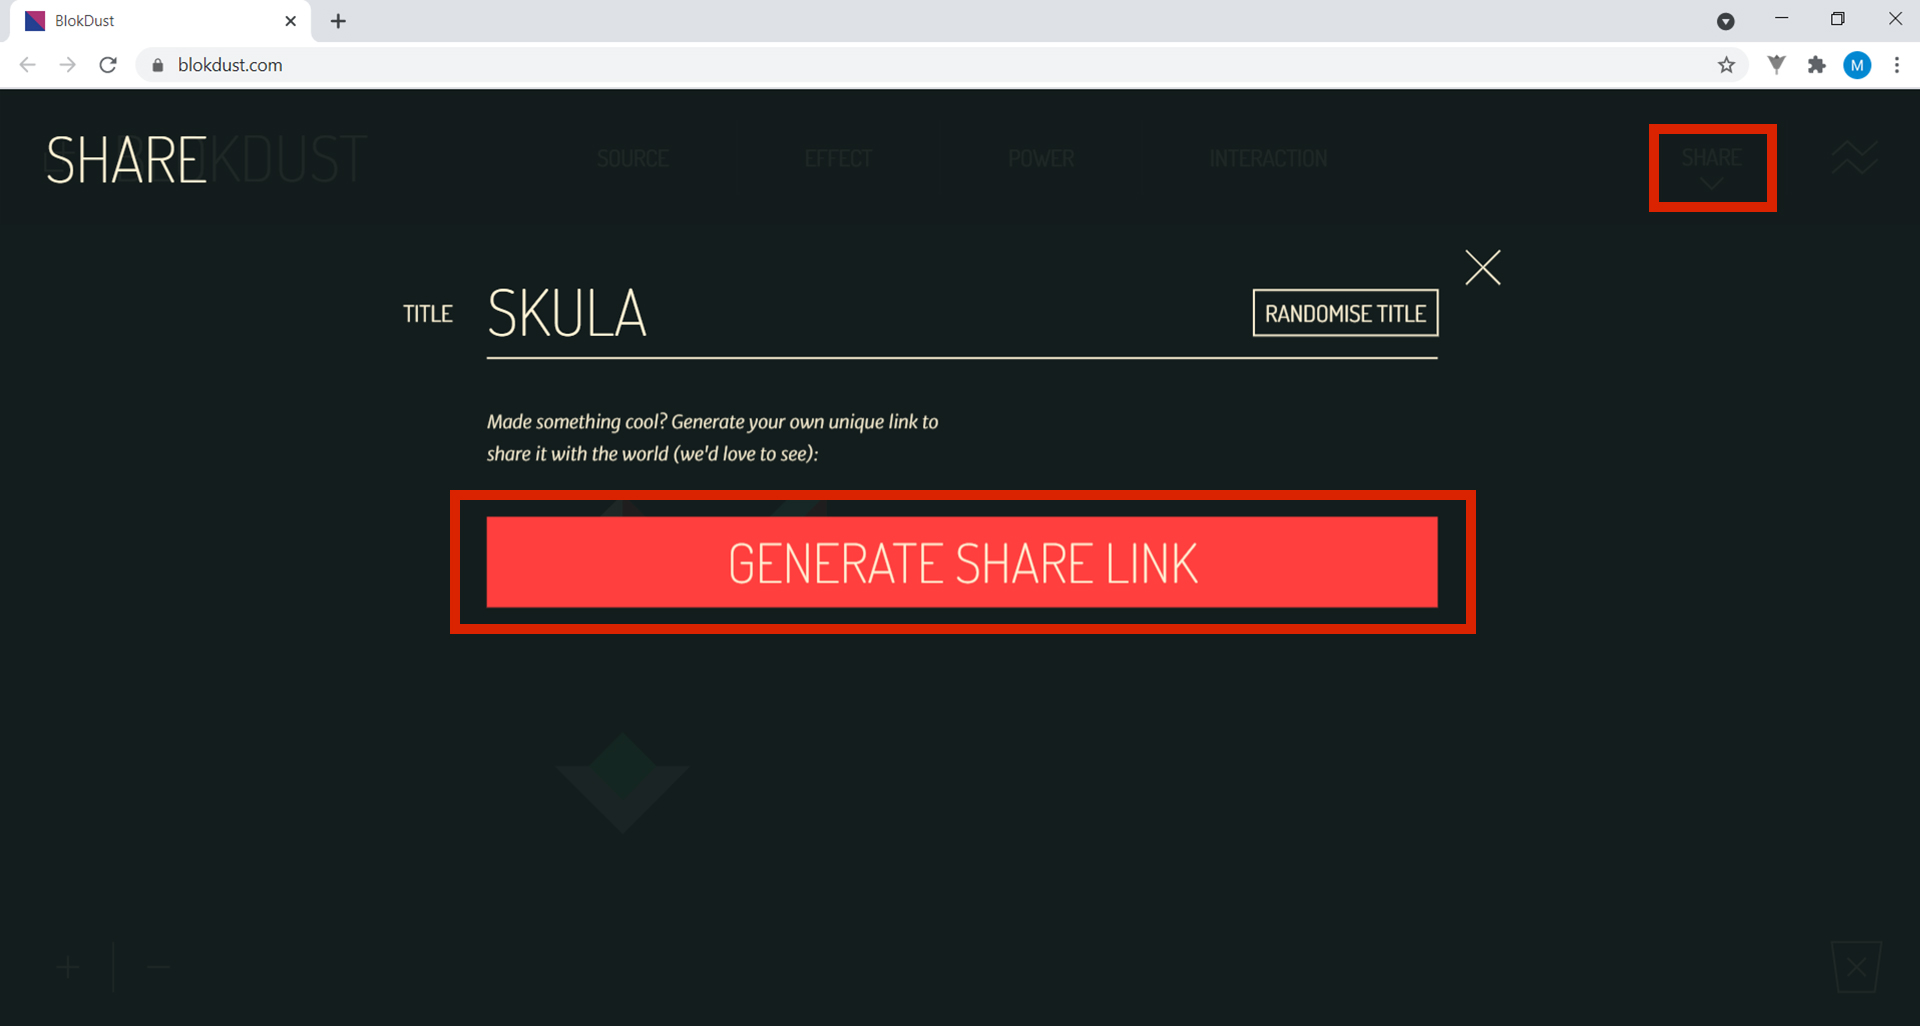
In the top right-hand corner, under SHARE, you can give your project a title, then create a link by clicking on GENERATE SHARE LINK. You can share this link with your family and friends so they can see your work.
9. Now, we give you a challenge: do you know the song Ode to Joy? Can you play it through BlokDust? Let’s go!
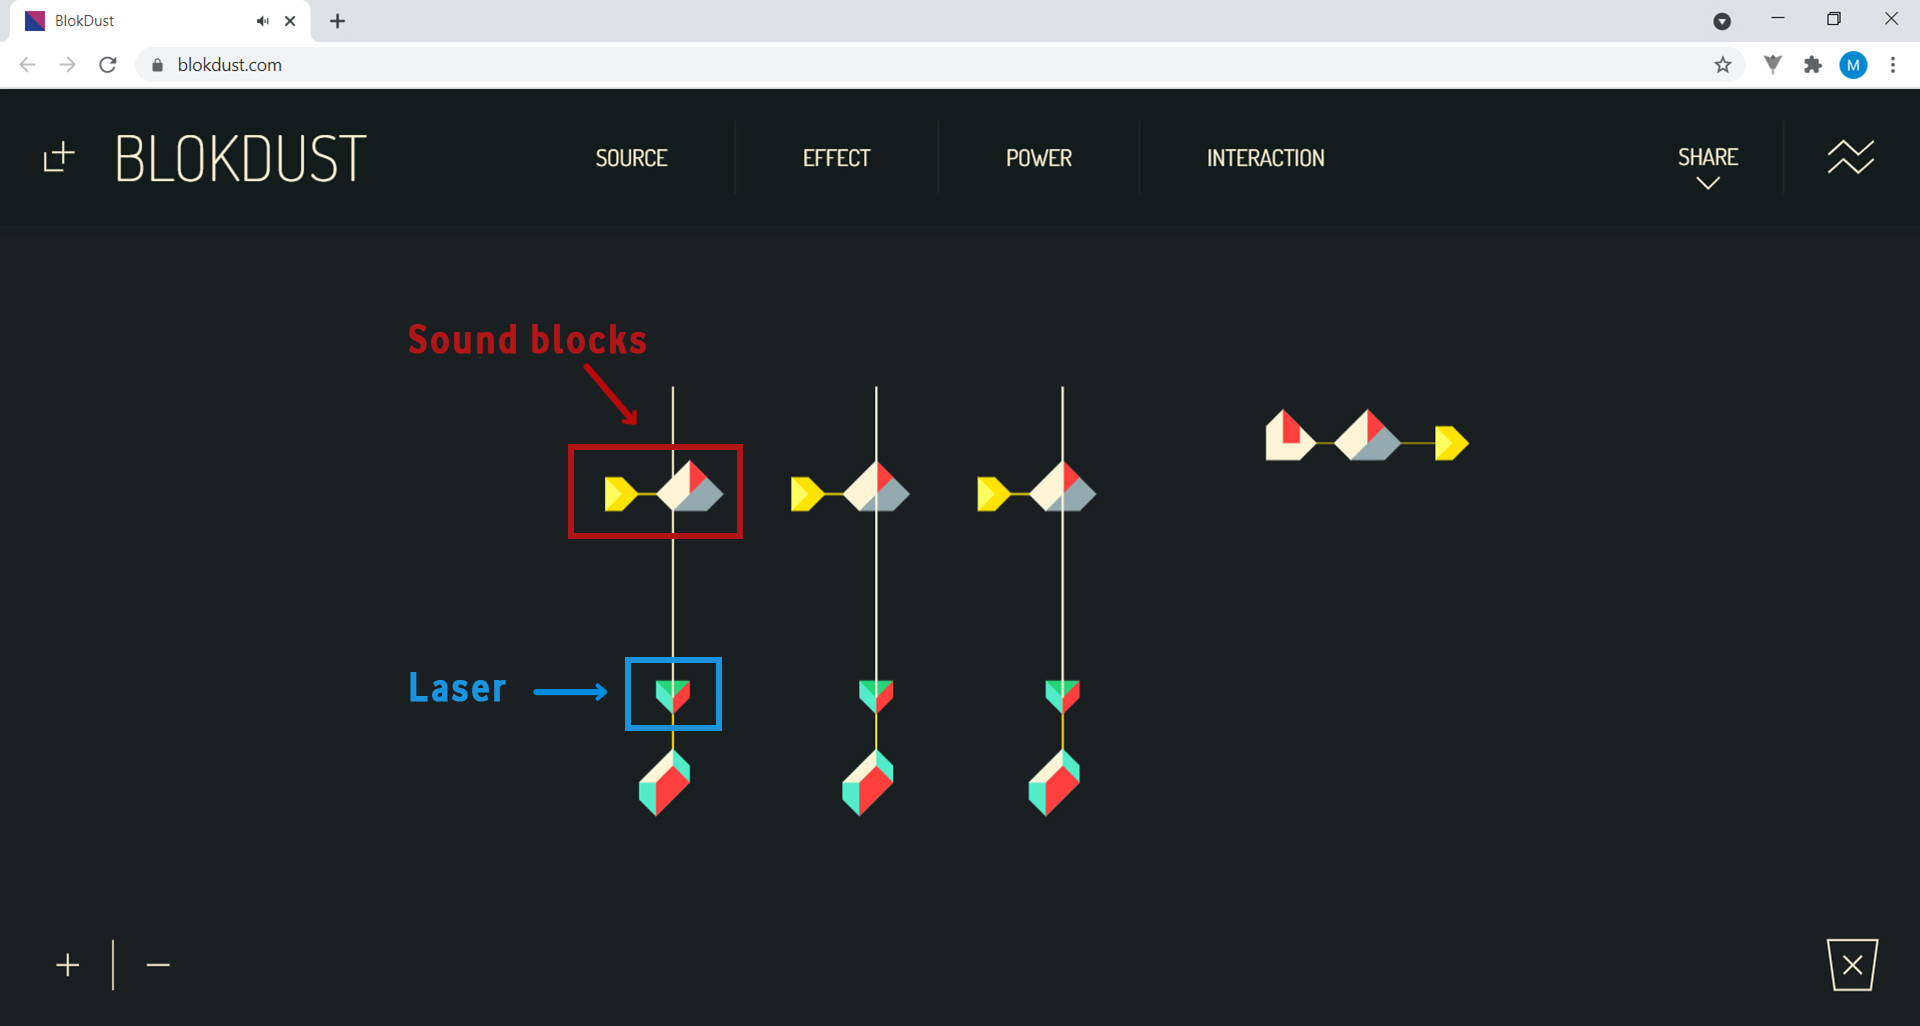
10. First, start by creating this sequence of blocks:
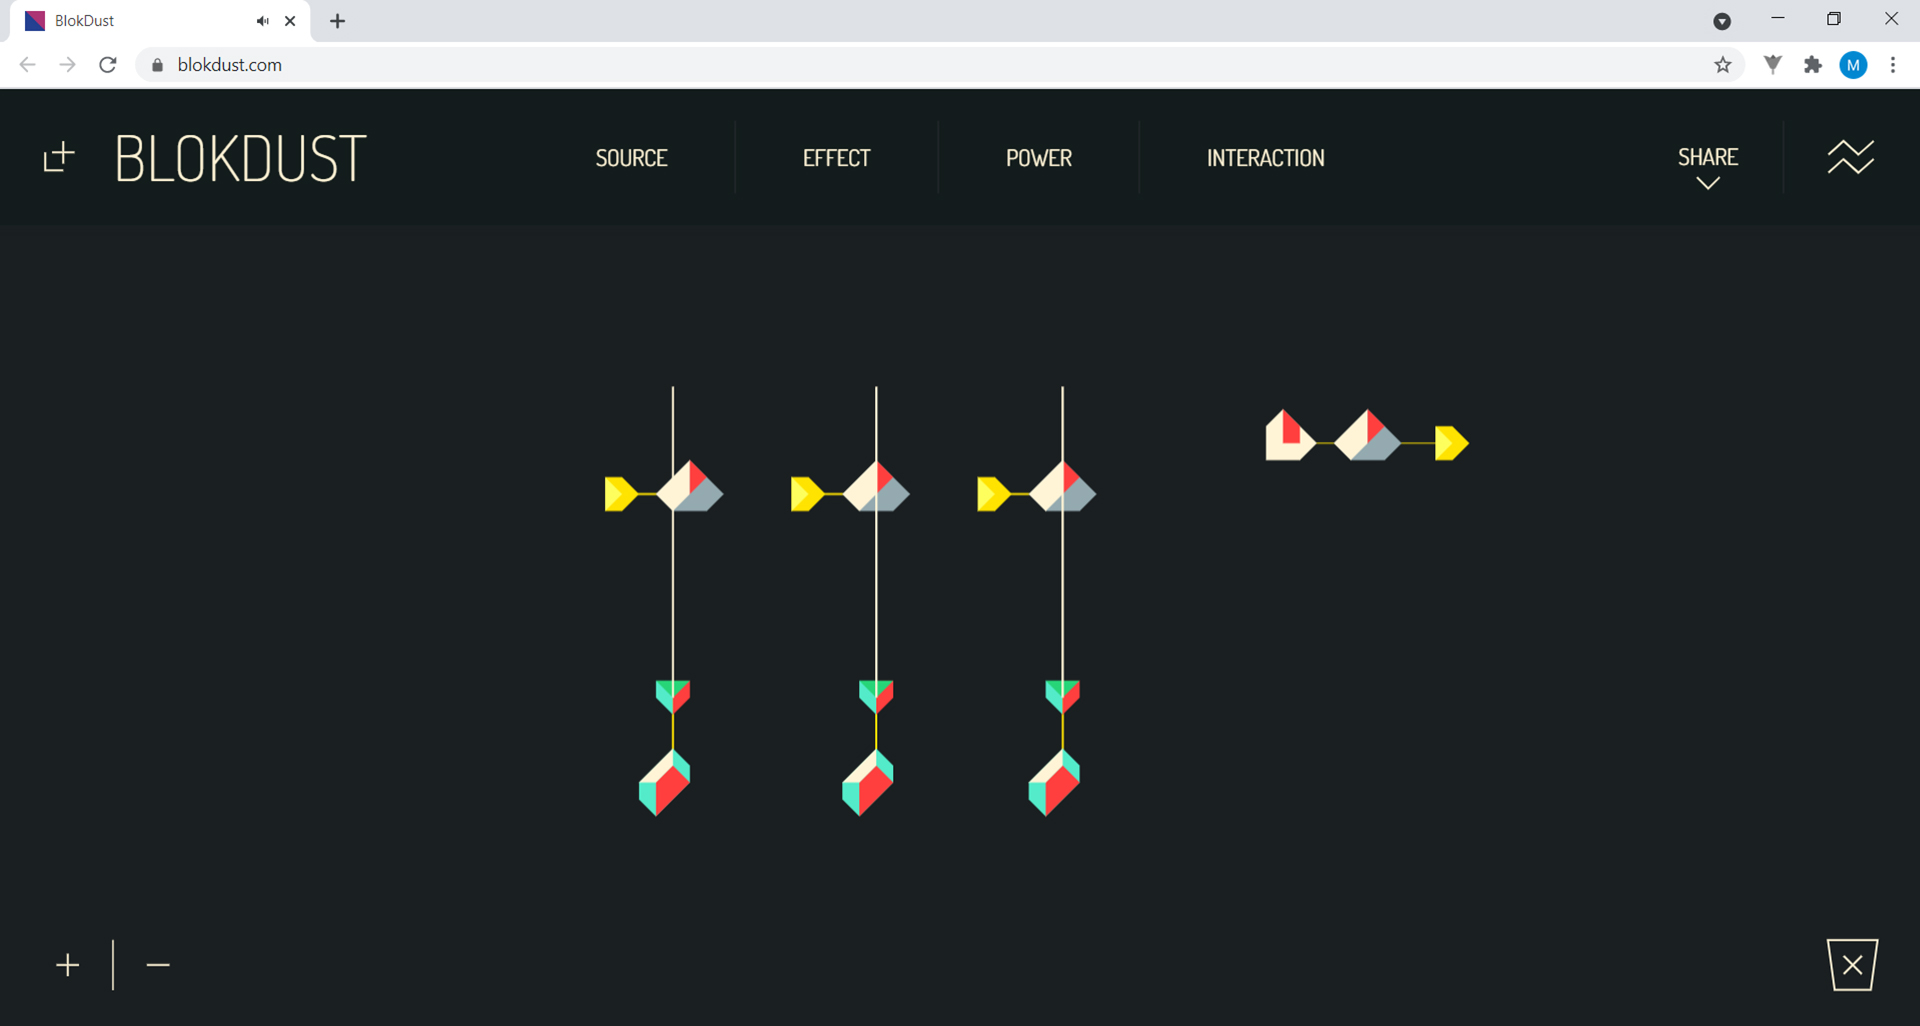
Find the blocks and try to reproduce what is in the image.
Each of the three sound blocks, with the laser block underneath, corresponds to a different note.
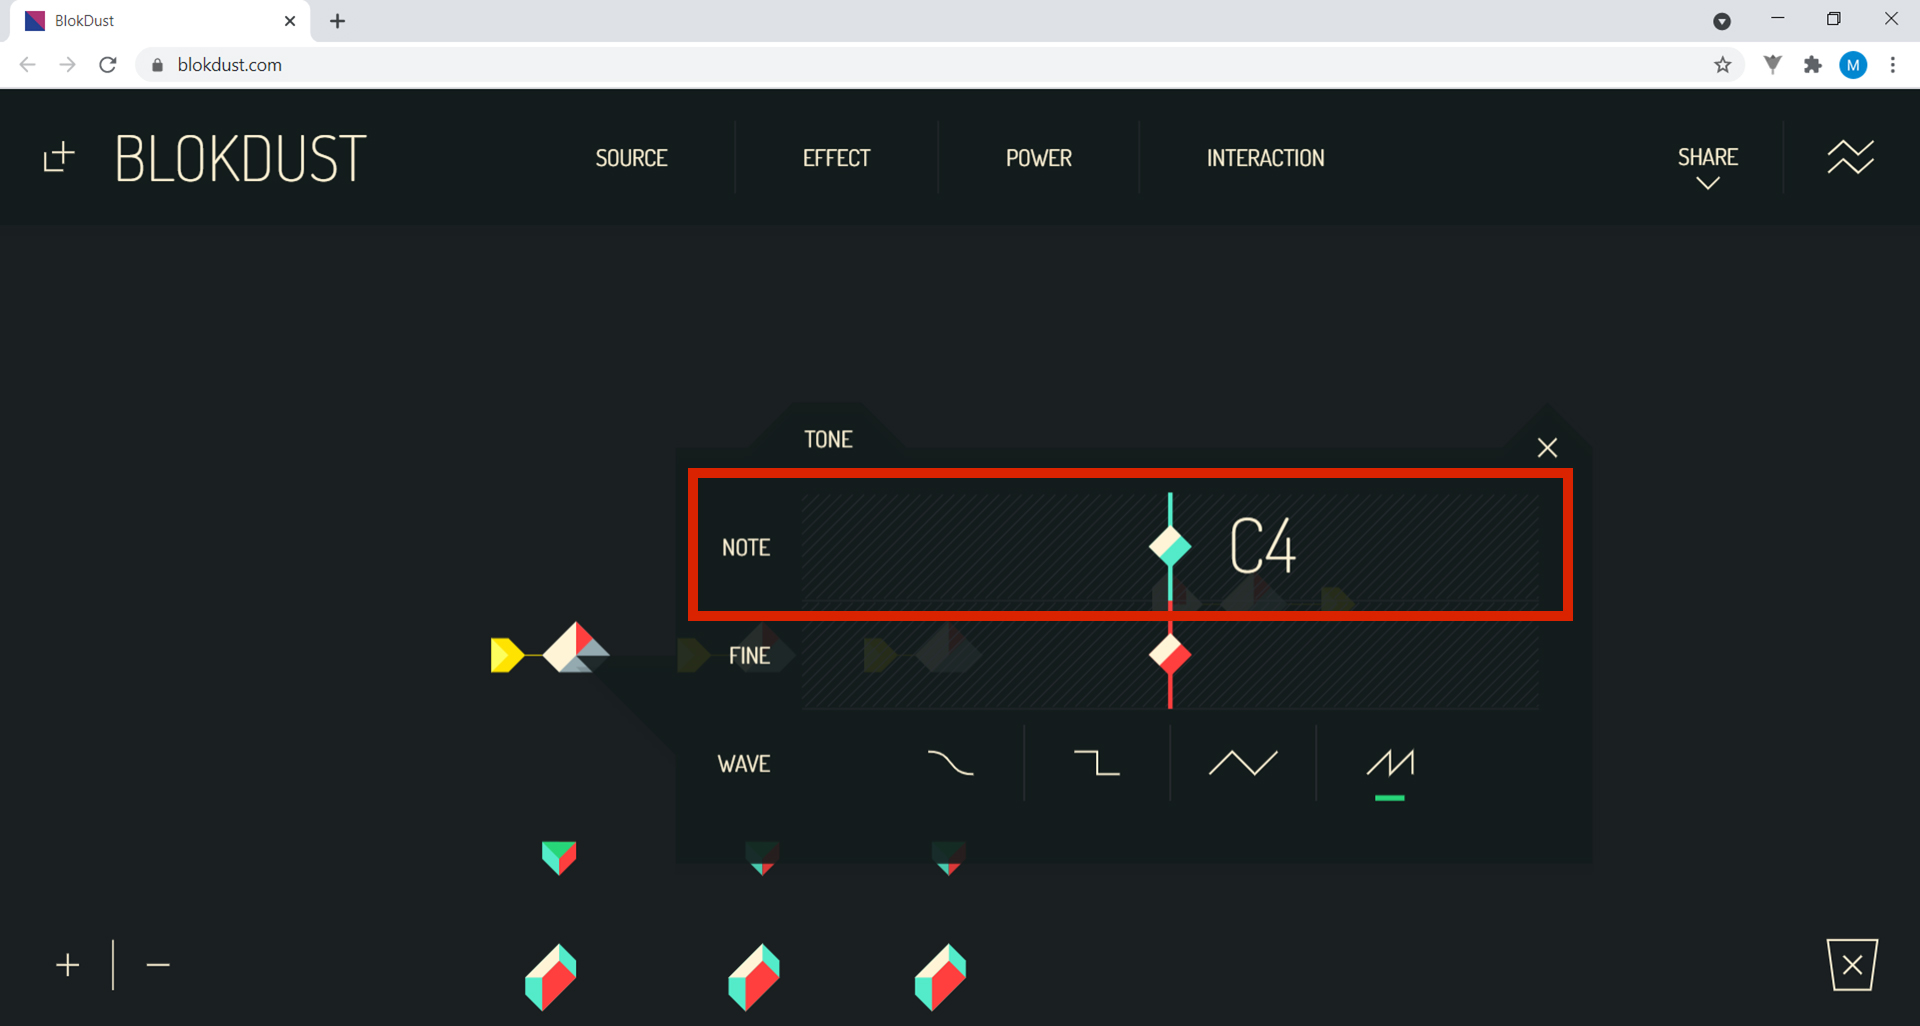
Click on the first sound block and choose the note C4.
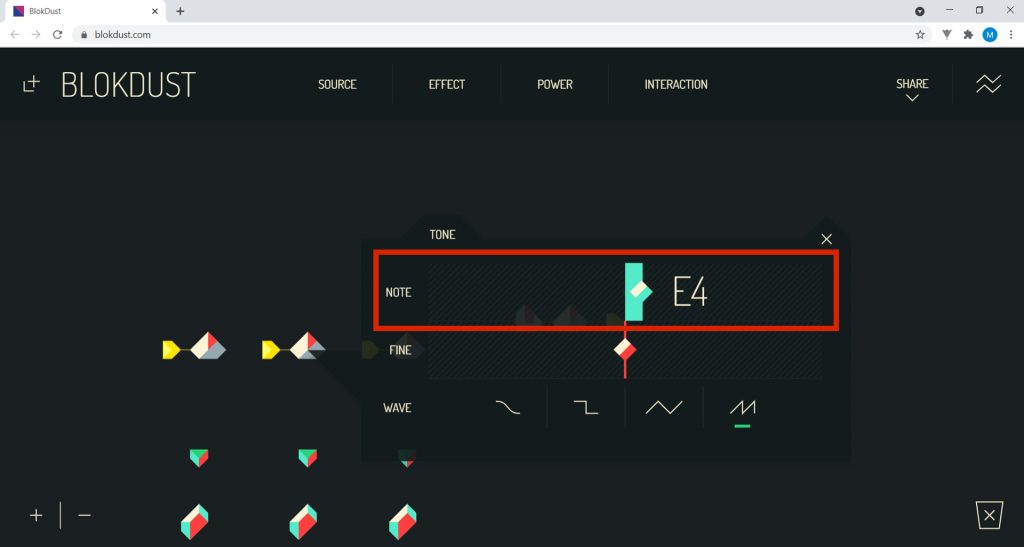
In the second sound block, choose the note E4.
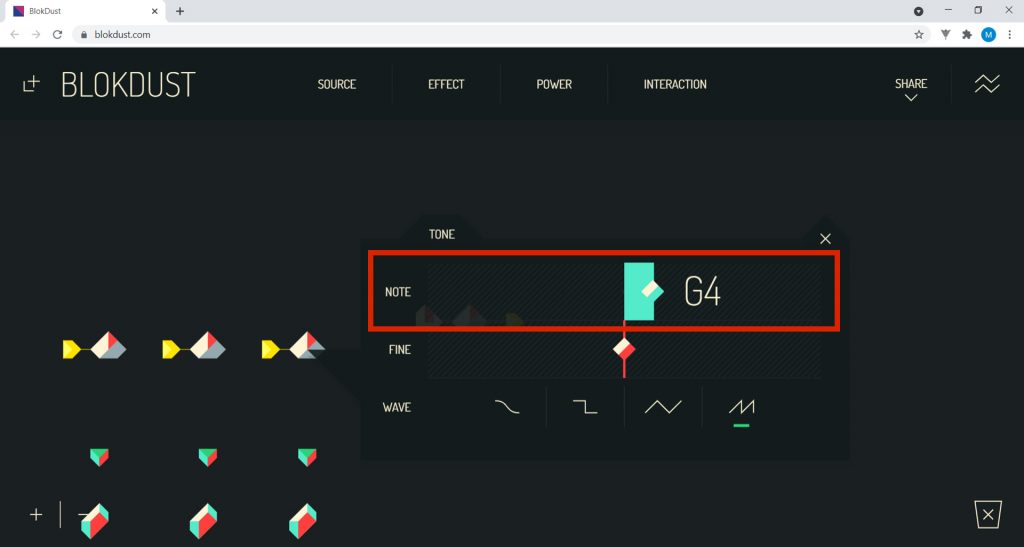
Finally, in the third sound block, choose the note G4.
With the block that emits sound via the keys on your keyboard, play the music. The other notes will be heard automatically. The keys you will use to play the song, and their order, are as follows:
E E R T T R E W Q Q W E E W W
E E R T T R E W Q Q W E W Q Q
11. Now that you know the program, you can explore the blocks further by combining them. Unleash your musical side, learn and have fun!