Activity
1. An algorithm is a sequence of instructions aimed at solving a given problem. This is why we can have several algorithms to solve the same problem. An algorithm also has a beginning and an end (i.e. it is finite), as well as an order. Let’s create an algorithm that helps us put together a group project. Click on https://app.diagrams.net/.

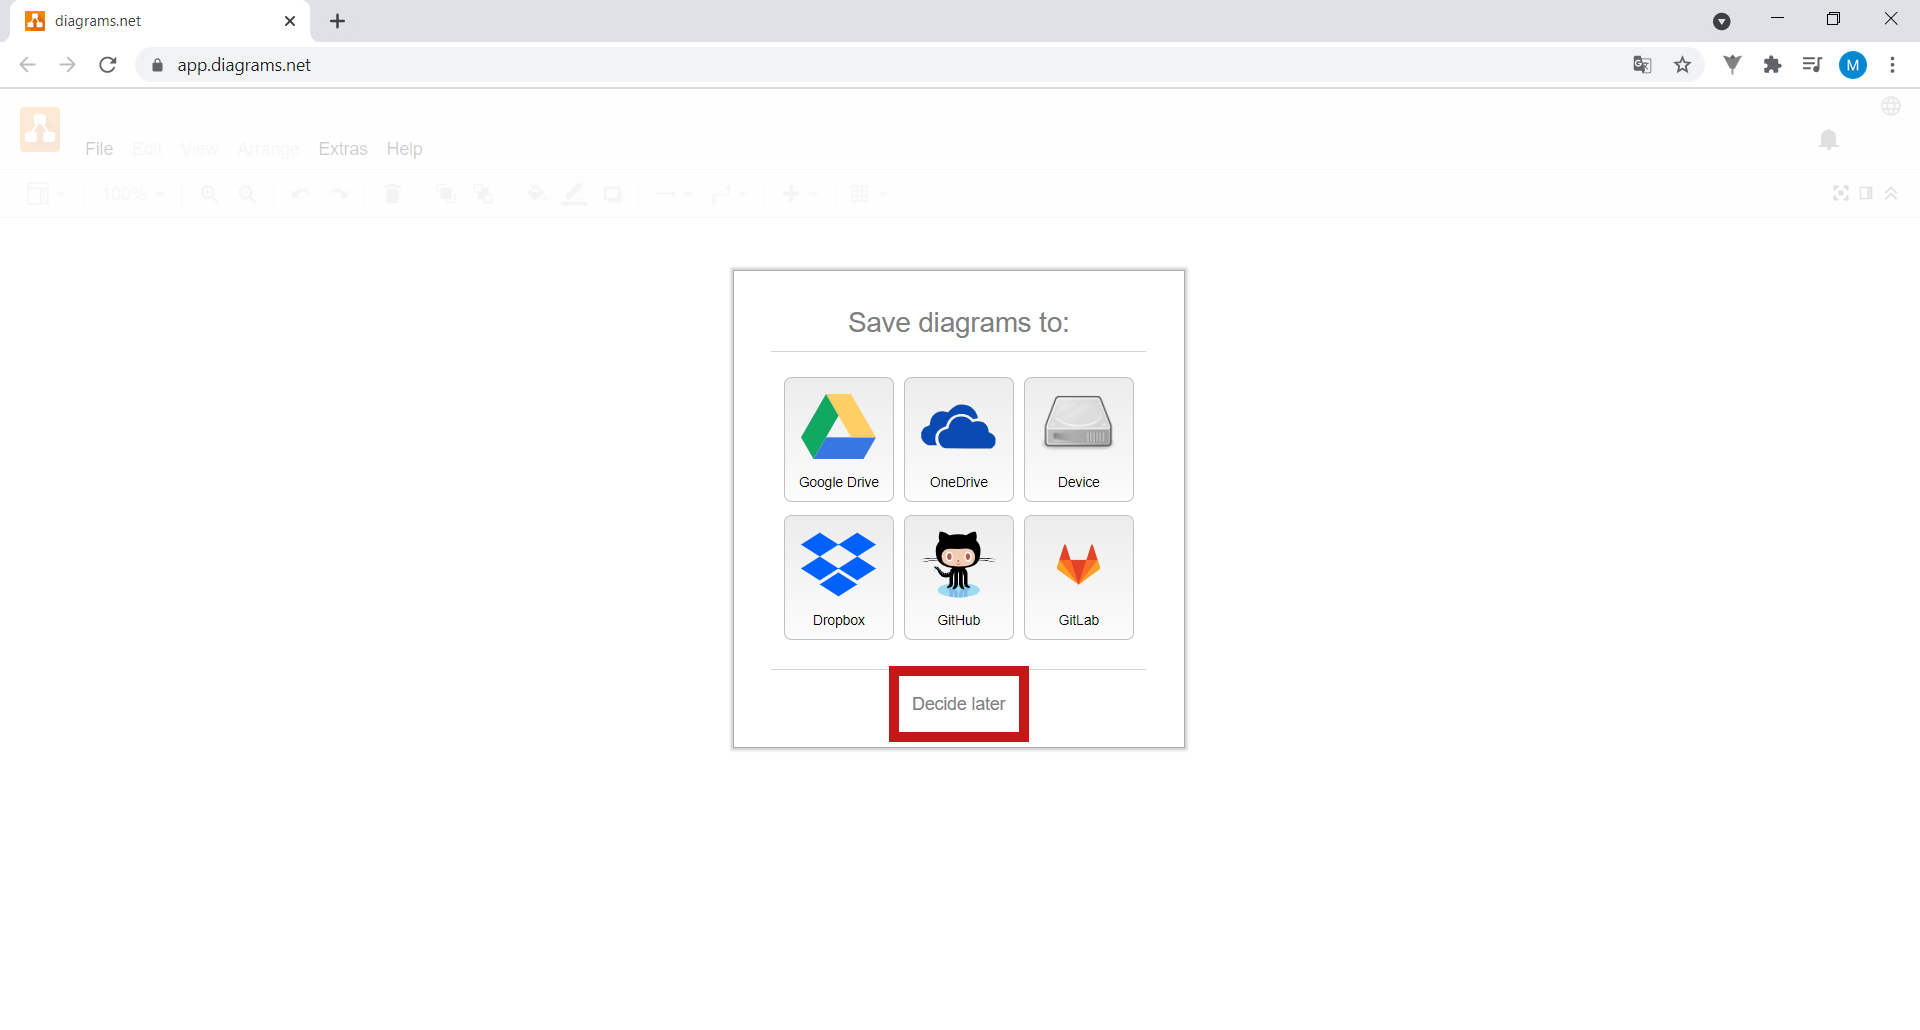
2. A window will pop up for you to choose where you want to save your projects. Select Decide later. If you have used the program before, you may have already chosen where to save the project. Therefore, you will no longer see this window.
SIDE NOTE: You may click the images to amplify.
3. Draw.io is in English by default. Click on the globe icon in the upper right-hand corner to change the language.

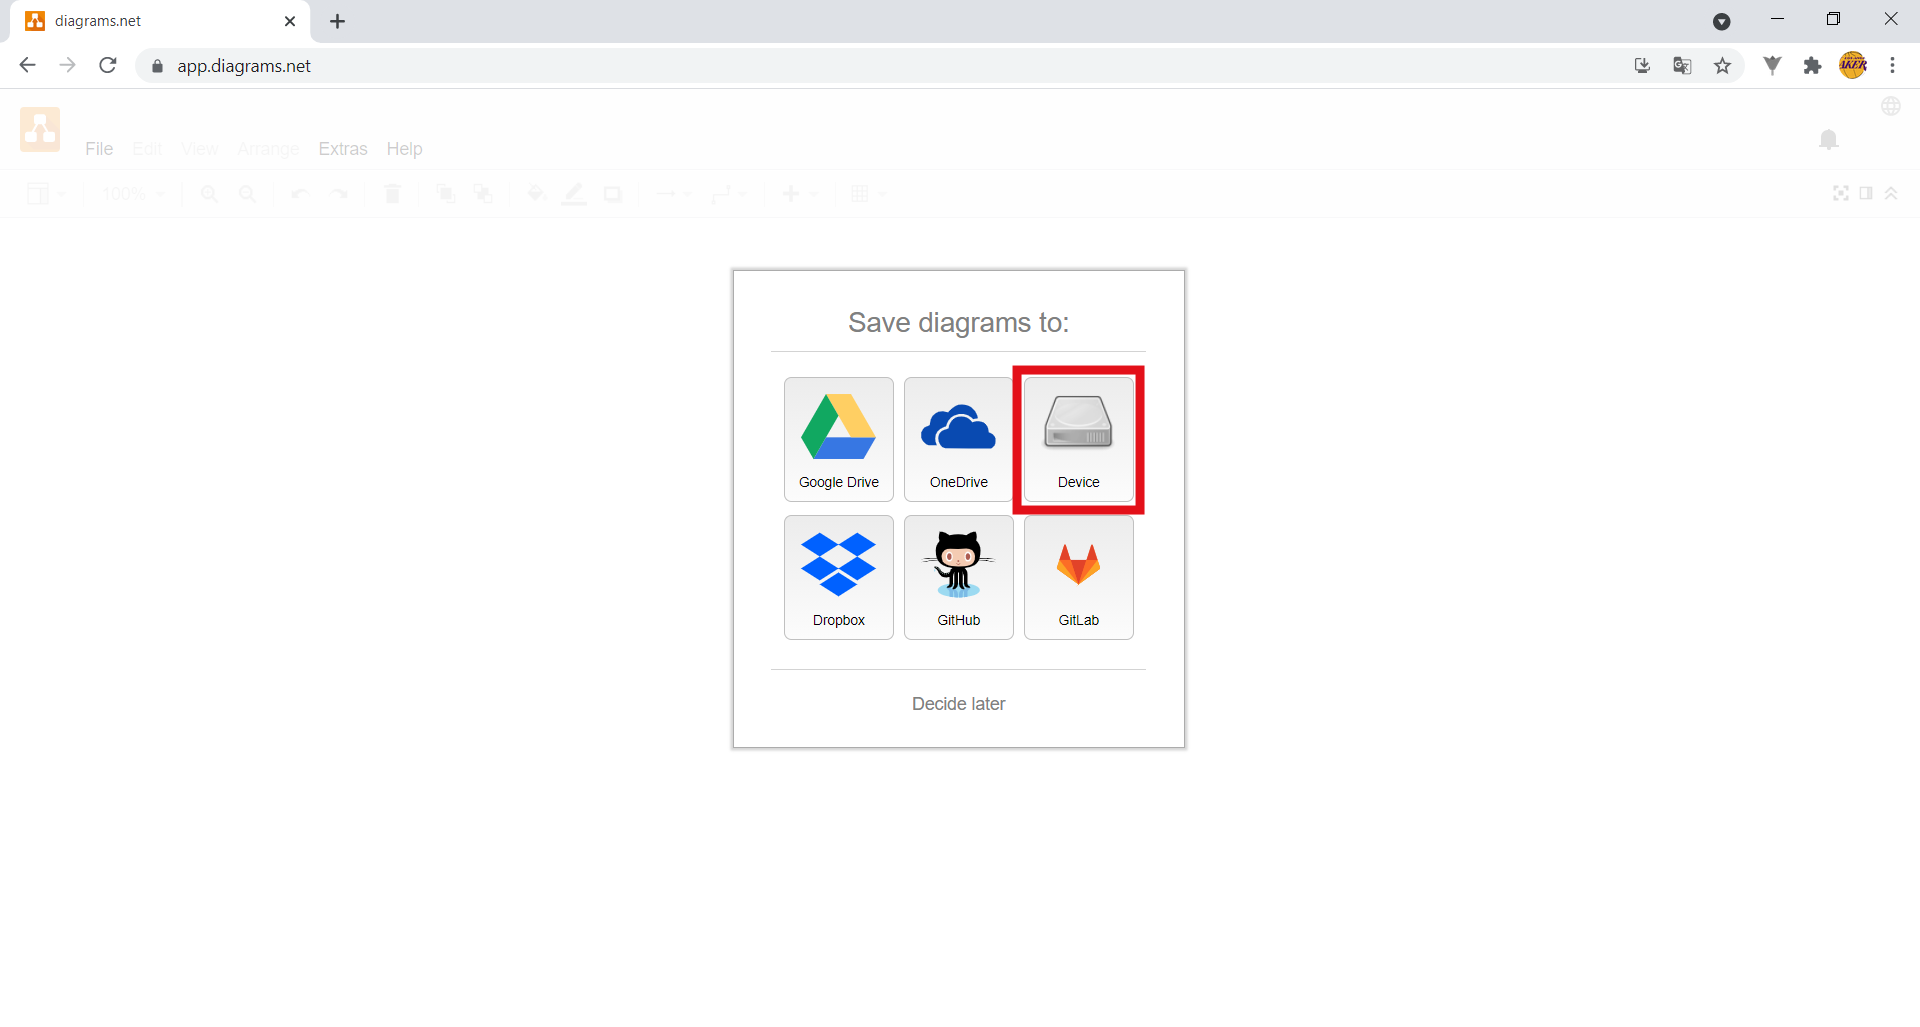
4. Select where you want to save your projects. Click on Device to save the projects on your computer. If you have used the program before, you may have already chosen where to save the project. Therefore, it skips this step.
5. Next, click on Create new diagram.

6. Change the project name to “Algorithm” at the top and click Create.

Ask an adult to help you choose where to save your project. To continue editing your project, save it on your computer with the extension “XML”. To do this, it gives it a name under File name.
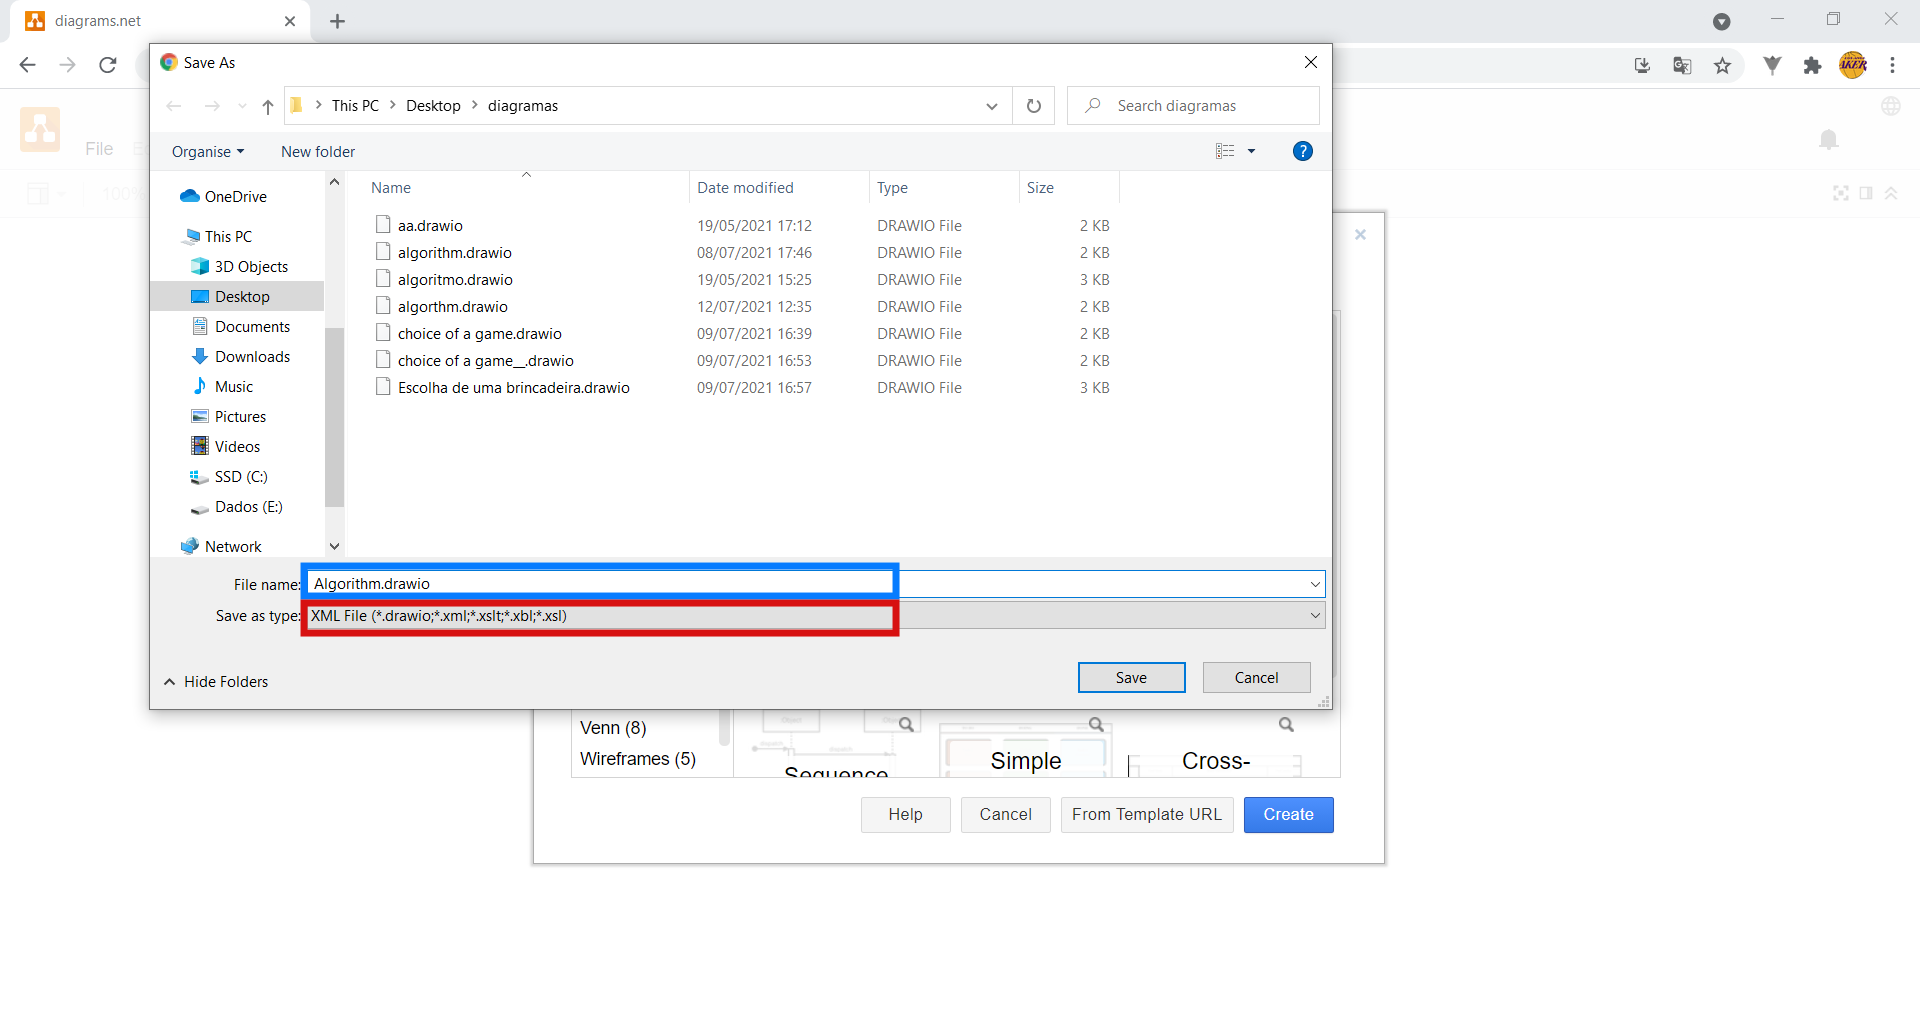
Then, when you finish your project, Draw.io will let you export the project as an image, or even as a PDF document, so you can share it with your friends.
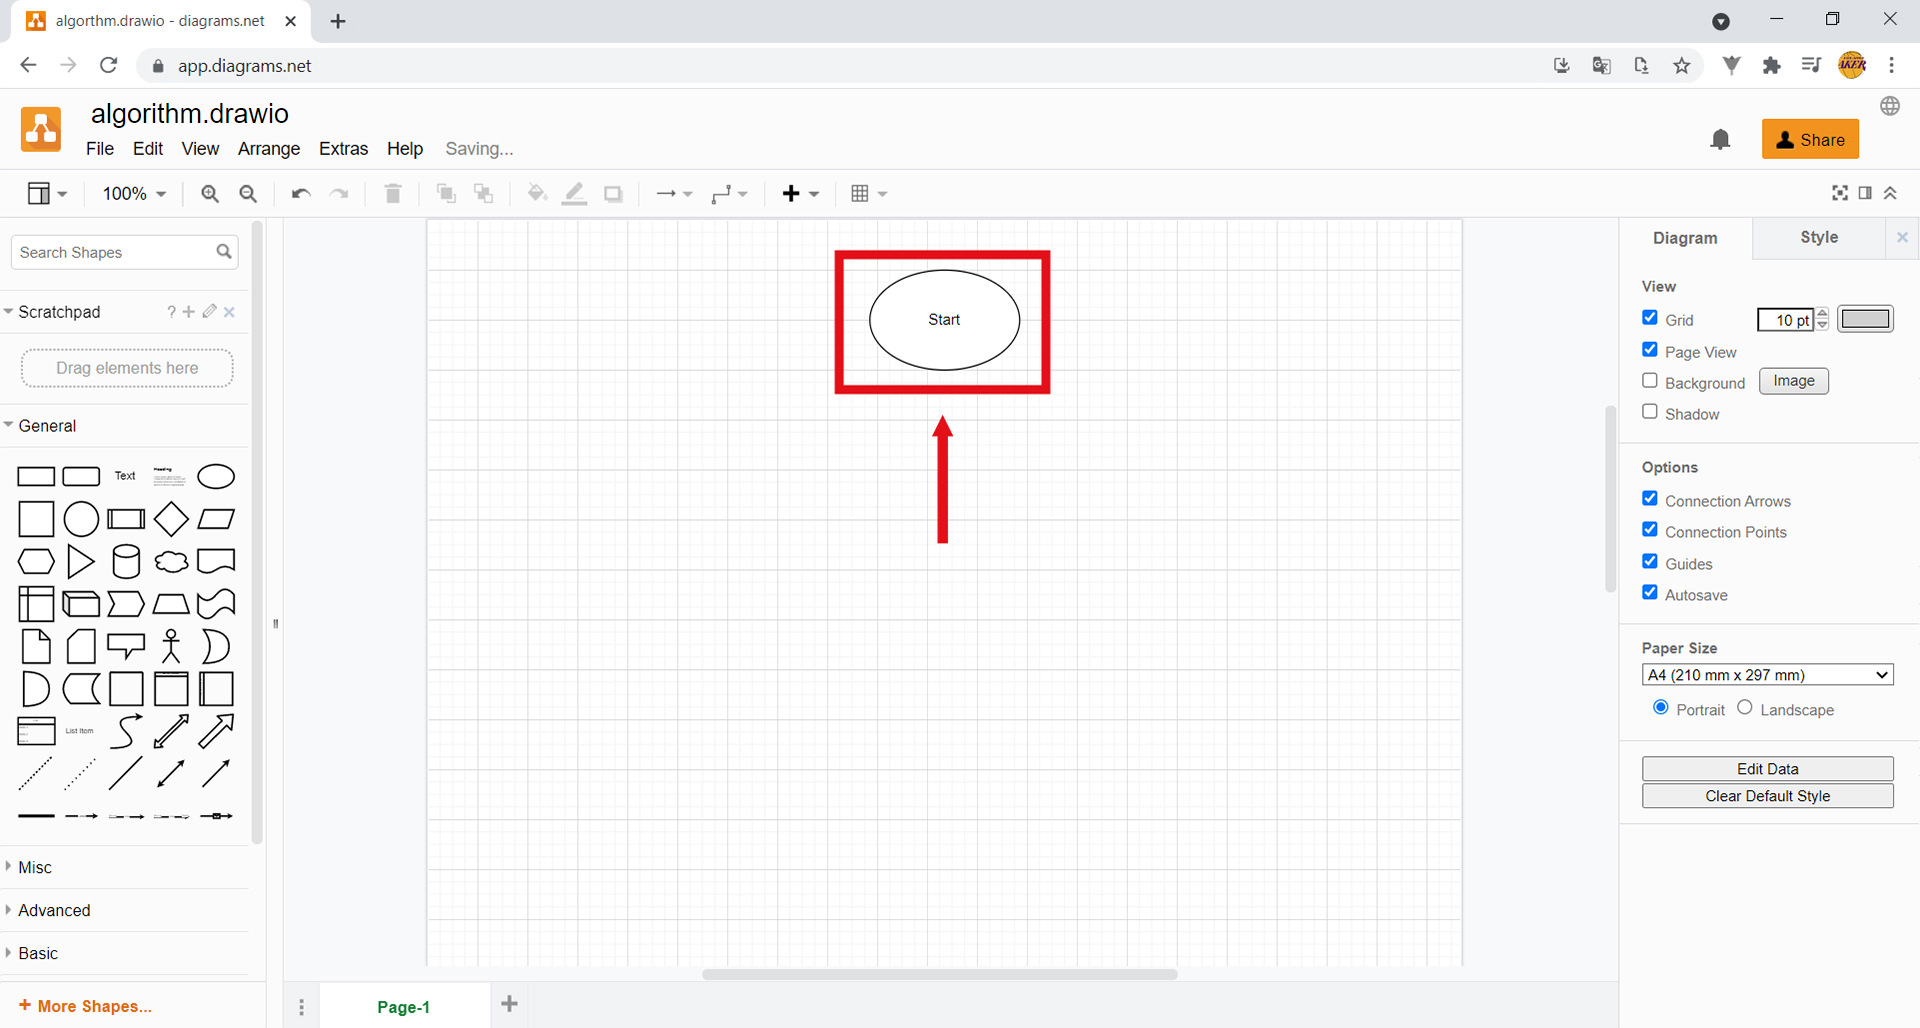
7. This is Draw.io’s working environment. This is where you will build your algorithm. On the left-hand side, you’ll find the various shapes you can use to build your algorithm, while on the right-hand side you have several customization options. Select the Ellipse on the left side.
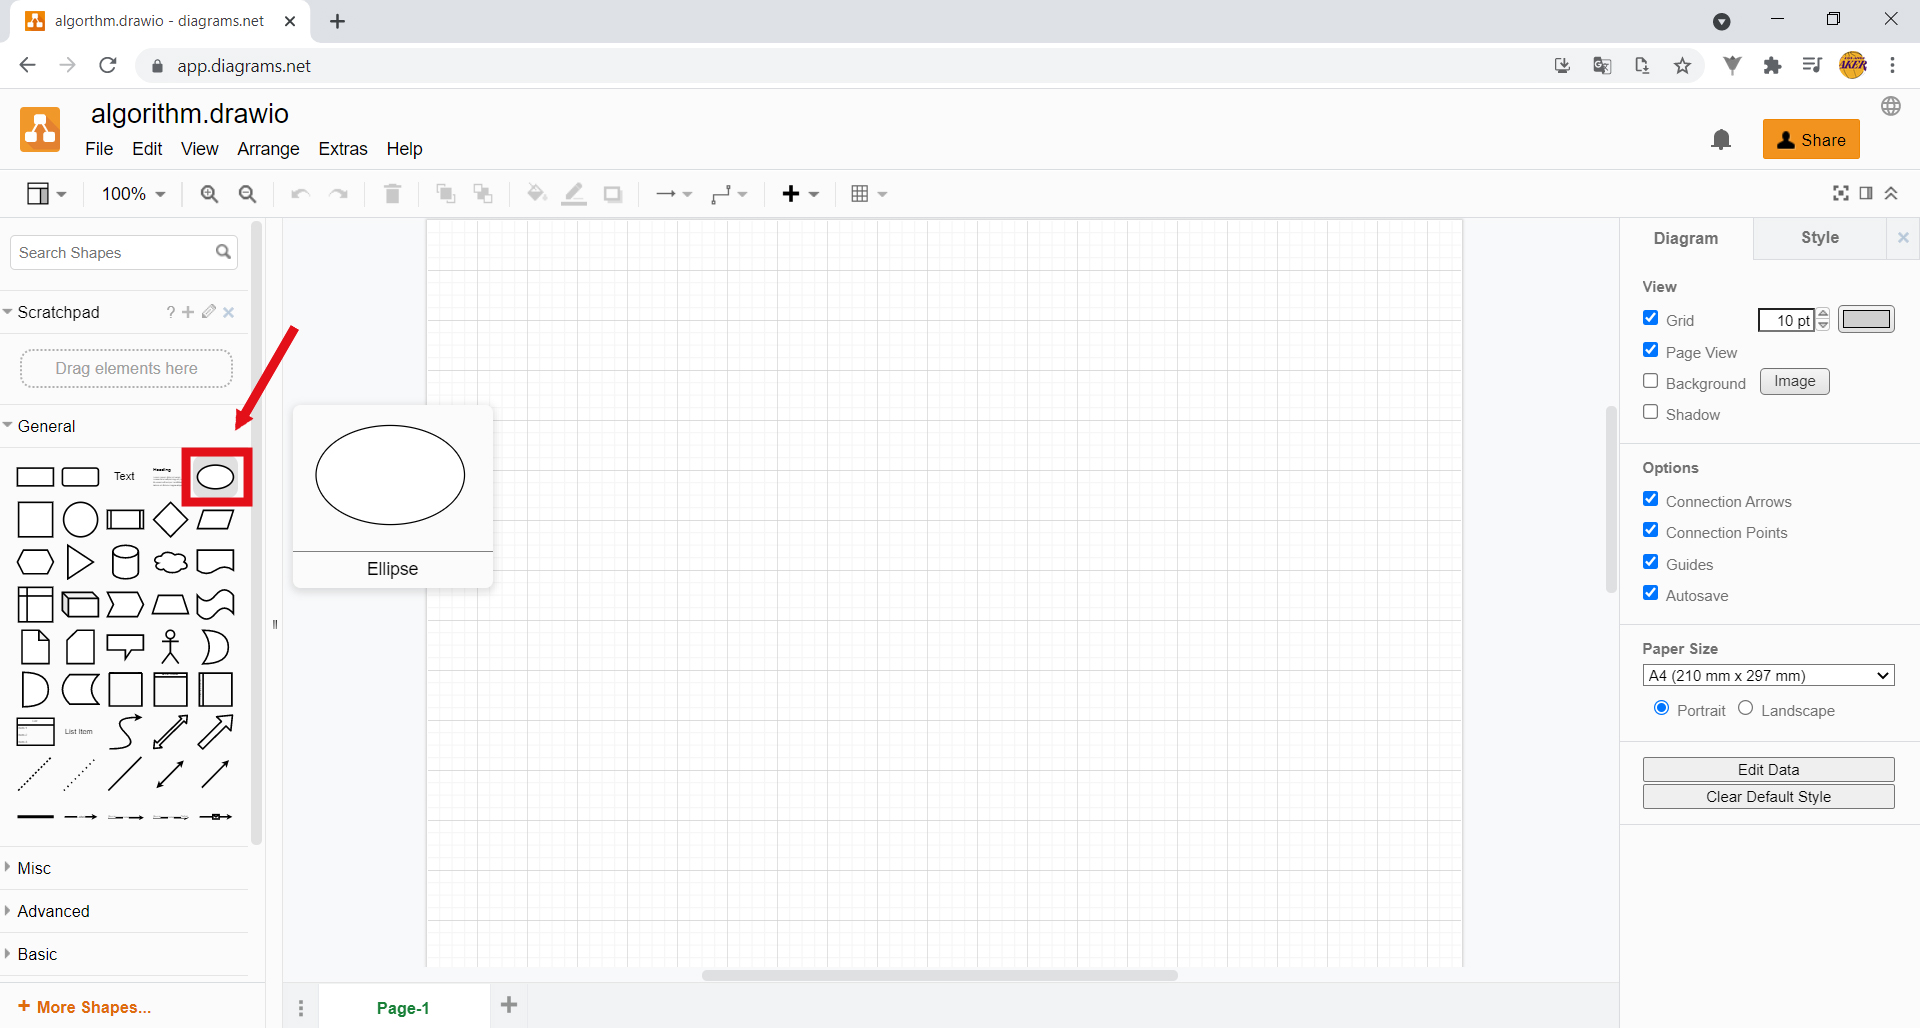
An ellipse will appear in the middle of the sheet. Remember, in the ellipses of your algorithm, you will specify the beginning and end of the algorithm.

Click on the Ellipse and type “Start”. Drag it upwards, so that when you create the next component, it doesn’t cover it up.
8. When doing a group project, you first have to decide on the topic. On the left side of the screen, select the Rectangle and position it below the ellipse, as shown in the image.
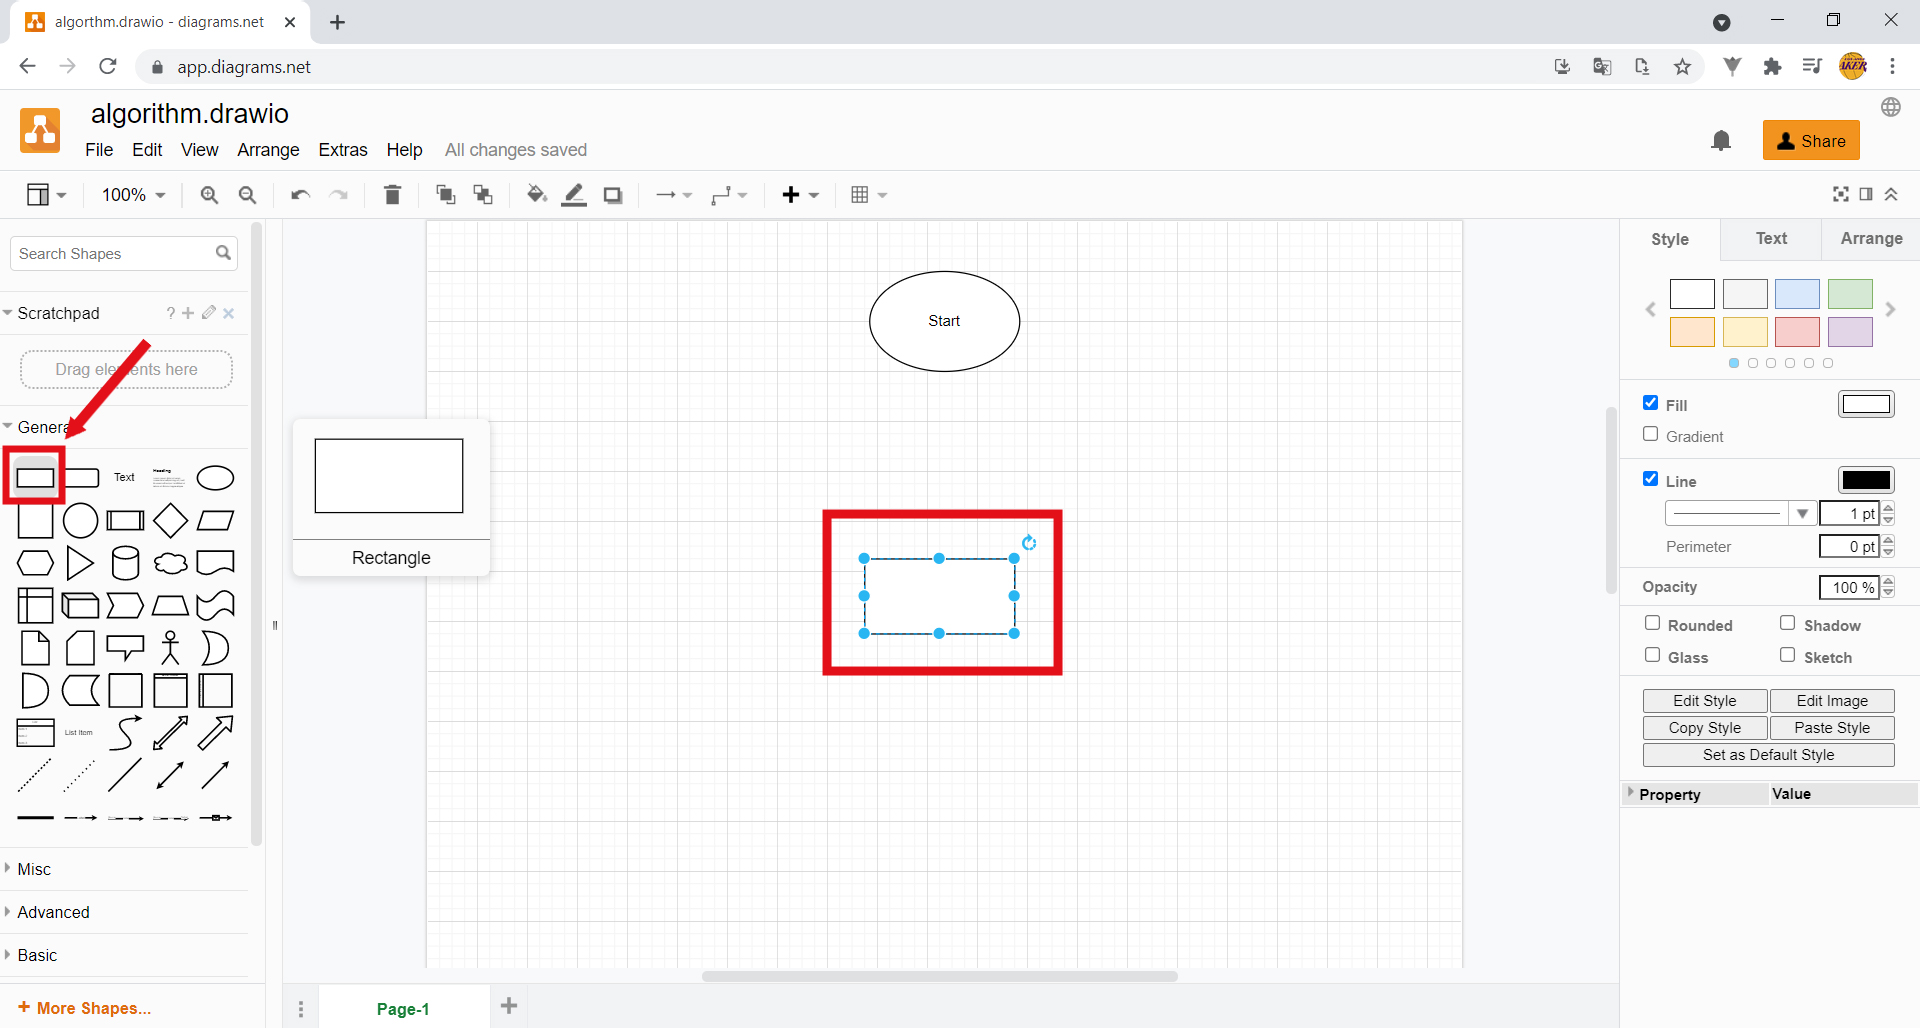
Click on the Rectangle and type “Choose, as a group, the project theme”, as shown in the image:
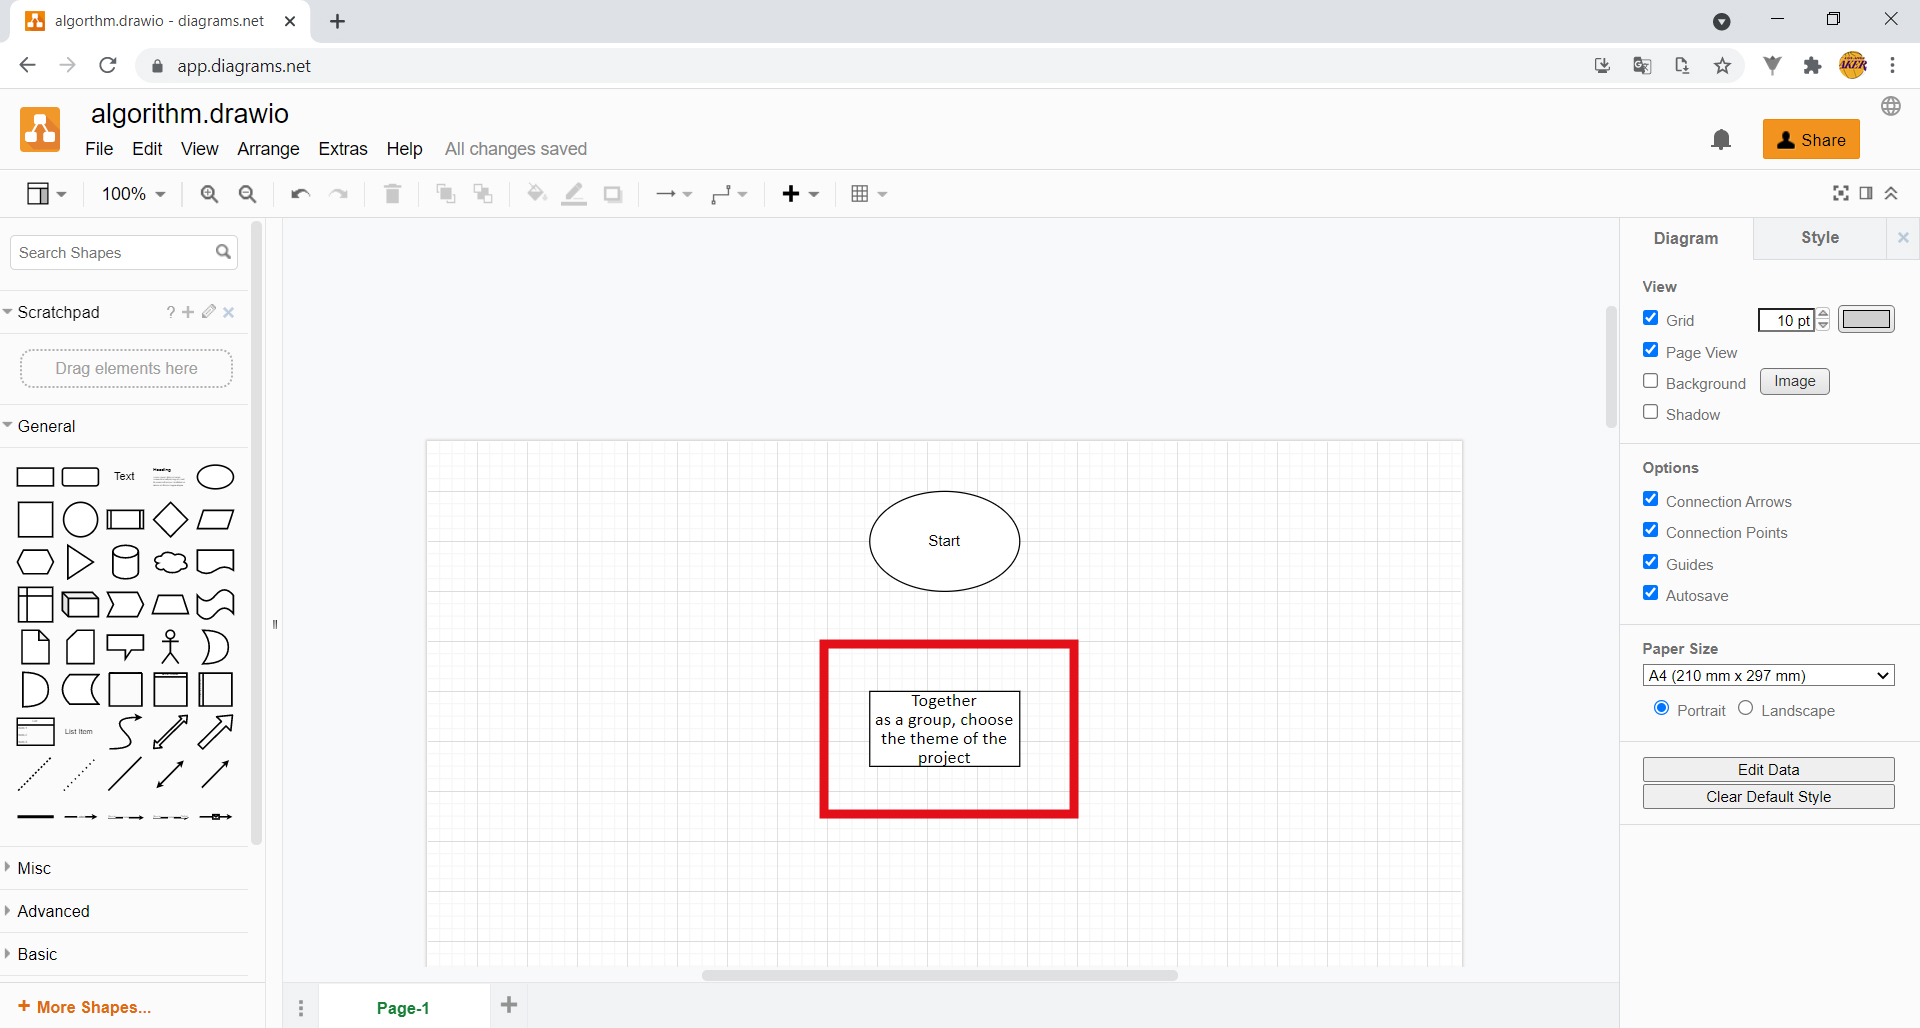
9. Click outside the Rectangle, so that it is not selected. Then, hover the mouse cursor over the line of the ellipse you created, without clicking. As you can see, little blue arrows appear around the ellipse. Choose one of the arrows and, while still holding down the left mouse button, drag the arrow to one of the crosses on the rectangle. This indicates the order in which each of the instructions should be done.

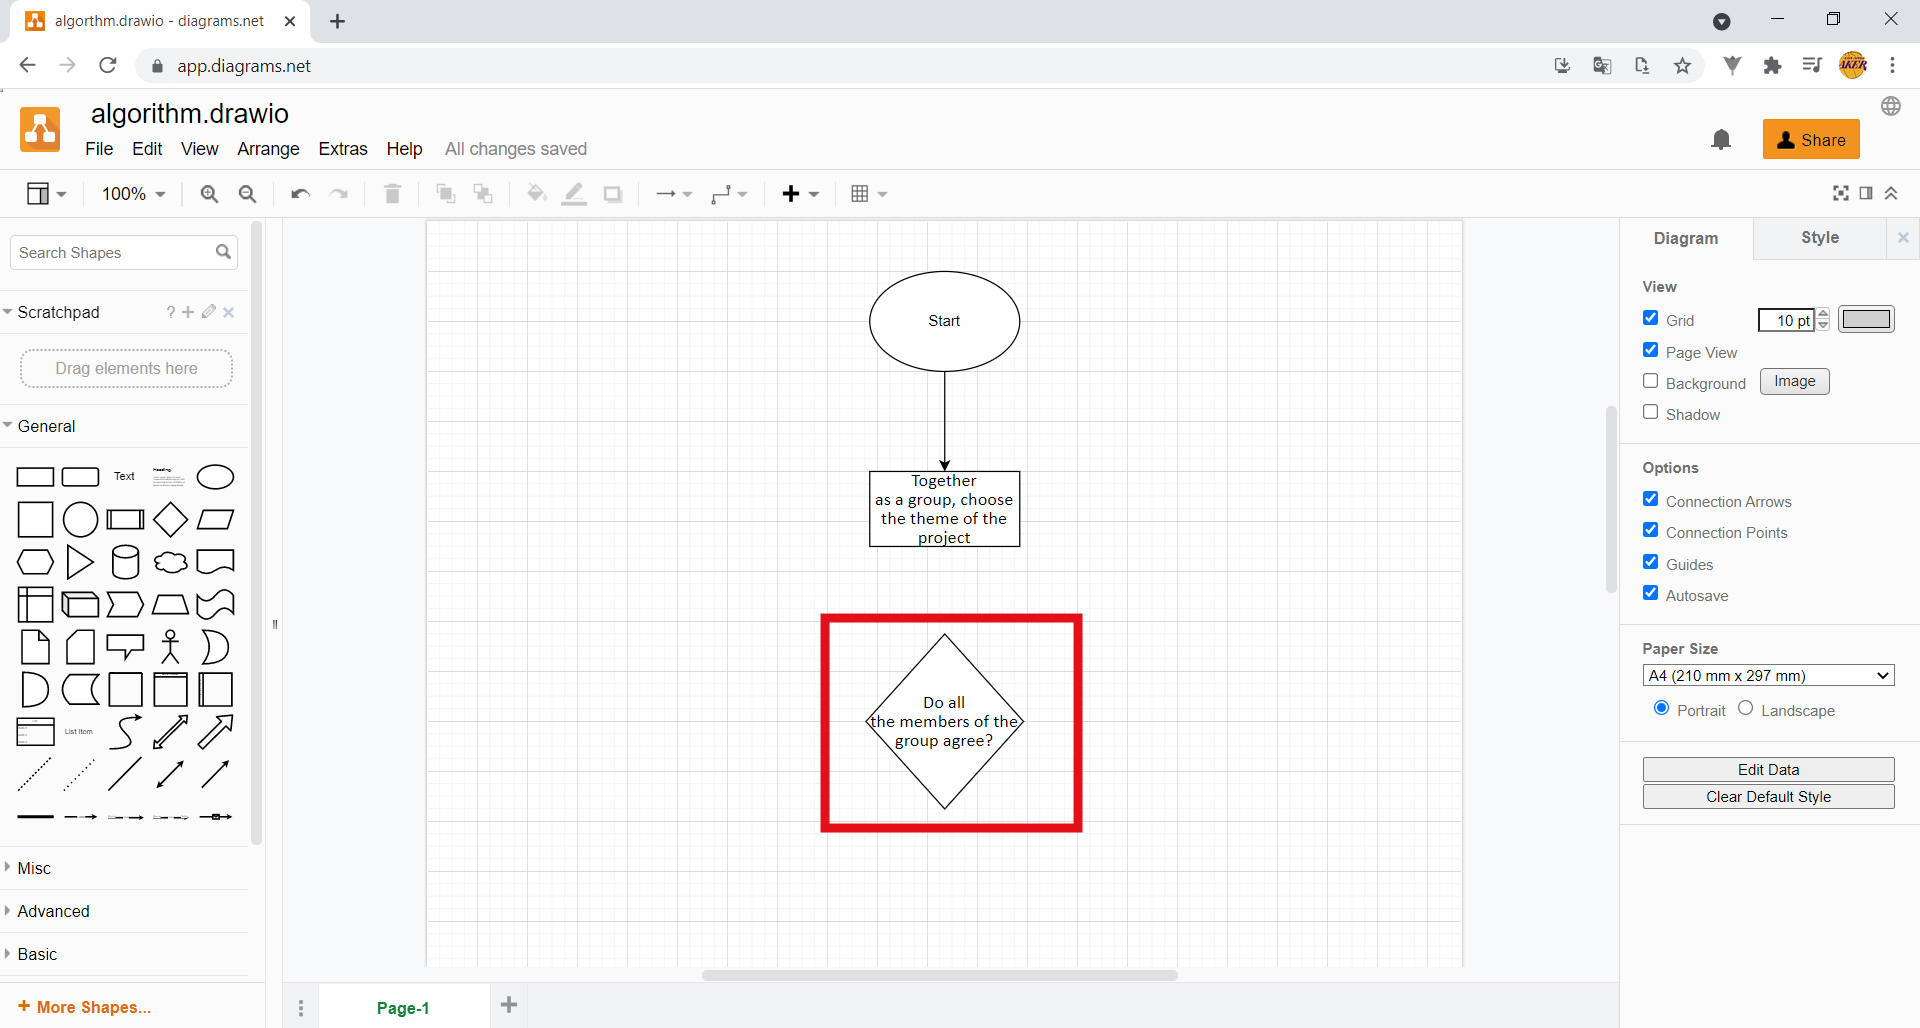
10. Then, on the left side, select the Diamond shape and position it below the rectangle, as shown in the image. Remember, this type of diamond is where you will put the questions of your algorithm. These correspond to what we call “decisions”.
Note: You can increase the size of the diamonds by clicking on the little blue balls around them and dragging them sideways.
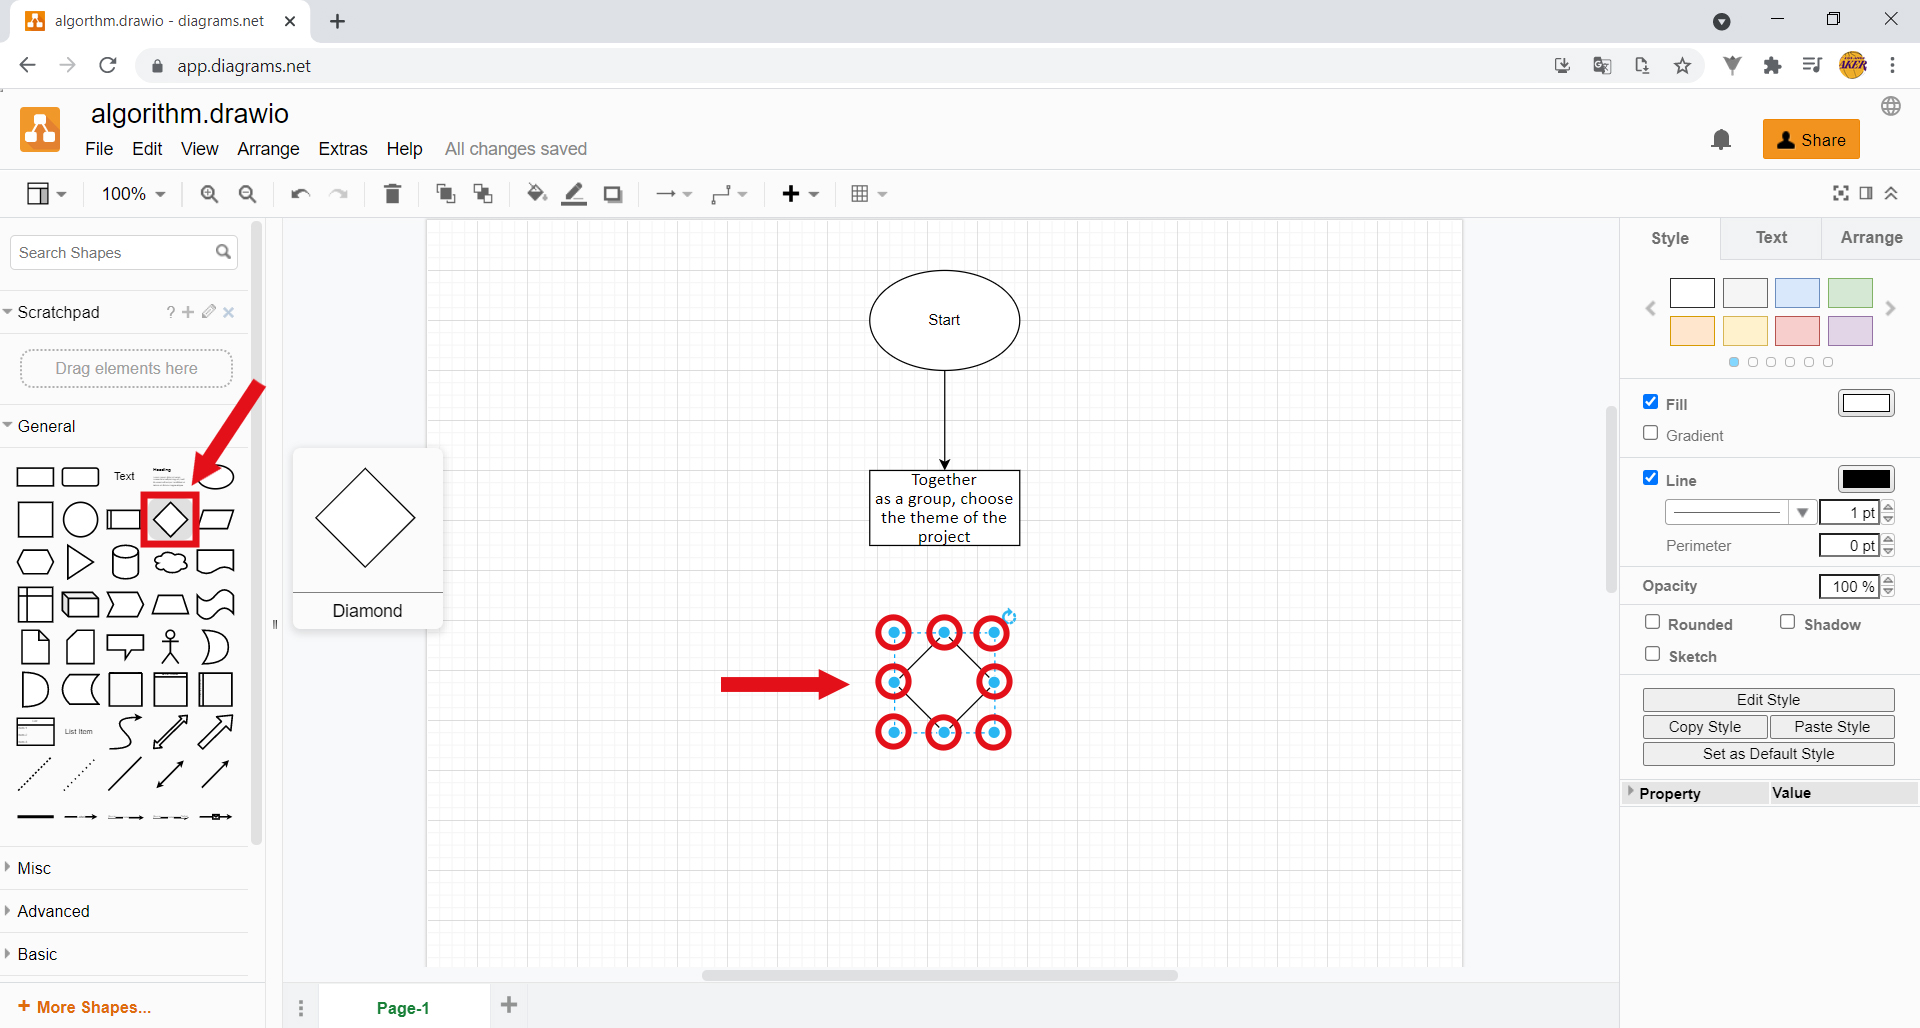
Click on the Diamond and type “Do all members of the group agree?”, as shown in the image:
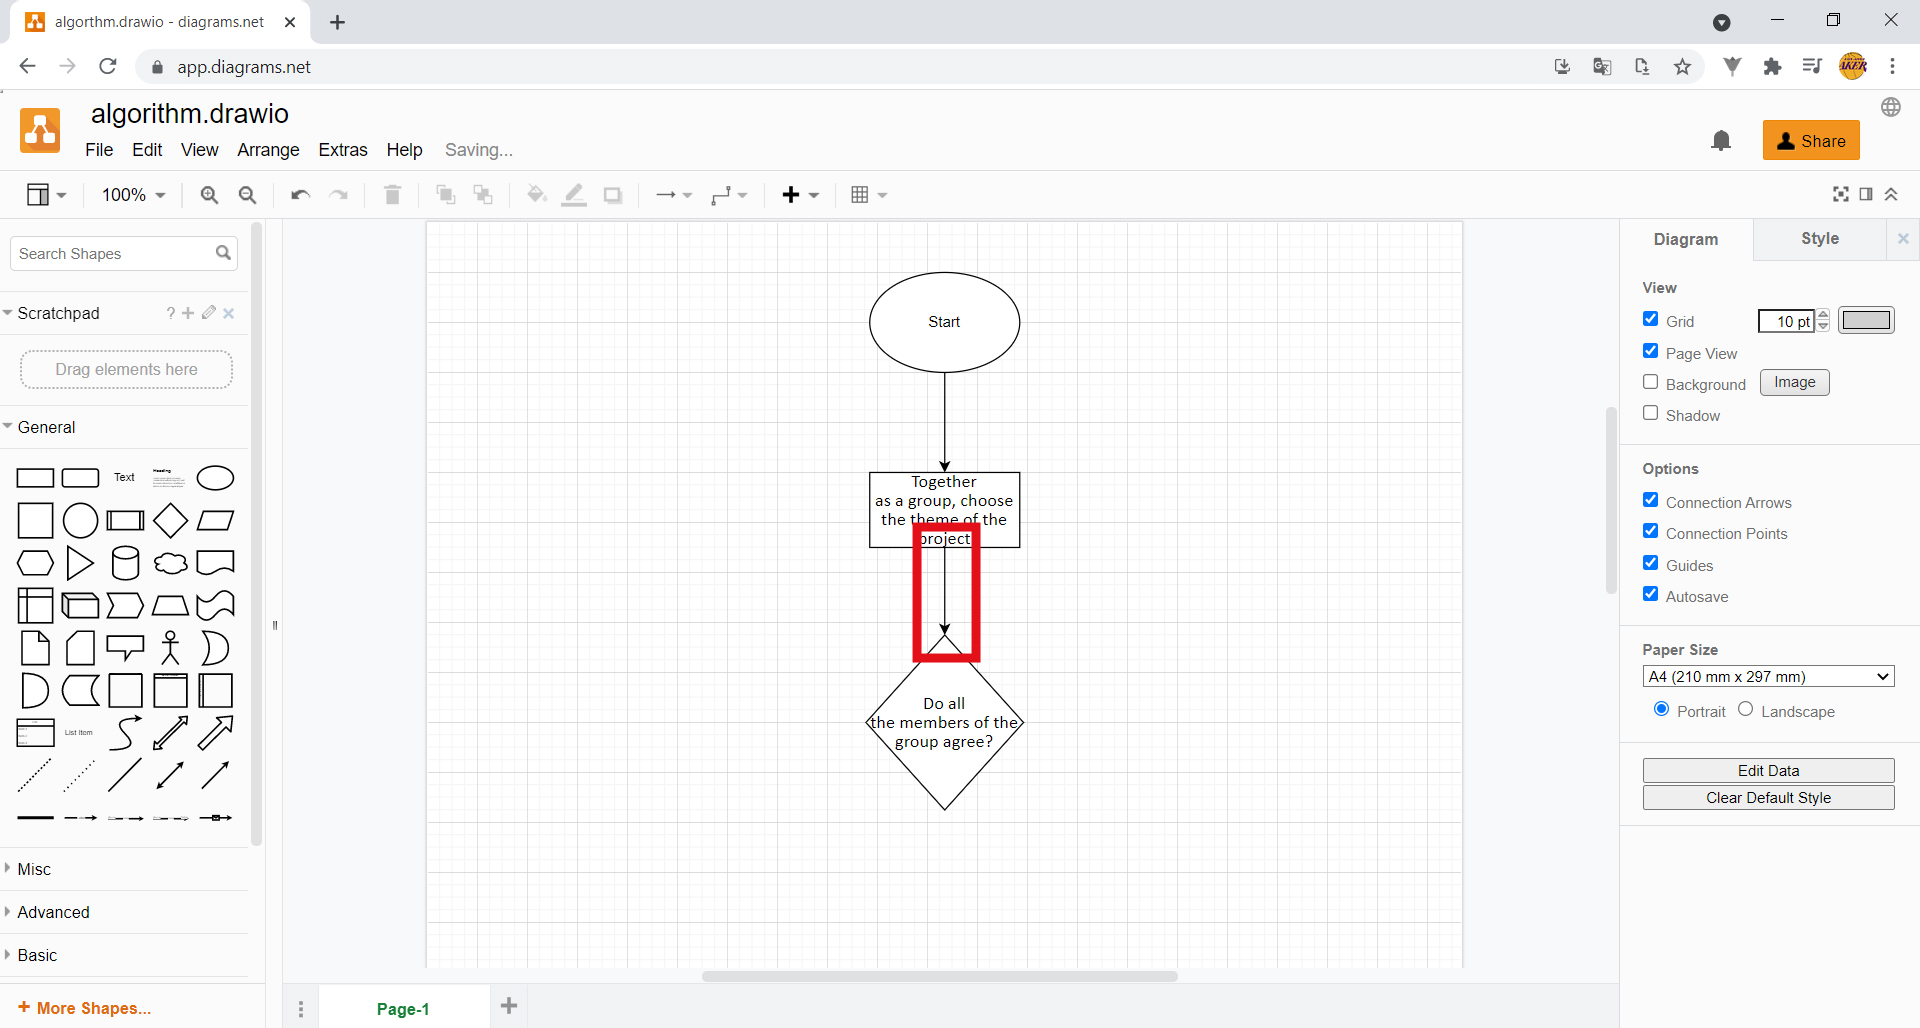
11. Draw an arrow joining the rectangle and the diamond. You already know how to do this. Move the mouse cursor along the lines of the rectangle, without clicking. Select one of the blue crosses and drag it to one of the points of the diamond, as shown in the image.
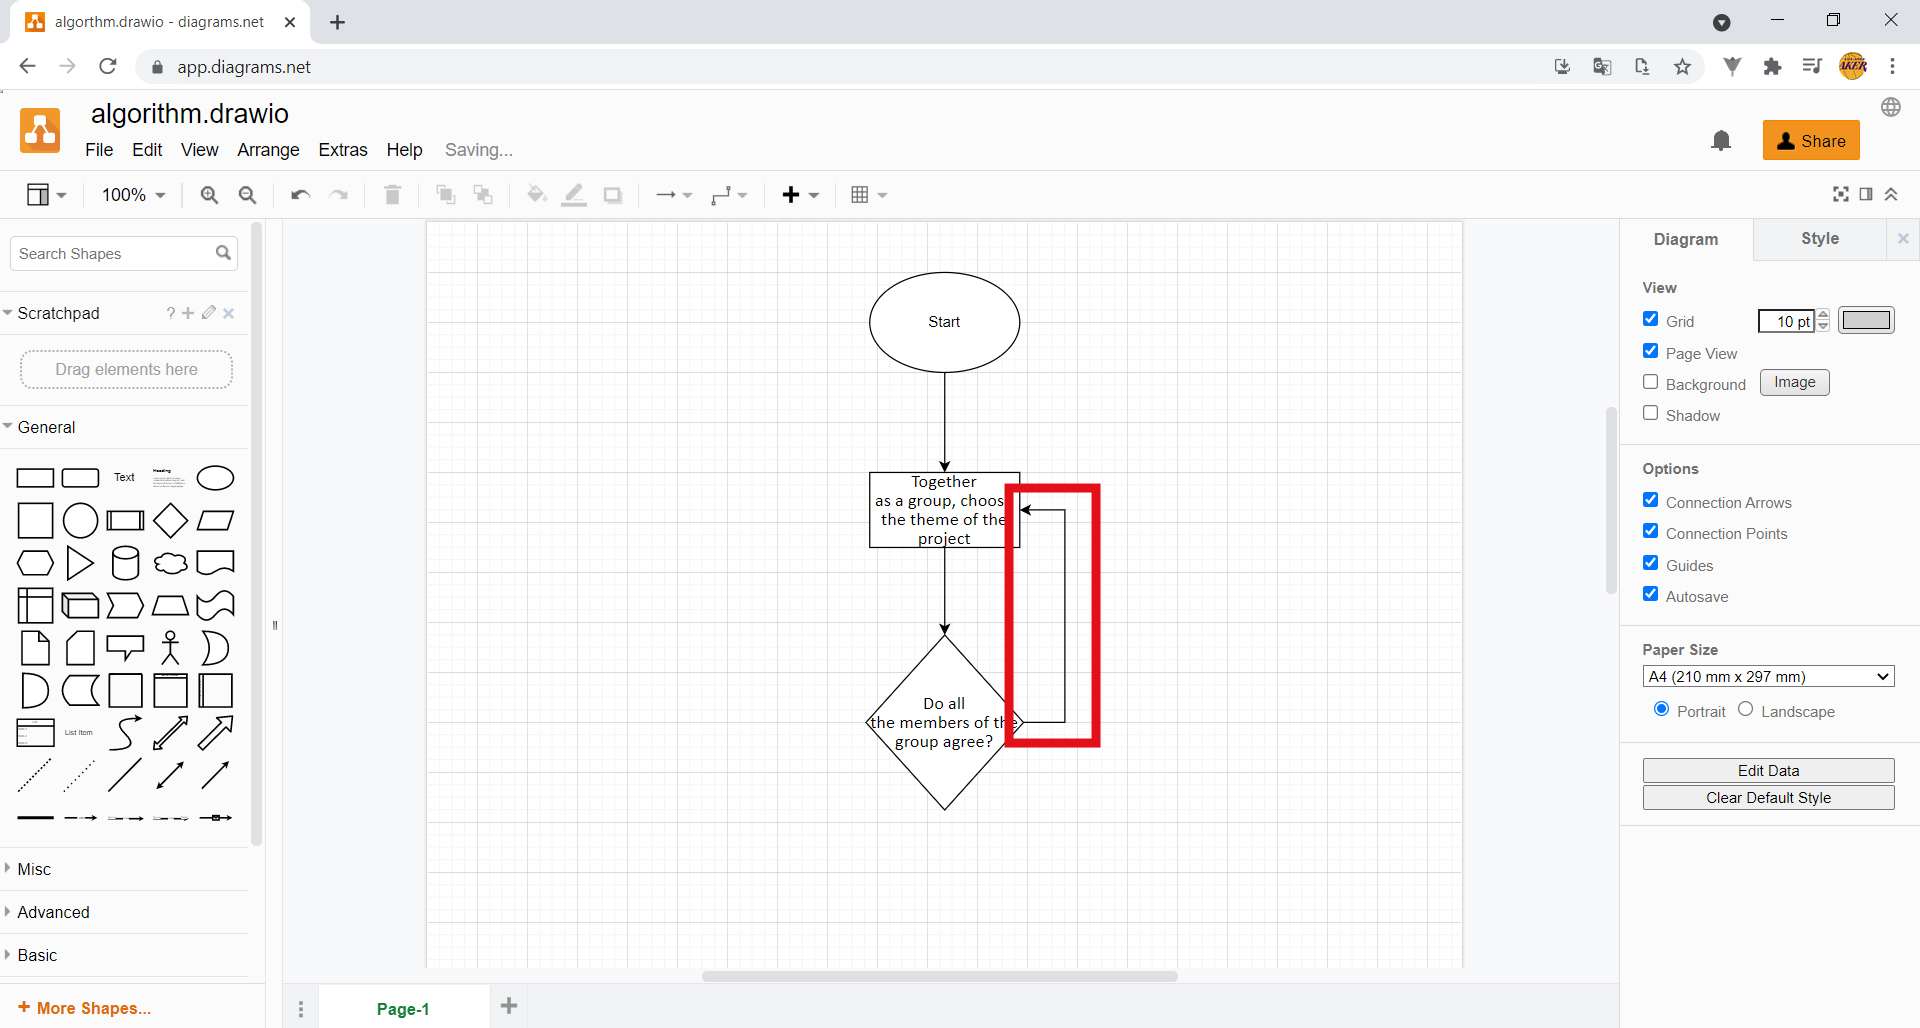
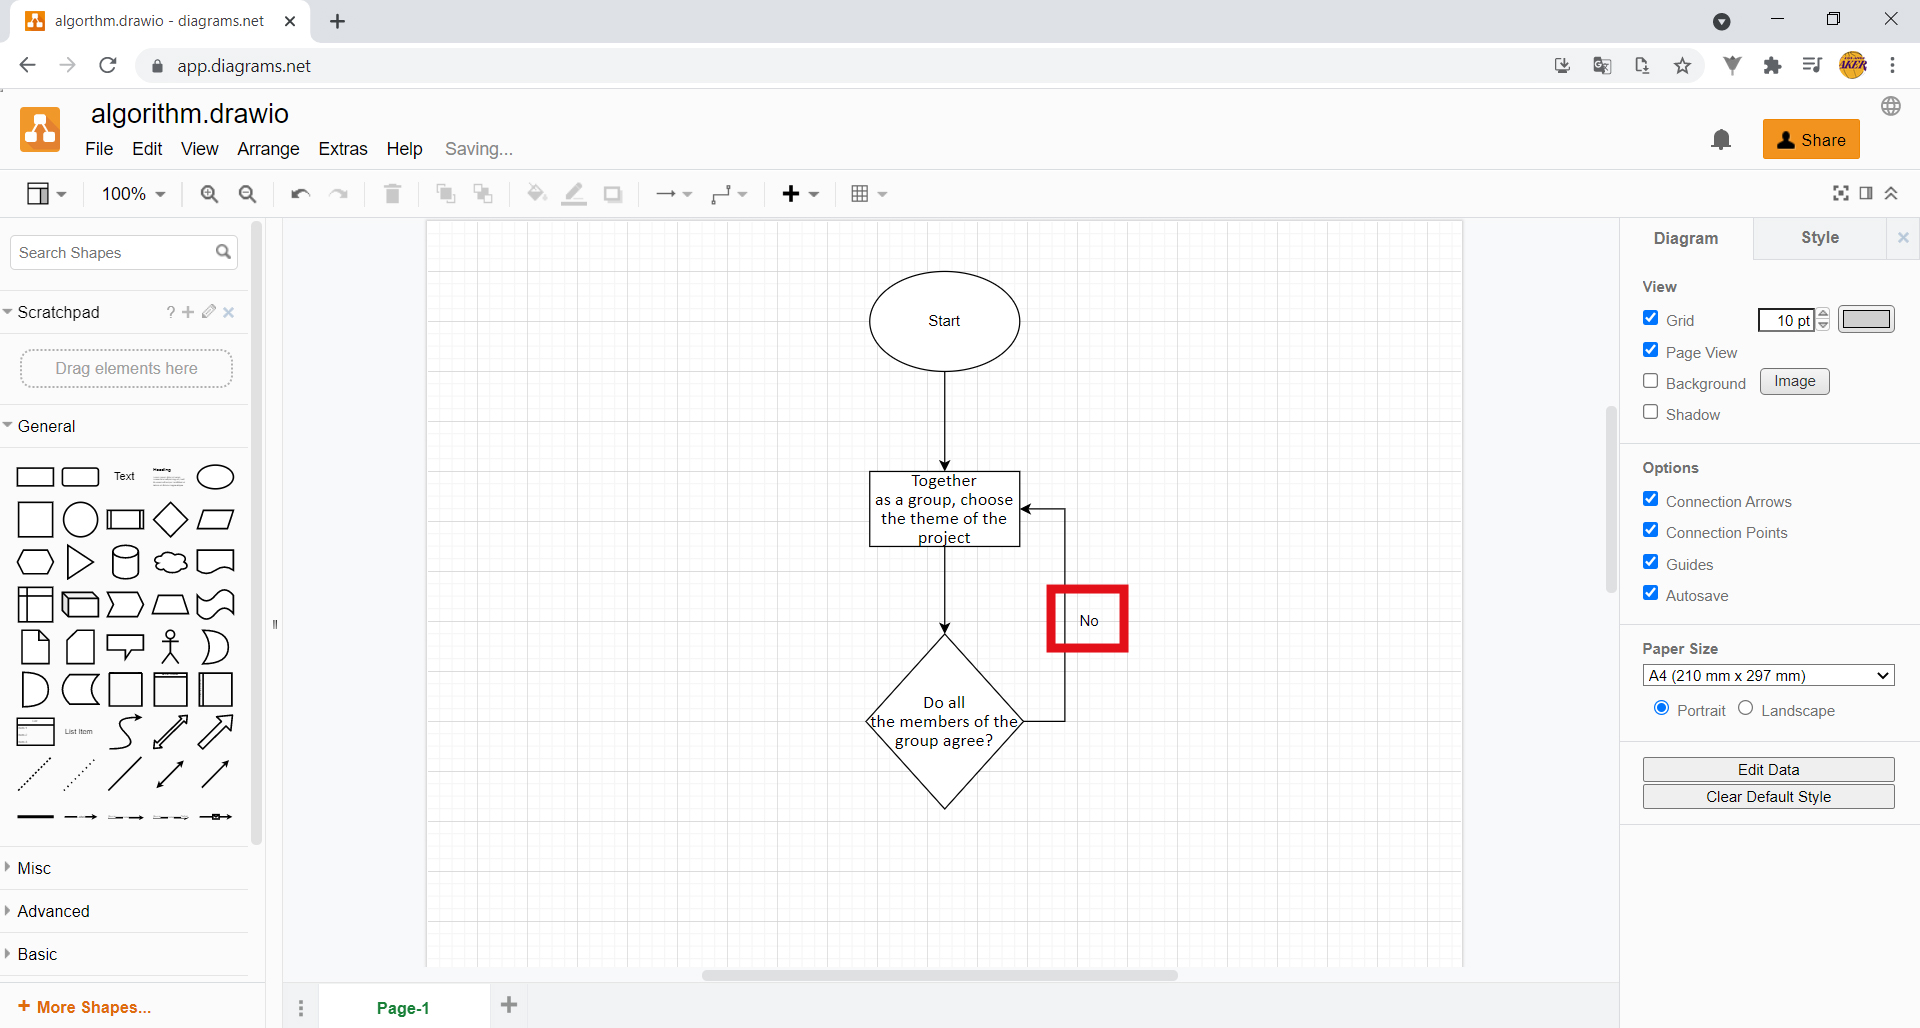
If the answer to the question “Do all members of the group agree?” is “No”, the group will have to choose another project theme. To indicate this action, create an arrow from the diamond to the rectangle, like this:
12. Then, on the left-hand side, select Text.
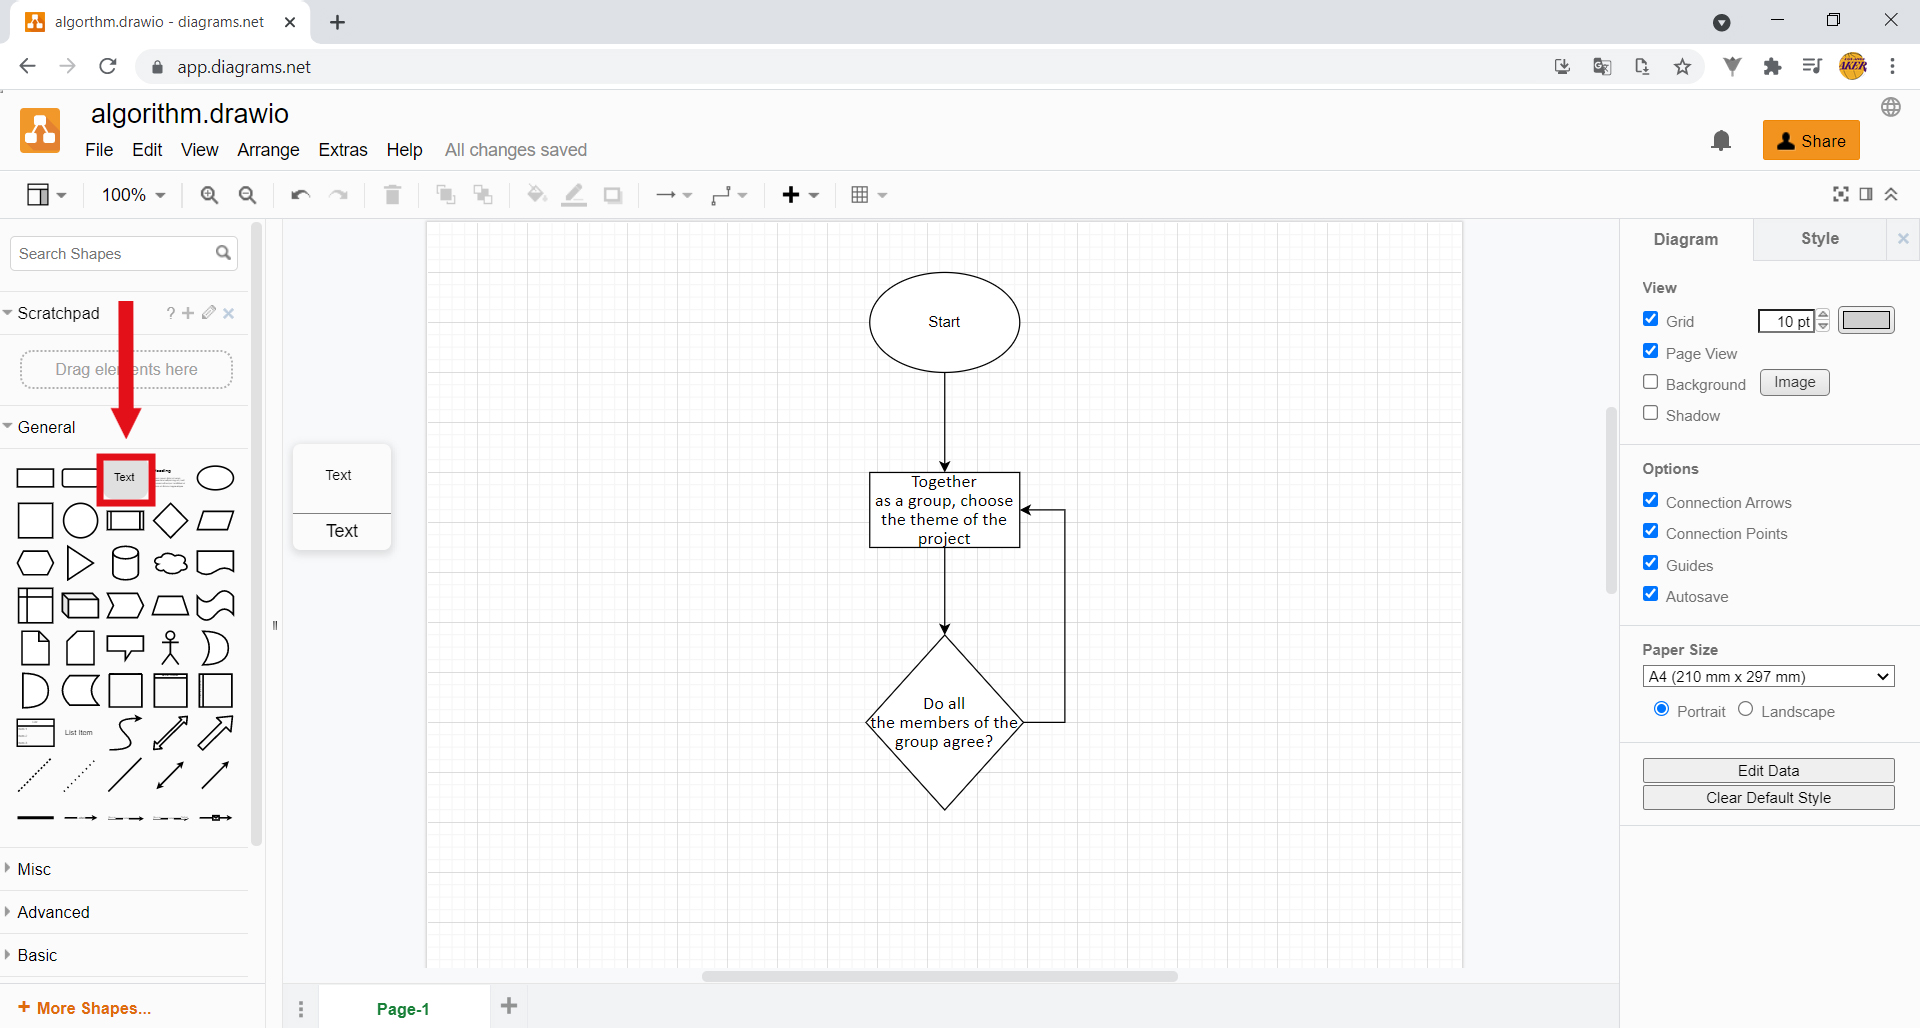
Inside the text box, type “No” and drag it alongside the arrow you drew earlier.
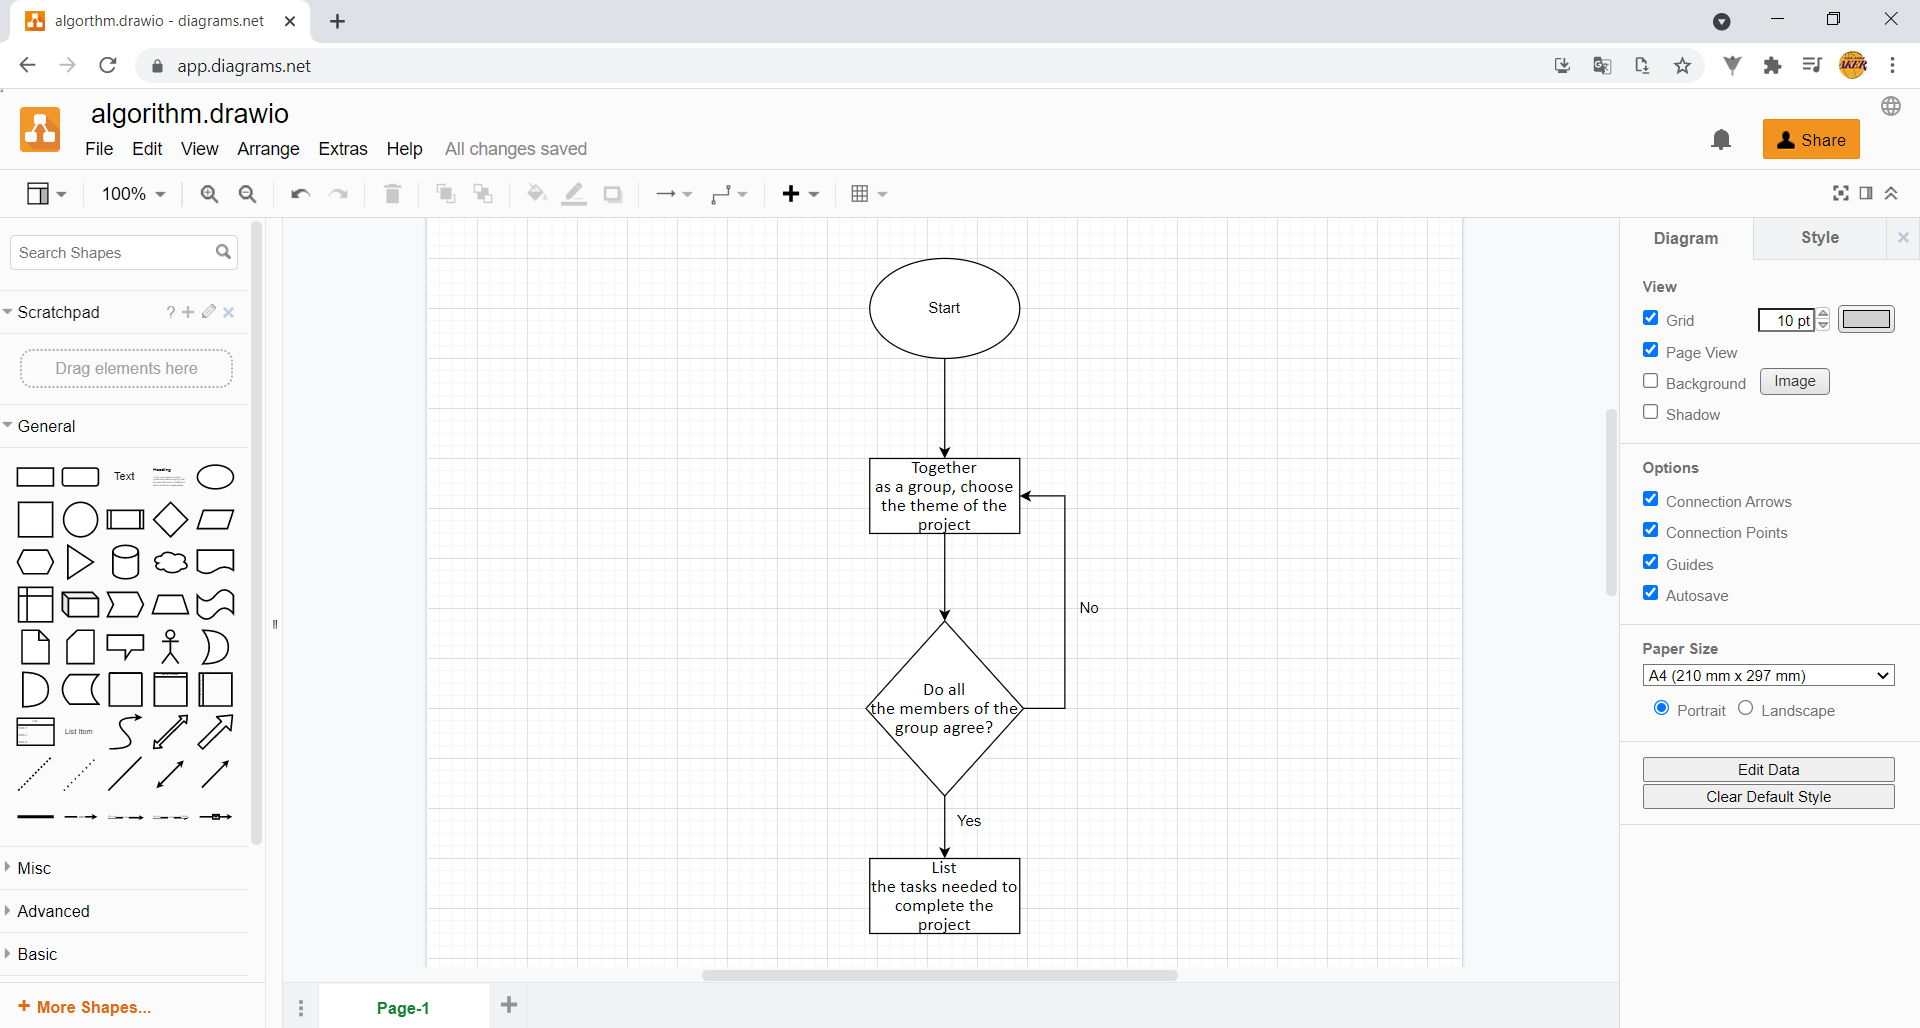
13. If the answer to the question “Do all members of the group agree?” is “Yes”, the group can get to work! The first step is to list the tasks to be done in order to complete the project. To indicate this action, continue to build the algorithm as shown in the image:
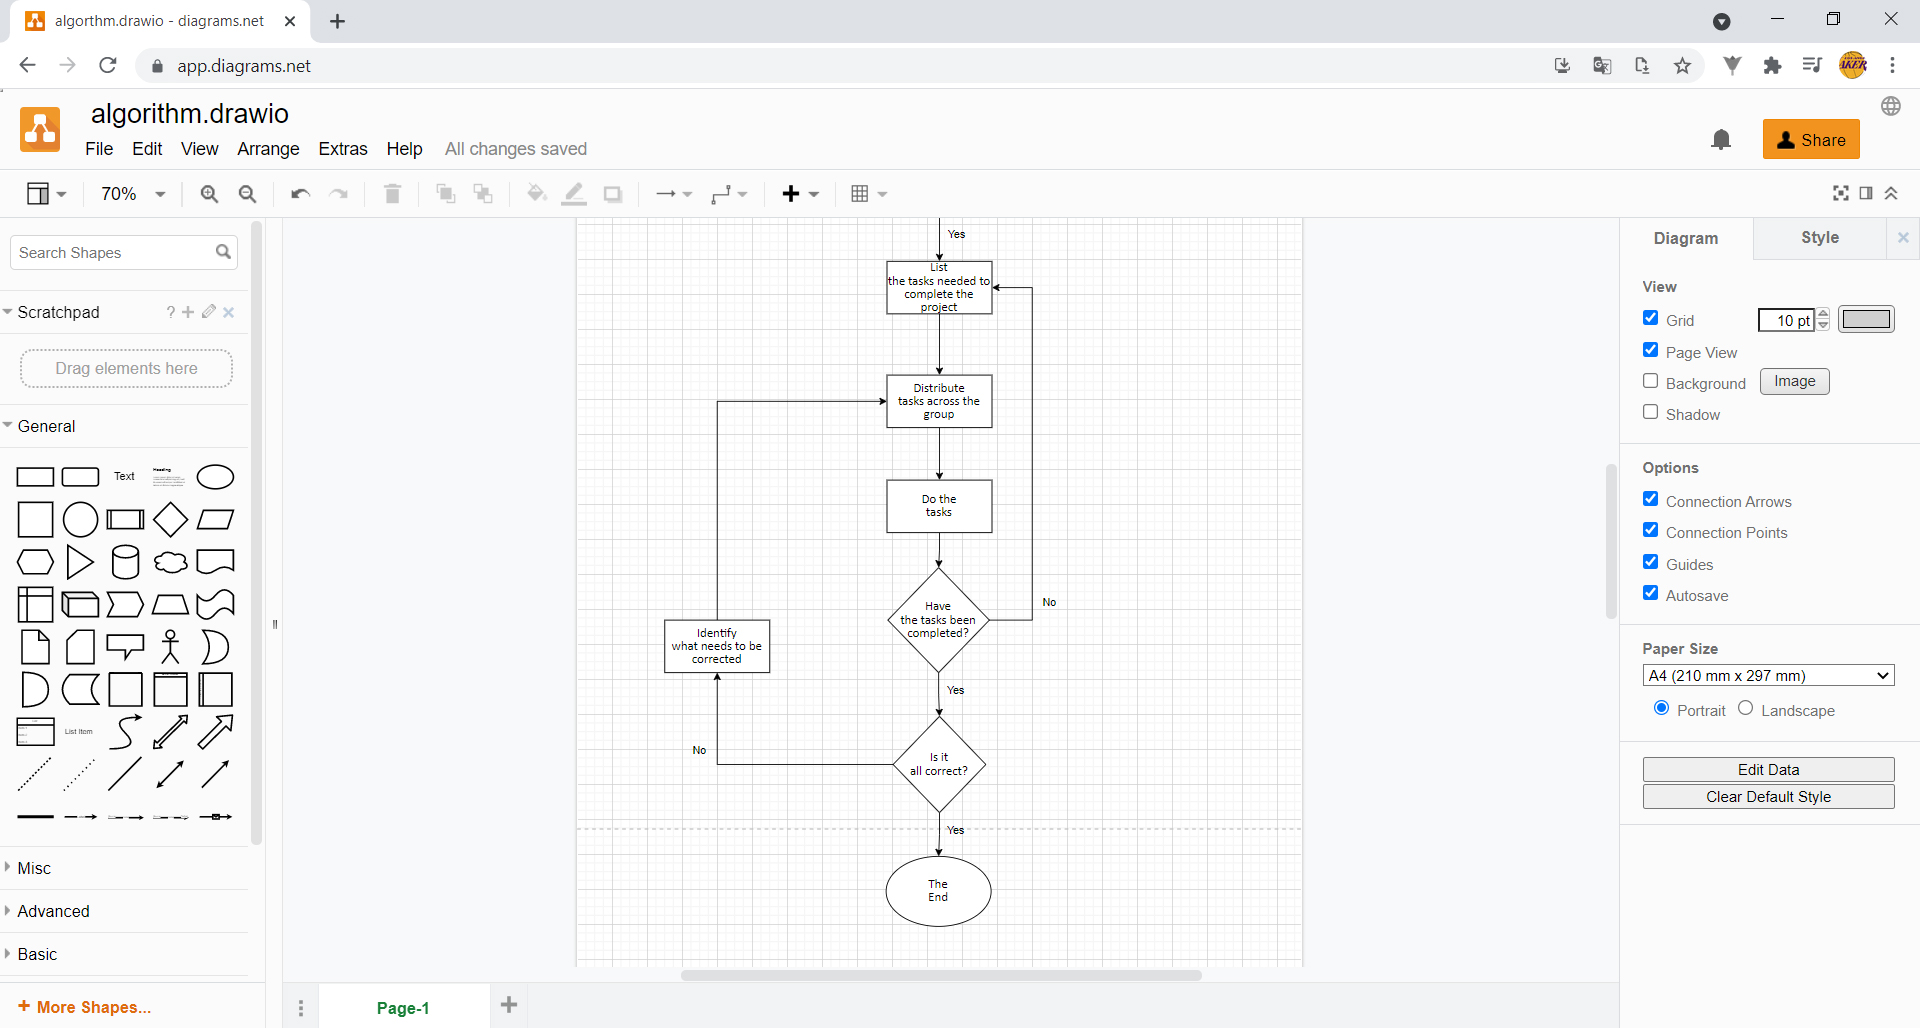
14. A group project is not over when we list the tasks. They still must be done. Continue to build the algorithm as shown in the image:
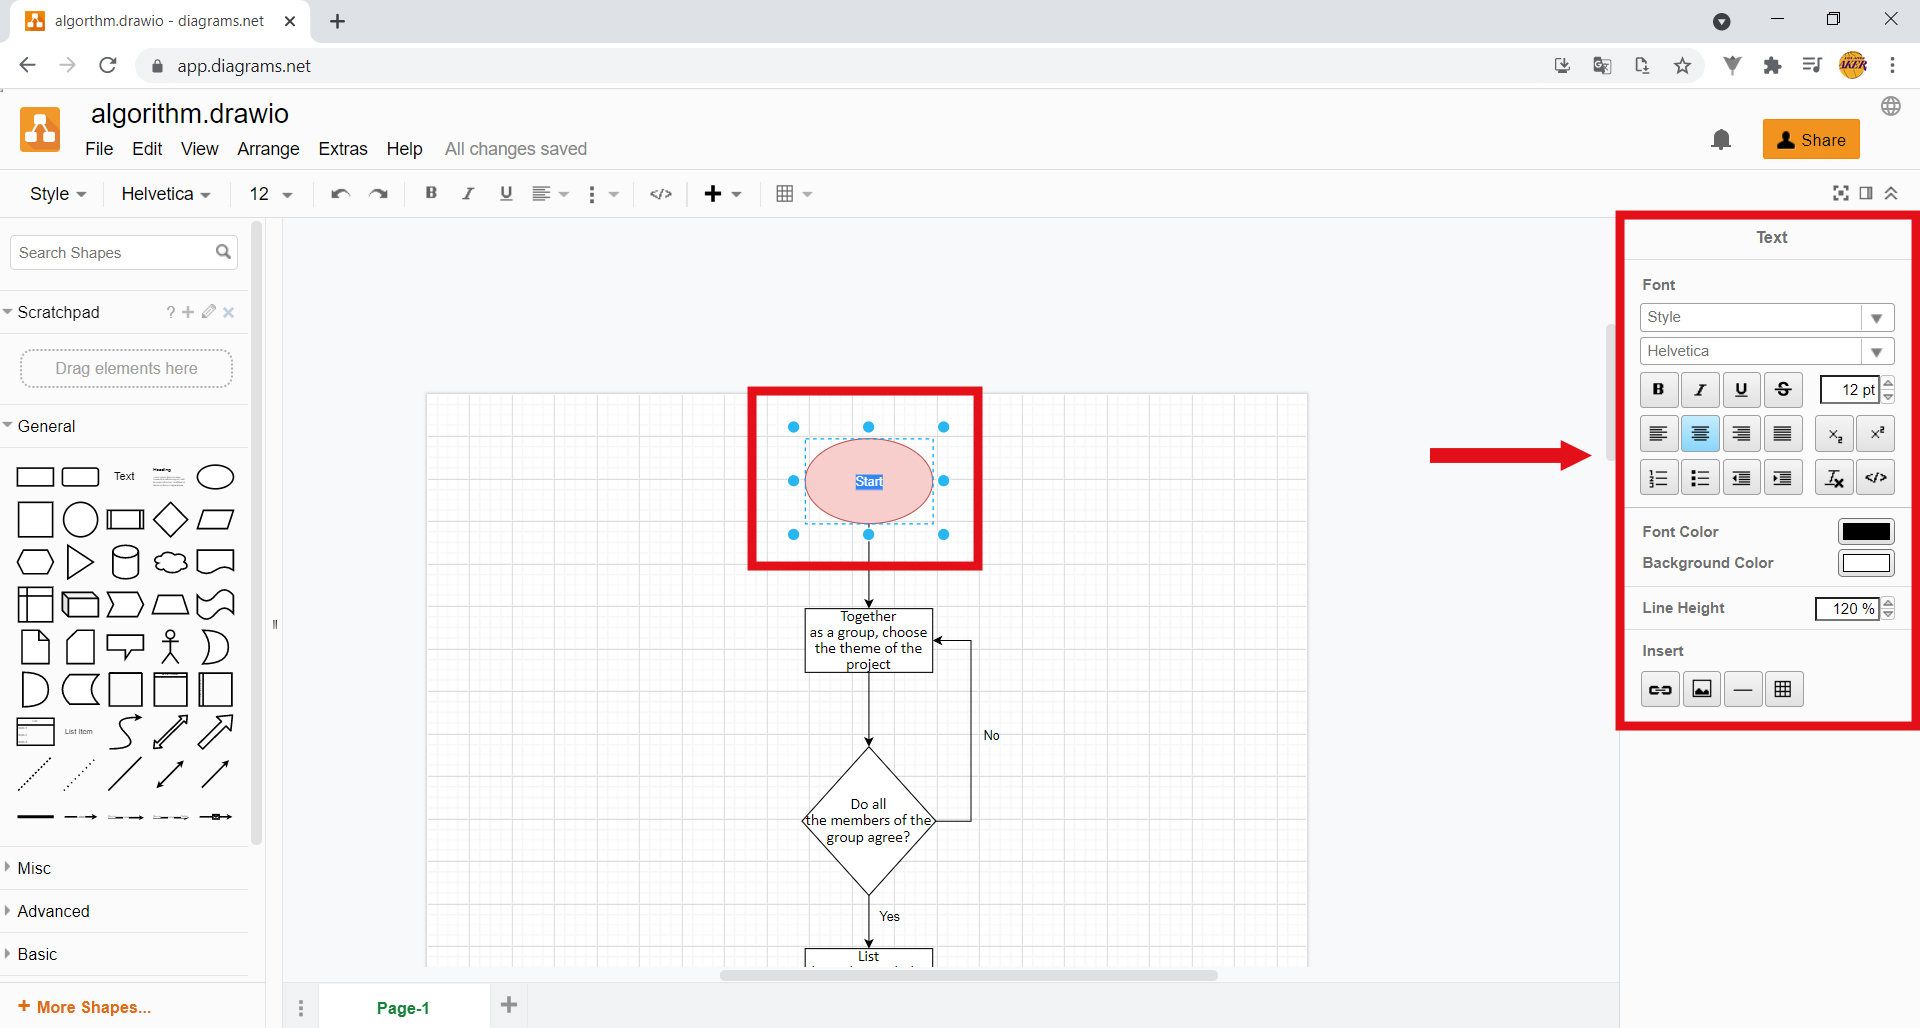
15. You can customize your algorithm. When you select a component of your diagram, several customization options will appear on the right-hand side of the screen. Here, you can change their colour, as well as change their thickness and outline colour.
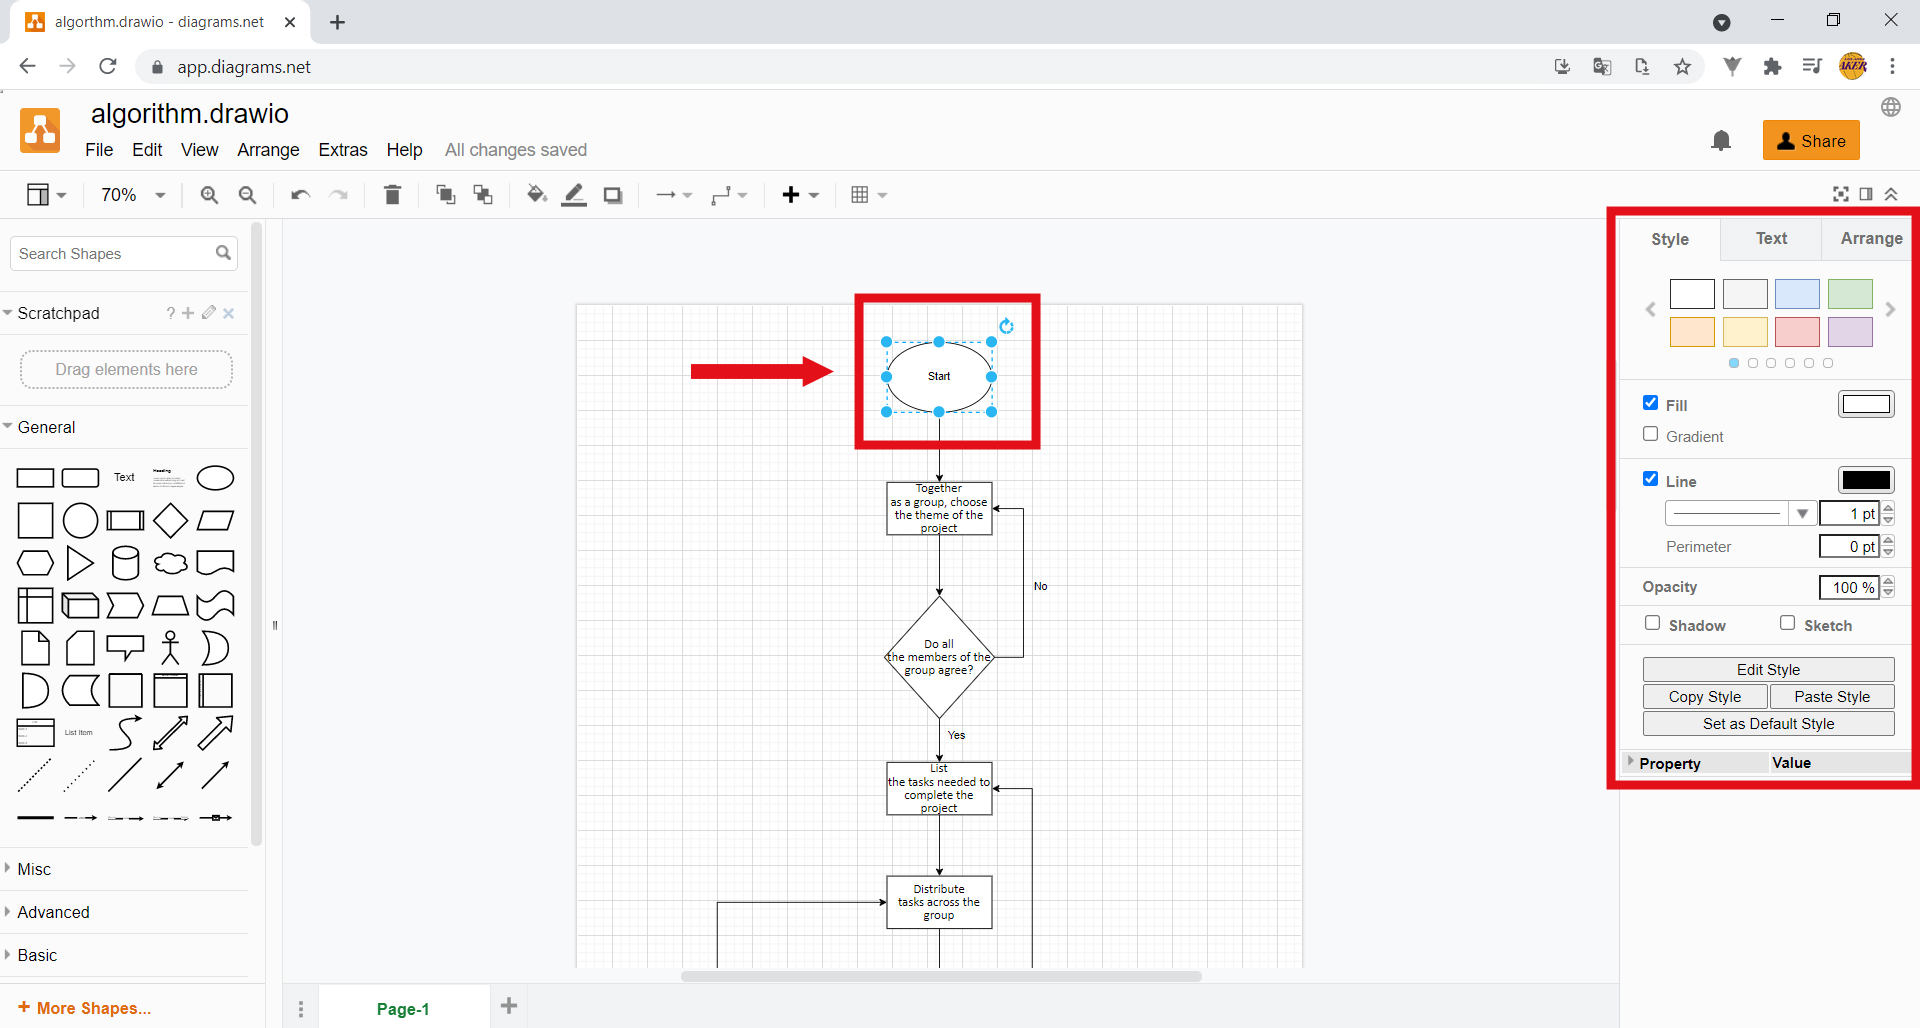
Now, select the text of one of the components. On the right-hand side, several customization options will appear. You can change the font and size of the text, make it bold and/or italicize it, align it left or right, centre it or justify it. You can also create lists or even change the font colour, as well as the background. Check it out!
Customize your algorithm and be consistent in doing so, i.e. the diamonds for questions should be customized in the same way, as should the rectangles for instructions.
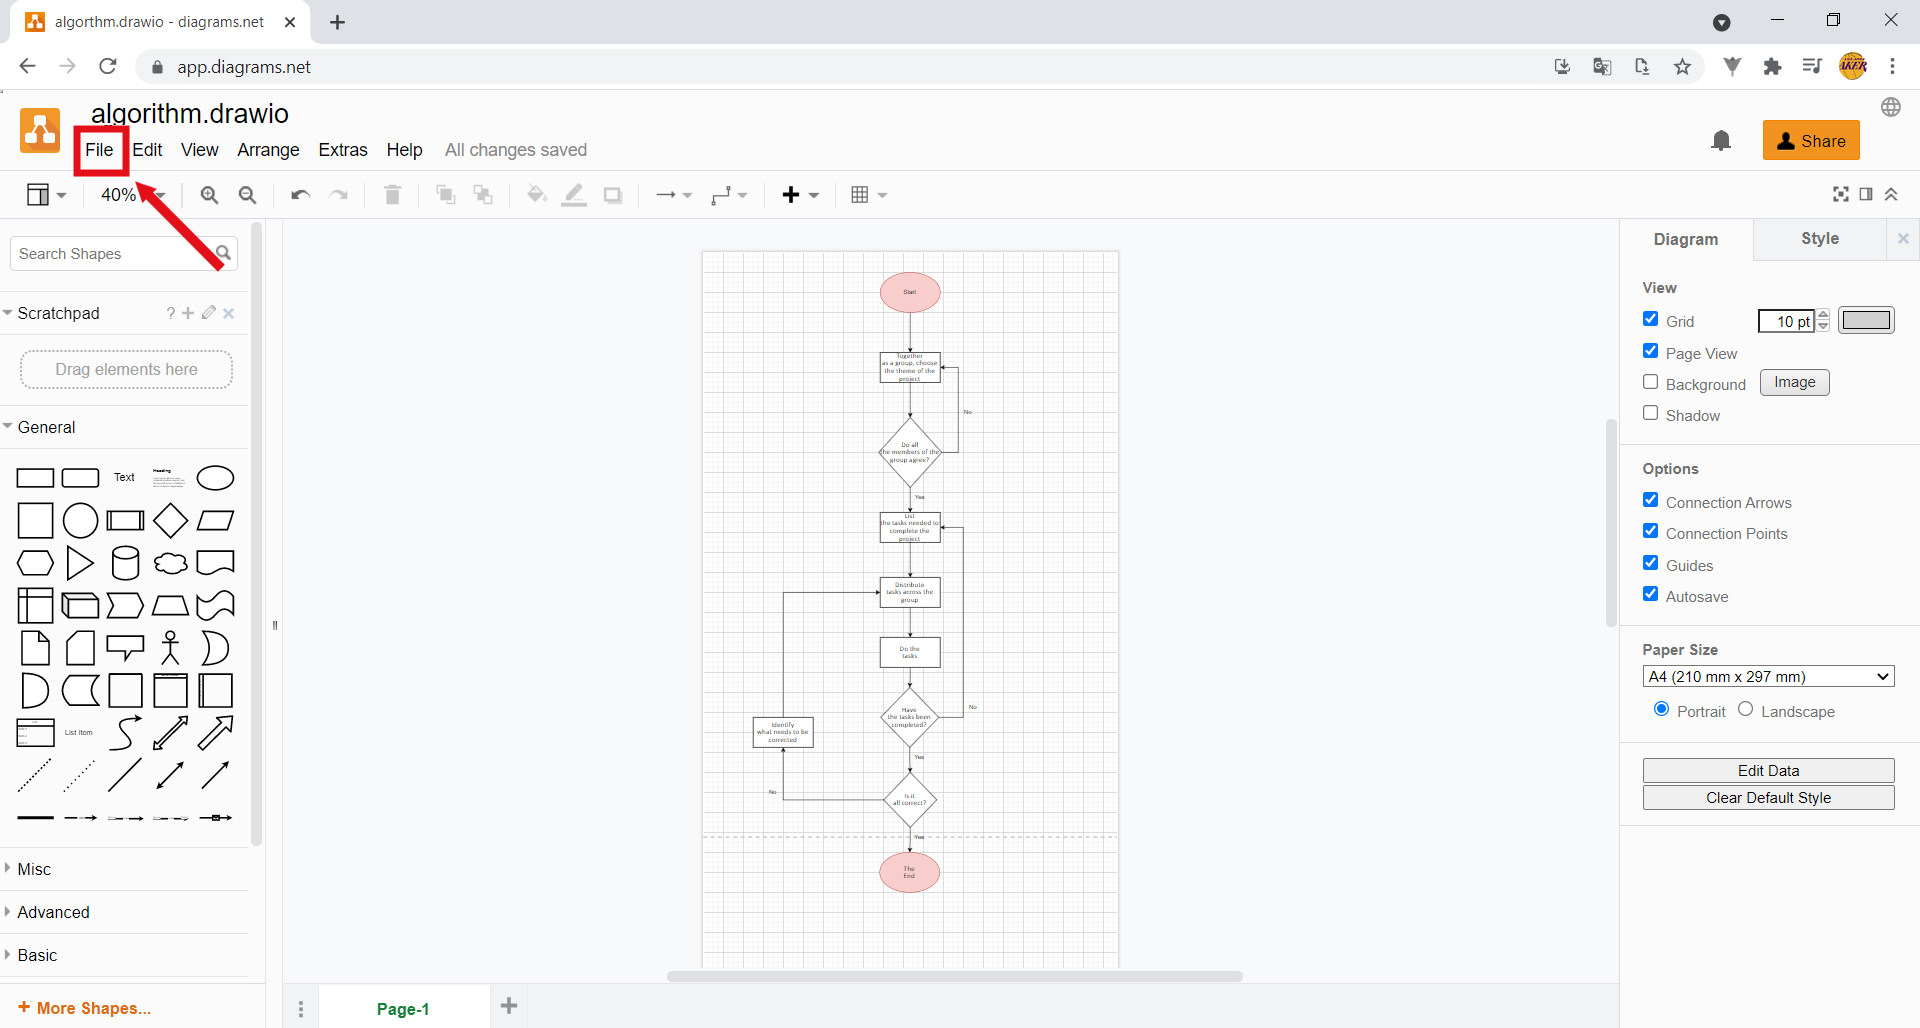
16. When you have finished, ask an adult to help you save your project. Select File.
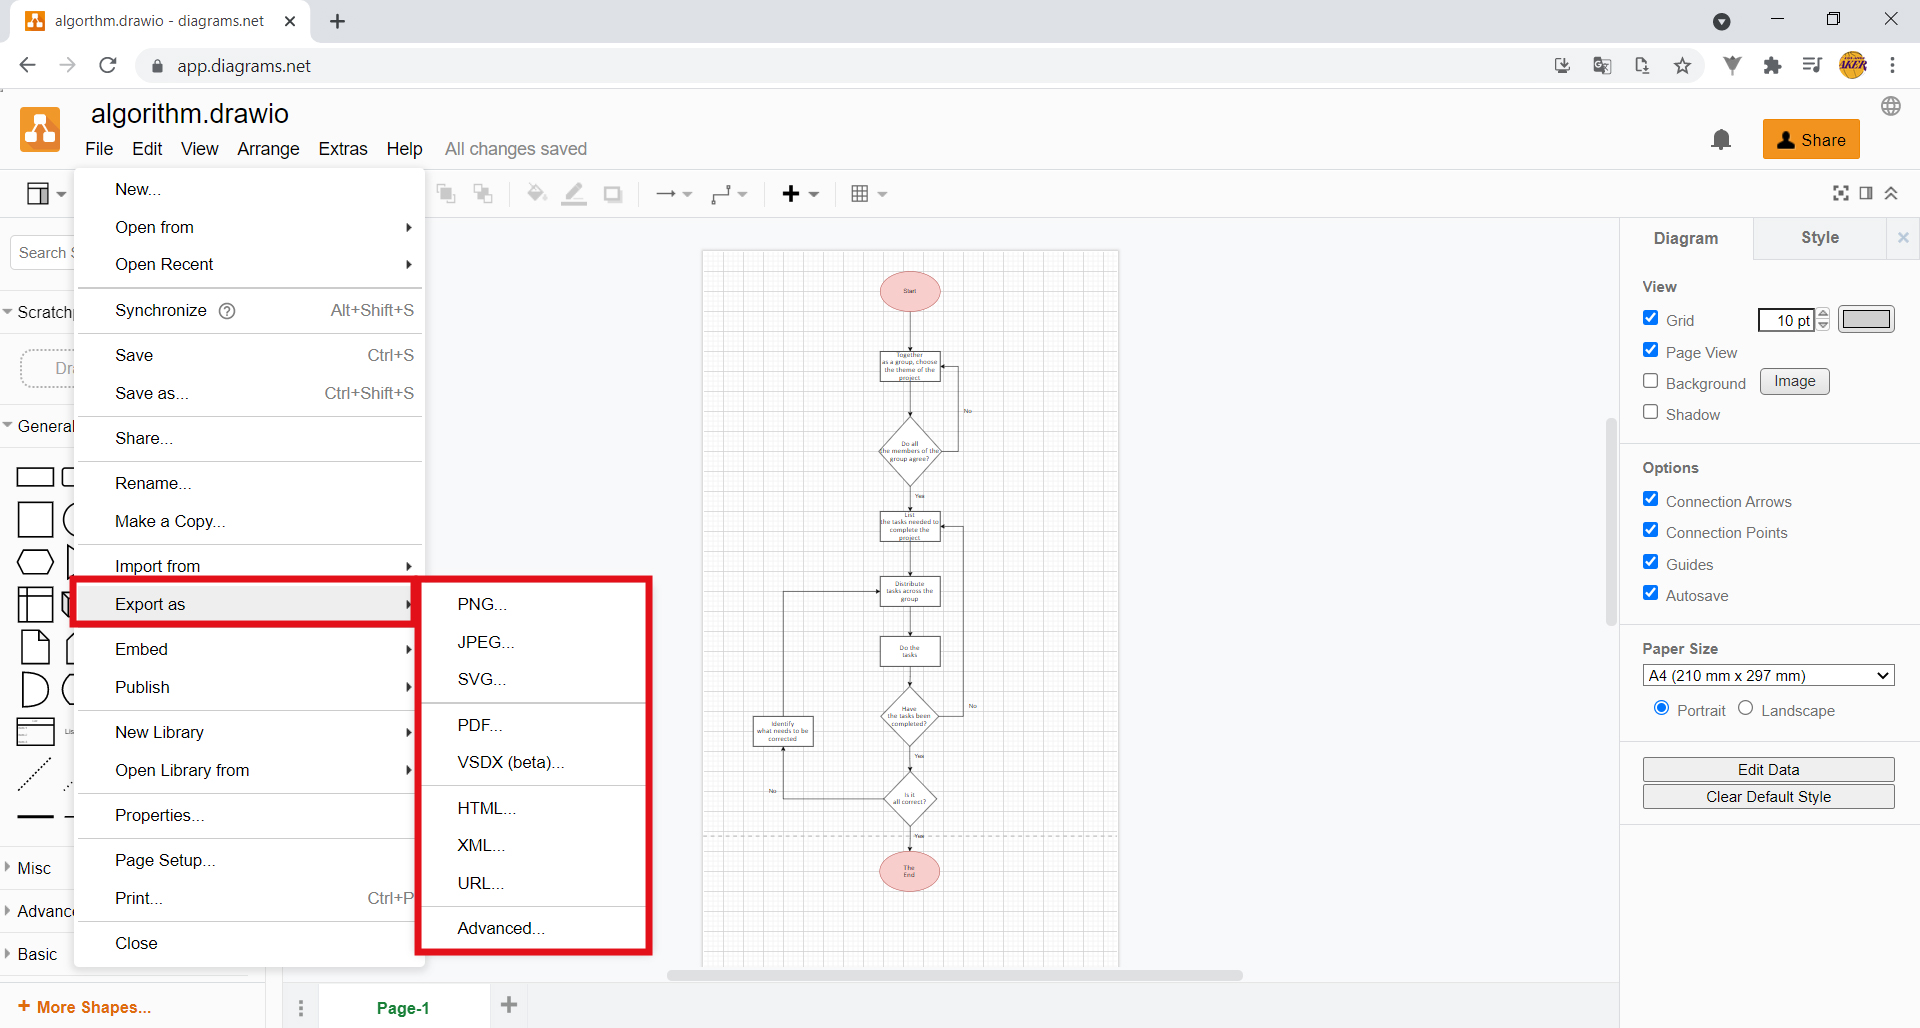
Select Export as. You can save your algorithm as an image (PNG or JPEG), as a PDF document, or even create a link (URL) so that you can access it whenever you want.
17. As you can see, algorithms can be very useful in problem solving, helping us to better understand what to do and when. They are great tools for organizing your study, for example! Explore them and have fun.