Activity
1. Battleship is a game whose goal is to sink the enemy’s ships. On each turn, the player decides to launch a shot at the enemy, saying where they want the shot to land on a 10×10 grid, numbered vertically with the letters A through J, horizontally.

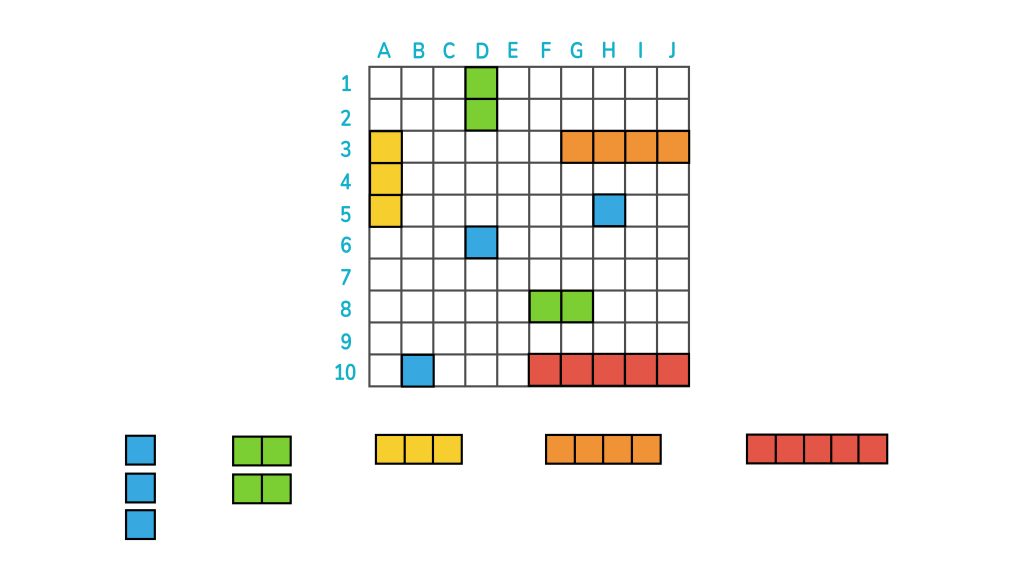
Each player has 8 boats. Each boat occupies a specific number of squares, as shown in the picture. At the start of the game, each player takes their boats and places them on the grid, in the position they want, without being able to put them against each other.
When the game starts, one of the players launches a shot and announces where it is going to hit, indicating the letter and number of the square of the desired shot. The opponent says whether the shot fell into the water or hit a boat and, in the latter case, says which boat was hit. Then the other player says where they want to launch their shot. And so on, until one of the players manages to sink all of the opponent’s boats. In this activity, you will create the Battleship game board, so you can play with a friend.

2. Open your Tinkercad account to start the activity.
• If you already have an account, click Log in.
• If you do not have an account, click on SIGN UP NOW and ask an adult for help with the following steps.
For security reasons and to protect privacy, we recommend that you avoid using your full name as a user name, and use a password containing as many characters as possible (upper and lower case letters, numbers and signs). Never enter personal details such as date of birth.
If Tinkercad is not in English, you can change the language at the bottom of the main page.
SIDE NOTE: You may click the images to amplify.
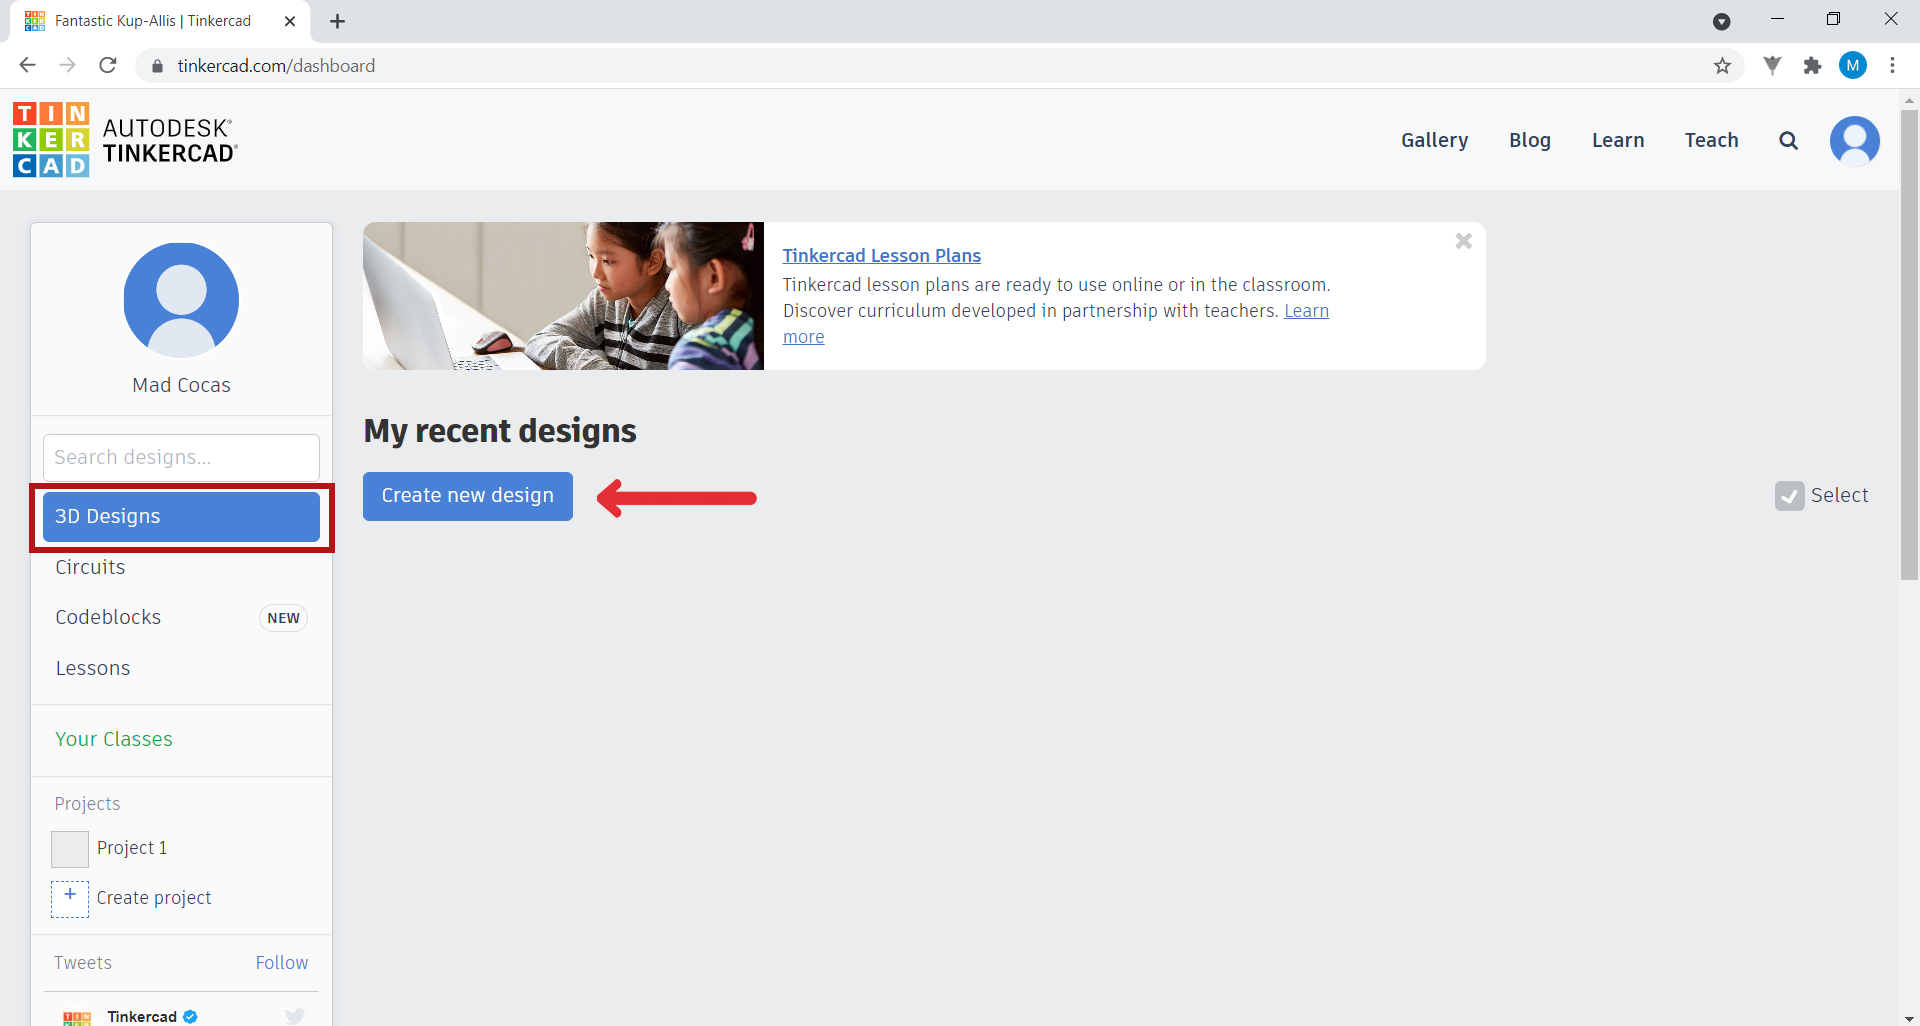
3. In 3D Designs, click the blue Create new design button.
Now let’s get started! On the screen, you will see the work plan. This is the place where you will create your first project.
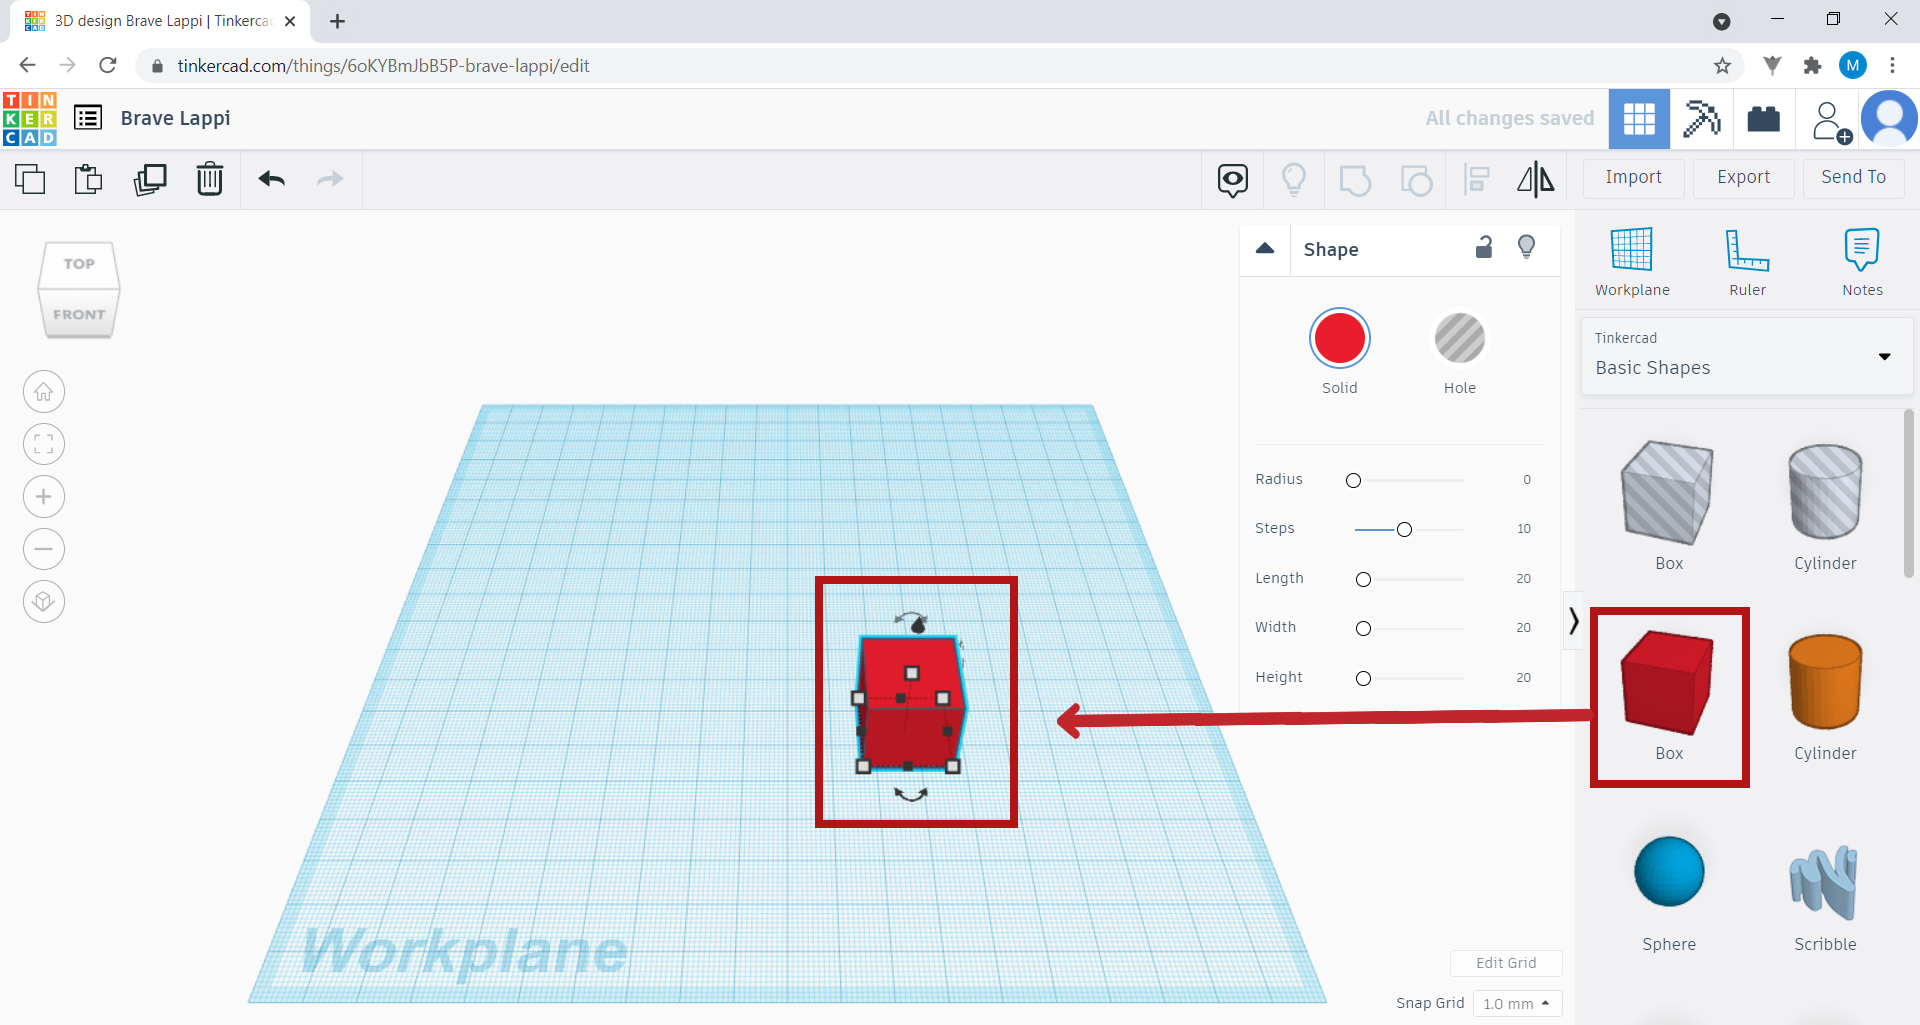
The Tinkercad interface is as shown in the image:
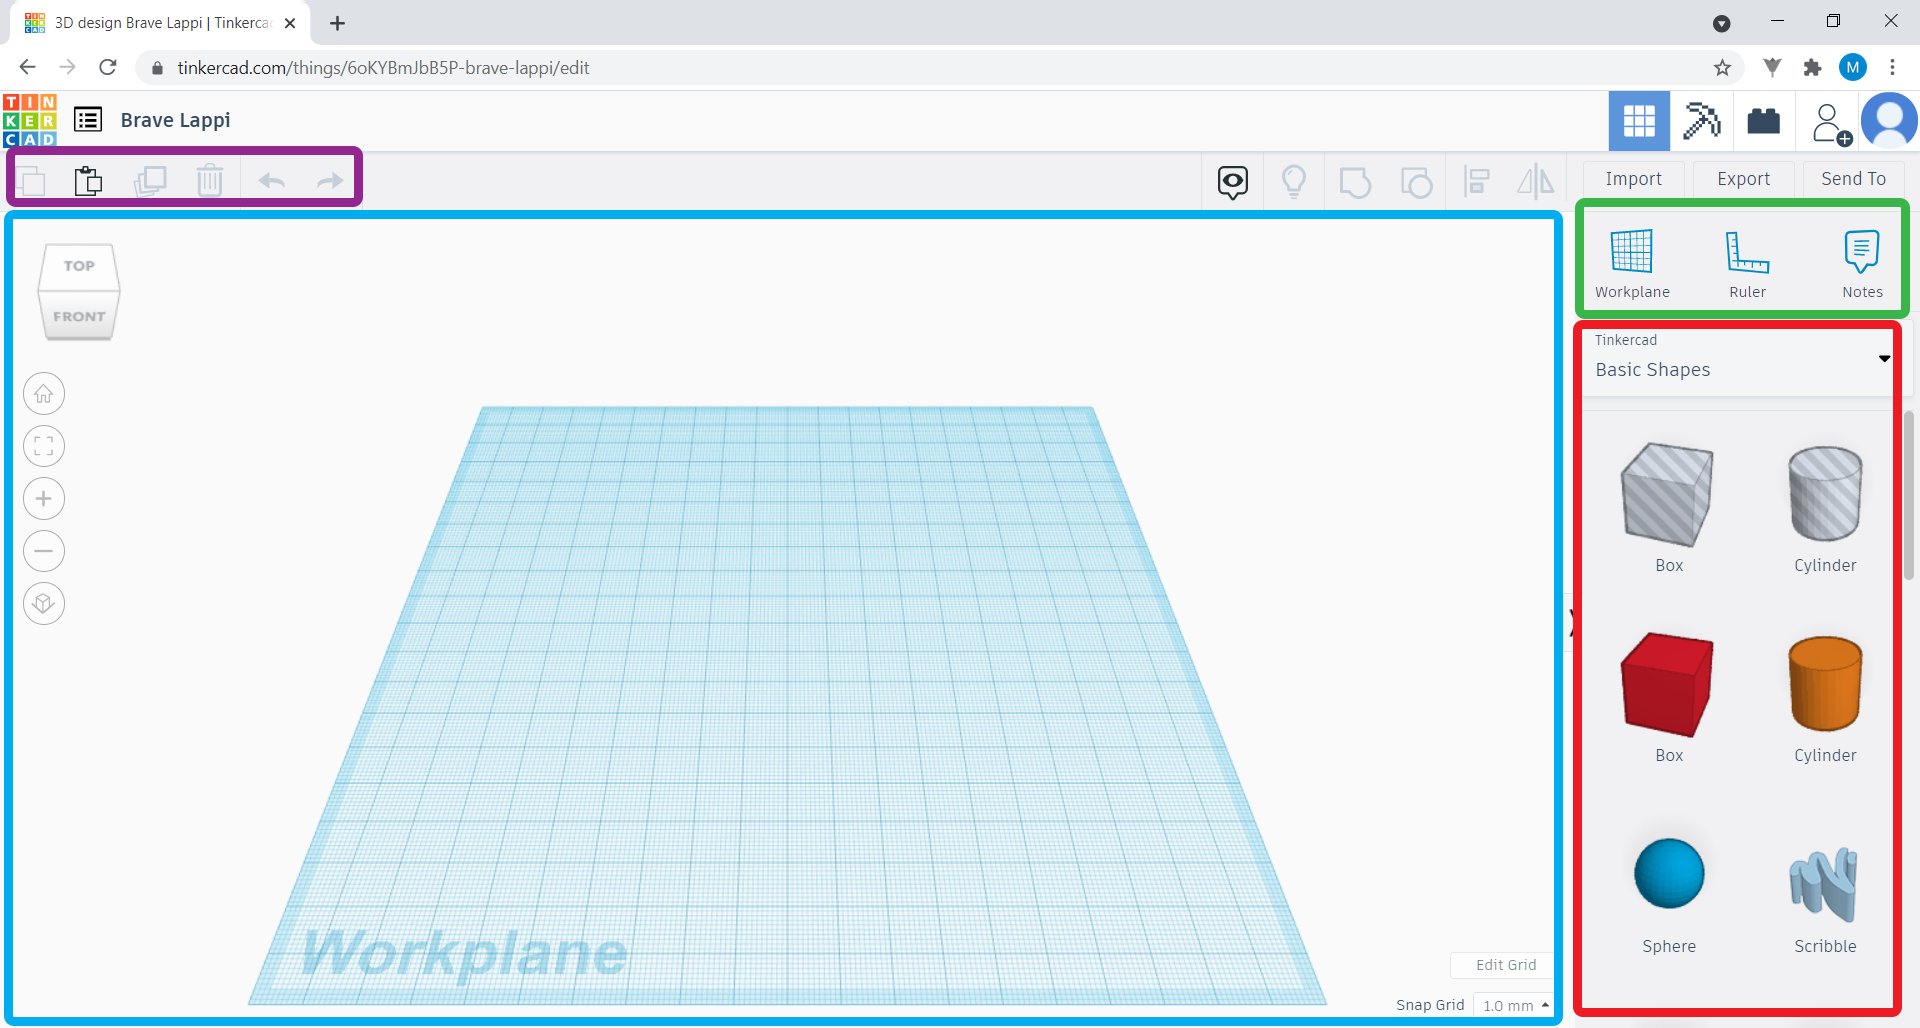
• On the right side of the screen, in the area marked in red, you will find a list of shapes and objects you can use;
• In the area marked in green, you can change your work plan, use the ruler to take measurements or add notes to your project;
• In the area marked in purple, you can copy, duplicate or delete an object, as well as go backwards or forwards through the steps you have taken;
• To use a shape or object, simply select it and drag it onto the work plan, marked in blue.
In order to see the different areas of your work plan, click on the right mouse button and, keeping it pressed, move the mouse where you want.
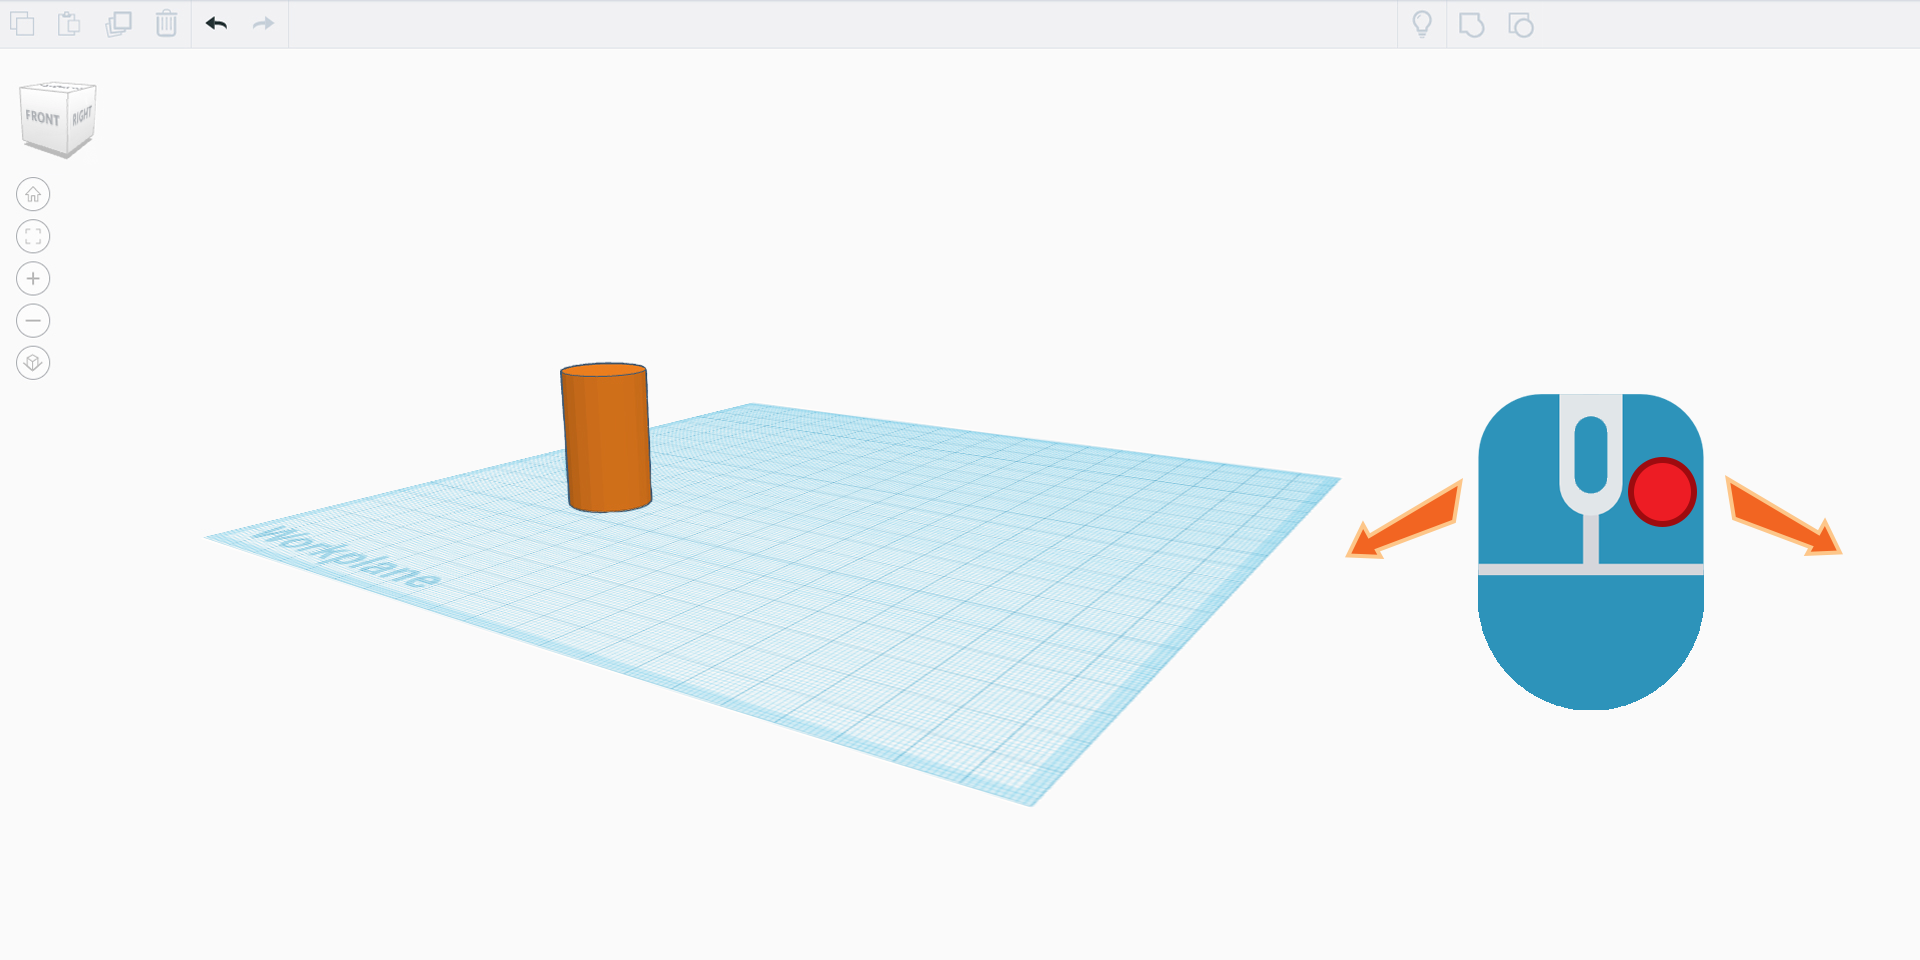
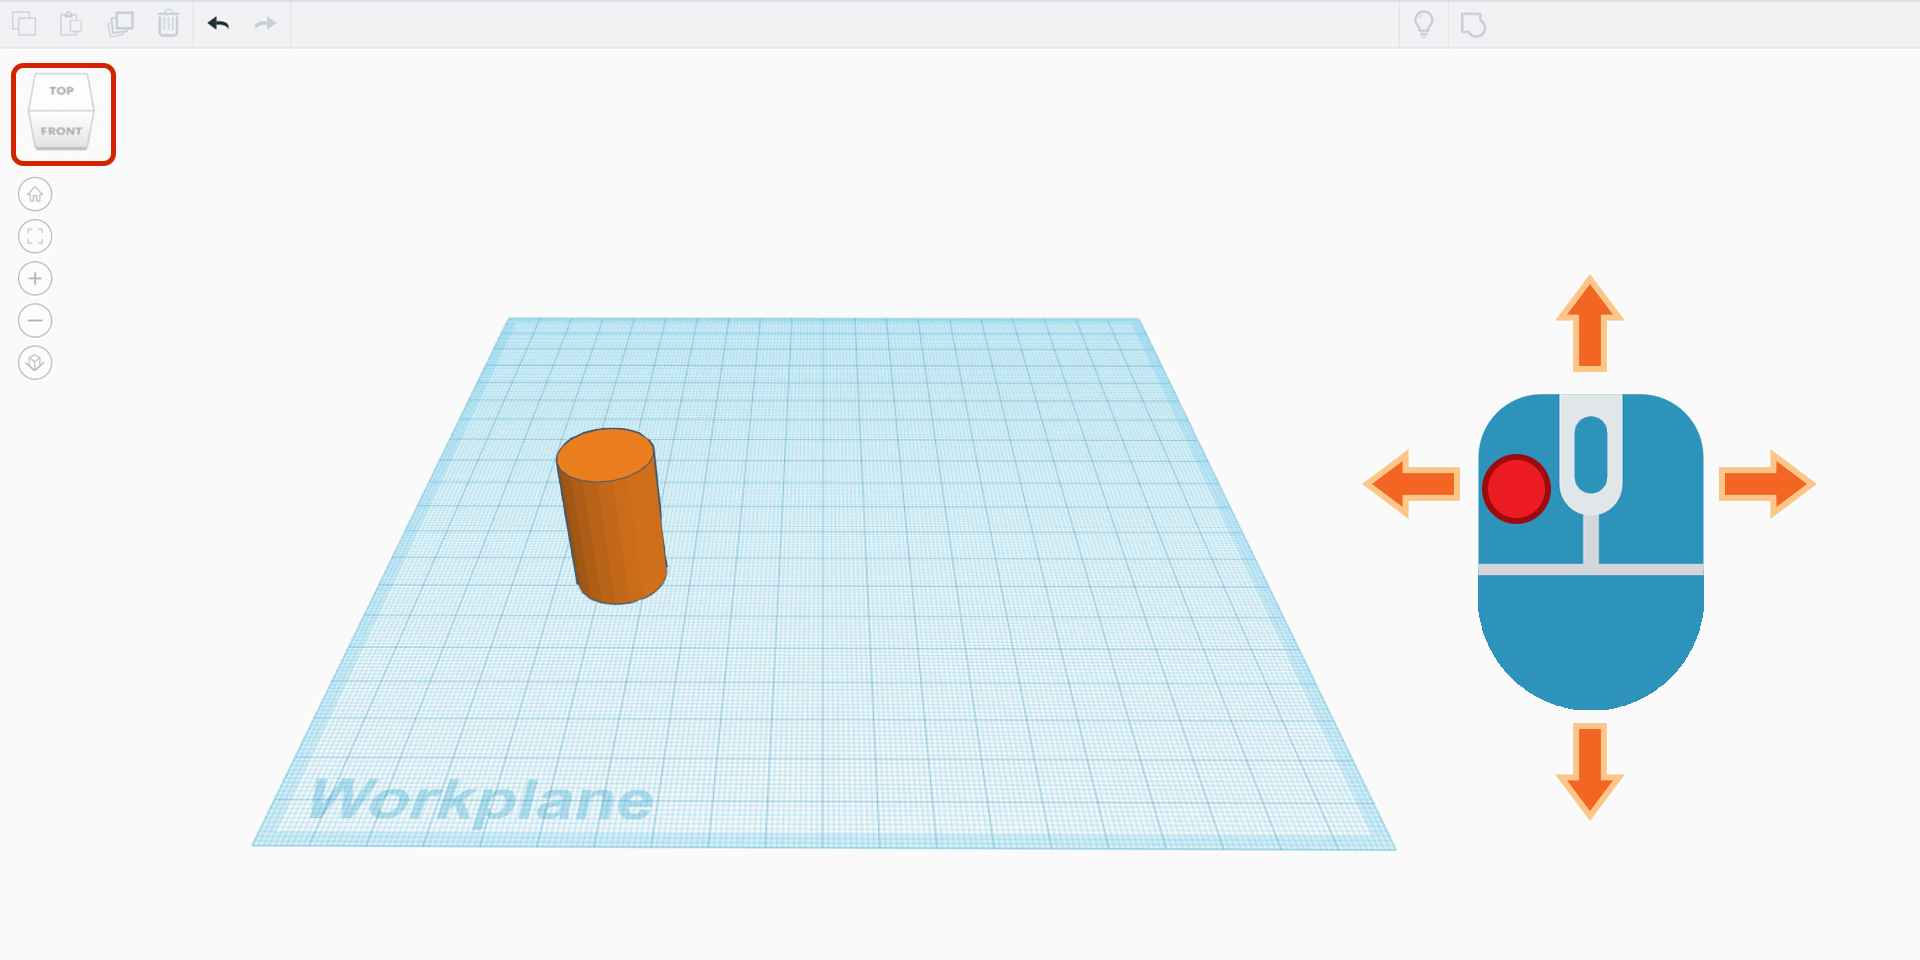
You can also click on the cube in the top left corner, and by holding down the left mouse button, you can rotate it up, down or sideways to see the design from all angles.
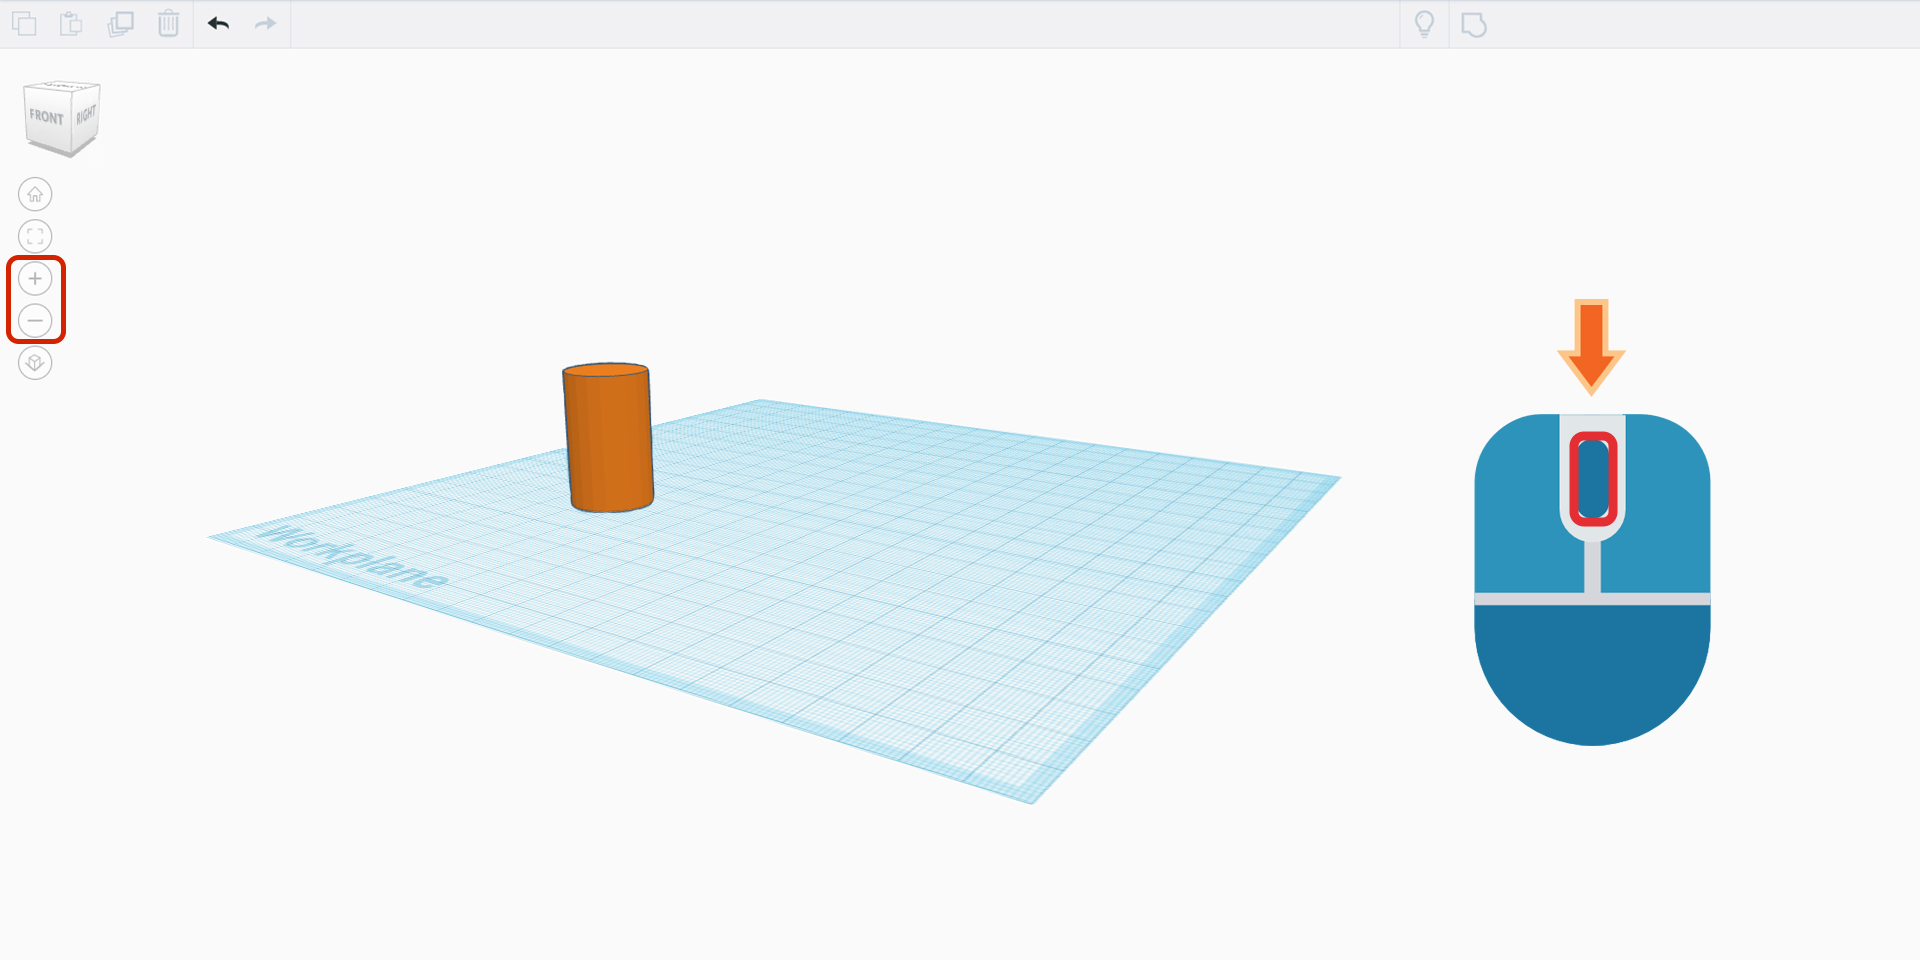
To zoom in and out of the object, use the mouse wheel or the + and – signs on the left hand side of the screen.
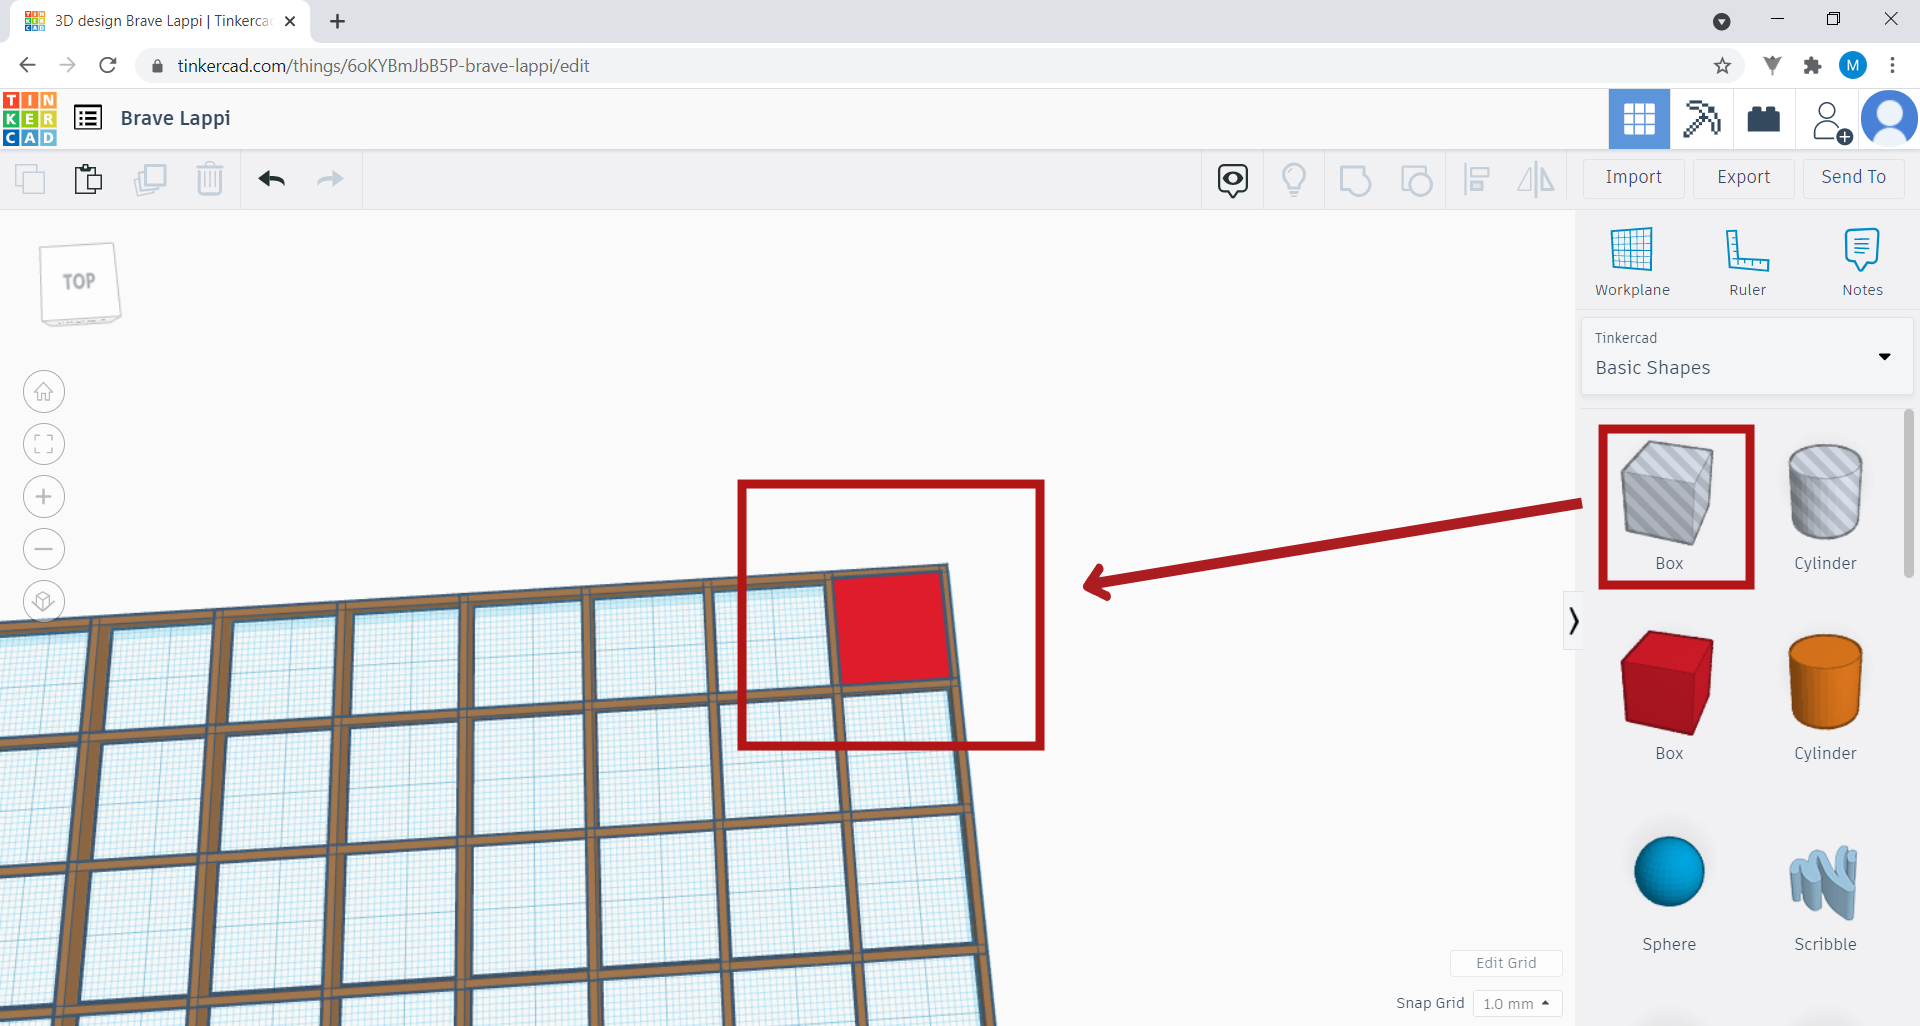
4. Start by dragging a Box (Box in Tinkercad) from the right side onto your work plan. Click on it, and with the left mouse button pressed, drag the cube over to the work plan. Let go of the button.
You can click and drag the black and white squares to change the size of your cube. Click on one of the squares in the corner and drag it to see how it looks.
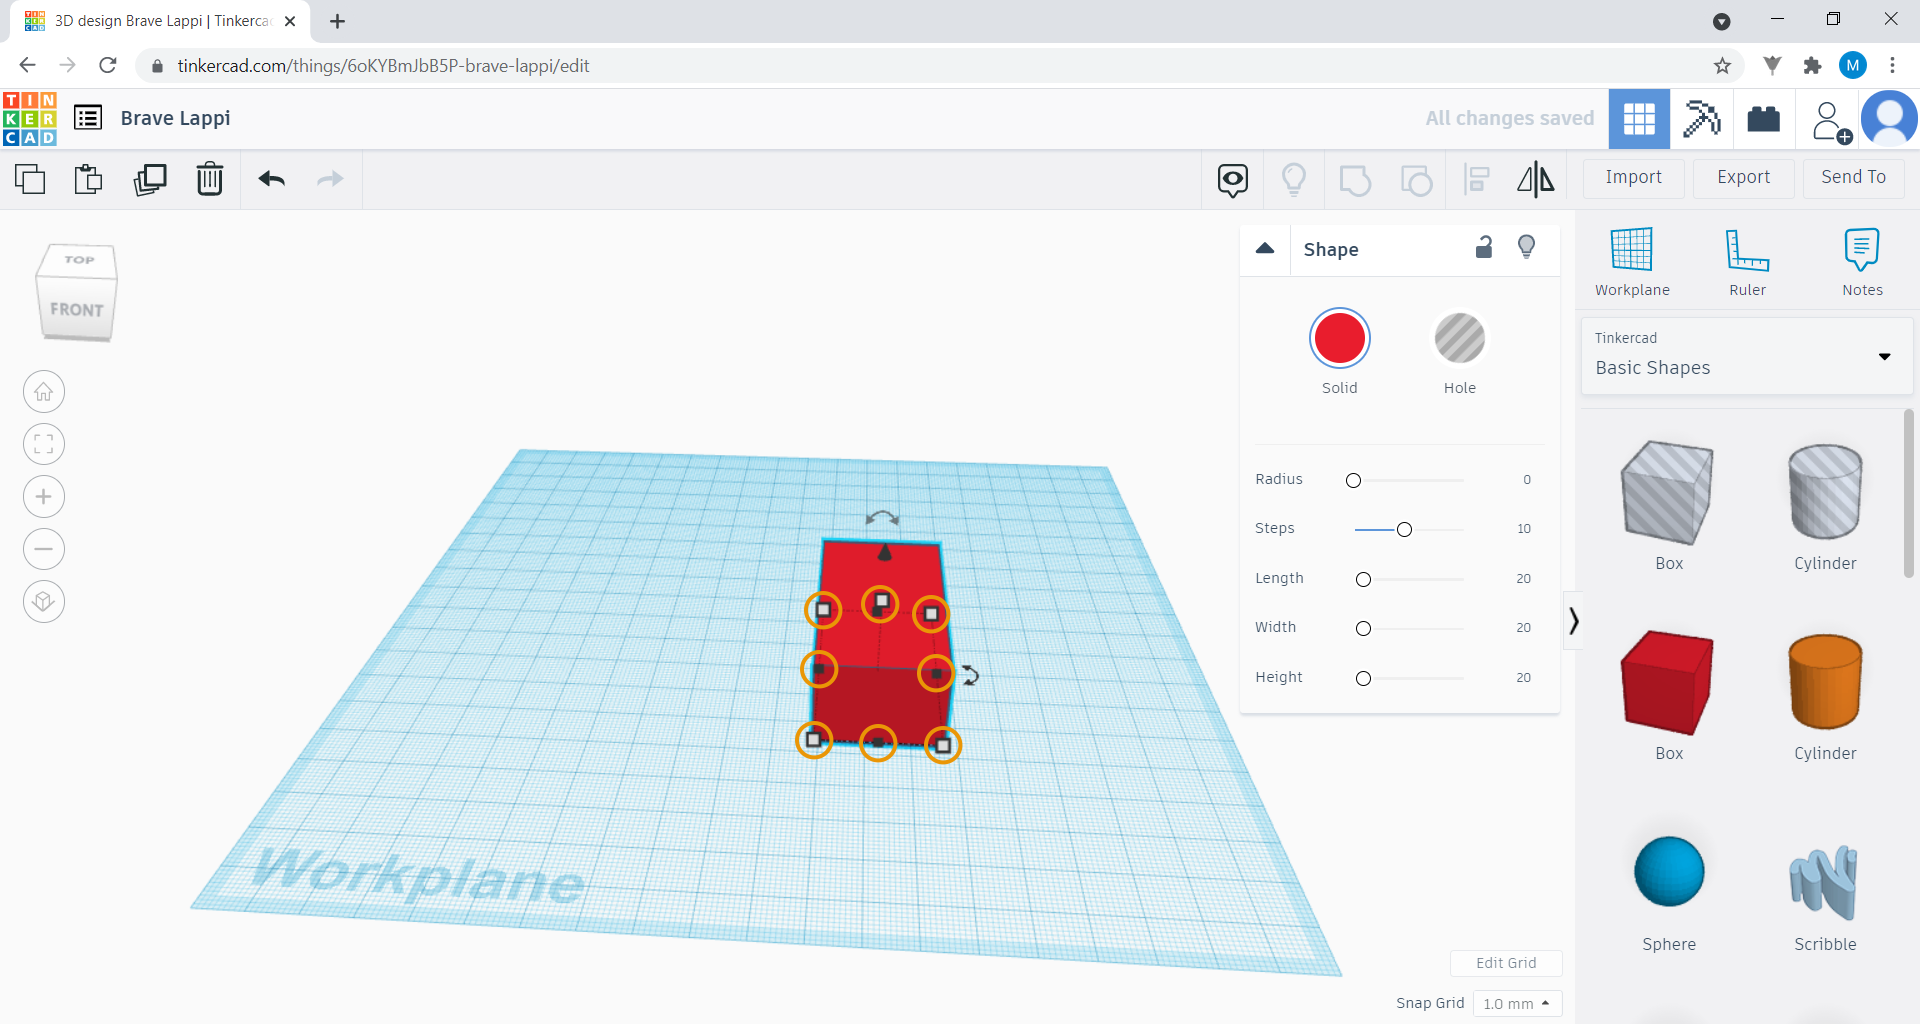
Now it is no longer a cube, it is a rectangular paving stone. Using the black and white squares in the corners, stretch it so that it is the length of the work plan, as shown in the image.
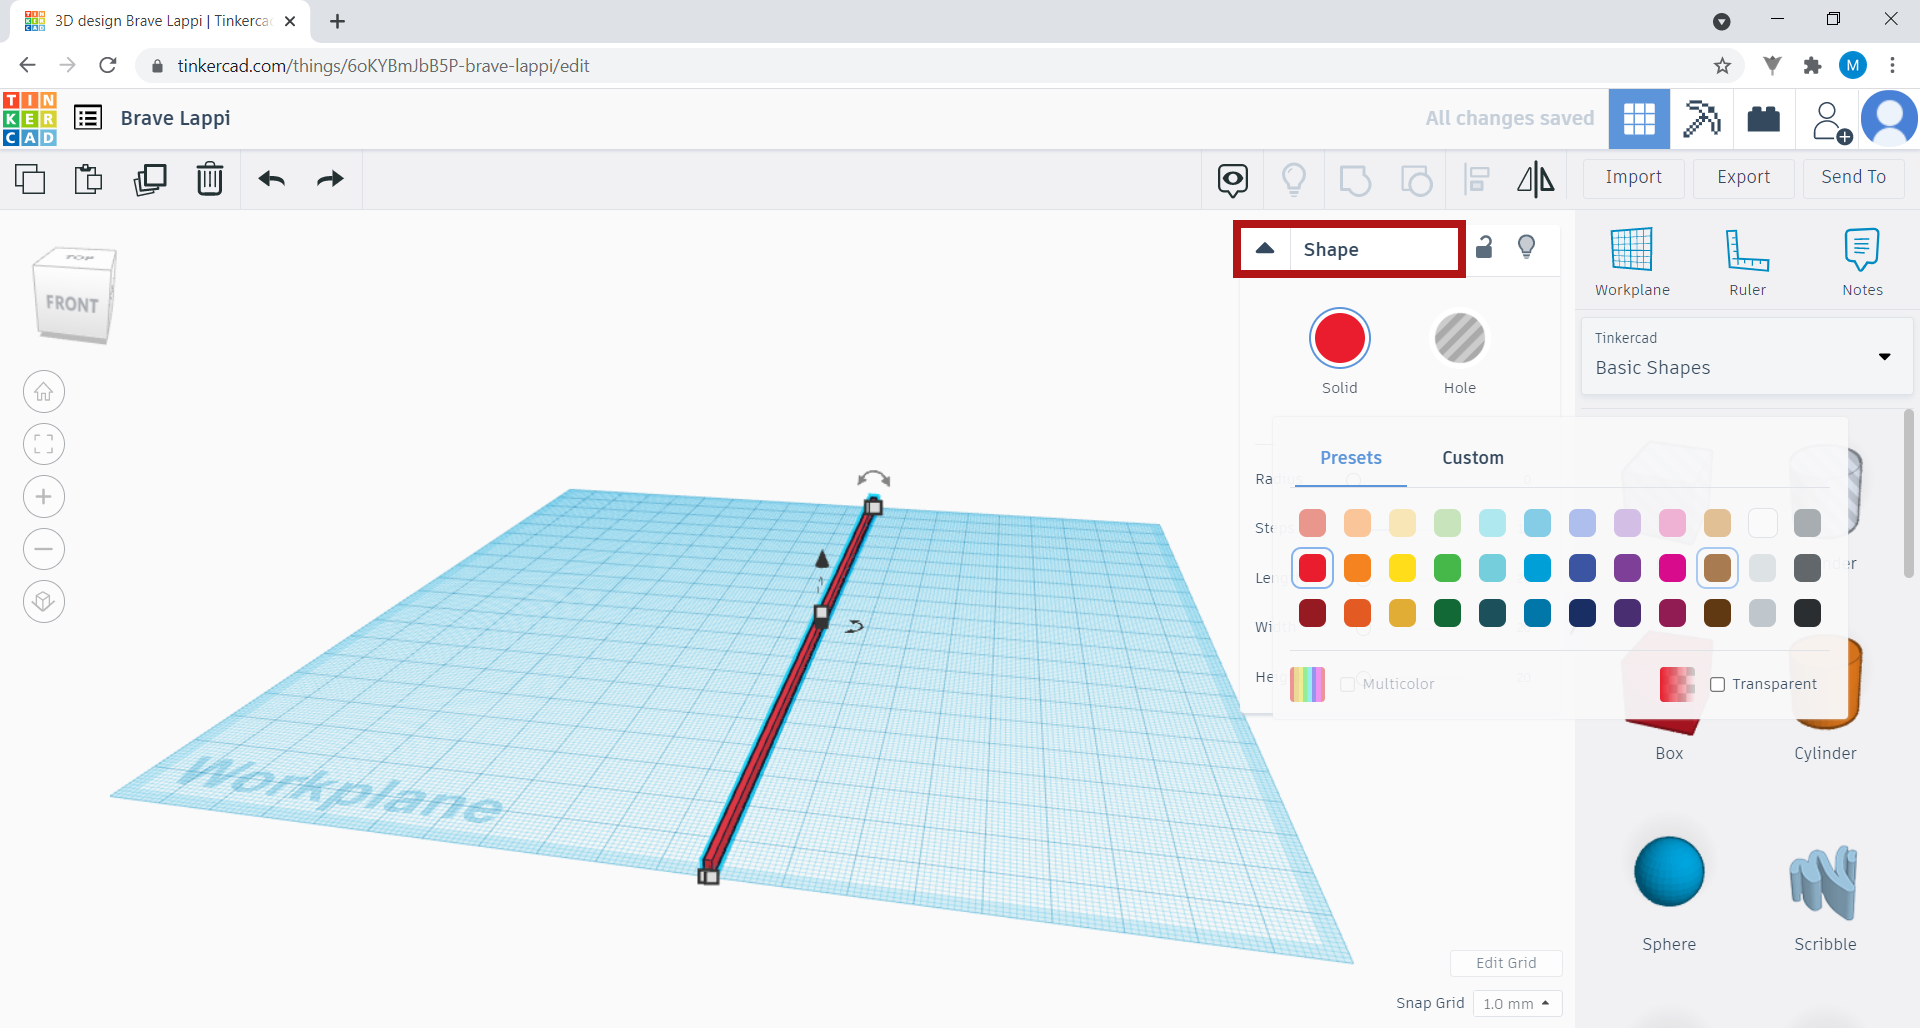
Click on Shape, and select the red circle and change its colour to brown.
5. Copy the paving stone. Select it and click Duplicate and repeat.

You have duplicated your paving stone, but it appears on top of the one you already had. Click on it and, with the left mouse button pressed down, drag it to the side to see the second paving stone.
Duplicate the long paving stones until you have 11 rectangles. Position them parallel to each other to form 10 columns of equal width, like this:
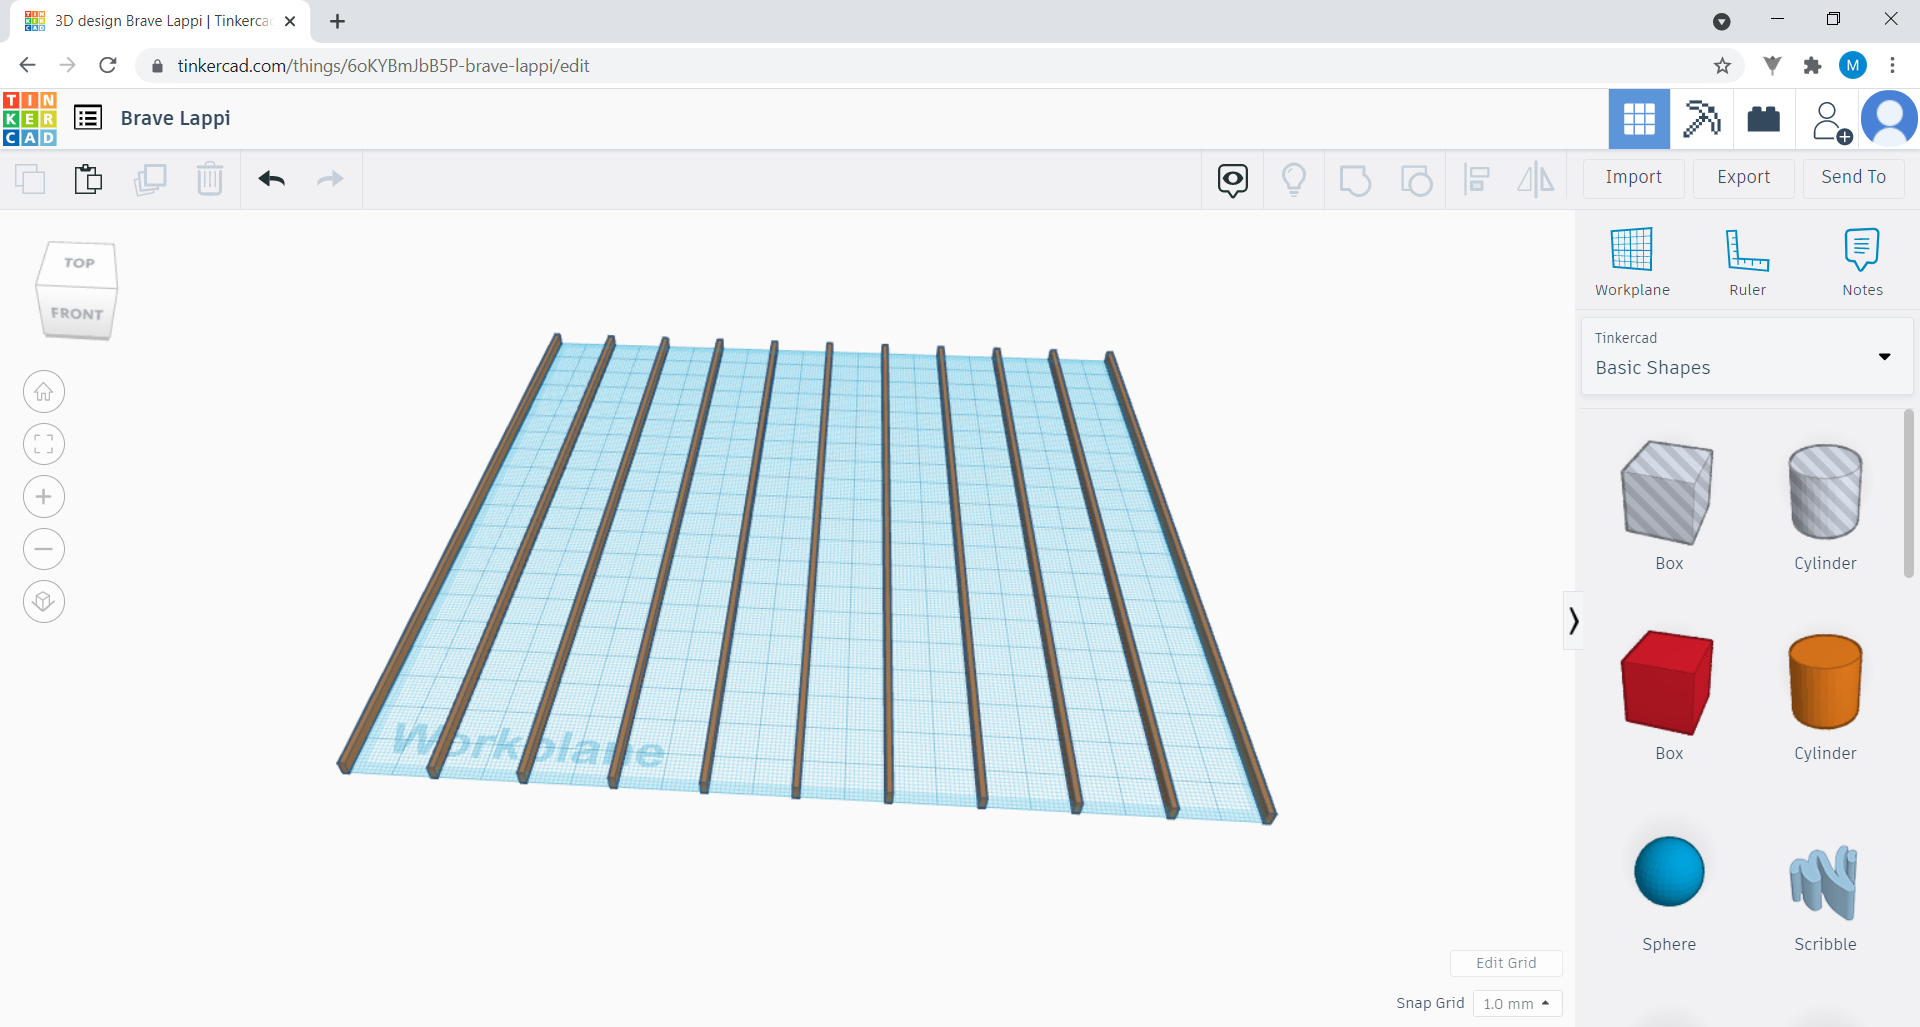
Then click on one of the paving stones and reselect Duplicate and repeat. Drag the downward 2-way arrow, and turn the new paving stone 90º to the right. It will become perpendicular to the other paving stones, as shown below.
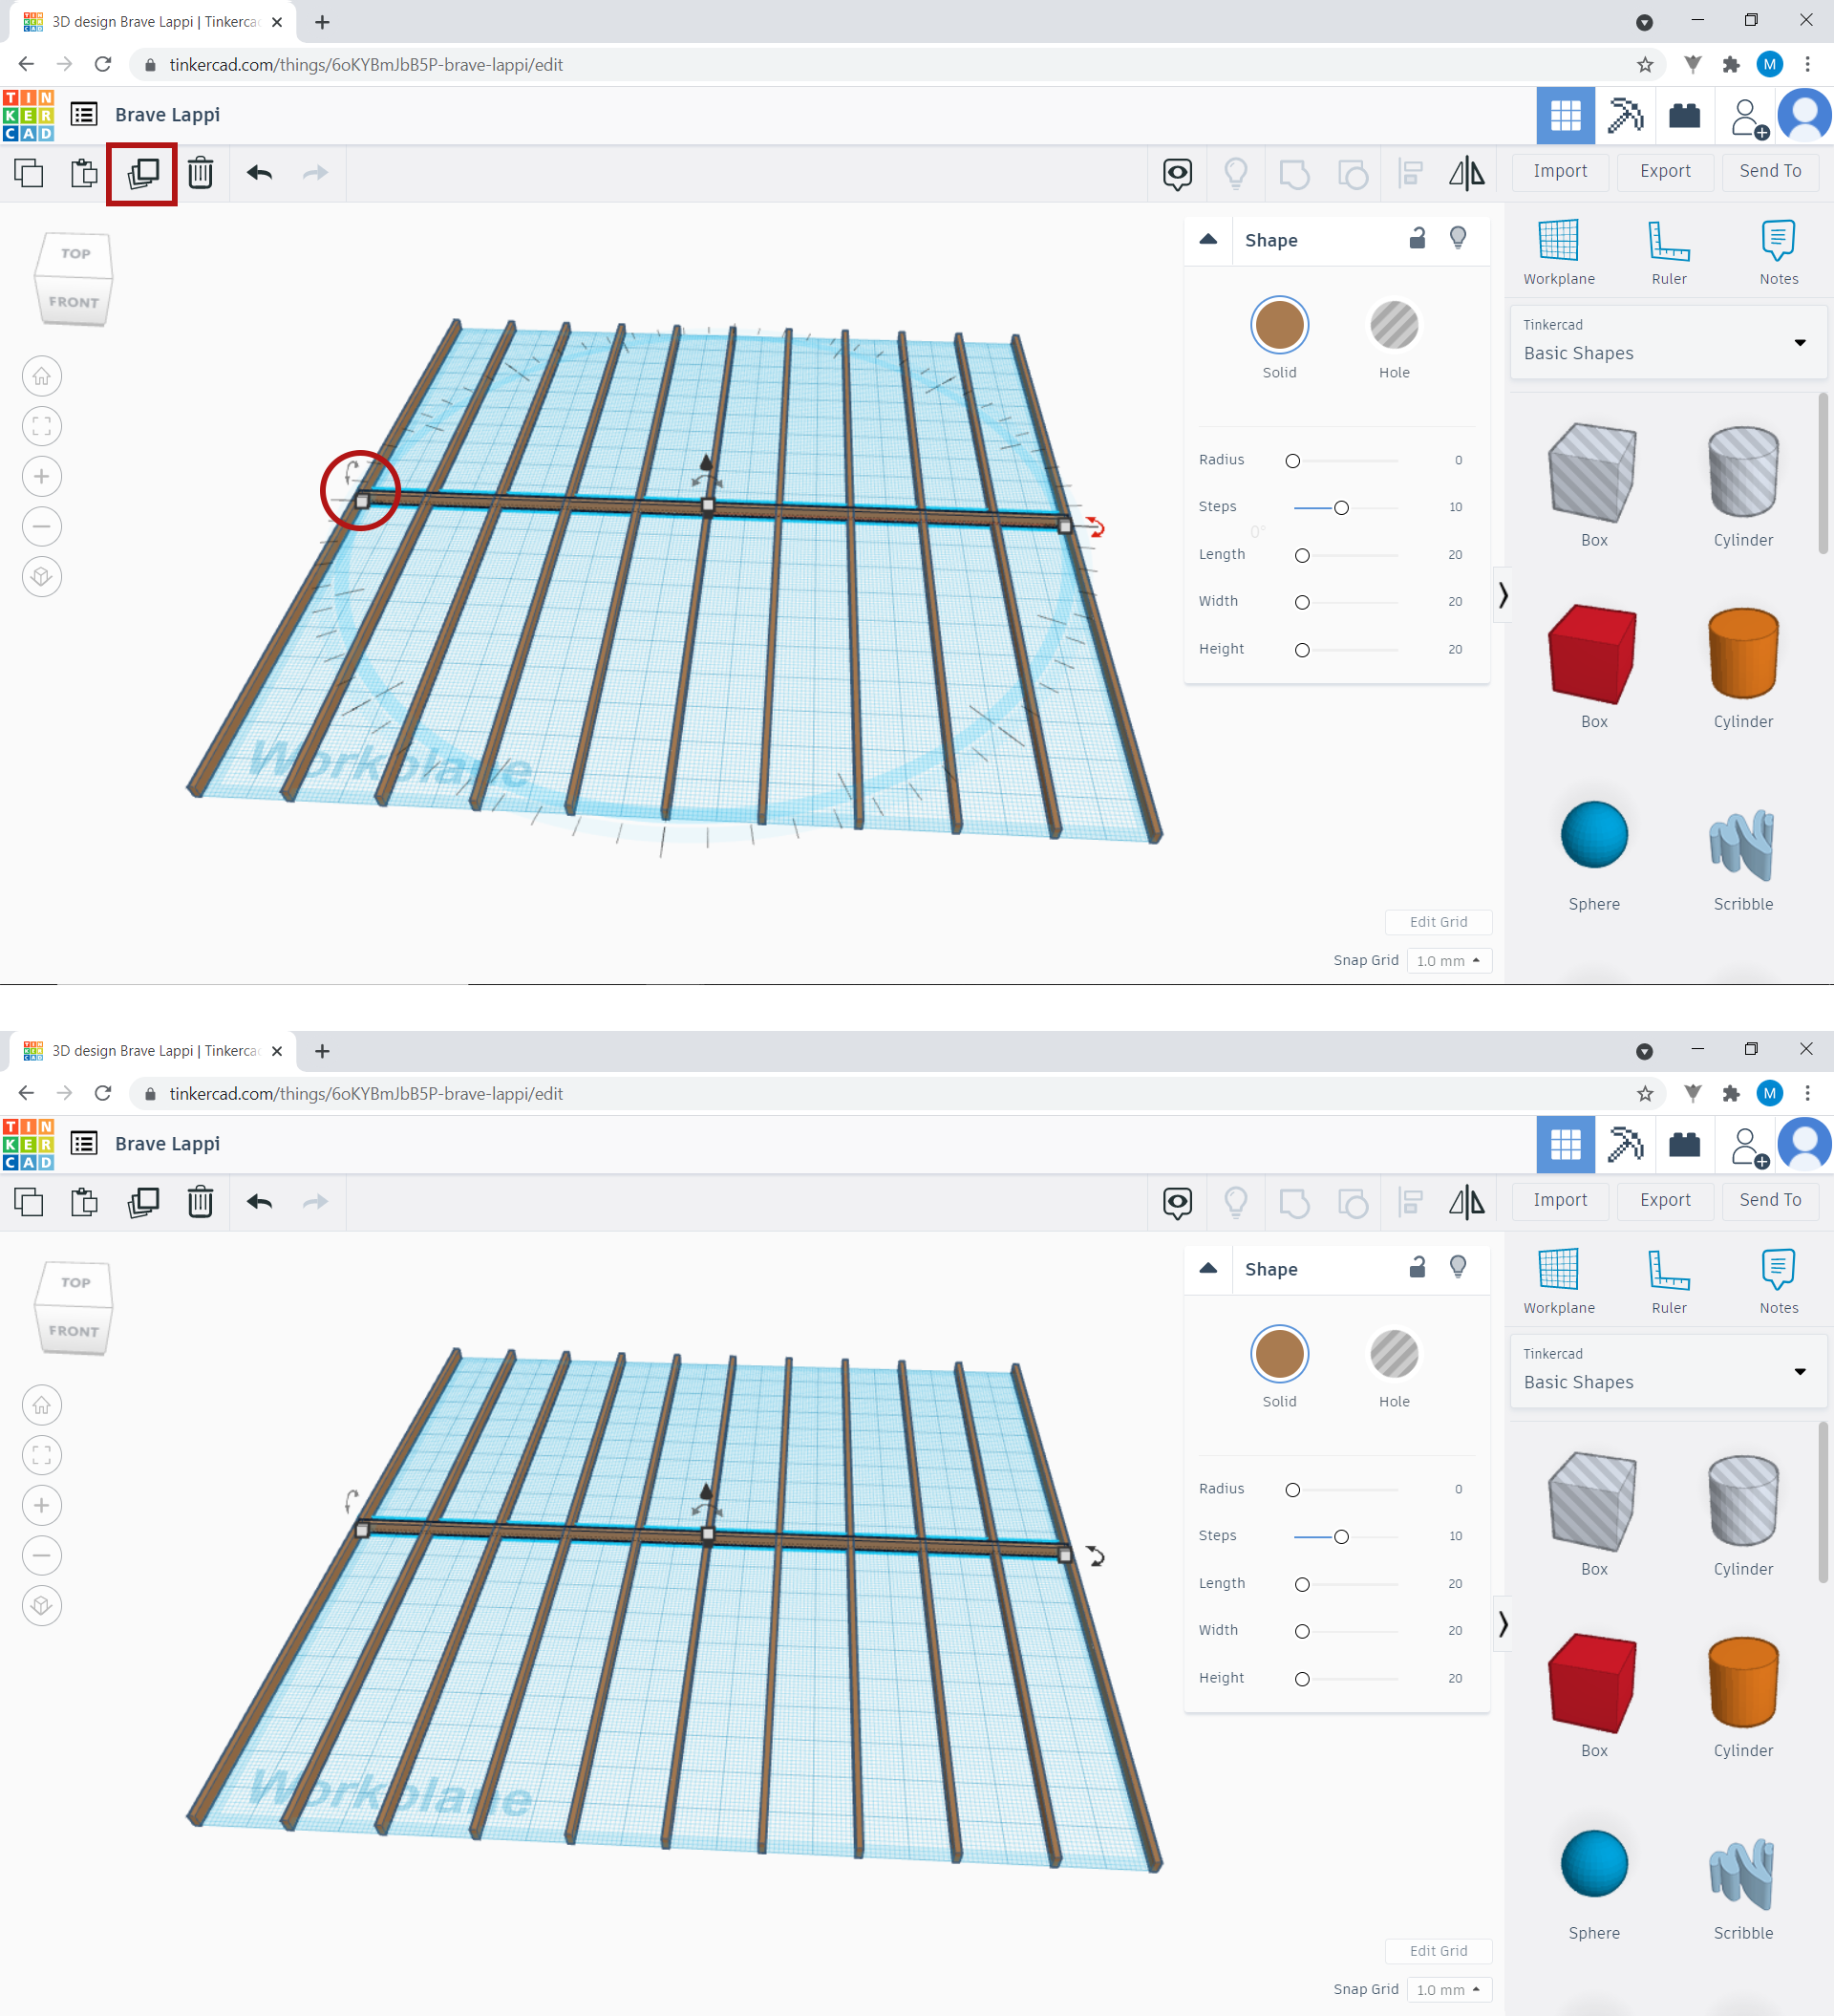
Double the new paving stone 10 times, until you have 11 in total. Position them parallel to each other to form 10 rows of equal width, like this:

6. Now, you will create the base of your board by dragging one cube onto the work plan. It increases in width and length to cover the entire work plan. Decrease the height until the paving stones are visible, like this:
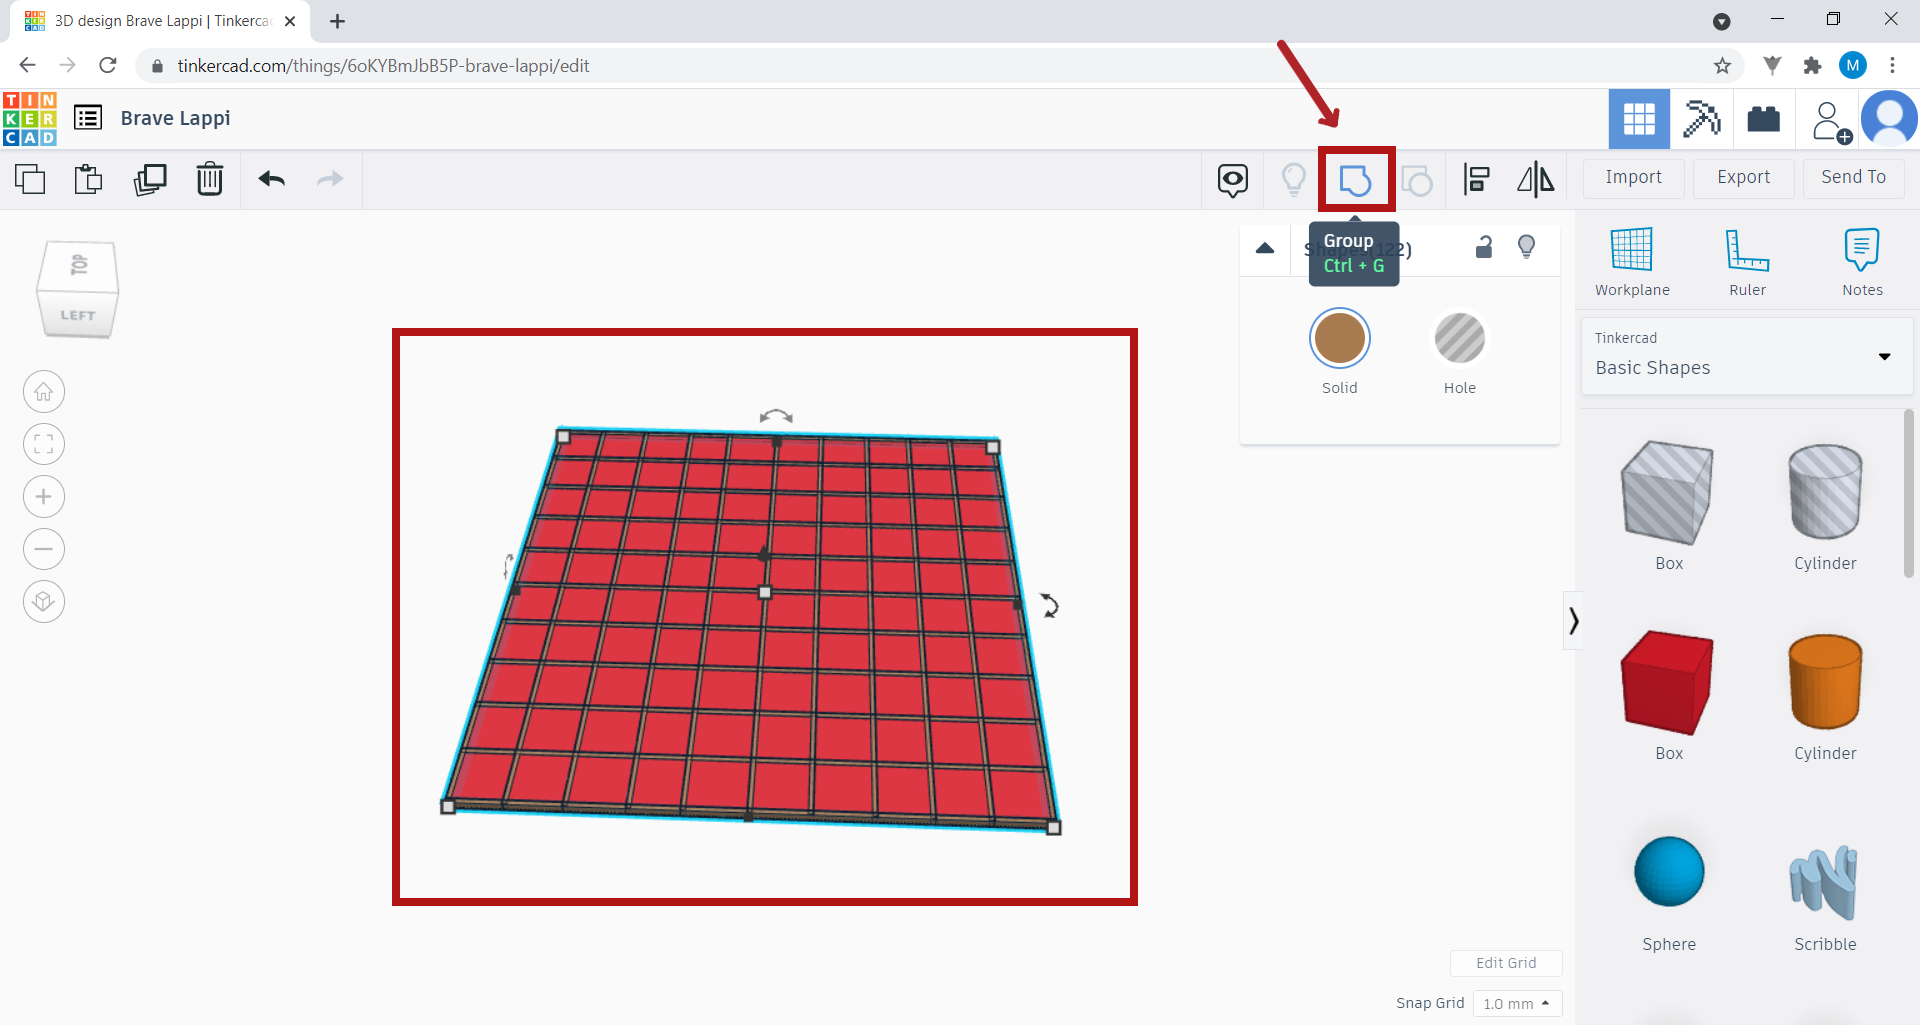
Select all the paving stones, as well as the base of the board you have just created. Then click on Group. Your board is now done!
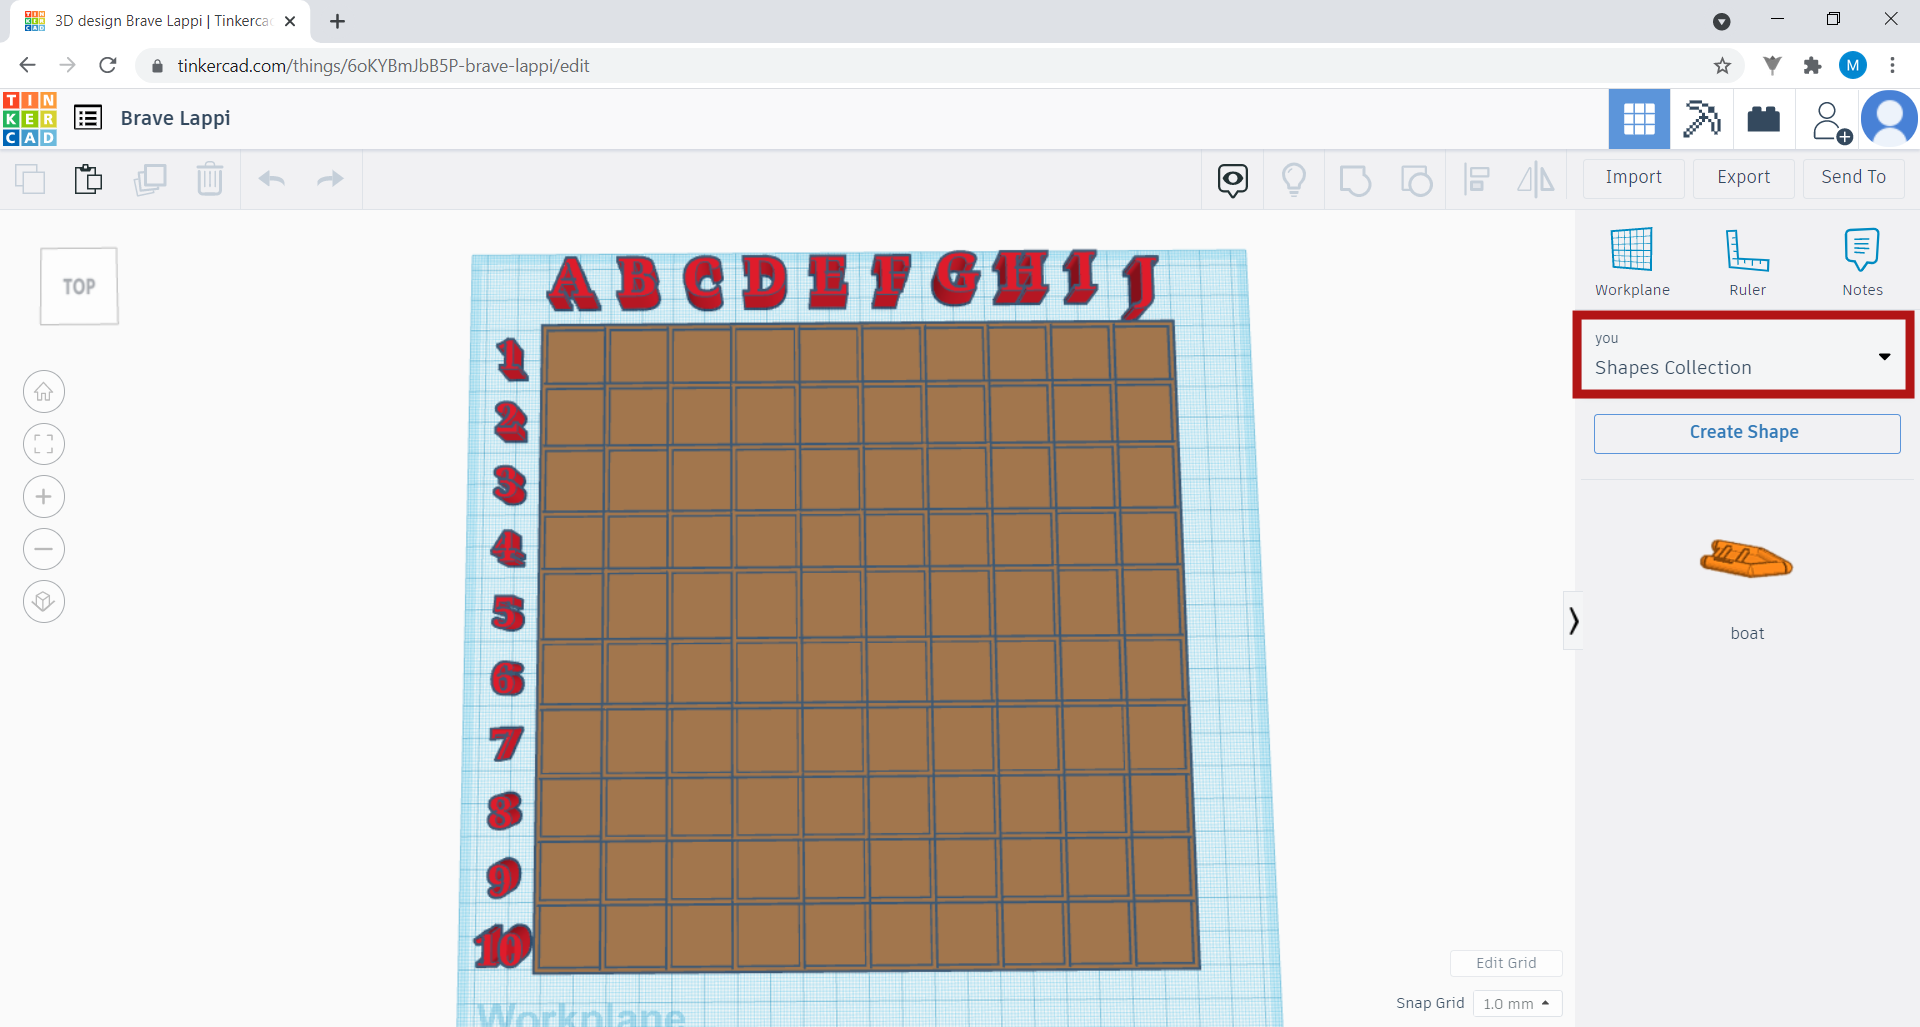
7. We will need to identify the rows and columns, but we have already filled in all the available work plan. To enlarge the work plan, select Edit Grid.
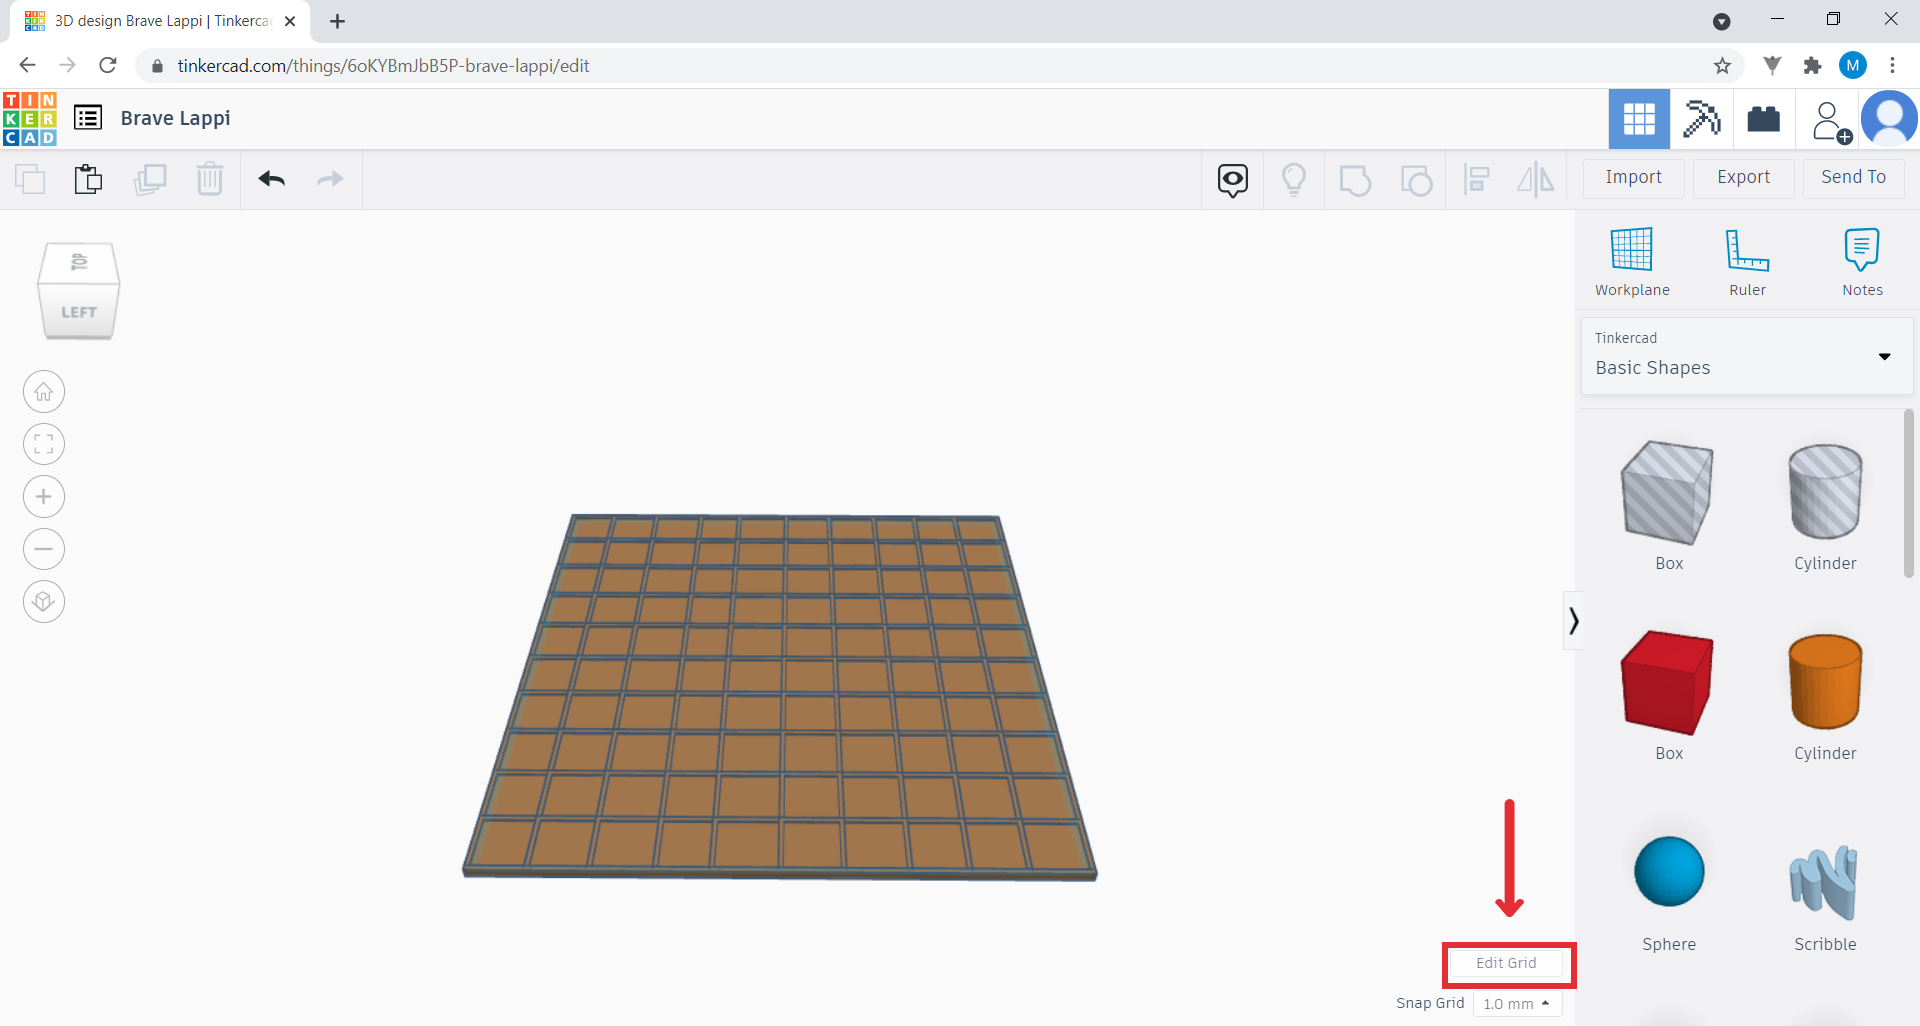
Replace the values of Width and Length to “250” and click on Update Grid.

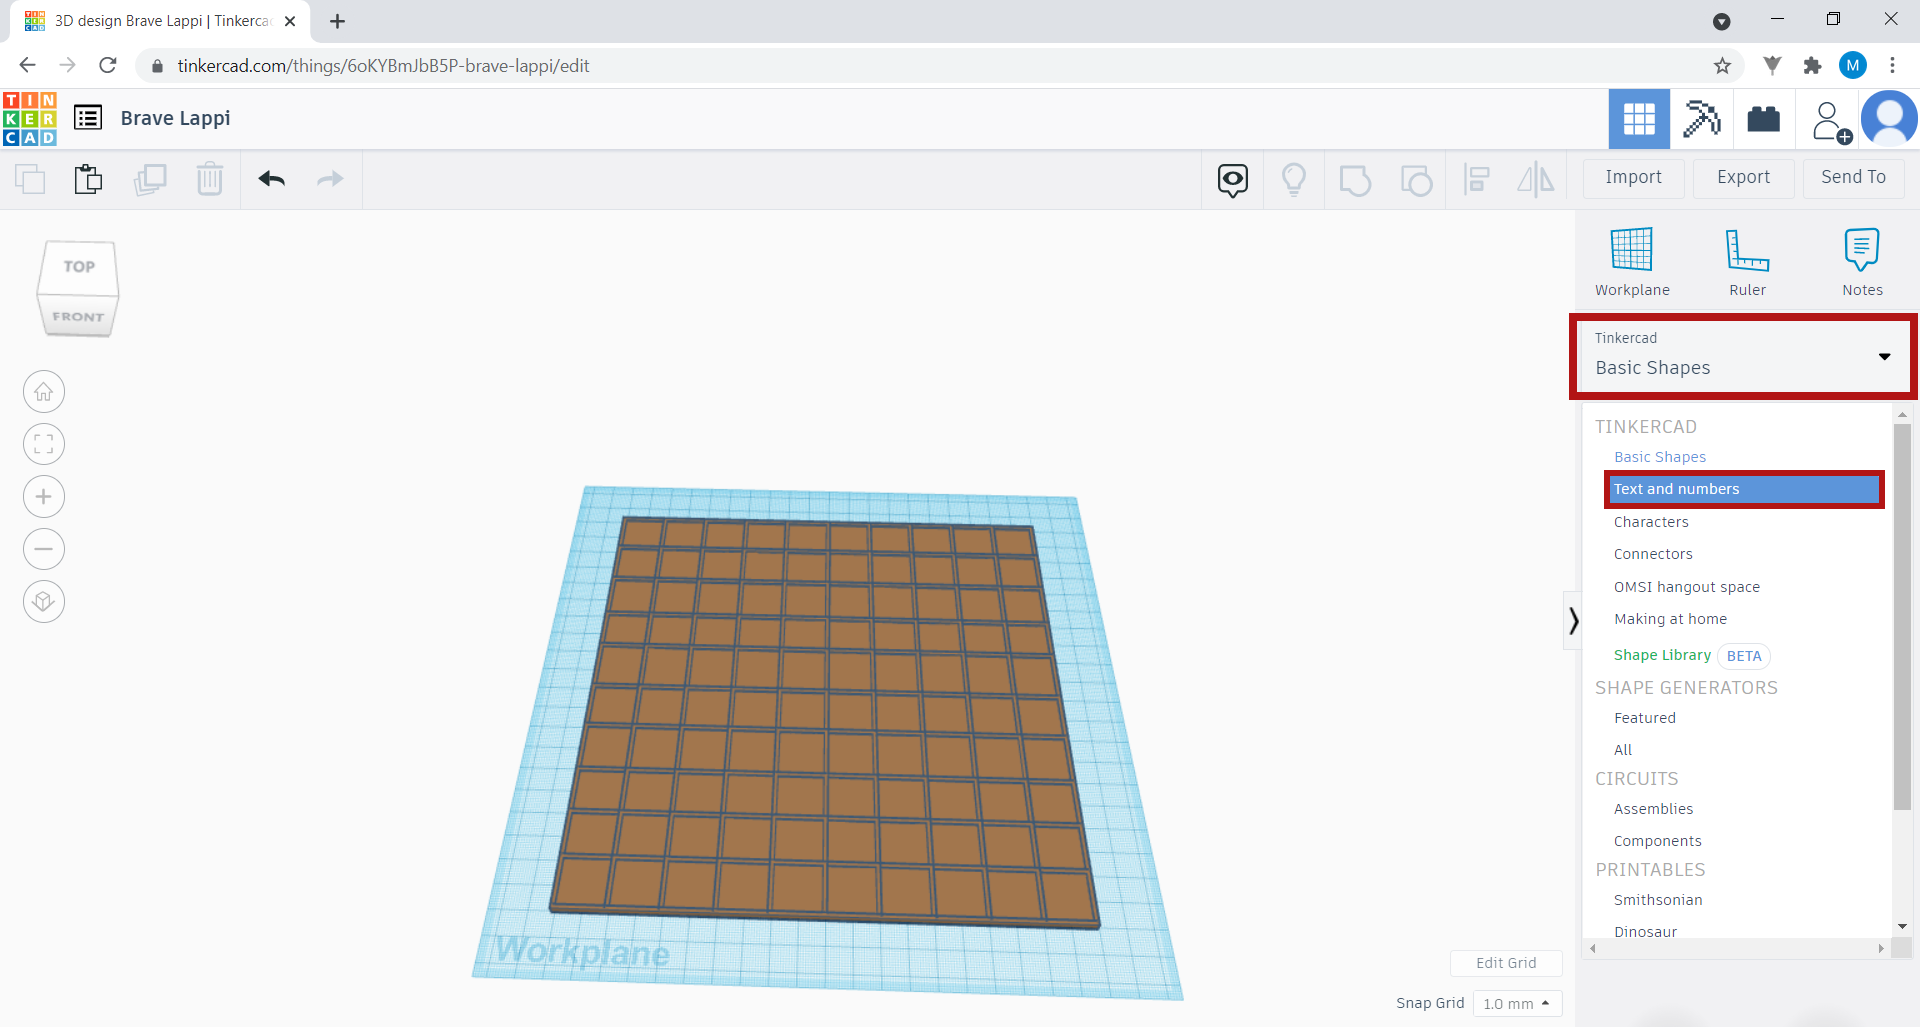
8. Click on Basic Shapes and select the Text and numbers option. In this menu you will find letters and numbers, and you can even write text!
Drag the Text option to the work plan.
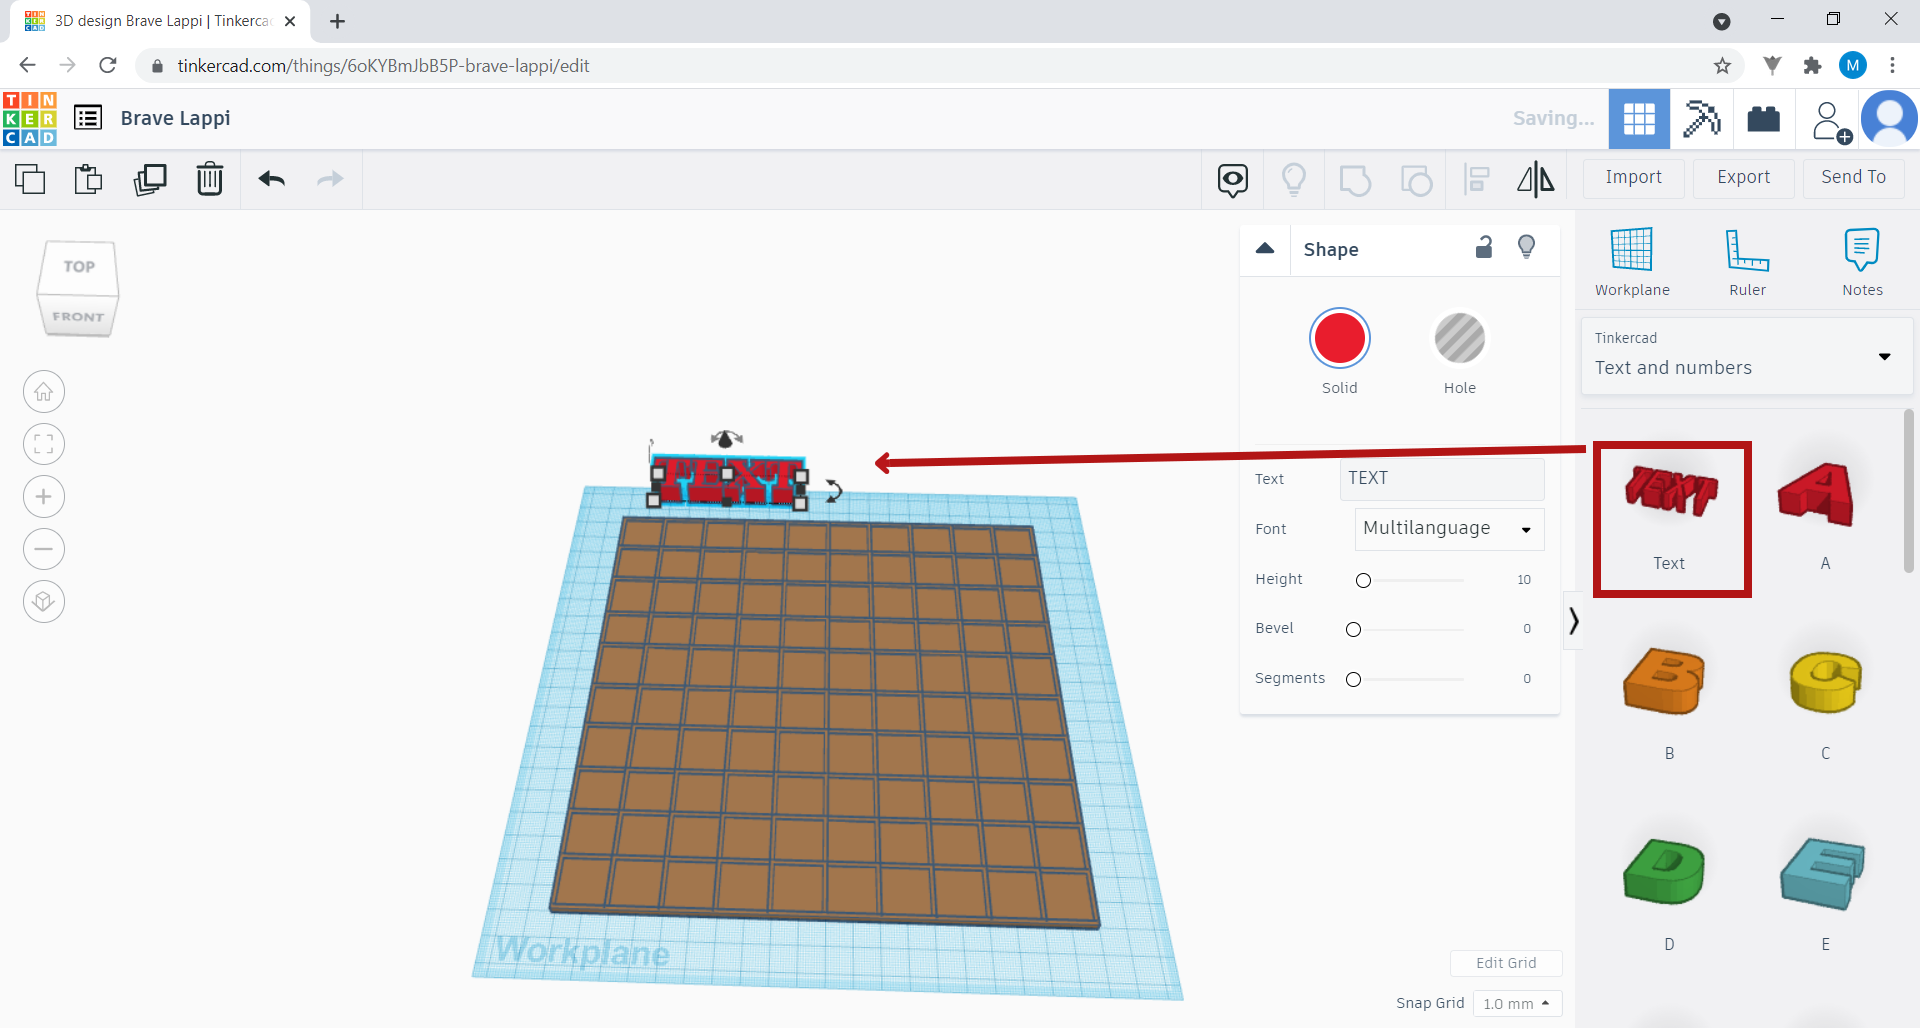
In the menu of the object you dragged, on the right, type“A” in Text. As you see, the text on your working area has been changed to “A”. If you want, you can also change your text’s appearance in Font, its height in Height, the thickness in Bevel, or even make it more or less rounded by increasing or decreasing the Segments.

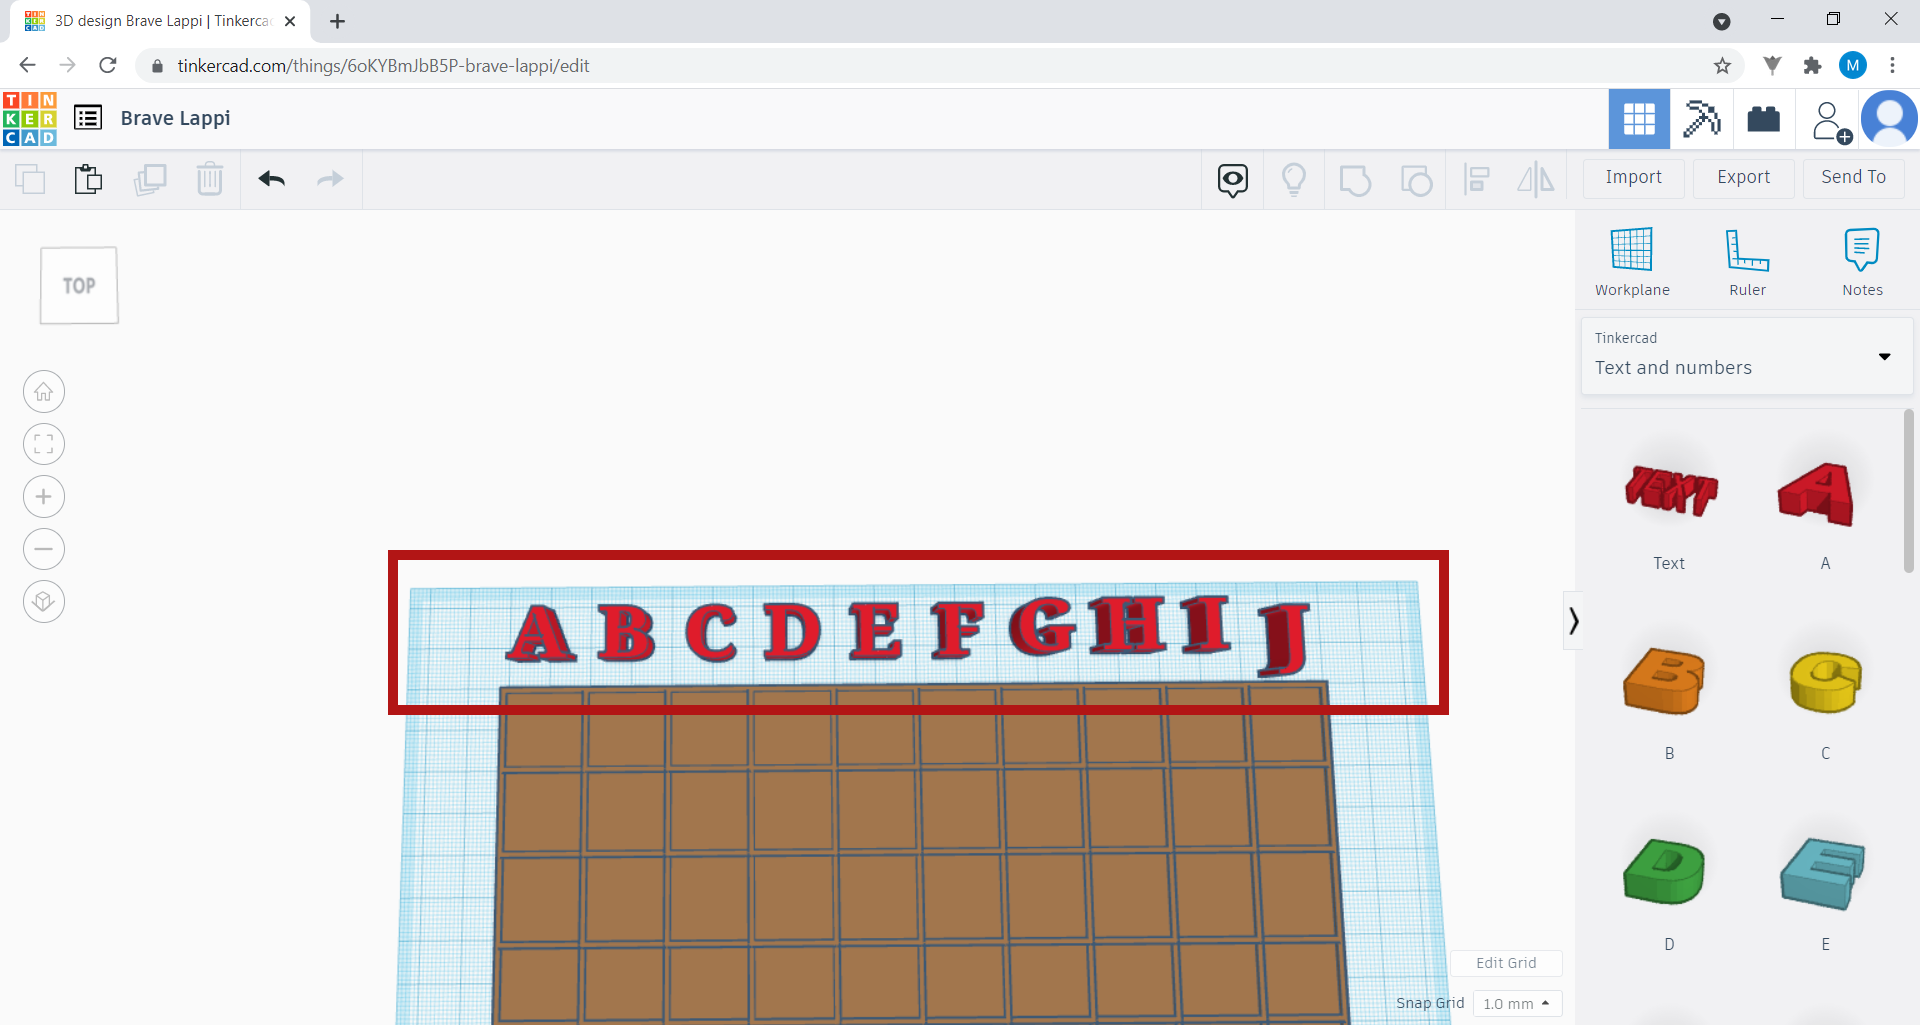
Next, drag the “A”to the top left corner of your board, on top of the first column. It decreases in size a little, as shown in the image.
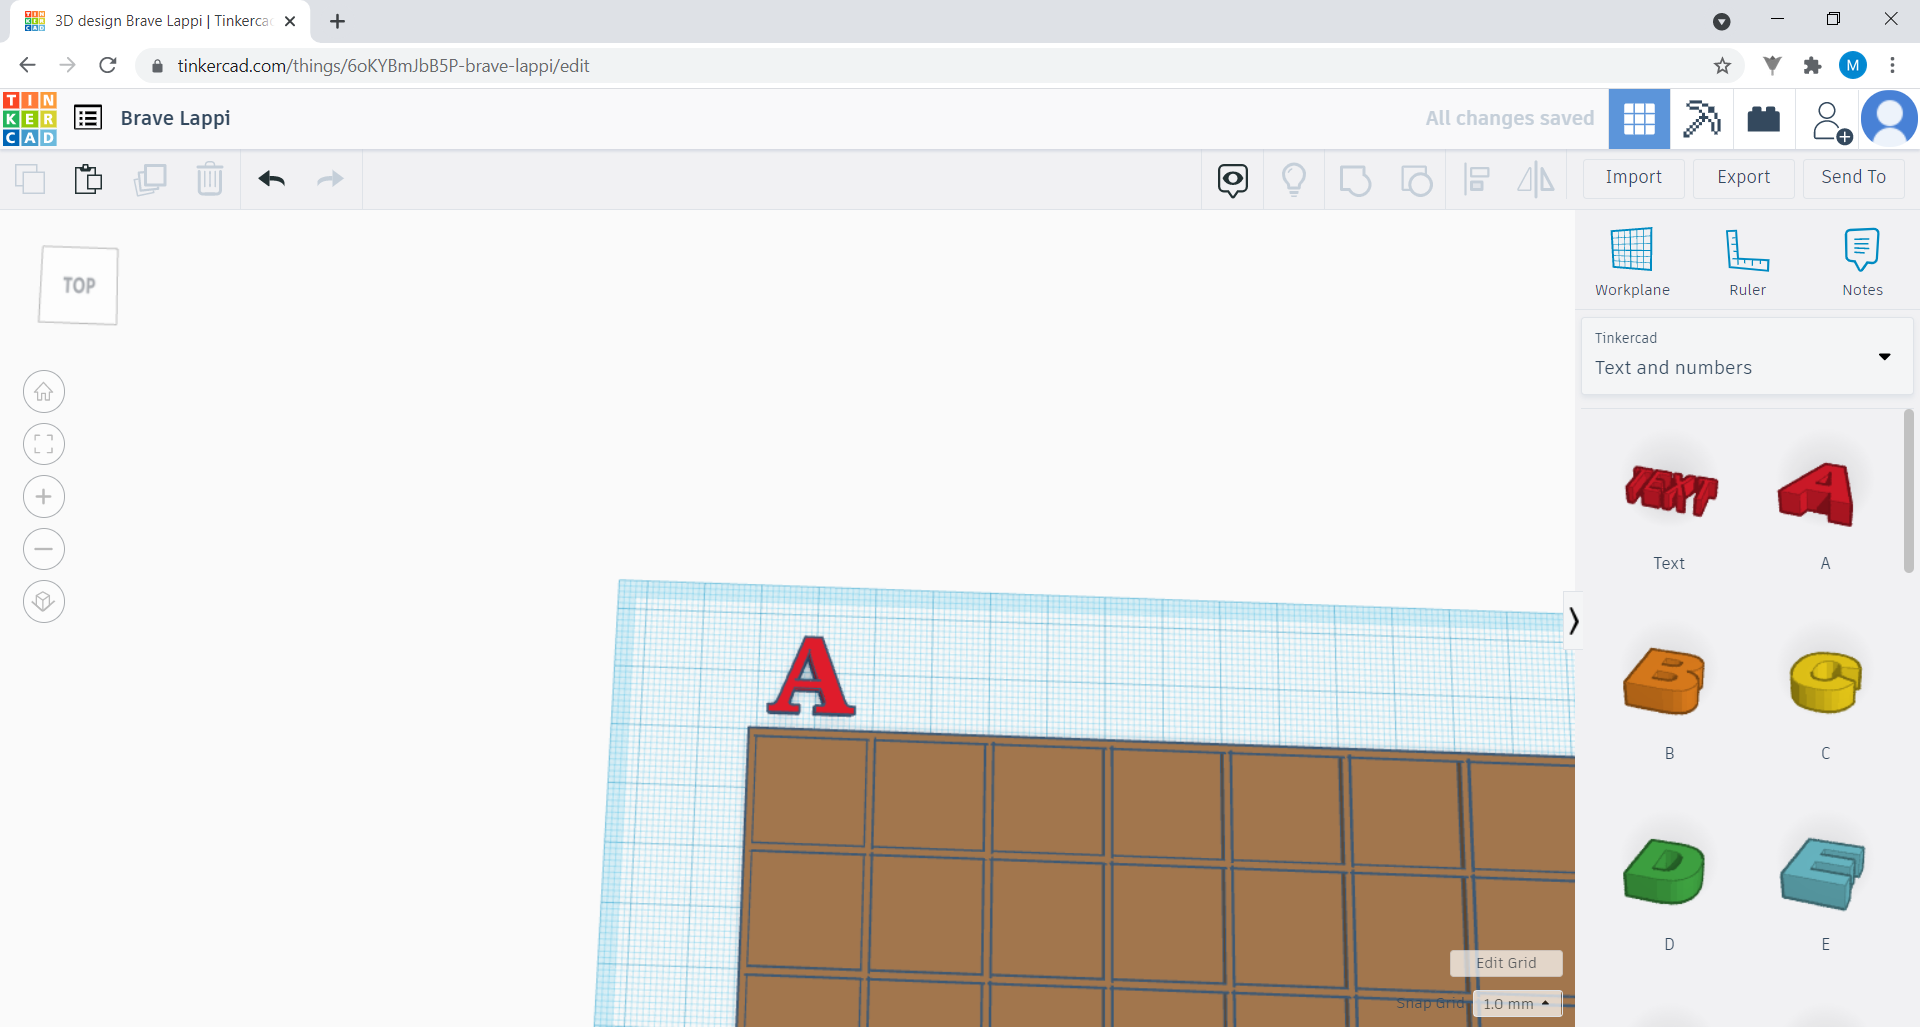
Repeat this process for letters up to J for all columns.
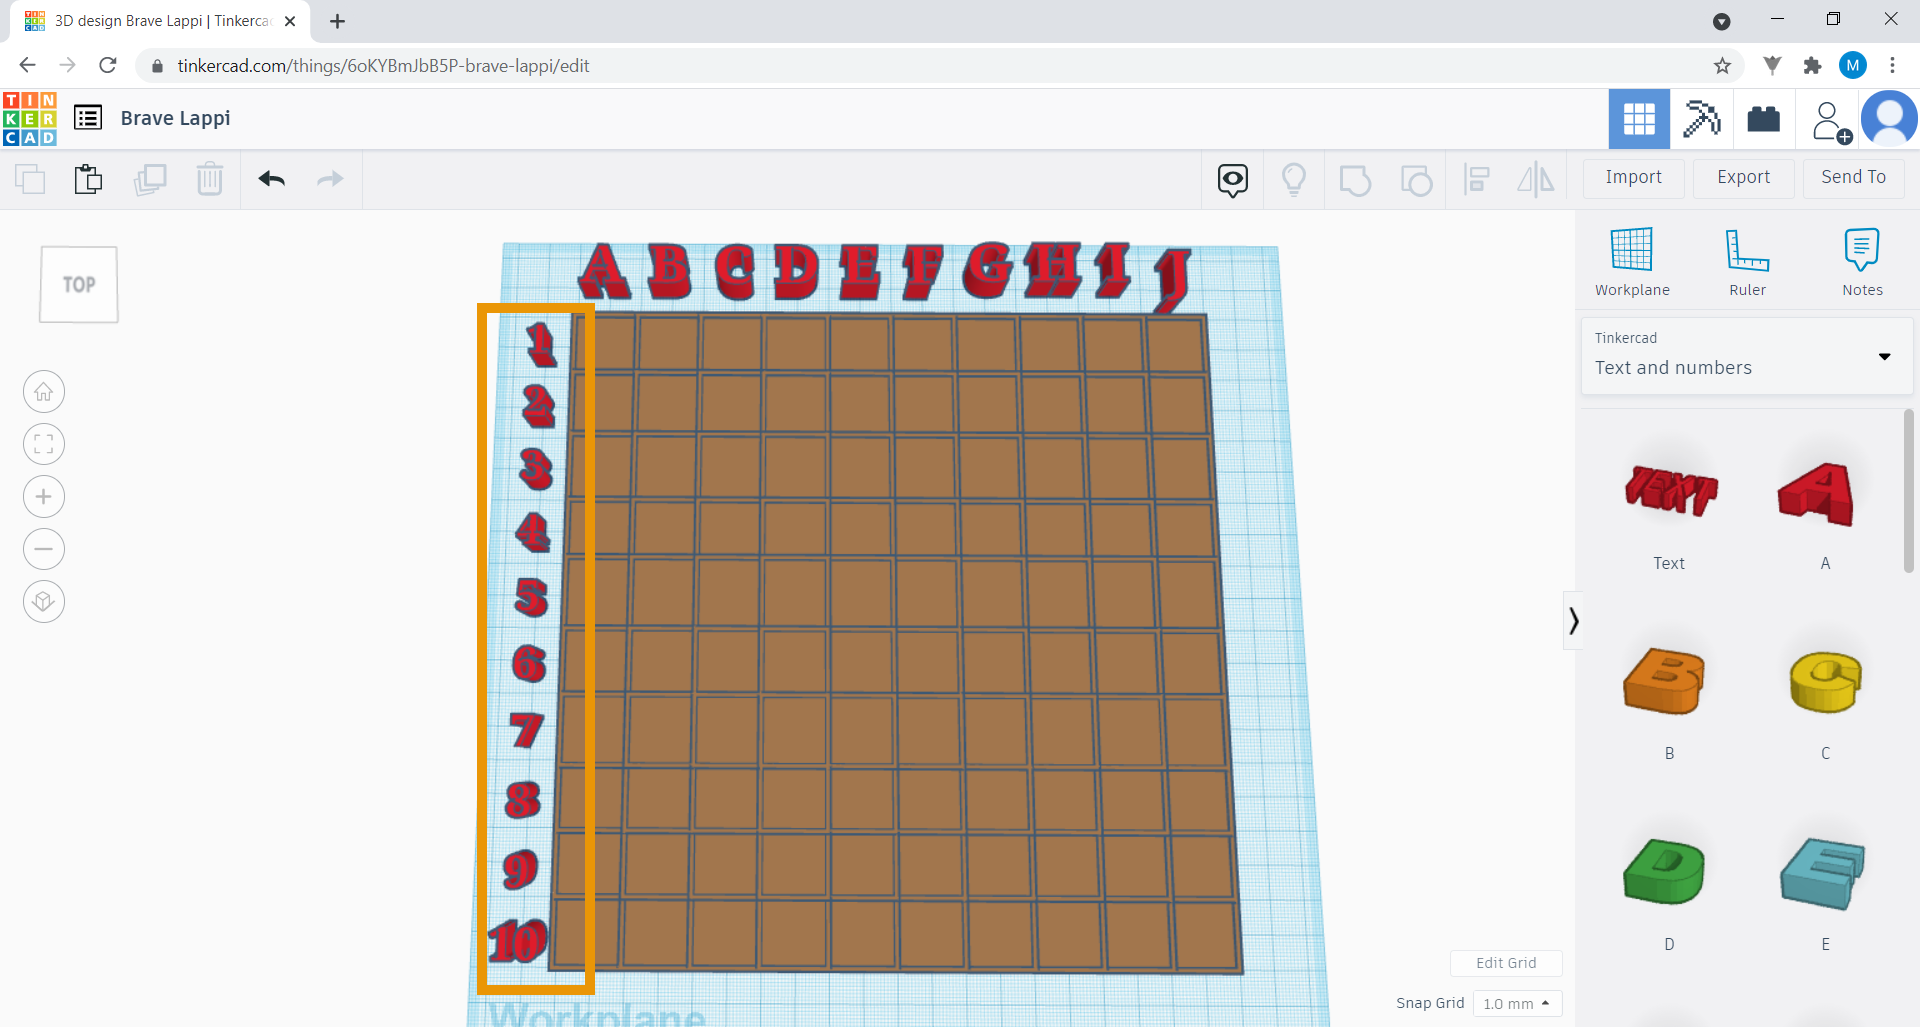
Now, in the same way, add the numbers 1 to 10 on the left side of the board. Each number corresponds to one of the horizontal lines.
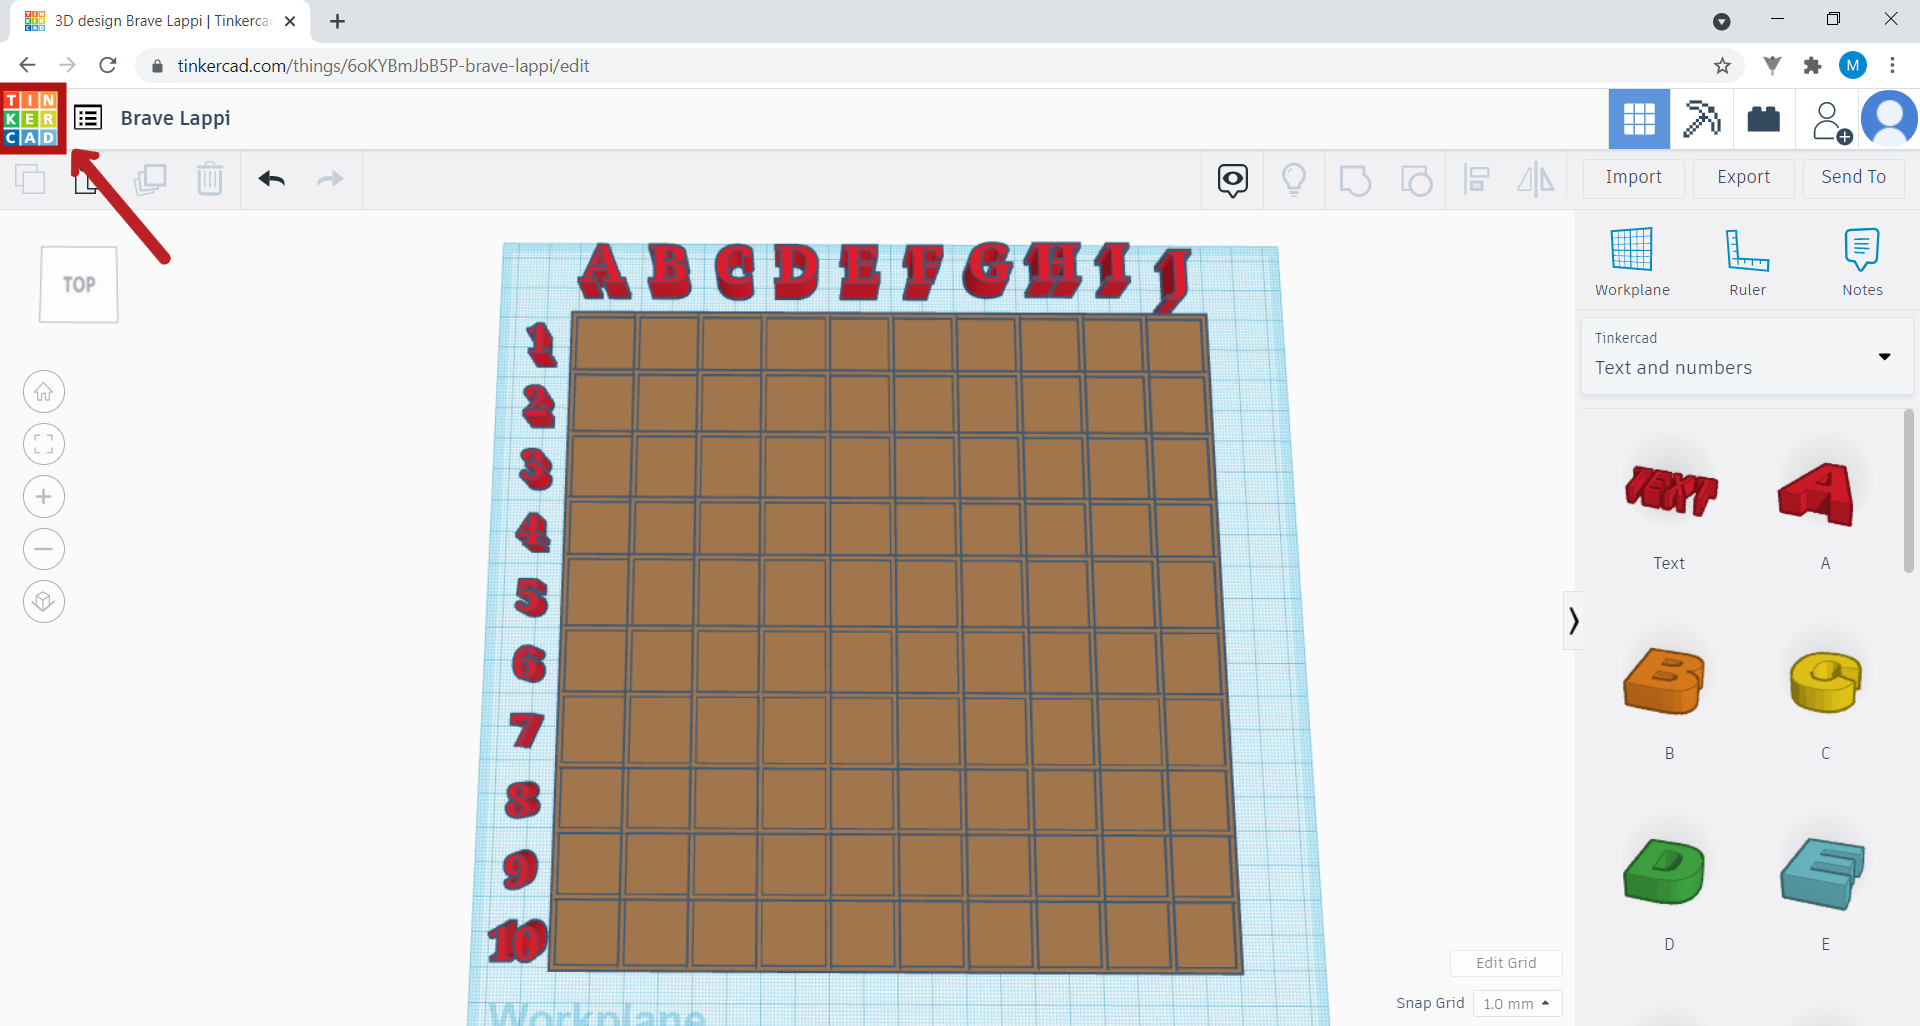
9. Some people have created objects in Tinkercad, and many have made these objects public, so that anyone else can use them in their projects. Return to Tinkercad’s main menu by clicking here:
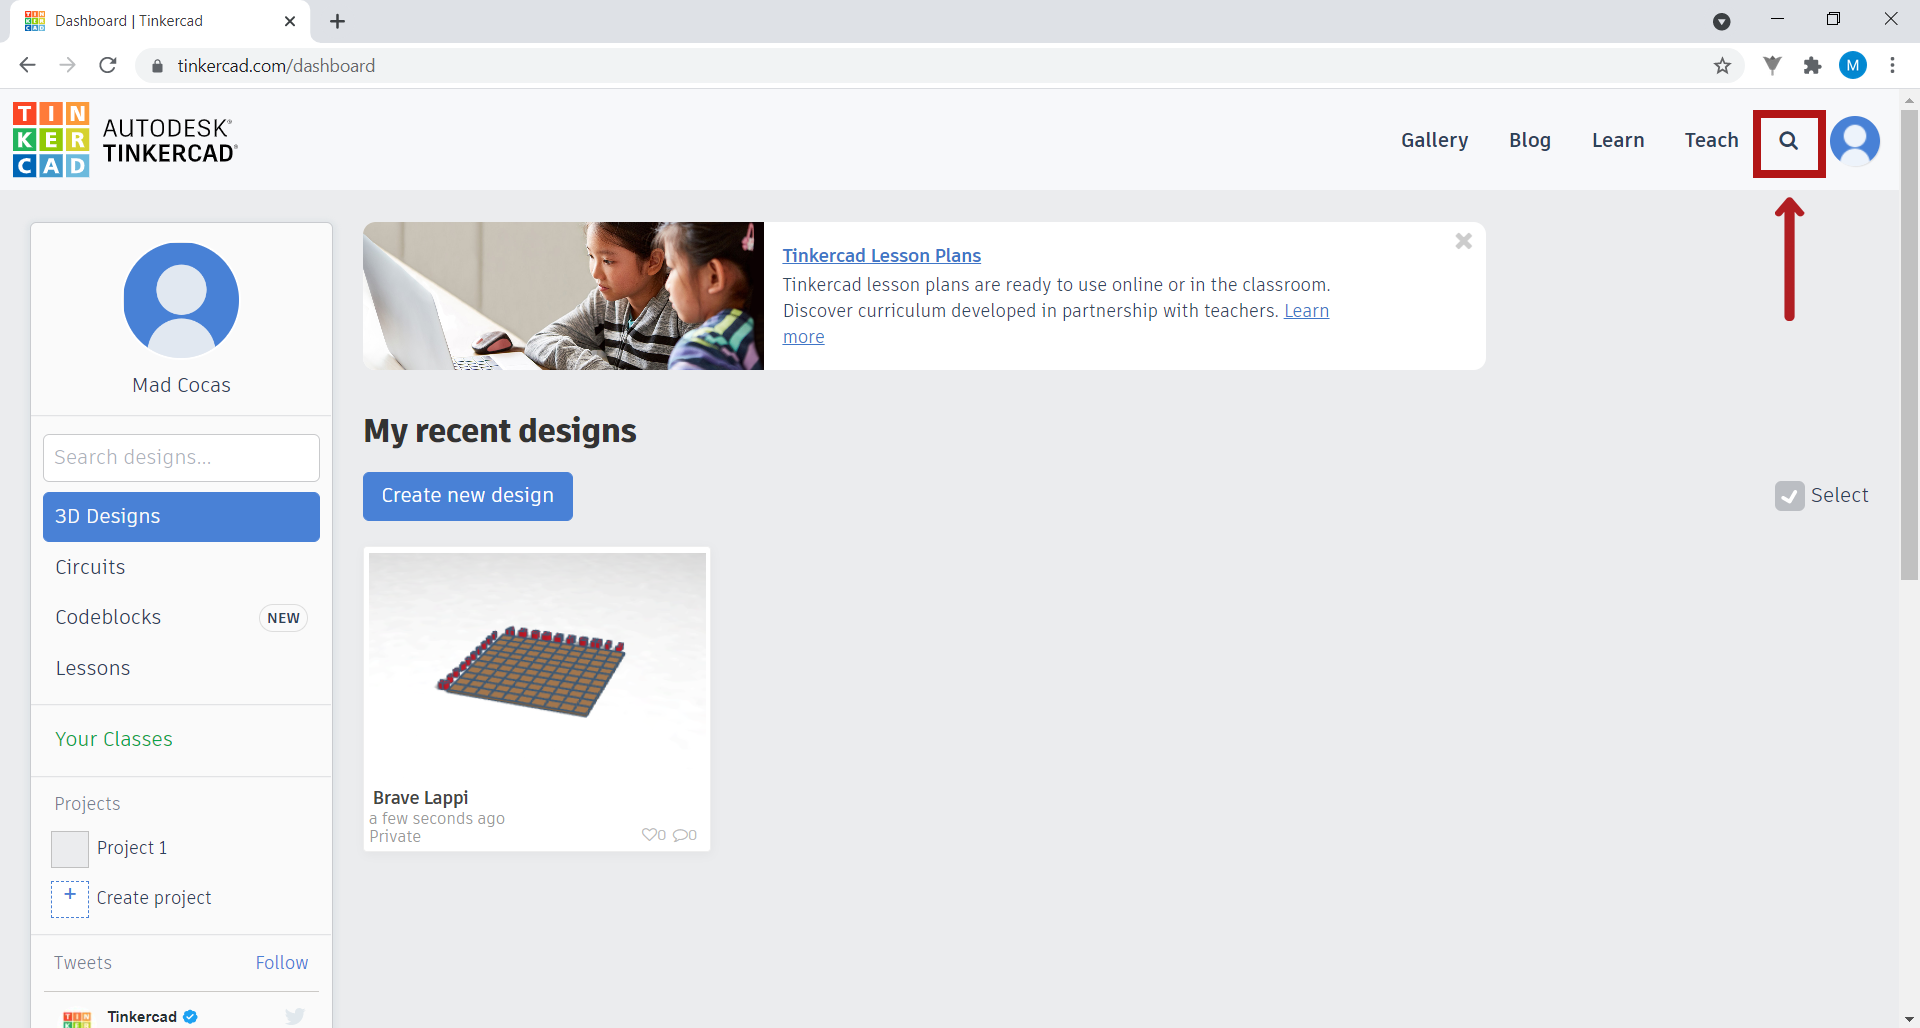
In the main menu, in the top right corner, there is a magnifying glass symbol. Click on it.
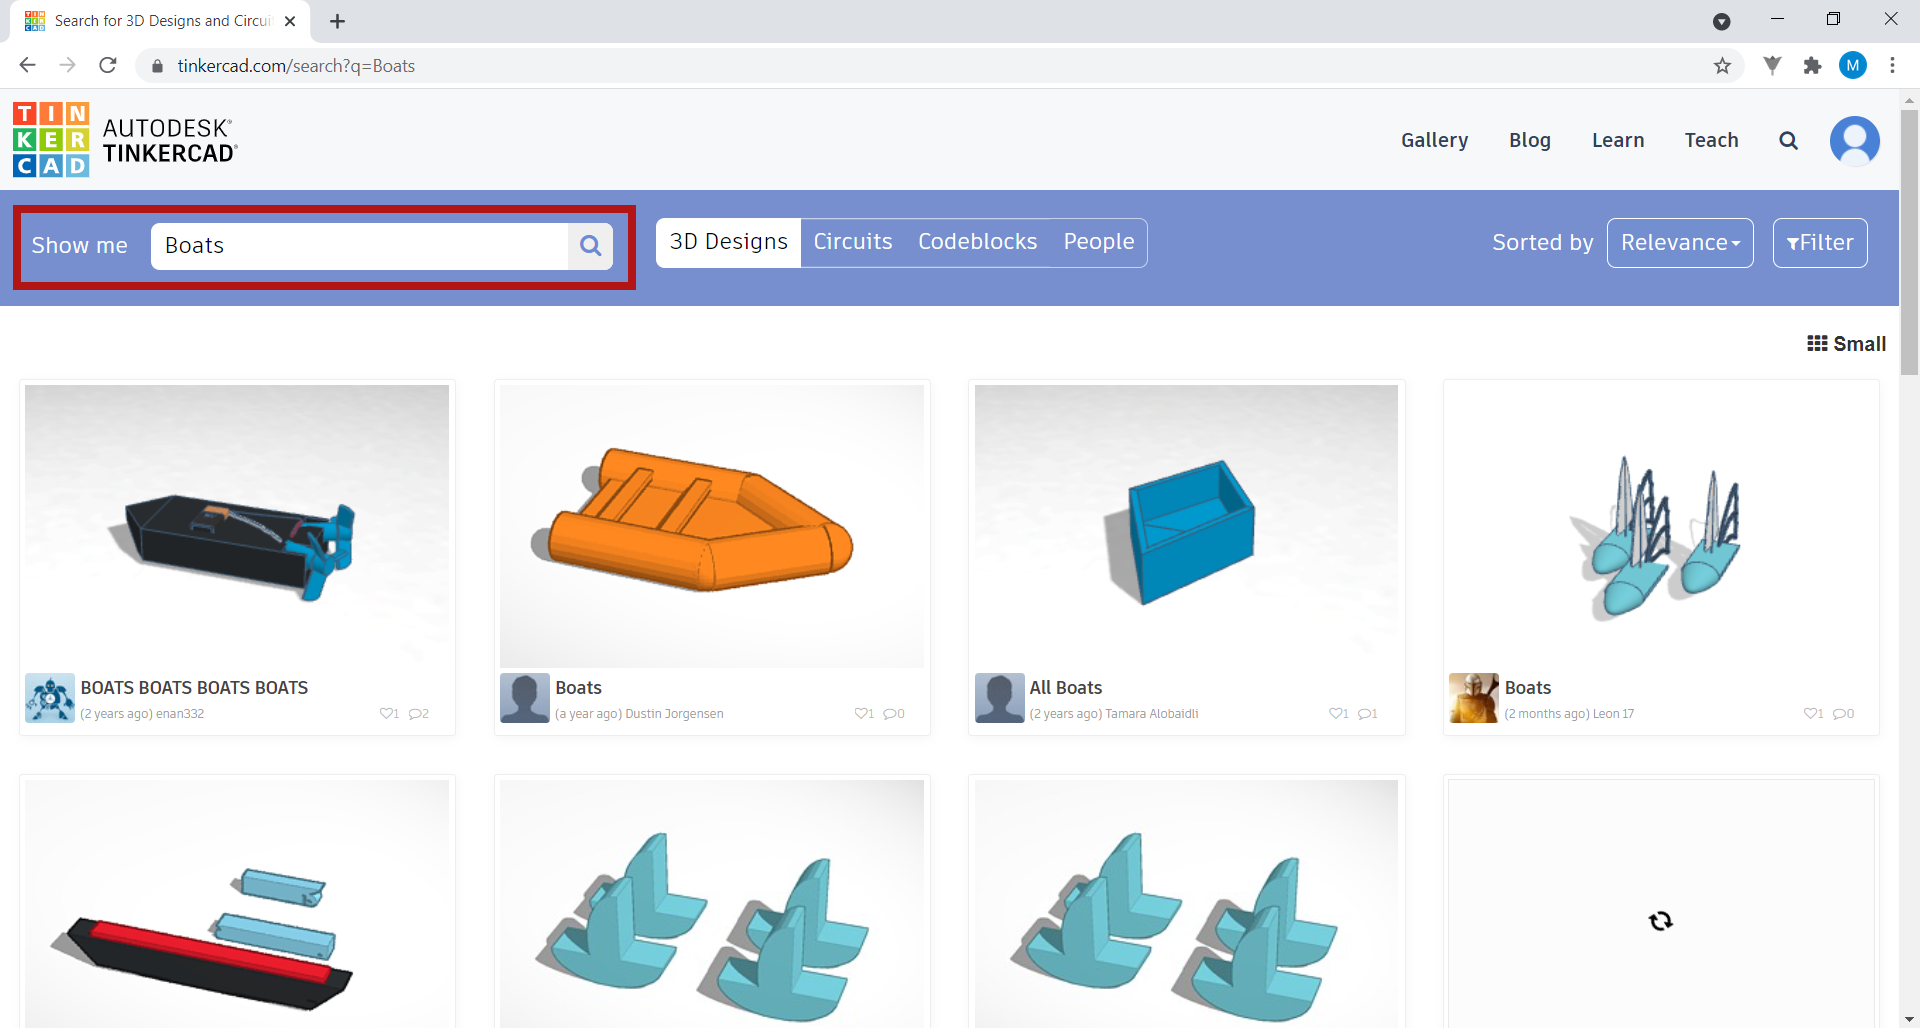
In this menu, you can search for your desired objects in Show me. For Battleship, we will need boats. Search for “Boats”.
Select one of the many options that appear. You can choose the one you like best.
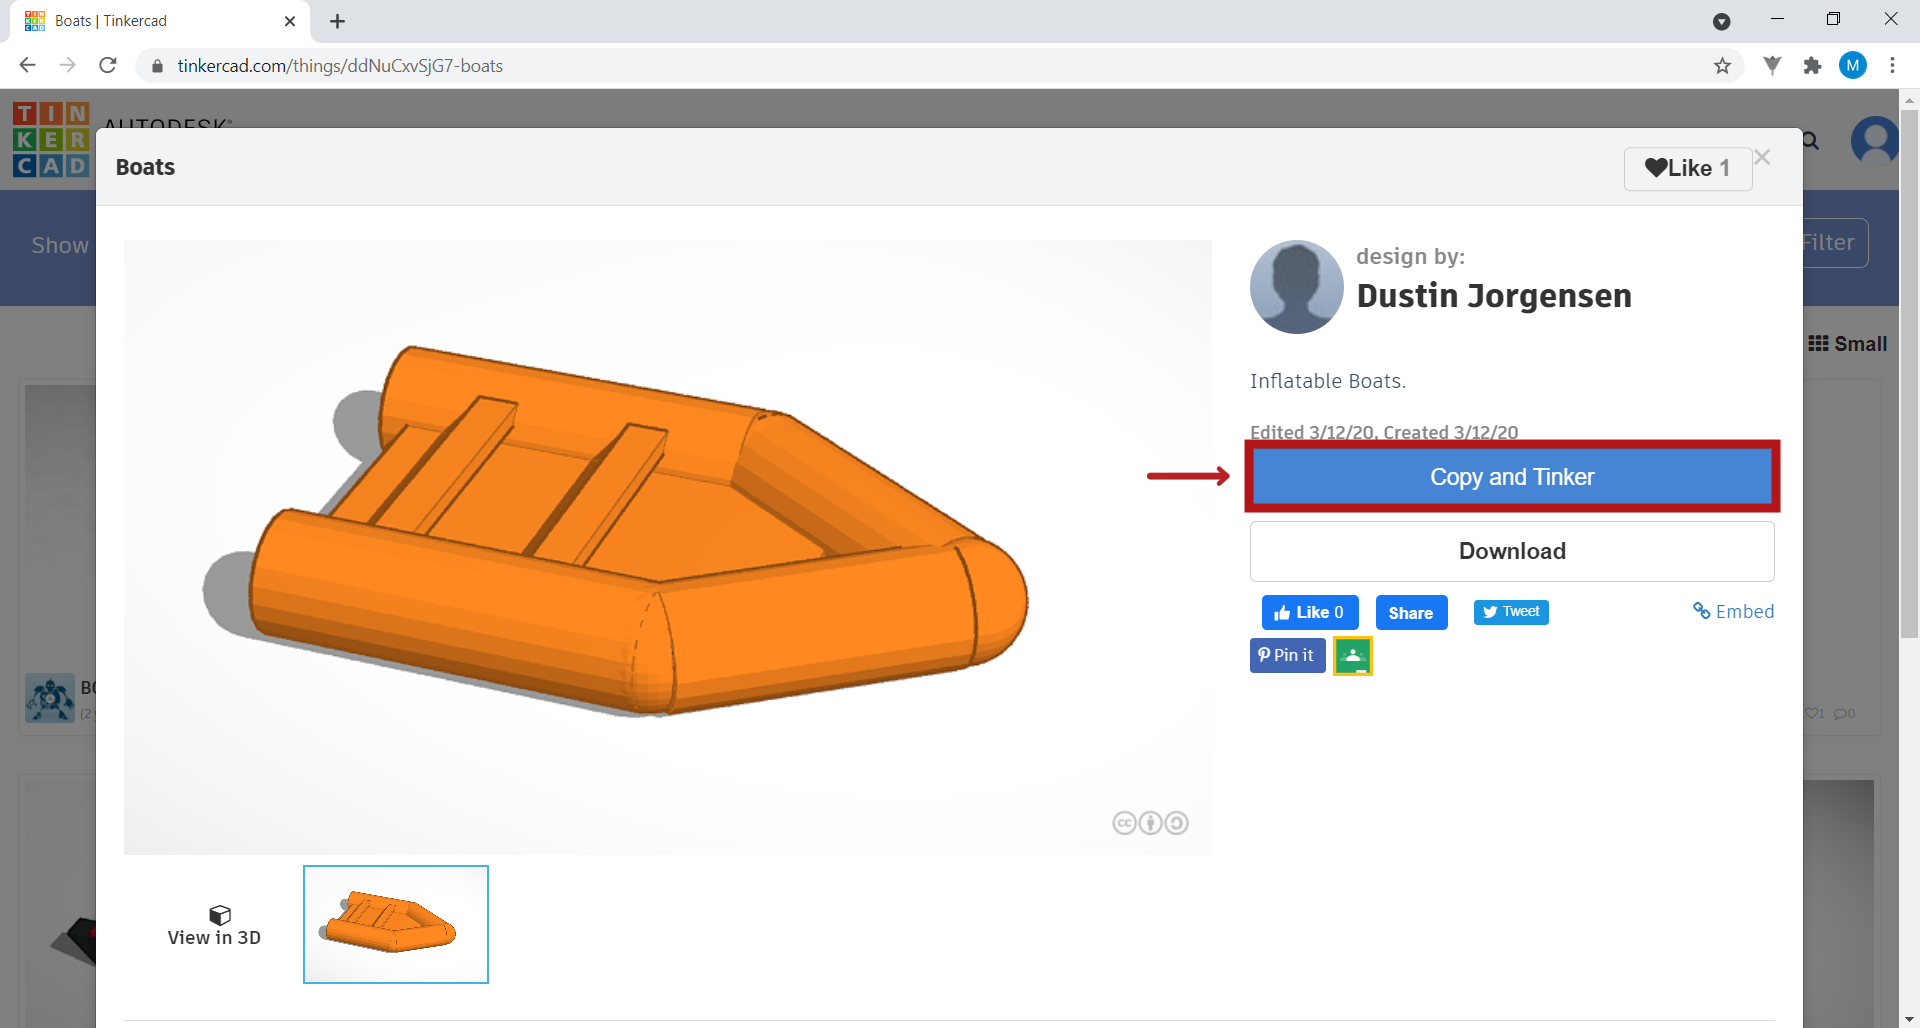
Click Copy and Tinker.
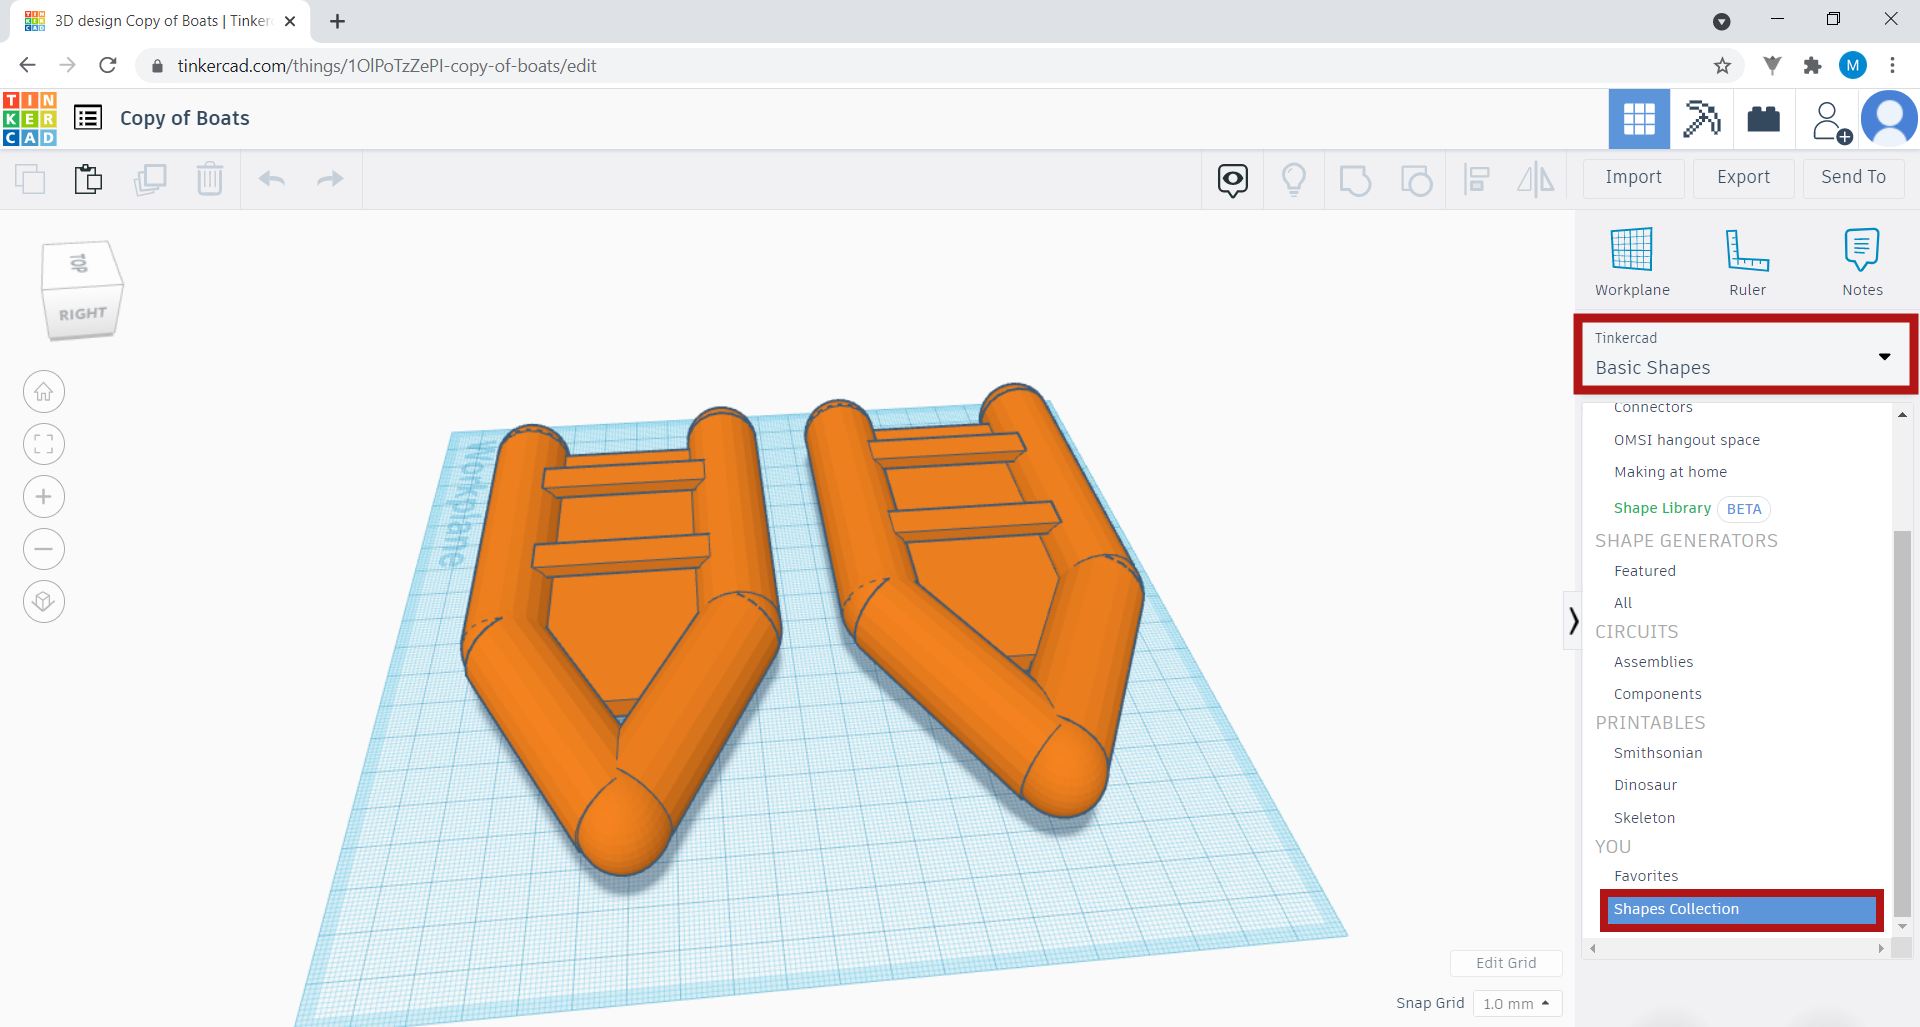
To use this object in your project, go to Basic Shapes and click on Shapes Collection.
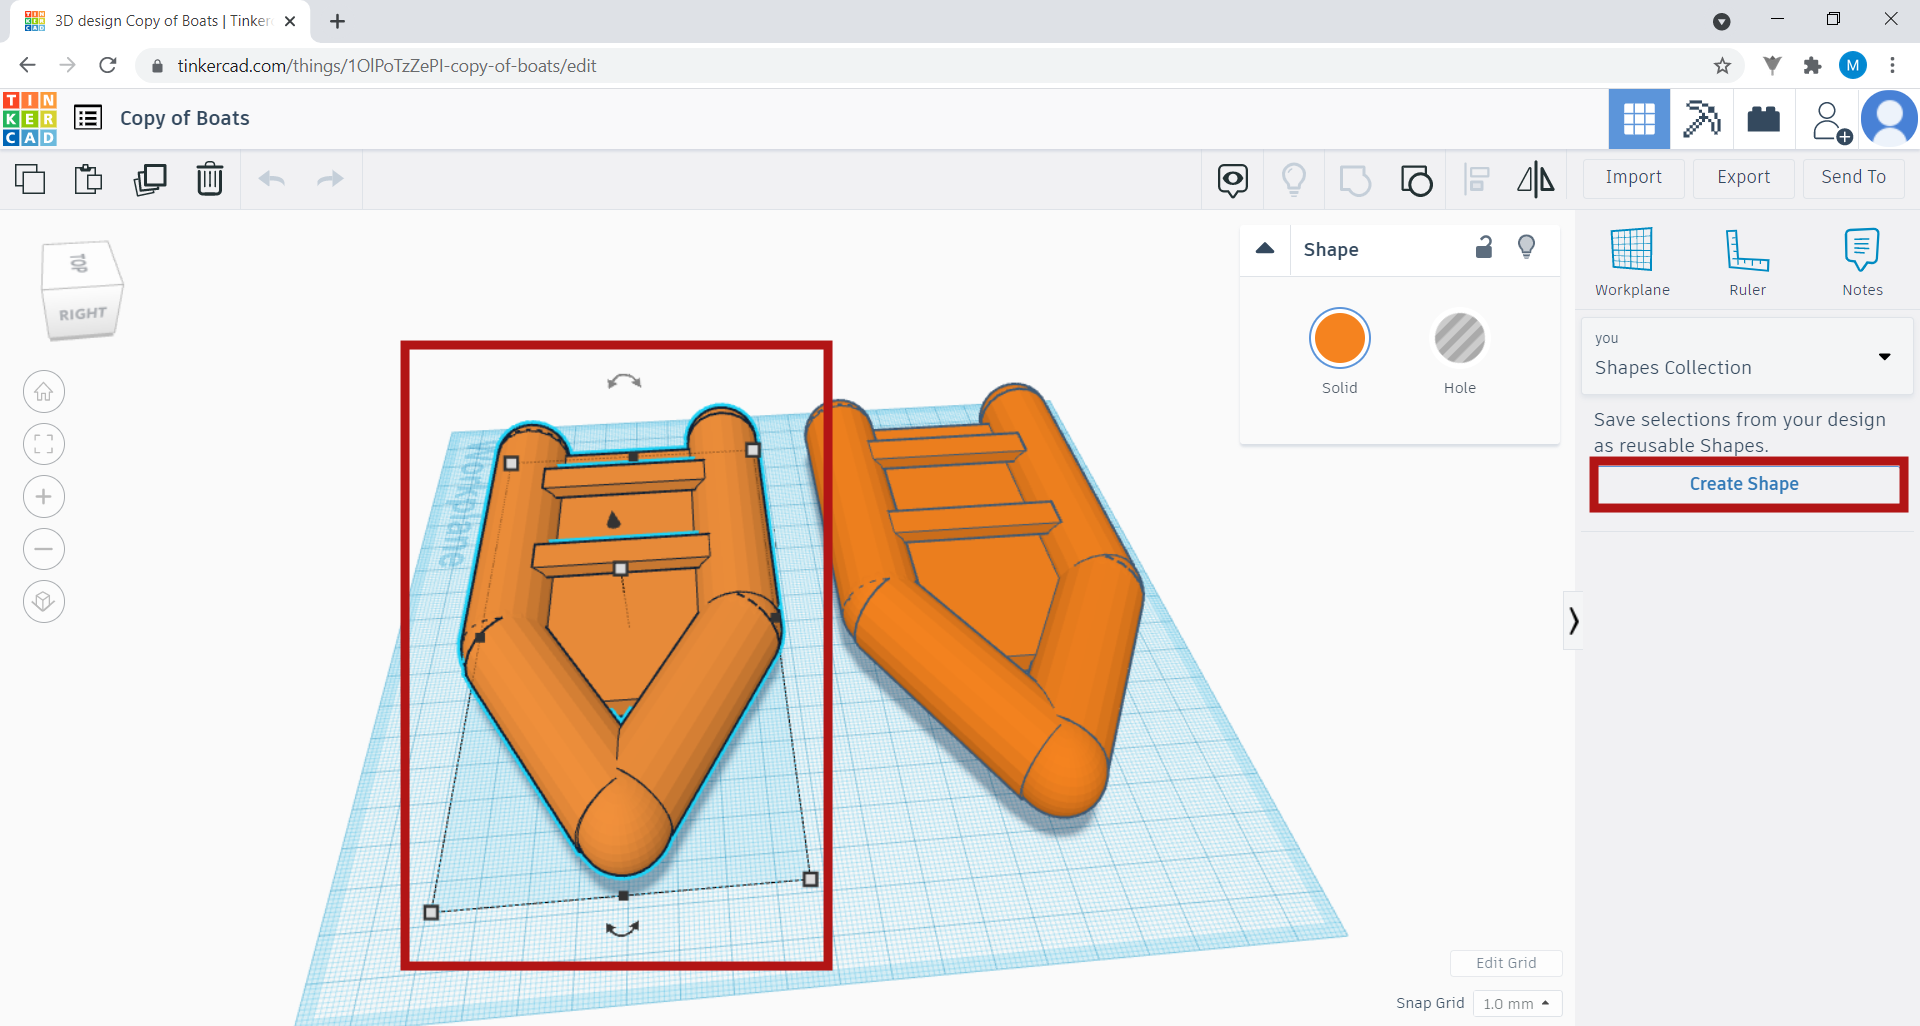
Select the whole boat, then click Create Shape.
Give the object a name. You can also write a short description of it. When you’re done, click Save Shape.

The object is now in the Shapes Collection folder, ready to be used and edited in any of your other projects.
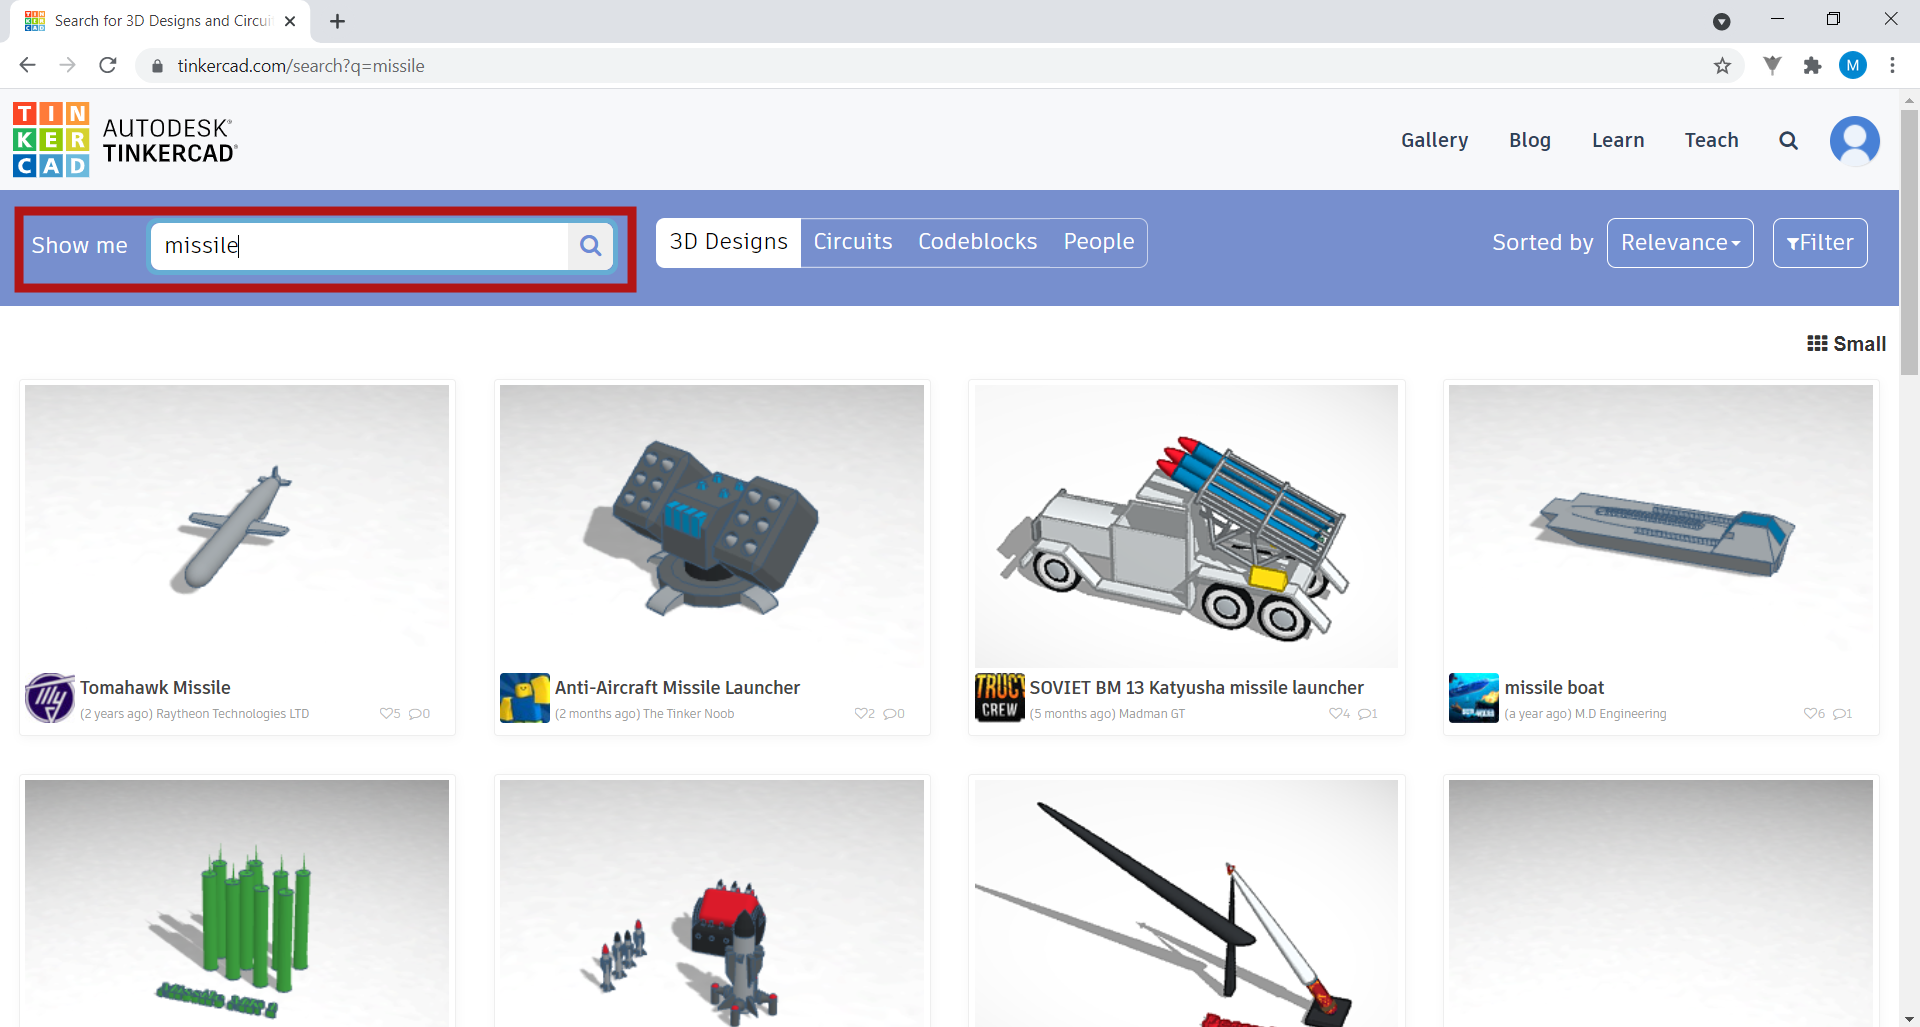
For your game, you will also need missiles for the shots that you will launch and receive from your opponent. You can create them, or go back and look for missiles made by other people. To do so, search for the word “missile”.
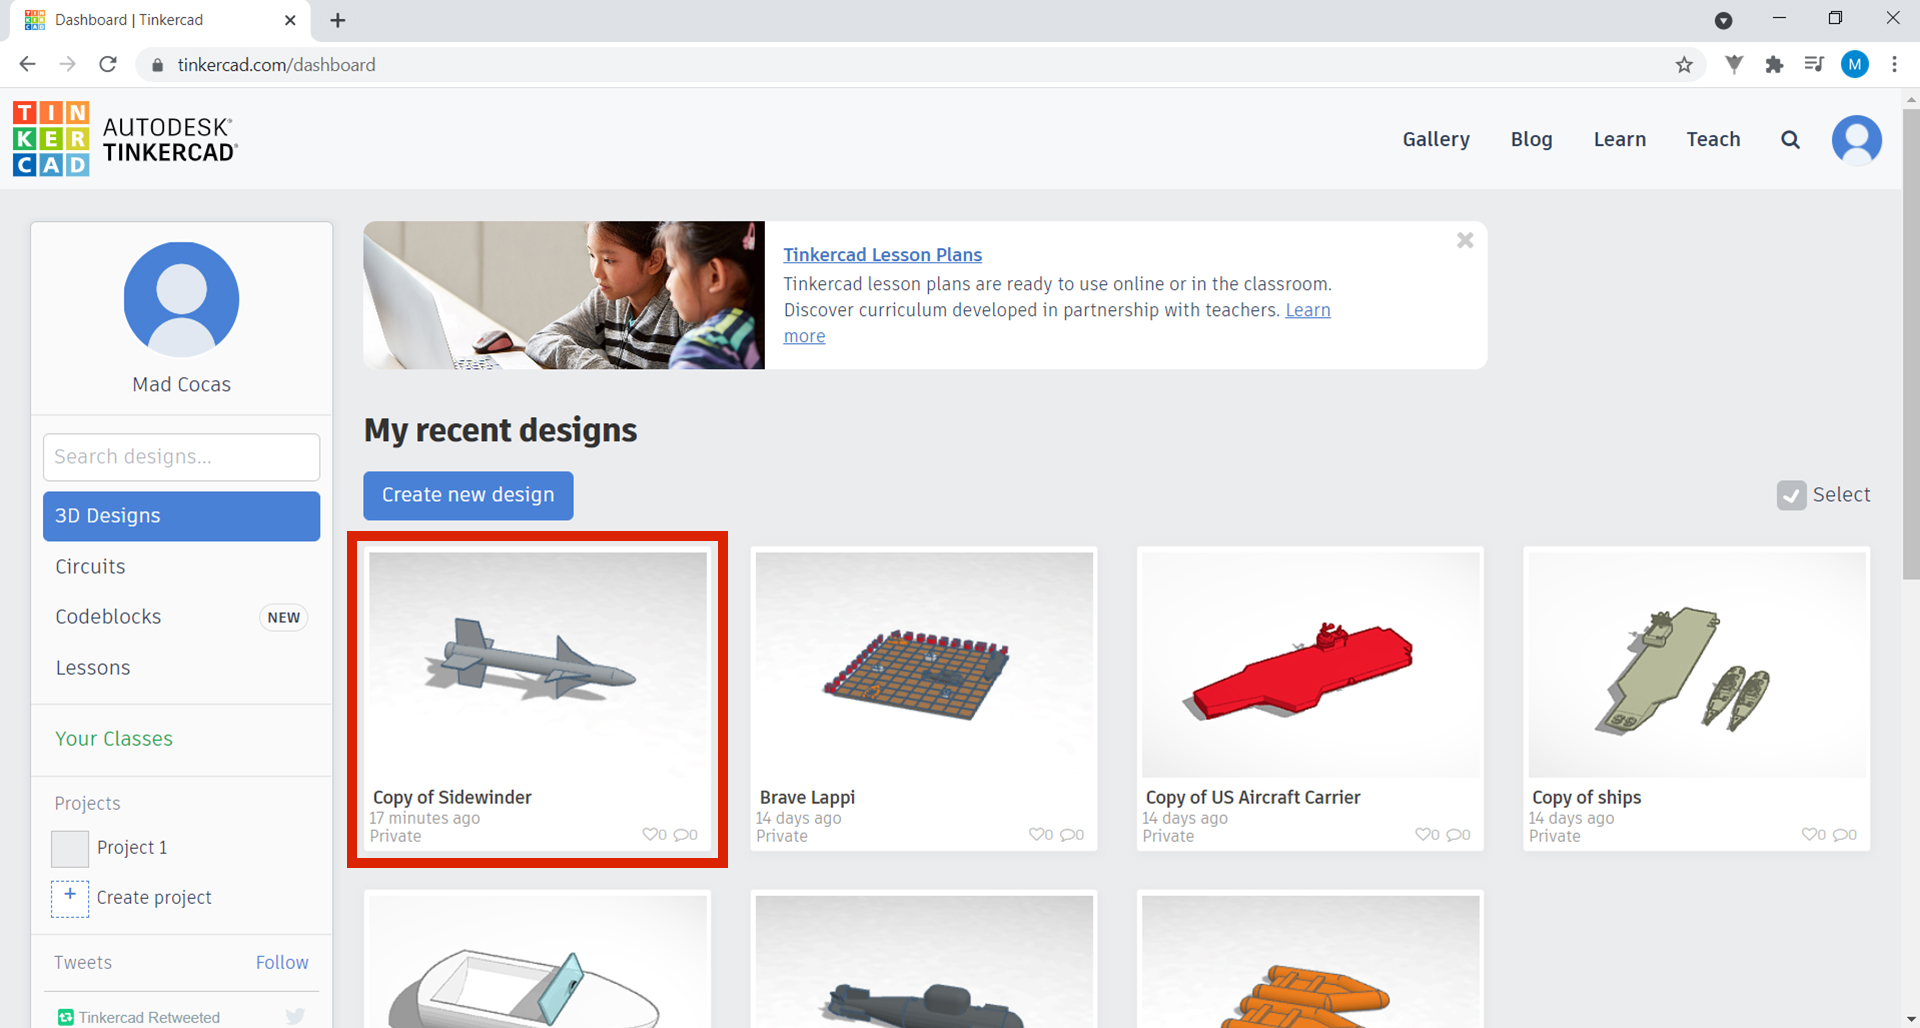
10. Go to the Tinkercad Dashboard and select the project with the board you were building.
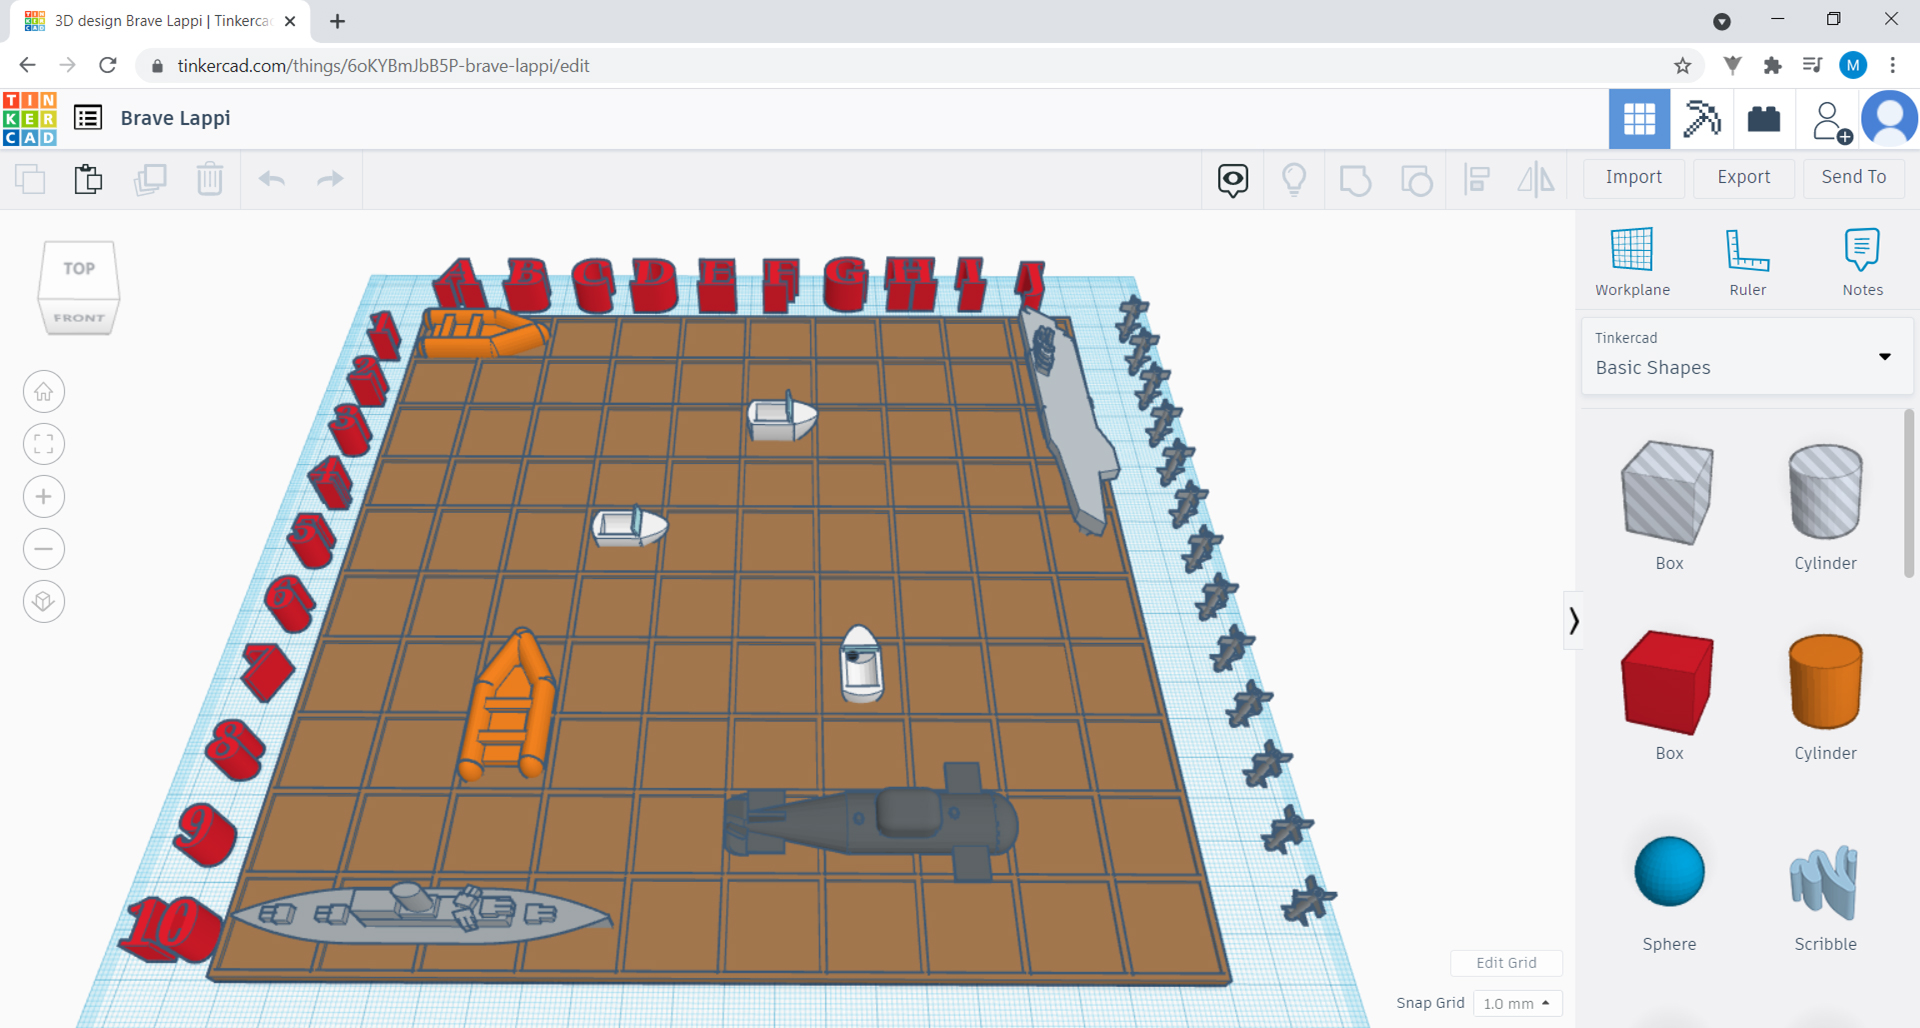
In Shapes Collection, select:
• Three boats occupying only one square of your board;
• Two boats occupying two squares each;
• One boat occupying three squares in a row;
• One boat occupying four squares in a row;
• One aircraft carrier occupying five squares in a row;
• A missile the size of a square, which you can then duplicate to mark your shots.
When everything is created, you can play with a friend. Your friend can use a piece of paper to make the Battleship board, or you can teach them everything you’ve learned in this activity, and each of you can use your own digital board! Let’s look at an example of what a move could look like.
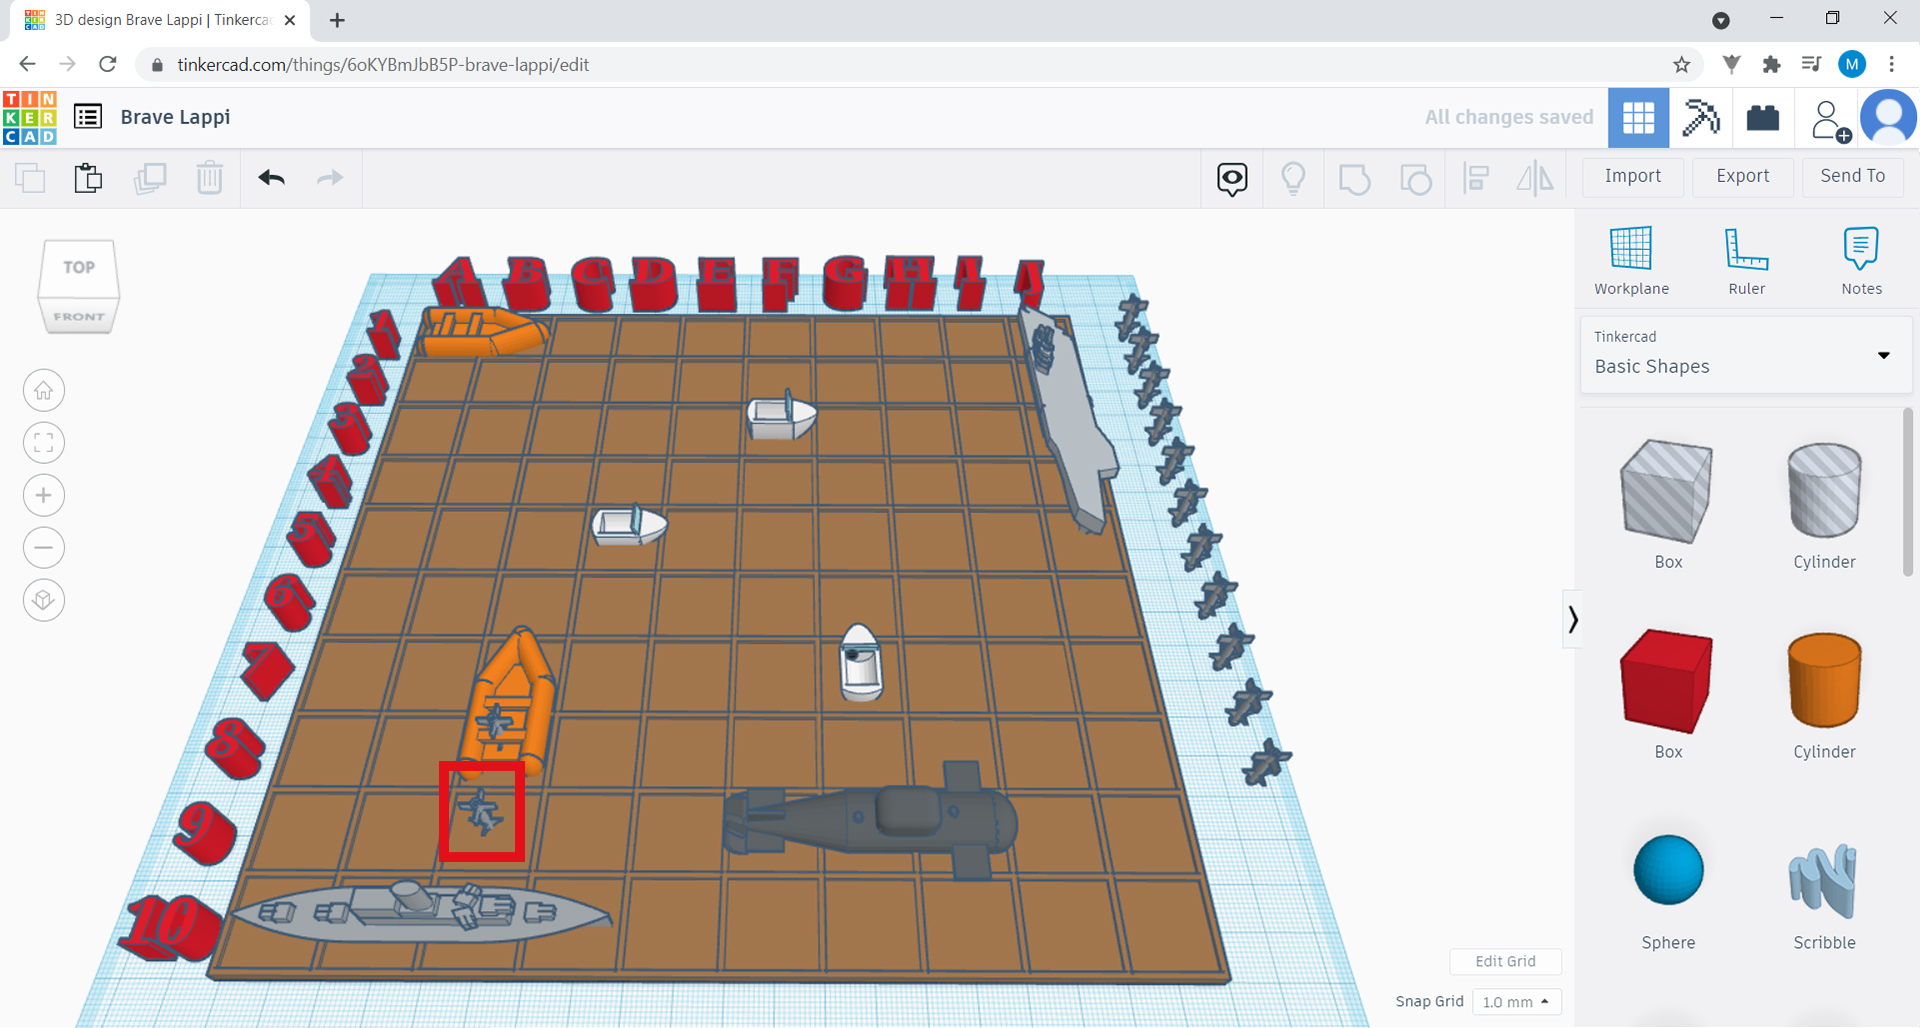
11. Your opponent says “Shot at C8”. Put a missile in the C8 square. The missile hit a boat with two squares, so you say “Hit, on a boat of 2”.
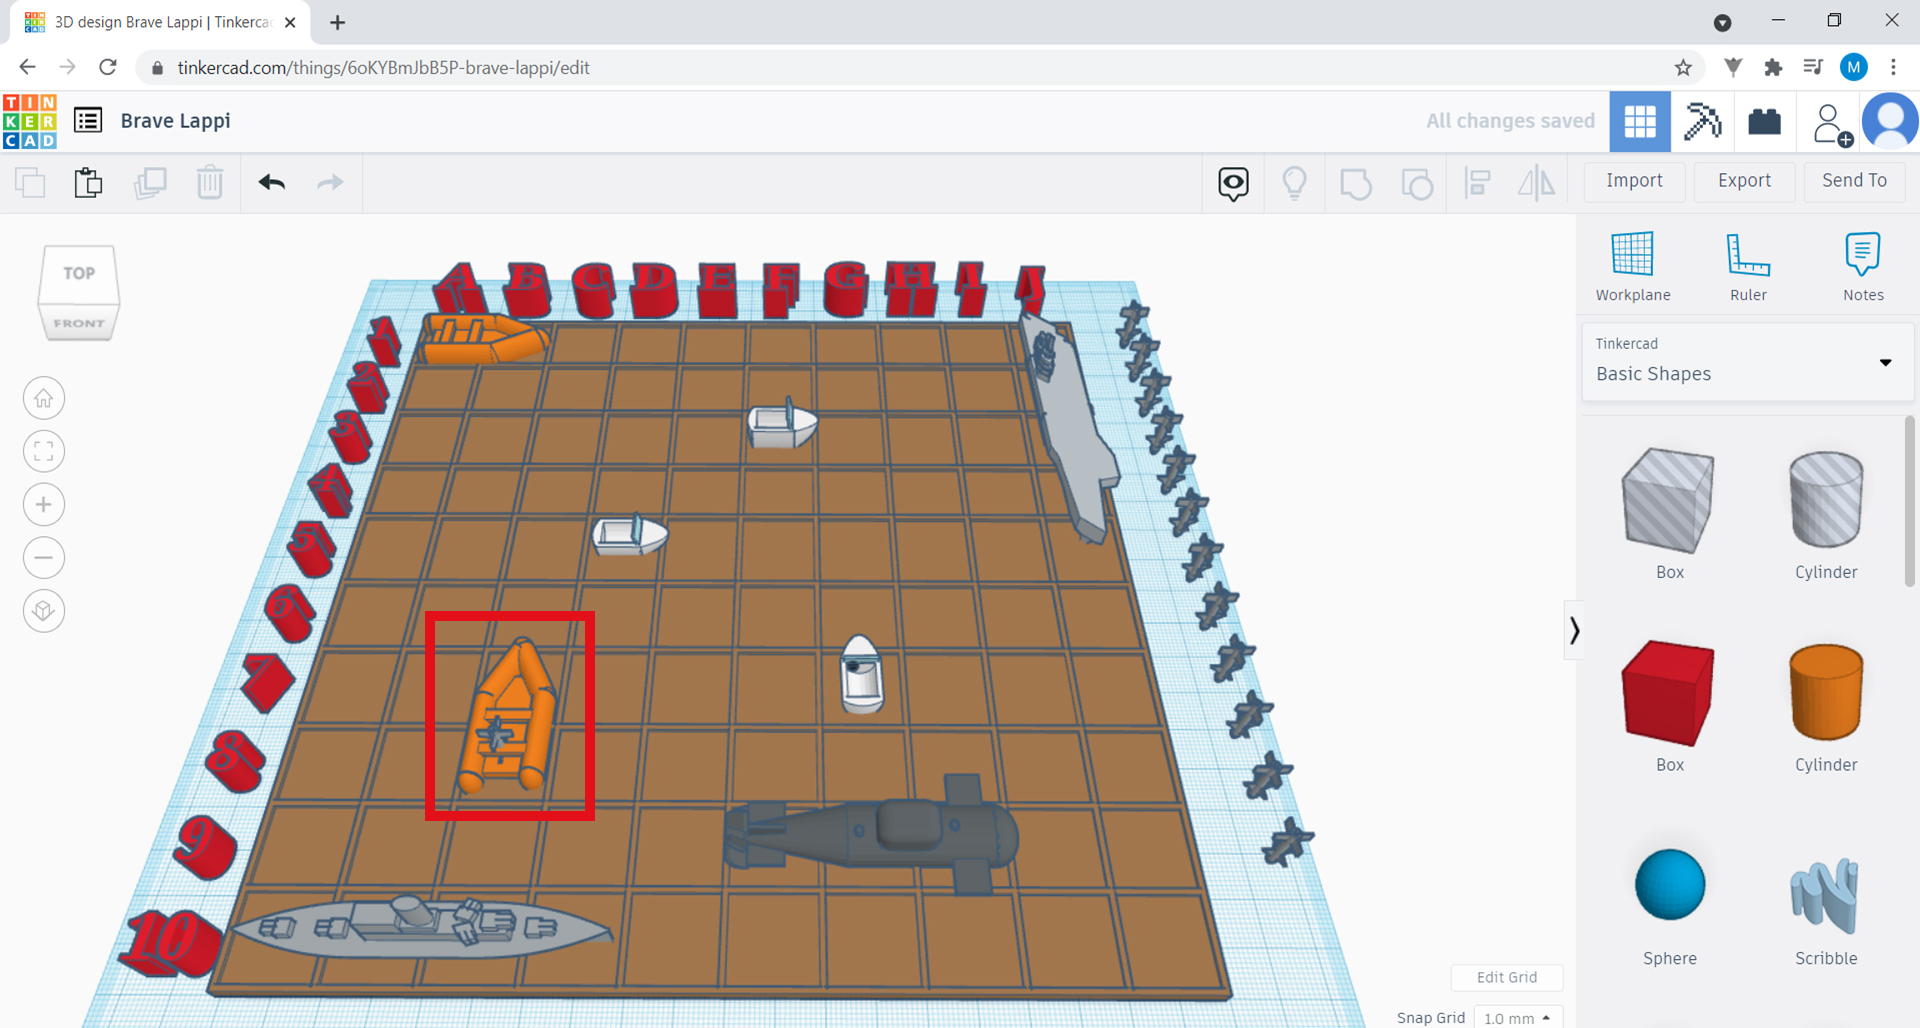
Since the player has hit a boat, he/she goes back to the game, and says, for example, “Shot at C9”. You put a missile on C9. The missile hits the water. Say “water”. Now, it’s your turn to play. Each player must guess where the opponent’s boats are and, when they figure it out, sink them with missiles! A player sinks a boat when all of the squares it occupies are hit.
12. As you play, write down the positions of the shots you have fired on a sheet of paper so that you don’t forget. The shots that have been fired at you will be recorded by you on your board, with a missile in the corresponding square. Got it? So finish your game, and have fun playing it!