Activity
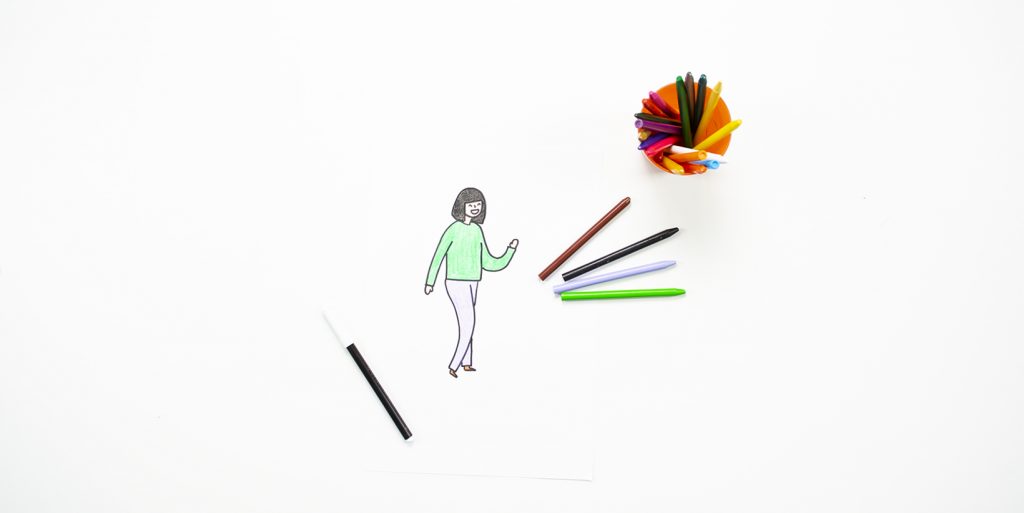
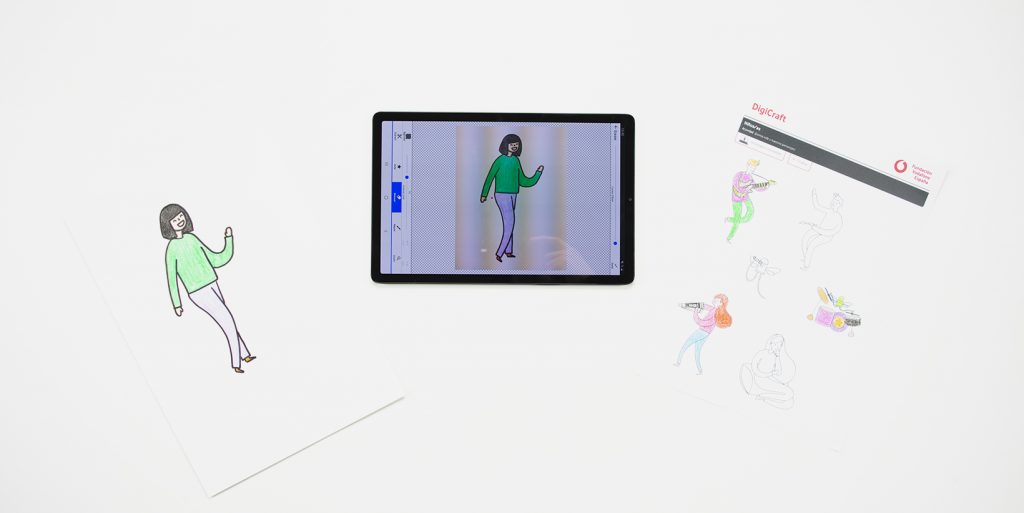
1. To draw your story’s main character, grab a piece of paper and a pencil. After you draw your character, use a black marker to outline the drawing and then colour it in, without leaving any spaces uncoloured.
Take a picture of the drawing using the tablet’s or smartphone’s camera.

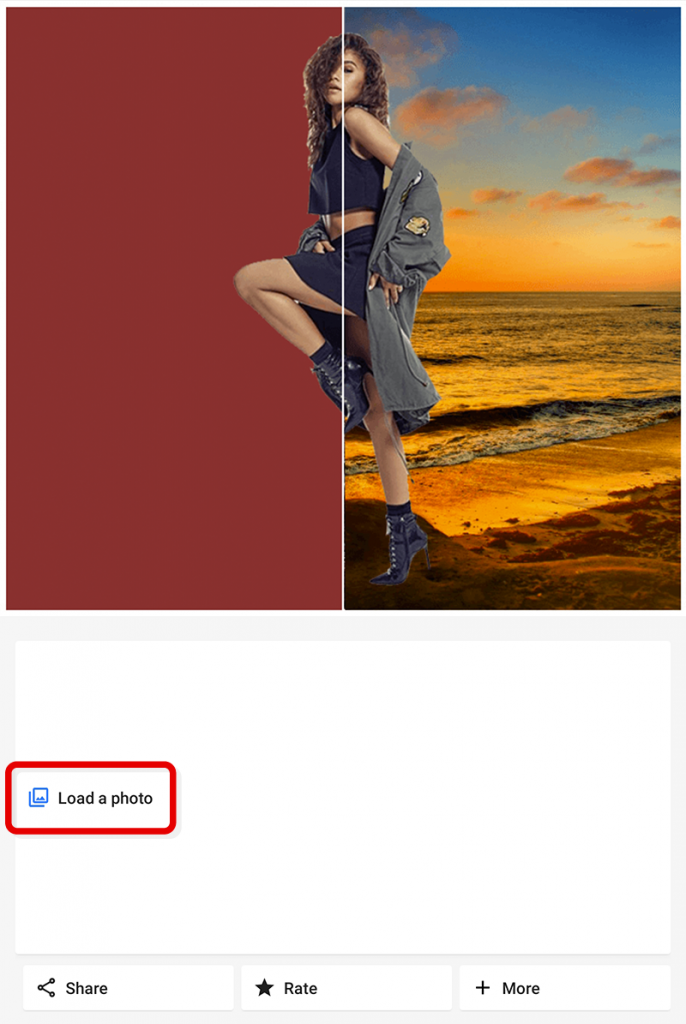
2. Open the Background Eraser app and choose the option Load a photo. During this process, the file explorer may ask for permissions to allow the app to access photos, videos or other files on the device. With the supervision of an adult, click on ALLOW.
Select the Gallery option and choose the photo of your character.

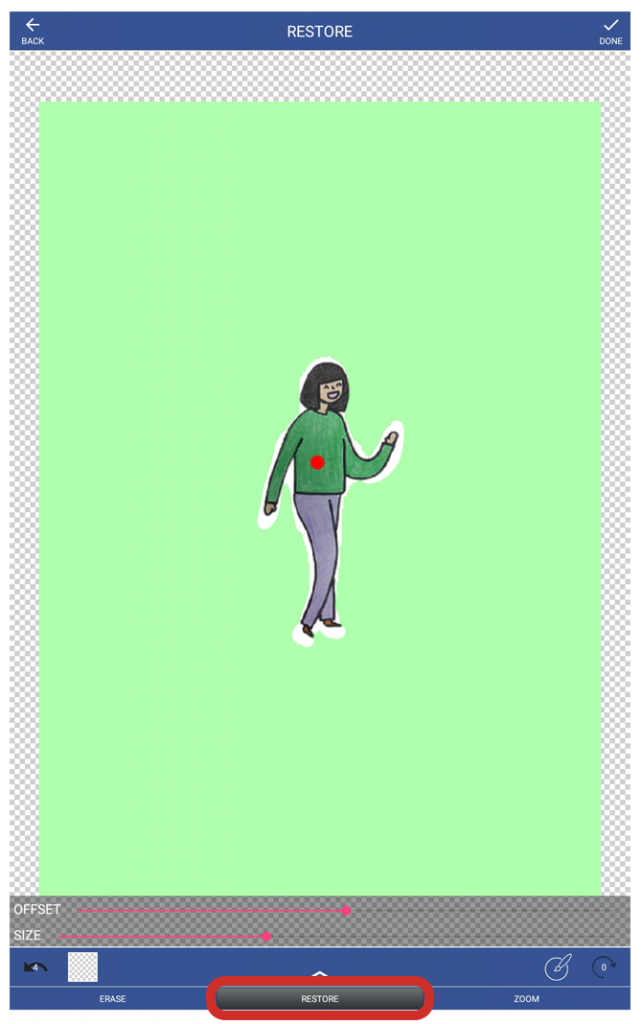
3. The app automatically marks the background to be removed in green. In Restore, adjust the size of the cursor and select the parts of your drawing, in green, being automatically deleted by the app.
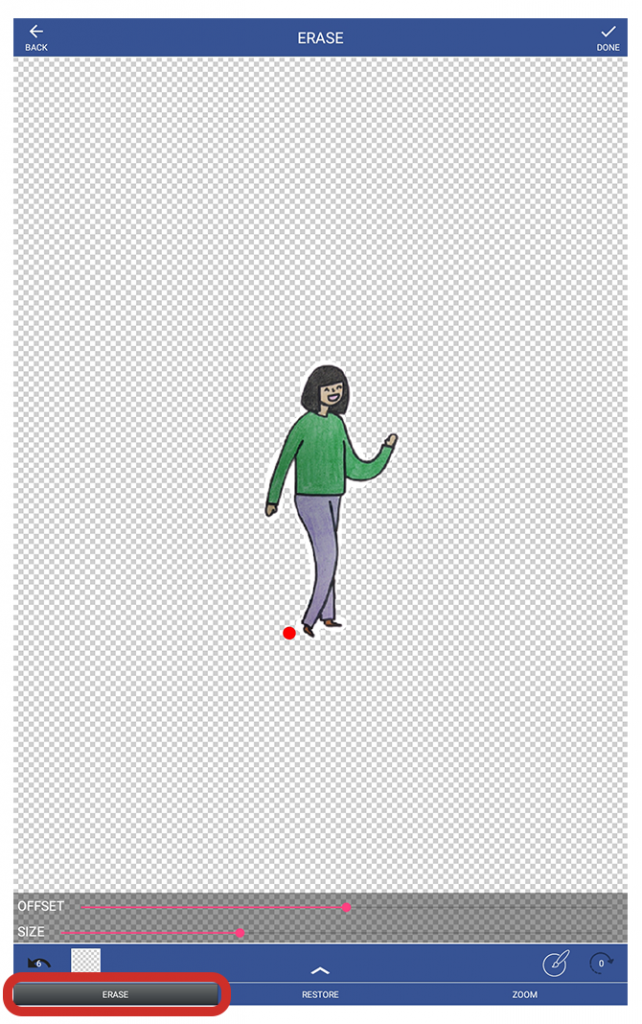
Click on Erase and tap all the parts you want to delete to remove all of the white background around the character. Tap the areas you want to delete as many times as needed.
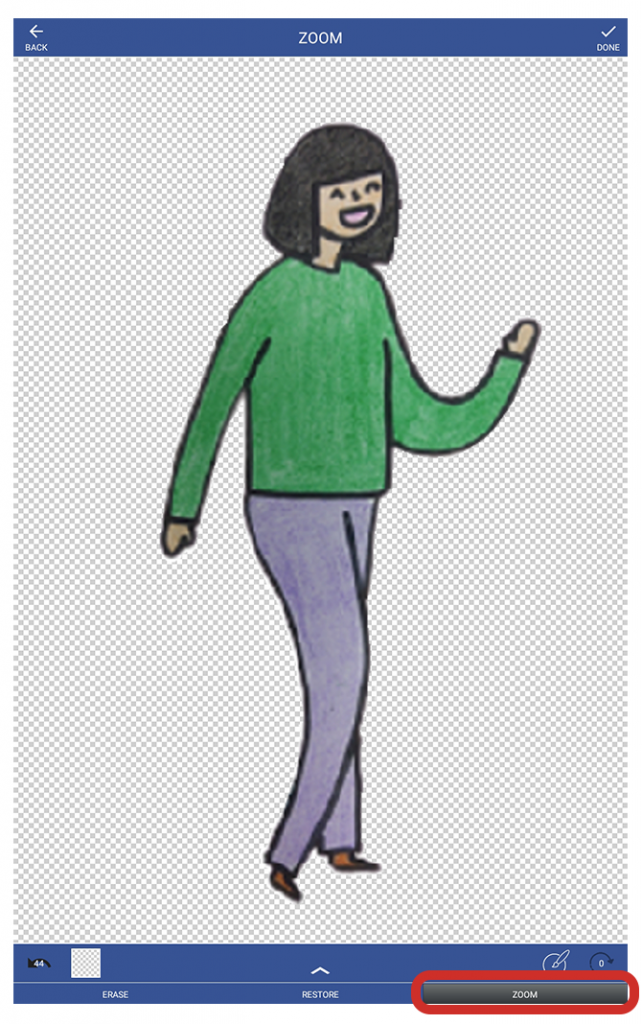
Zoom in so that the drawing’s selection is perfect!

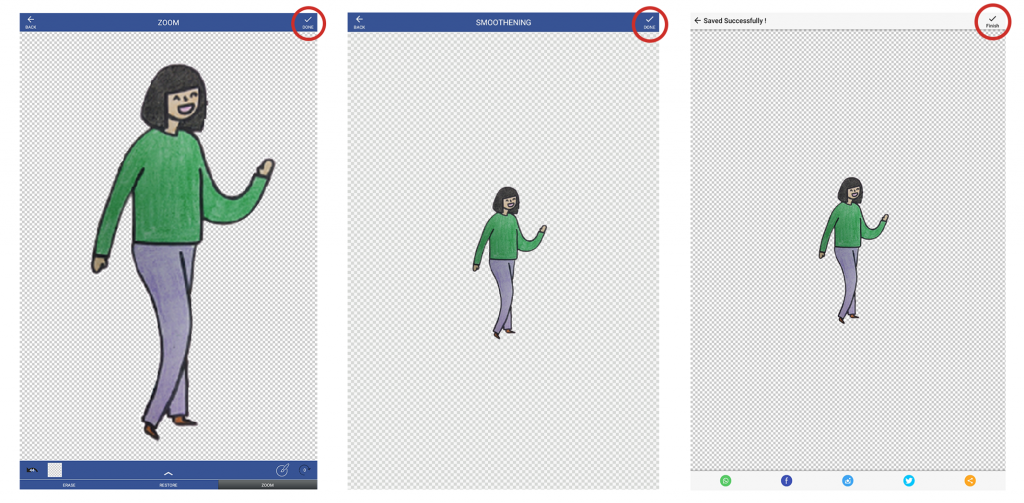
4. Once the entire background has been deleted, save the image by clicking on Done, then in the next screen by clicking on Done again. Finally, click on Finish.
SIDE NOTE: You may click the images to amplify.

5. Repeat the previous steps for each character you want in your story. In addition to creating your own characters, you can also use DigiCraft characters from the document downloadable characters to colour.

6. Download the backgrounds available at Materials and preparation, which you will use later to create your story.

7. Now that your characters have been created and you have backgrounds available, think about the story you want to tell.
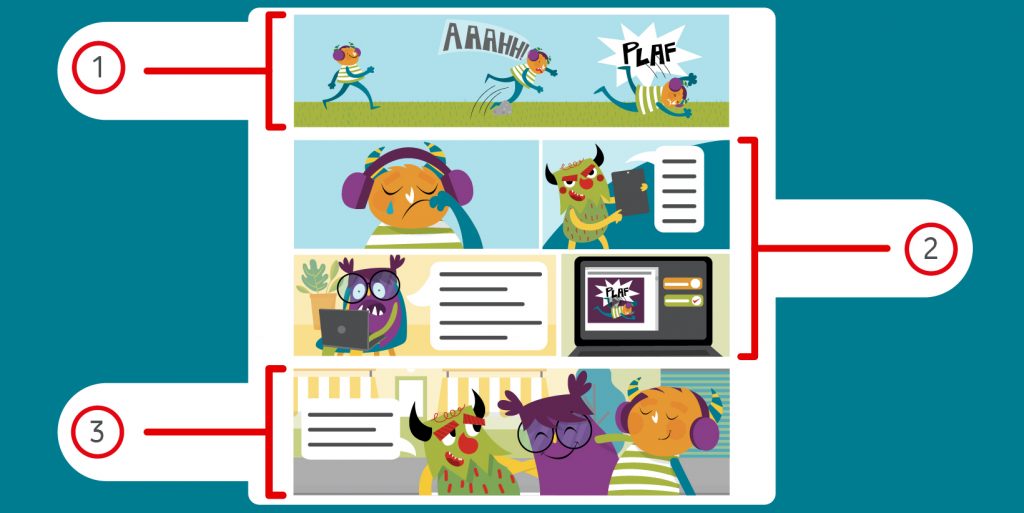
Each story should have three parts:
• Introduction: describing the scenario, presenting the characters and, if applicable, highlighting an important feature.
• Development: part in which an event forces the characters to act.
• Conclusion: how the situation or problem is resolved.
A comic strip is a sequence of images which tells a story and is comprised of panels (a square or rectangle describing a scene), tiers (a sequence of panels in a line) and one or more pages (a full page of tiers).In your story, you will have one page with one panel for the story’s introduction, four panels for its development and one panel for its conclusion.

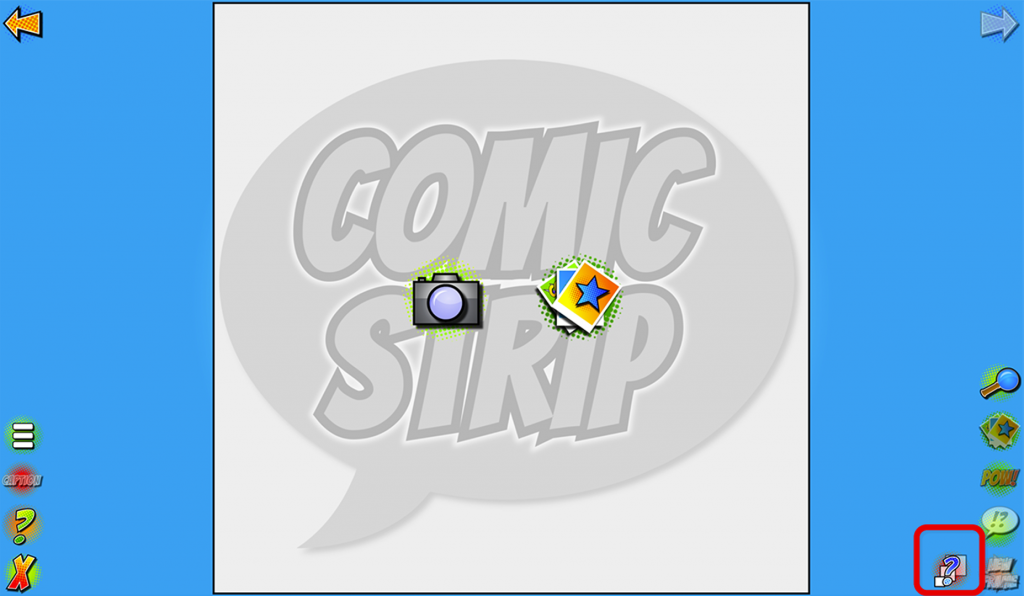
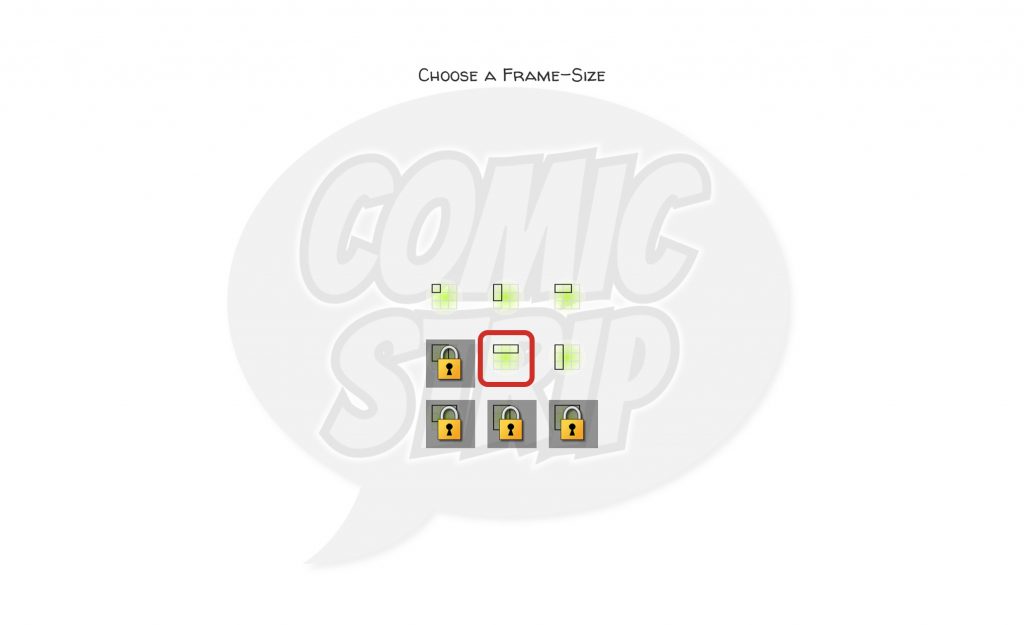
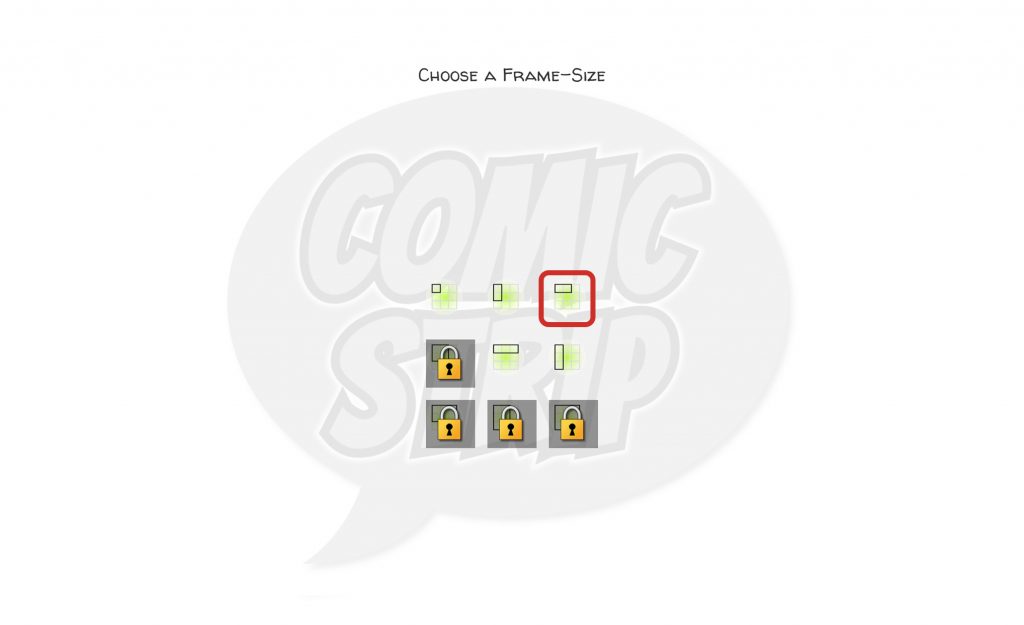
8. Open the Comic Strip It! app. By default, you receive one square panel. First, you will change it to a rectangular shape for the introduction of your story. Click on the icon with three squares and one question mark and choose the option three horizontal panels.

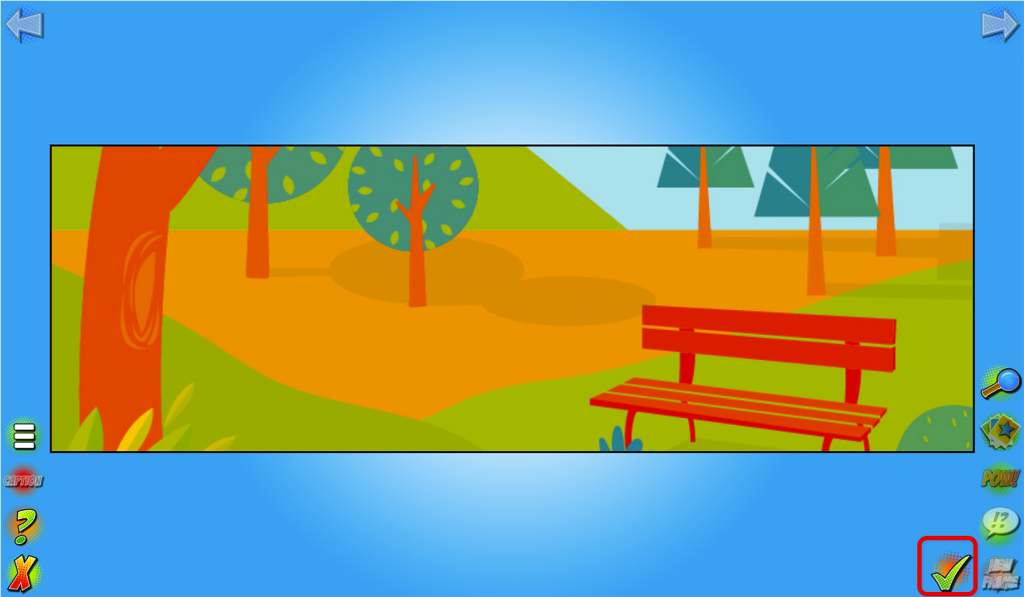
9. Now, you will add the background image. Click on the photos icon in the centre of the screen and look for the backgrounds you downloaded previously. Choose one by clicking on it.
To make an image or background larger or smaller, press the image with two fingers and bring it closer (to make it larger) or move it away (to make it smaller).
To pivot an image or background, press the screen with two fingers and slide them at the same time using a circular motion.
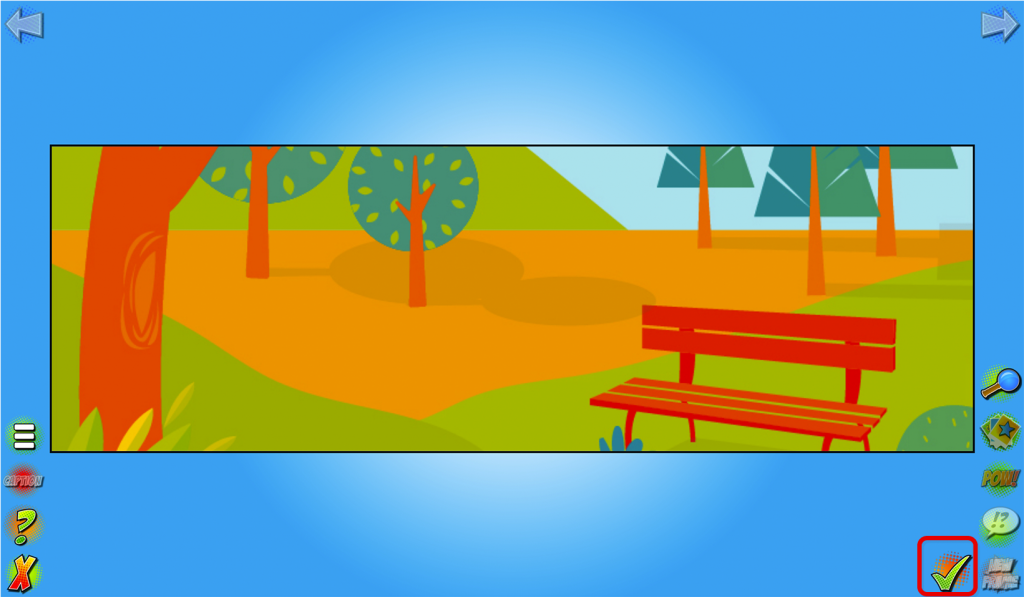
When the background is how you like it, click on the green verification icon.

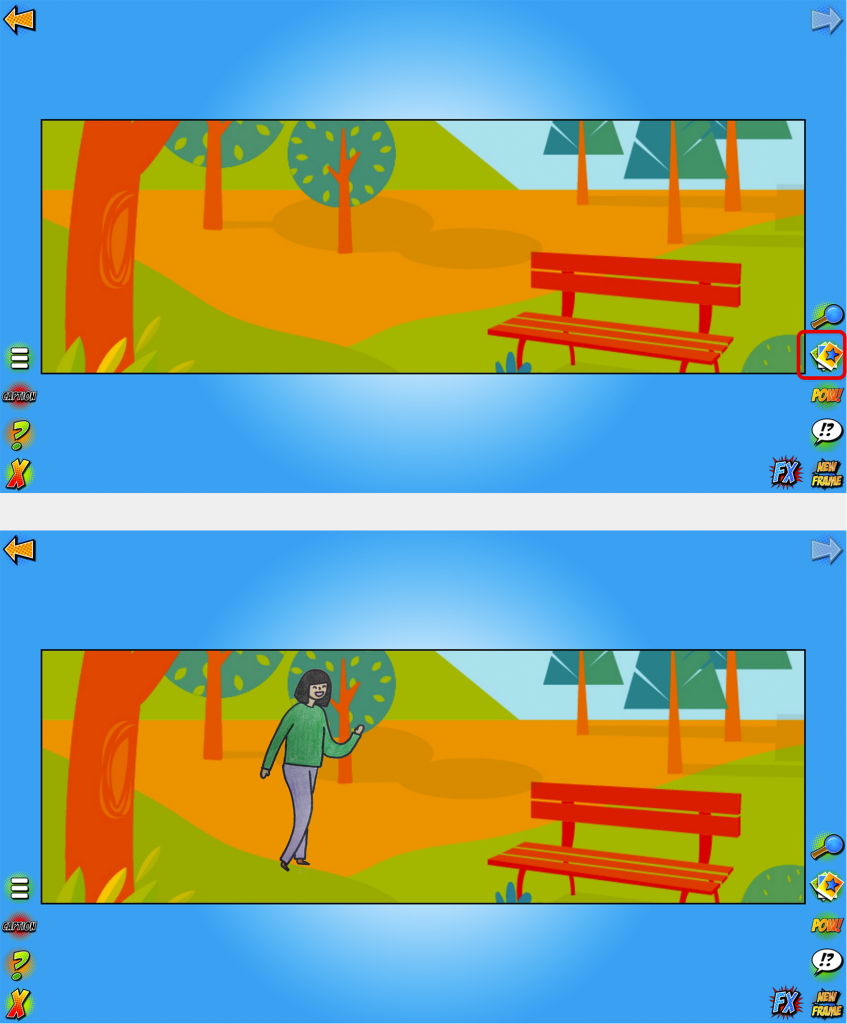
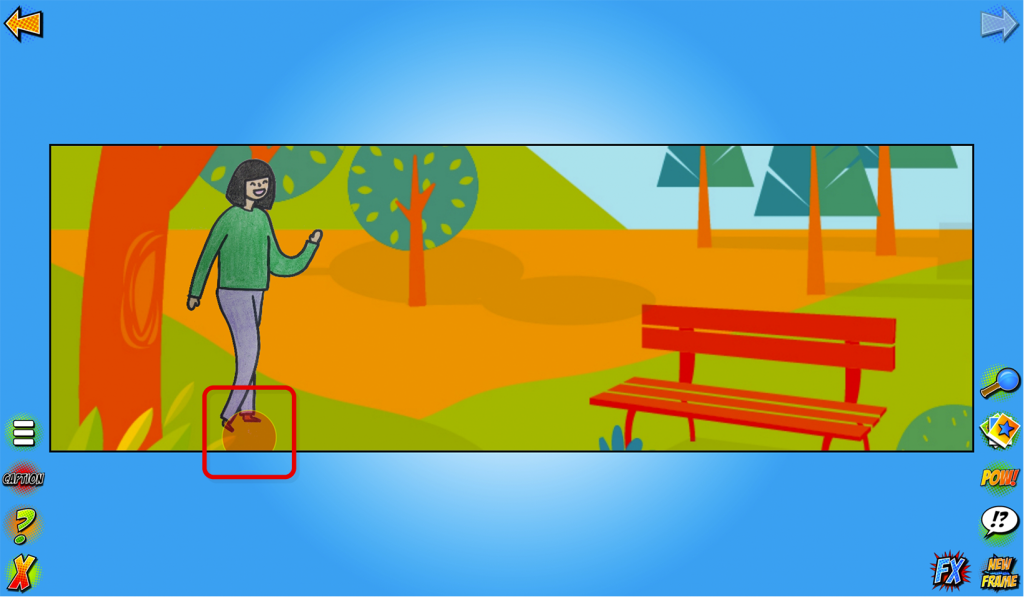
10. Add your character to the panel by clicking on the photo icon, which appears on the right.
Click on the character, and a red circle will appear. Press with two fingers to make the character larger or smaller, or to pivot it.

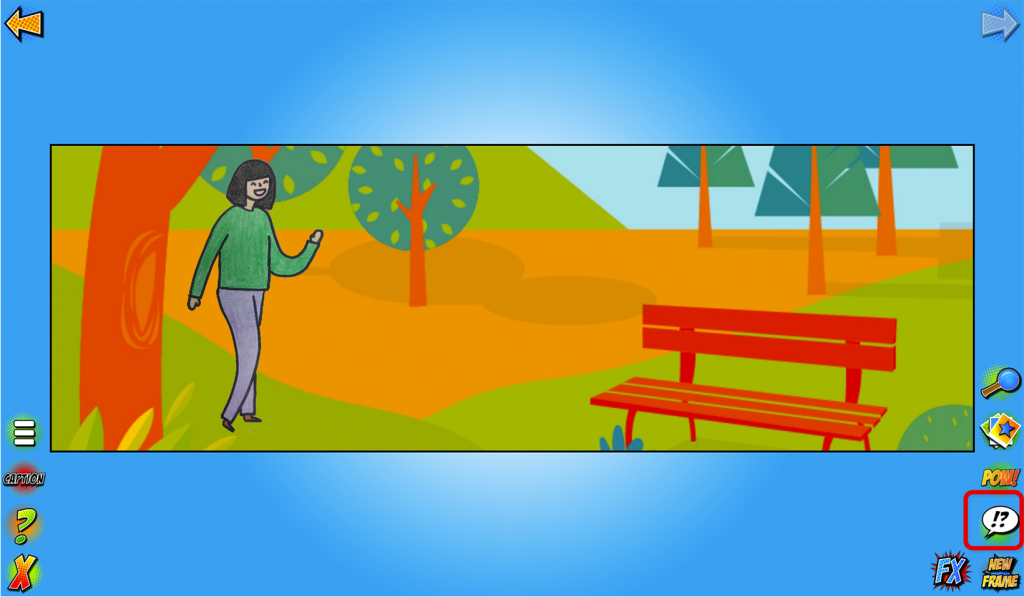
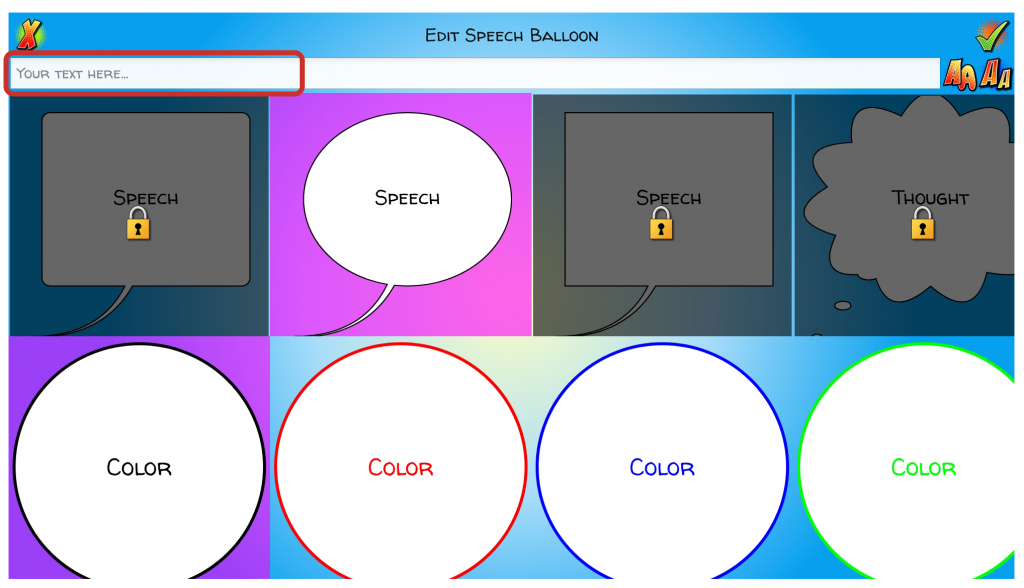
11. To add a speech bubble to your character, click on the dialogue bubble icon.
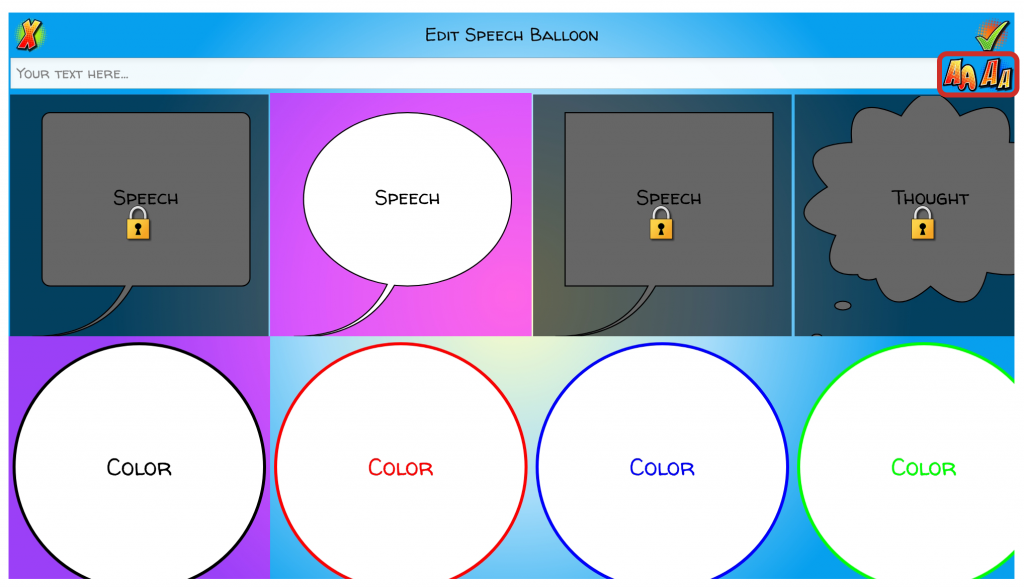
Choose the letter size and font by clicking on the letter icons appearing on the right.
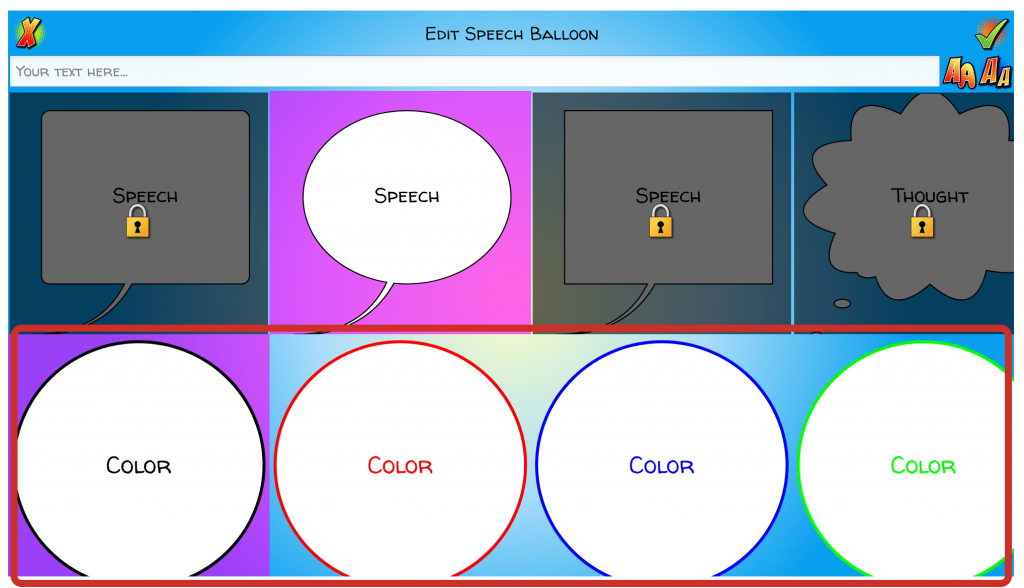
Choose a colour for the bubble from among the available options.
Click on the bar which says YOUR TEXT HERE to add your desired text.
Click on the green verification icon, and the bubble will appear in the panel. Once created, you can double-tap the bubble to modify the text or its font or colour.
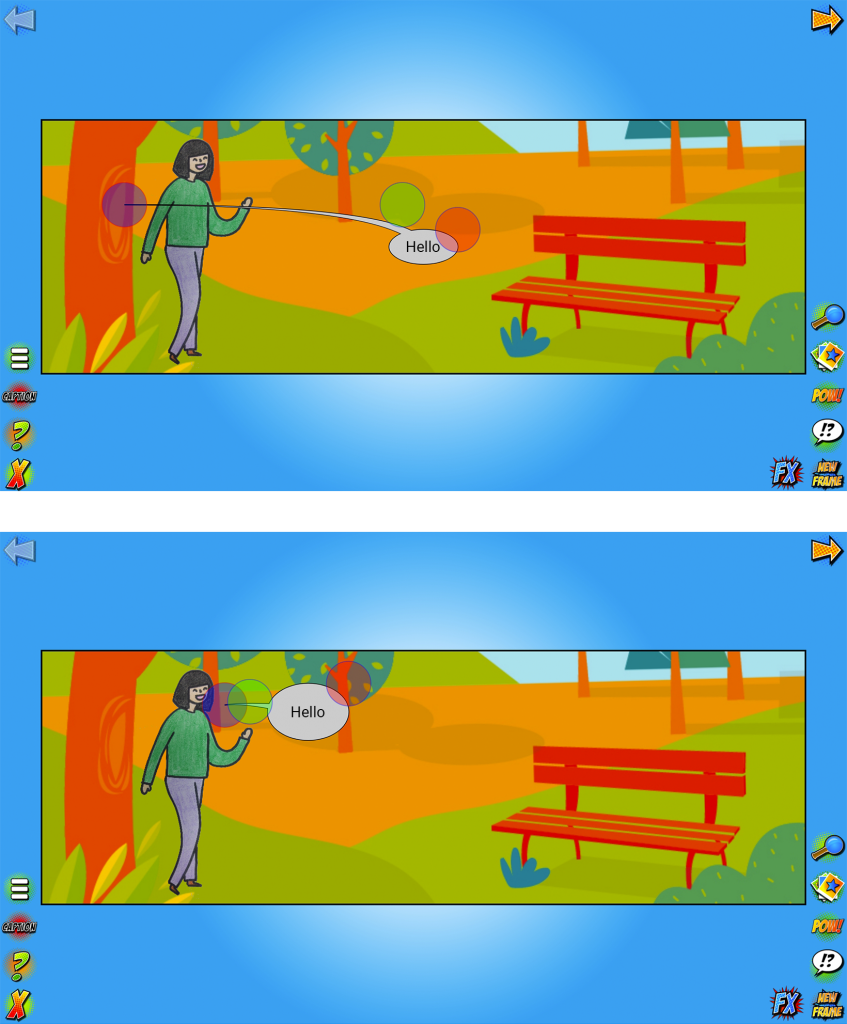
Place the button where you want by clicking on it and dragging it. Use the coloured circles to modify it:
• Red circle: to make it bigger or smaller;
• Purple circle: to set the exit point, which normally needs to be placed over the character’s mouth;
•Green circle: to move the tip of the bubble to the desired side.

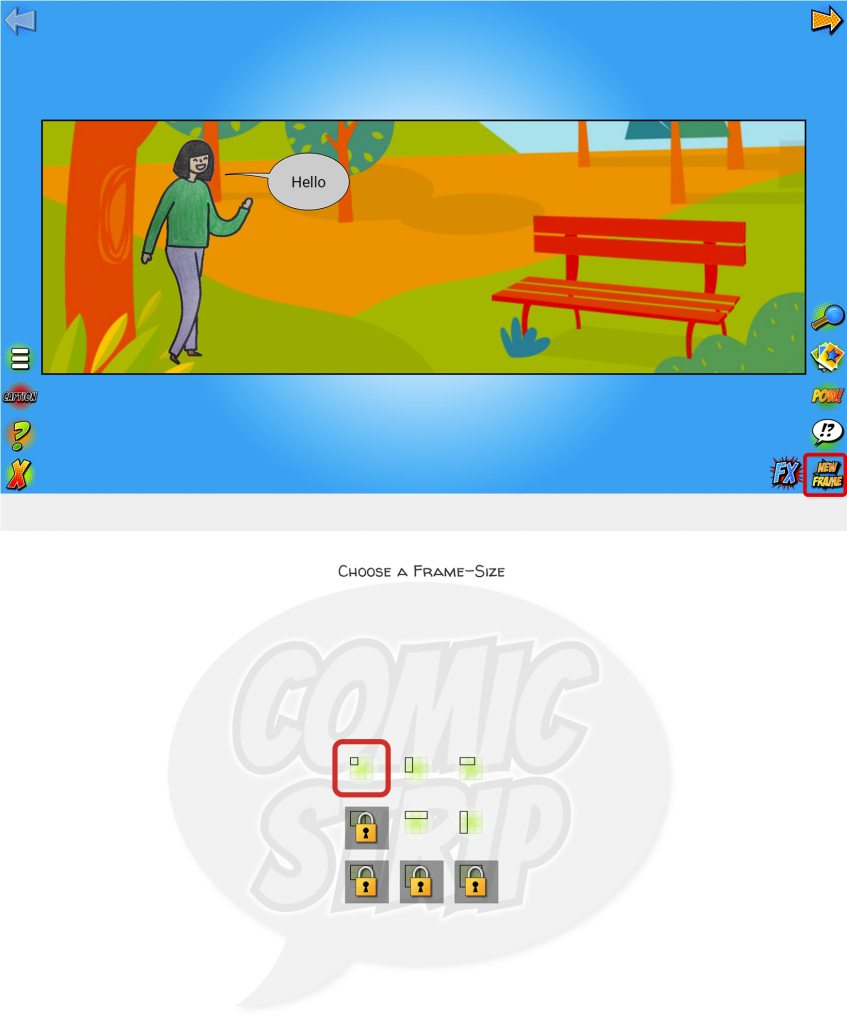
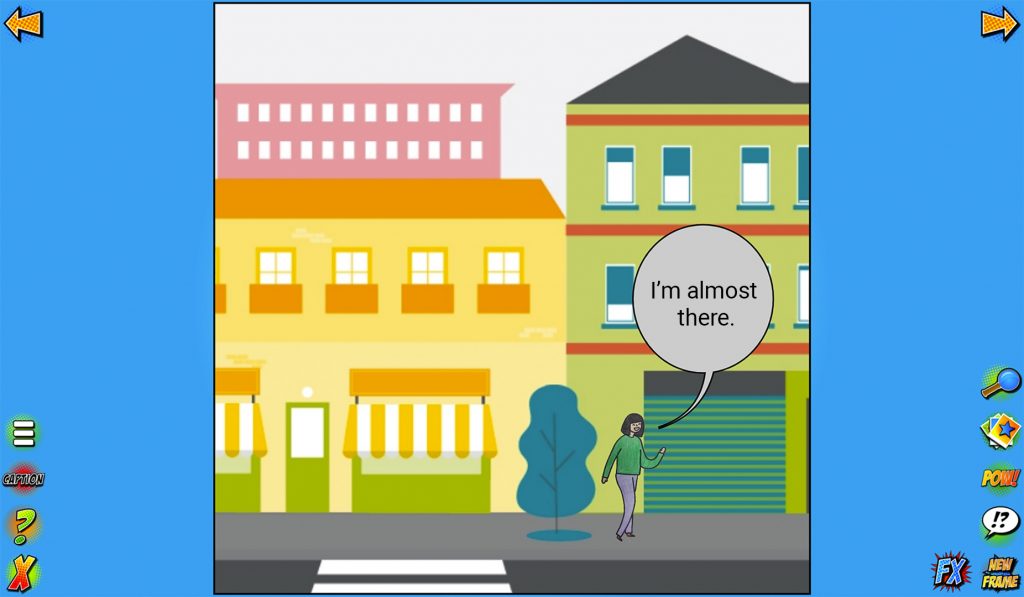
12. Once you have completed the panel with the introduction, continue by creating the first development panel. Click on New frame and then on the icon with three squares and one question mark to choose the first format, which is the square one.
Repeat the previous steps to add the desired background, characters and speech bubbles.

13. You can still use three more panels for your story’s development phase. Click on New frame and change the size of each of the panels, in the following order:
• Two squares (horizontal);
• Two squares (horizontal);
• One square.

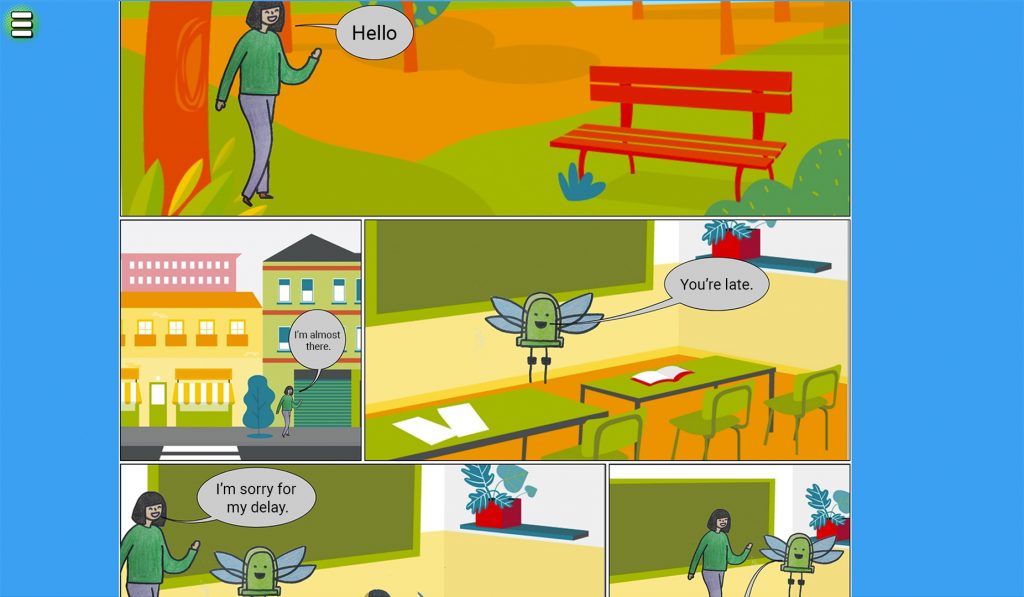
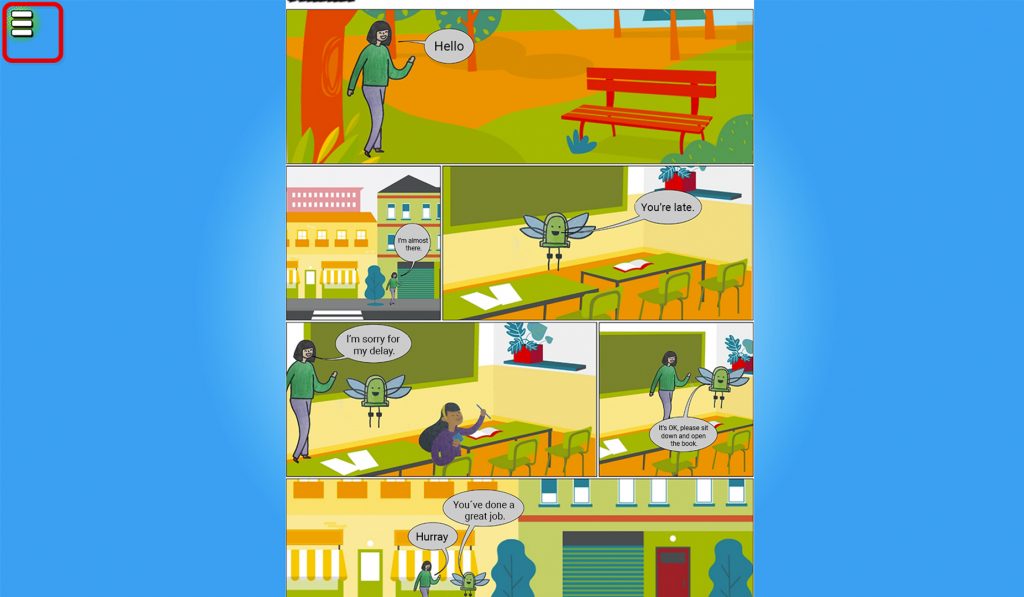
14. Click on magnifying glass to see the result. A comic strip will appear like the one in the image.

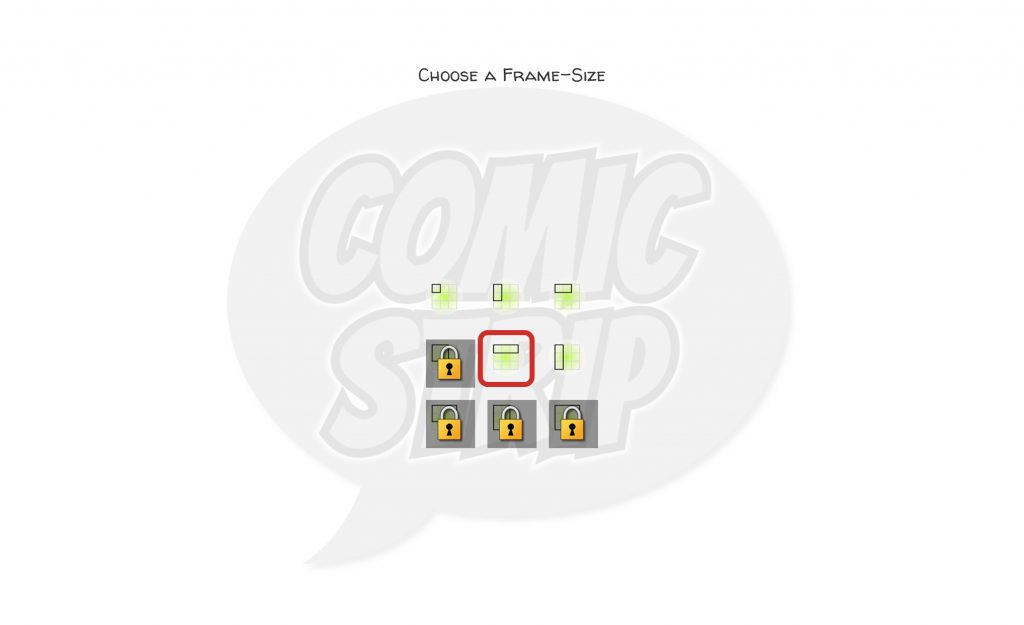
15. All you need to do is add one last panel to tell how the story ends. Go back to continue the comic strip. Click on New frame and change the size of the panel, by selecting the size three horizontal squares. Select the desired characters, background and speech bubbles.

16. You now have your story! To save it, click on the magnifying glass and then on the icon with three lines appearing on the left.
Select Save Storyboard,give your story a title and click on OK.
