Activity
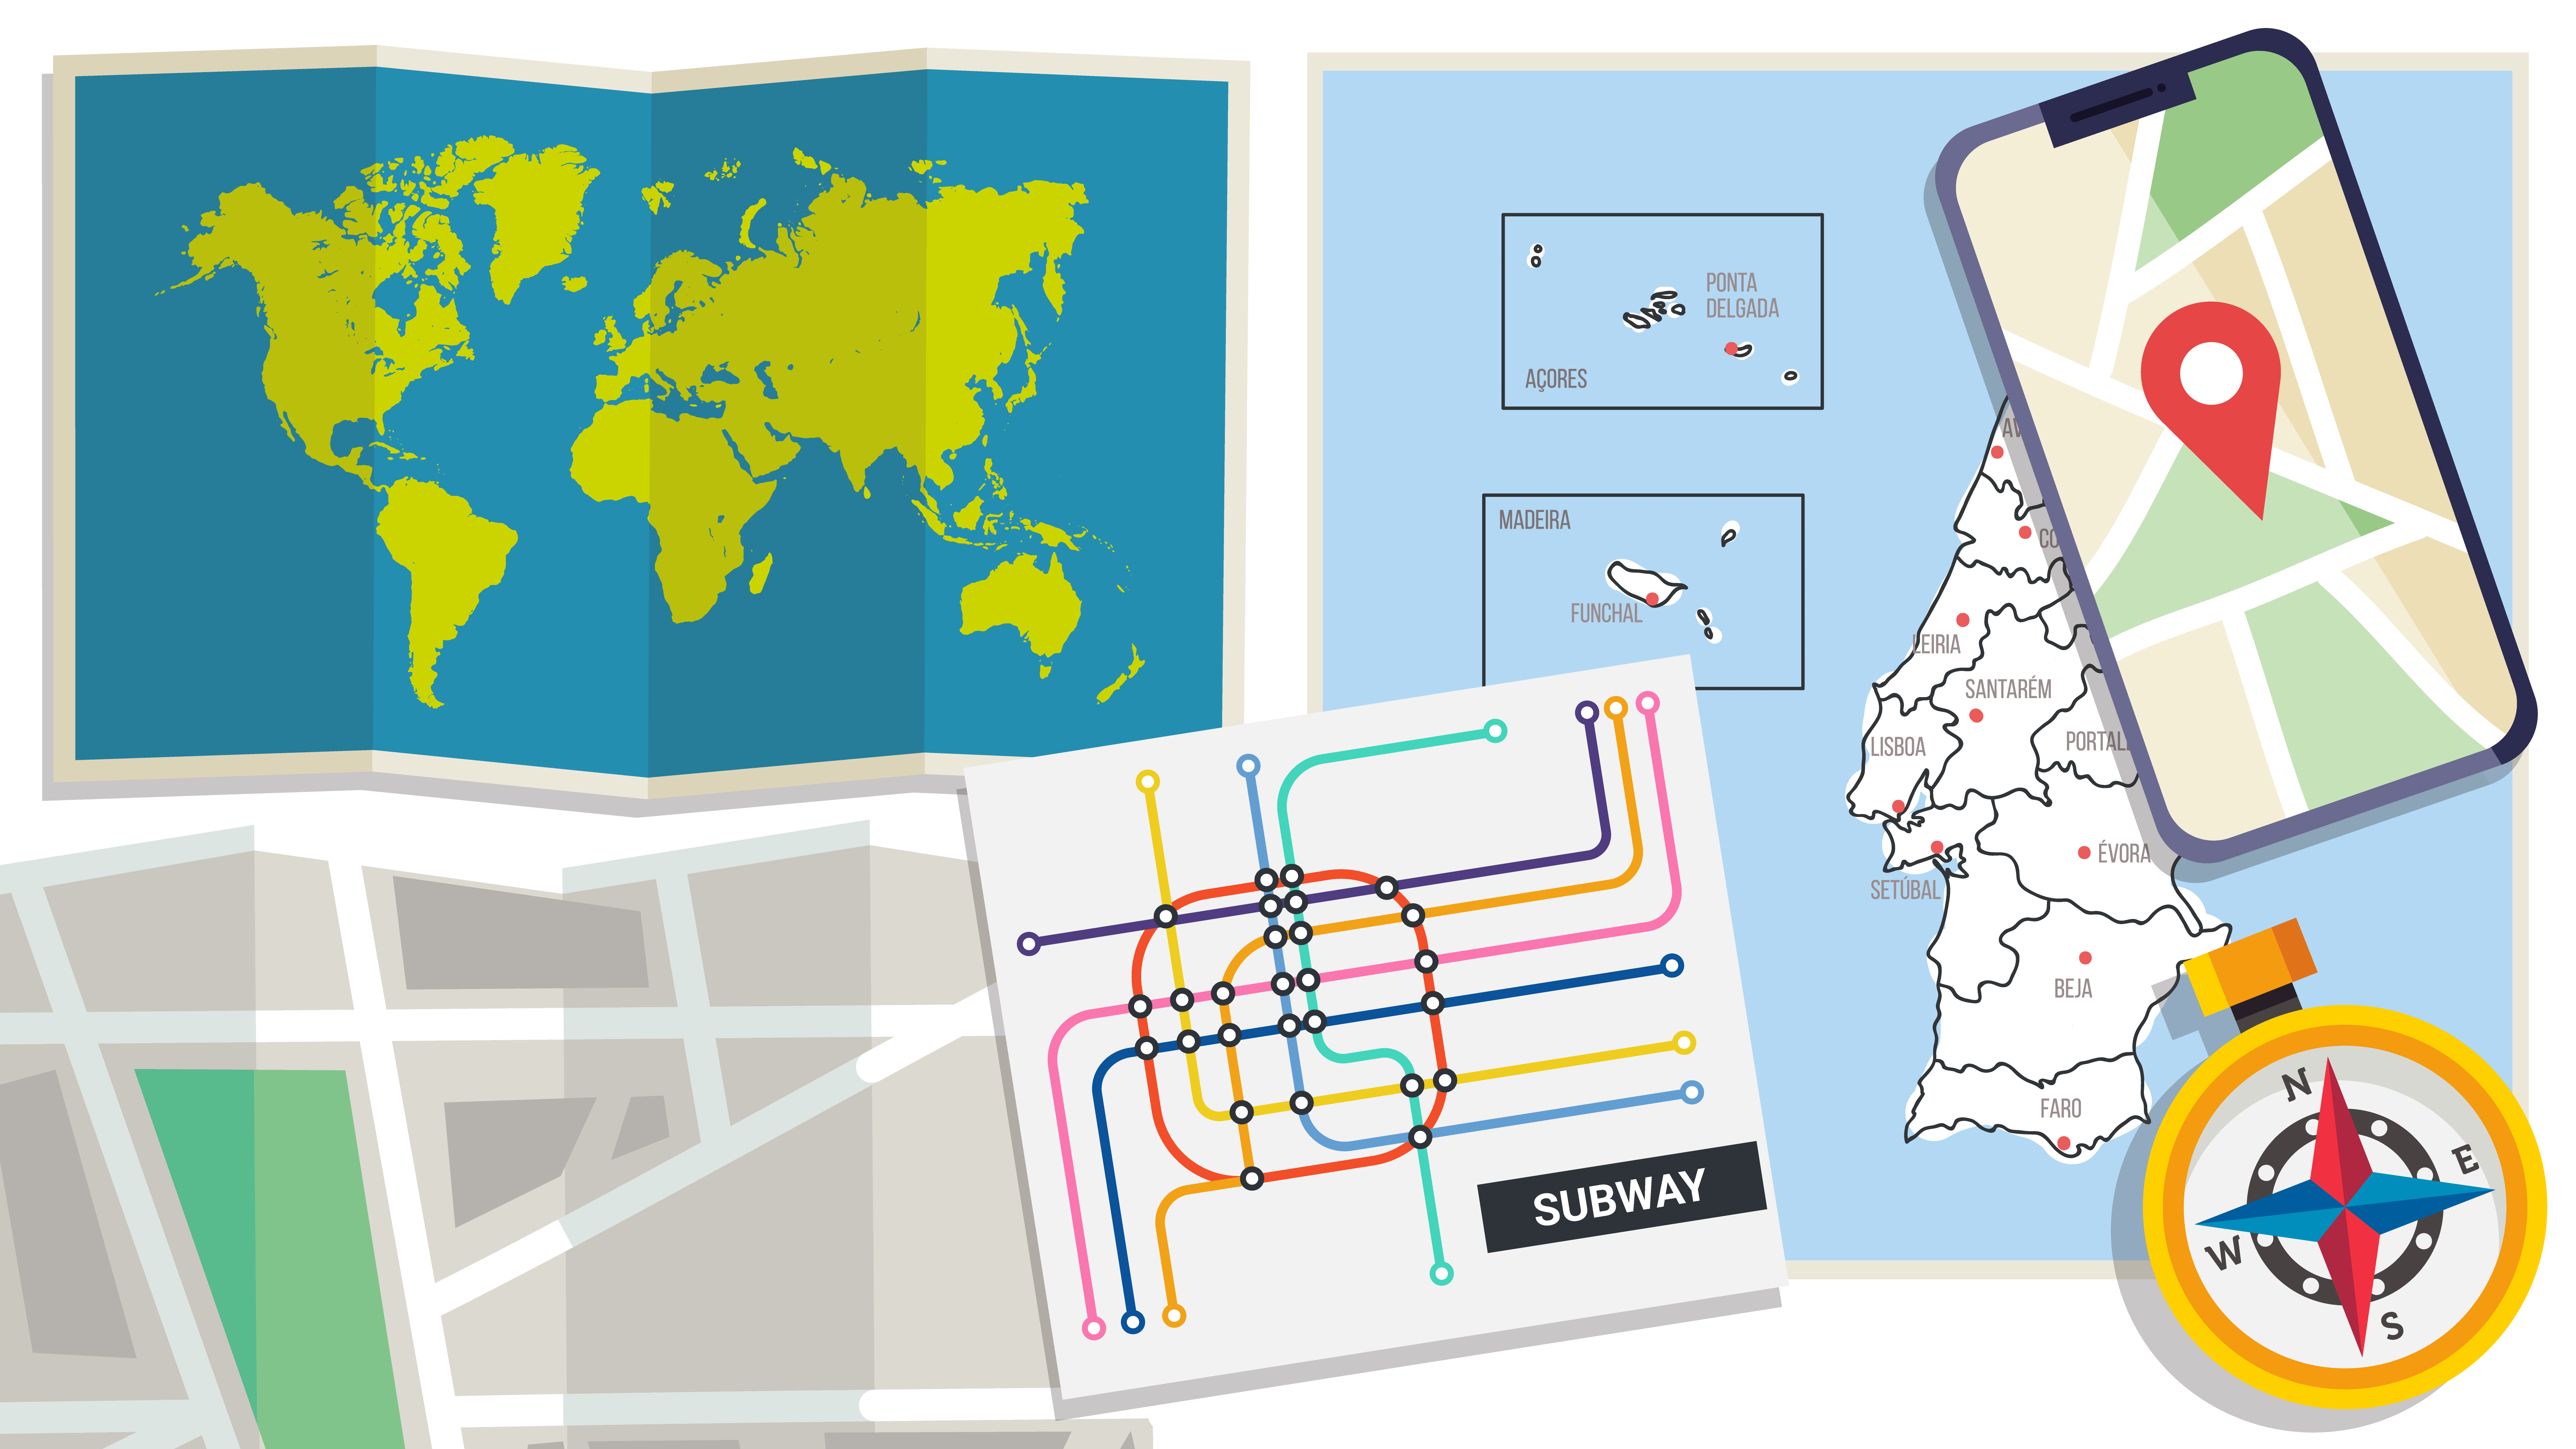
1. Maps, maps, maps… Maps represent spaces which can be small, like buildings, or large, like countries or even the whole world! They can show different things… weather, relief or the population distribution in a given area. Maps are important, since they provide orientation in unknown places. In the past, maps were drawn or printed on paper, while today you can access them with a computer or even a cell phone, allowing you to travel and see the world… without ever leaving home.
Today, you will travel to Serra da Estrela. Click on the following link www.padlet.com/dashboard.
• If you already have an account, you can go directly to the dashboard (startup interface).
• If you do not have an account, click on SIGN UP and ask an adult for help with the following steps.
For security reasons and in order to protect our privacy, it is recommended that you:
– avoid using your full name as a username;
– choose a password that contains as many elements as possible (upper-case and lower-case letters, numbers and special characters), but does not include personal data, such as your date of birth.
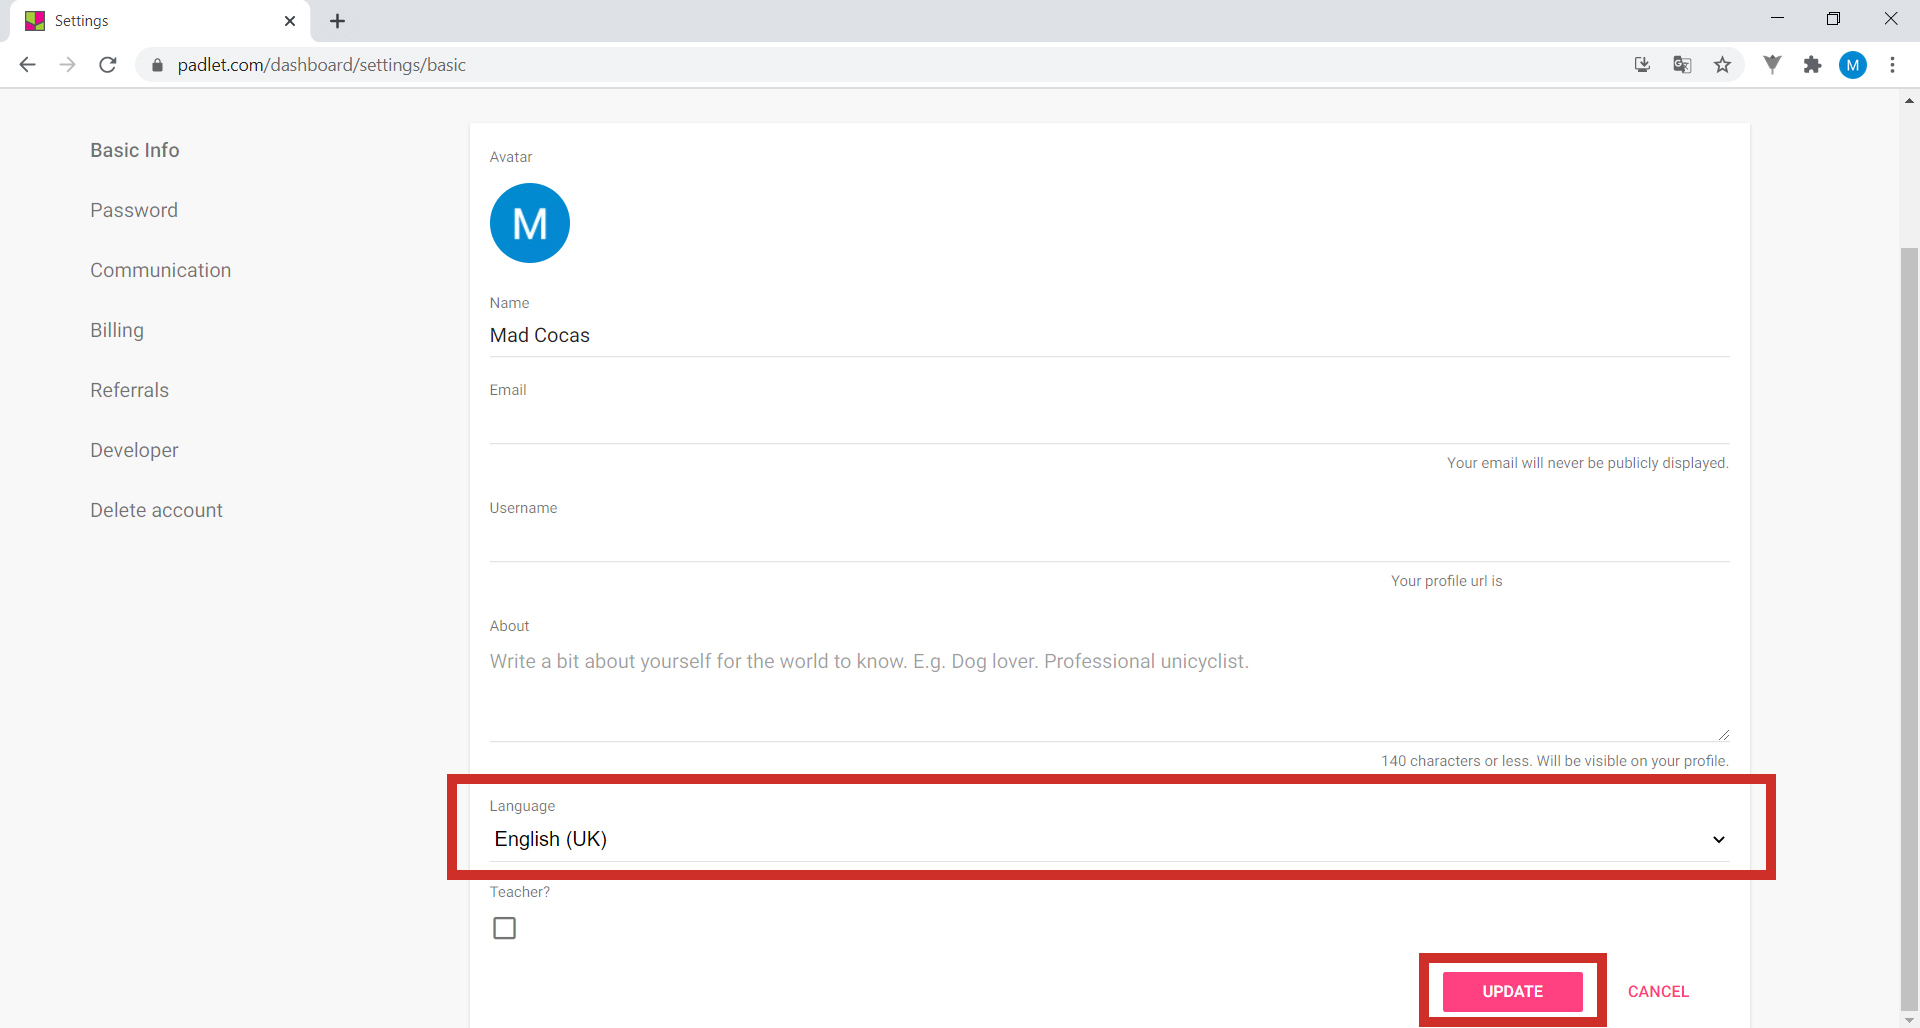
If the Padlet is not in your language, click on your account icon in the upper right corner, and then on Settings.
SIDE NOTE: You may click the images to amplify.
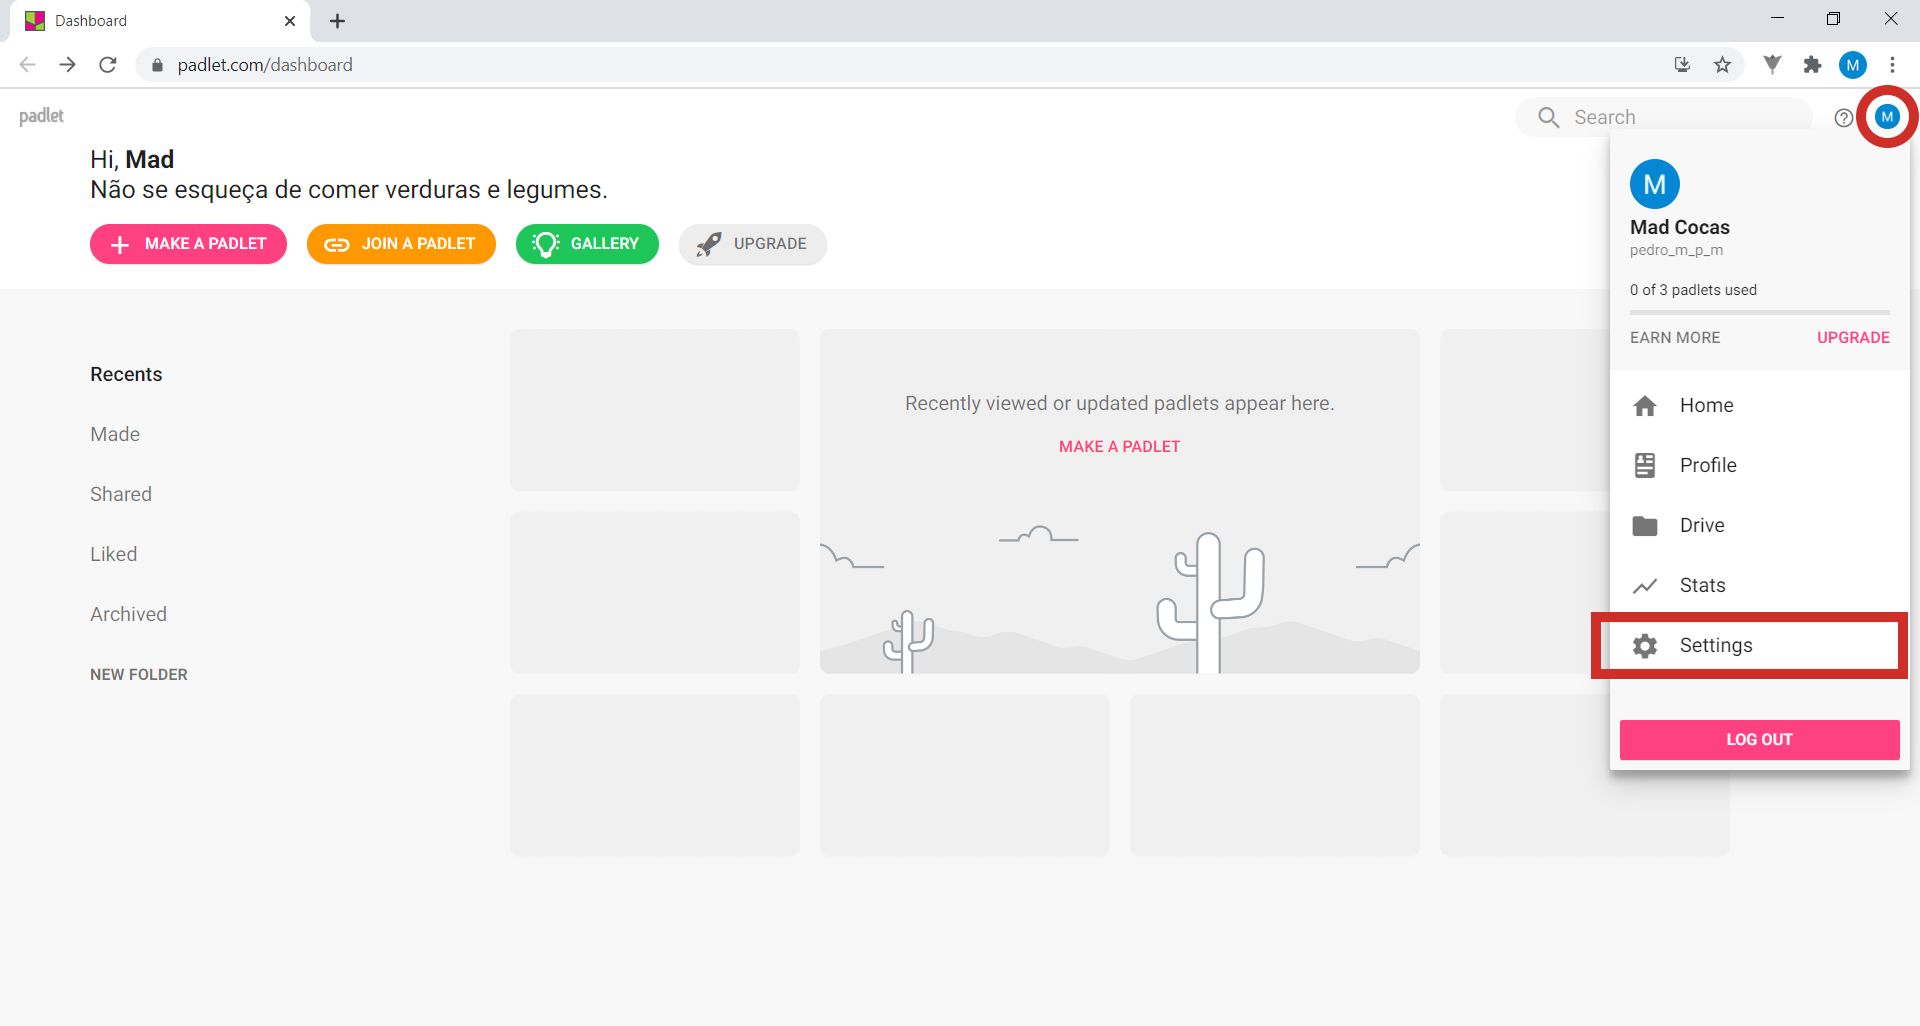
At the bottom of the page, in Language, choose English. Click on UPDATE.

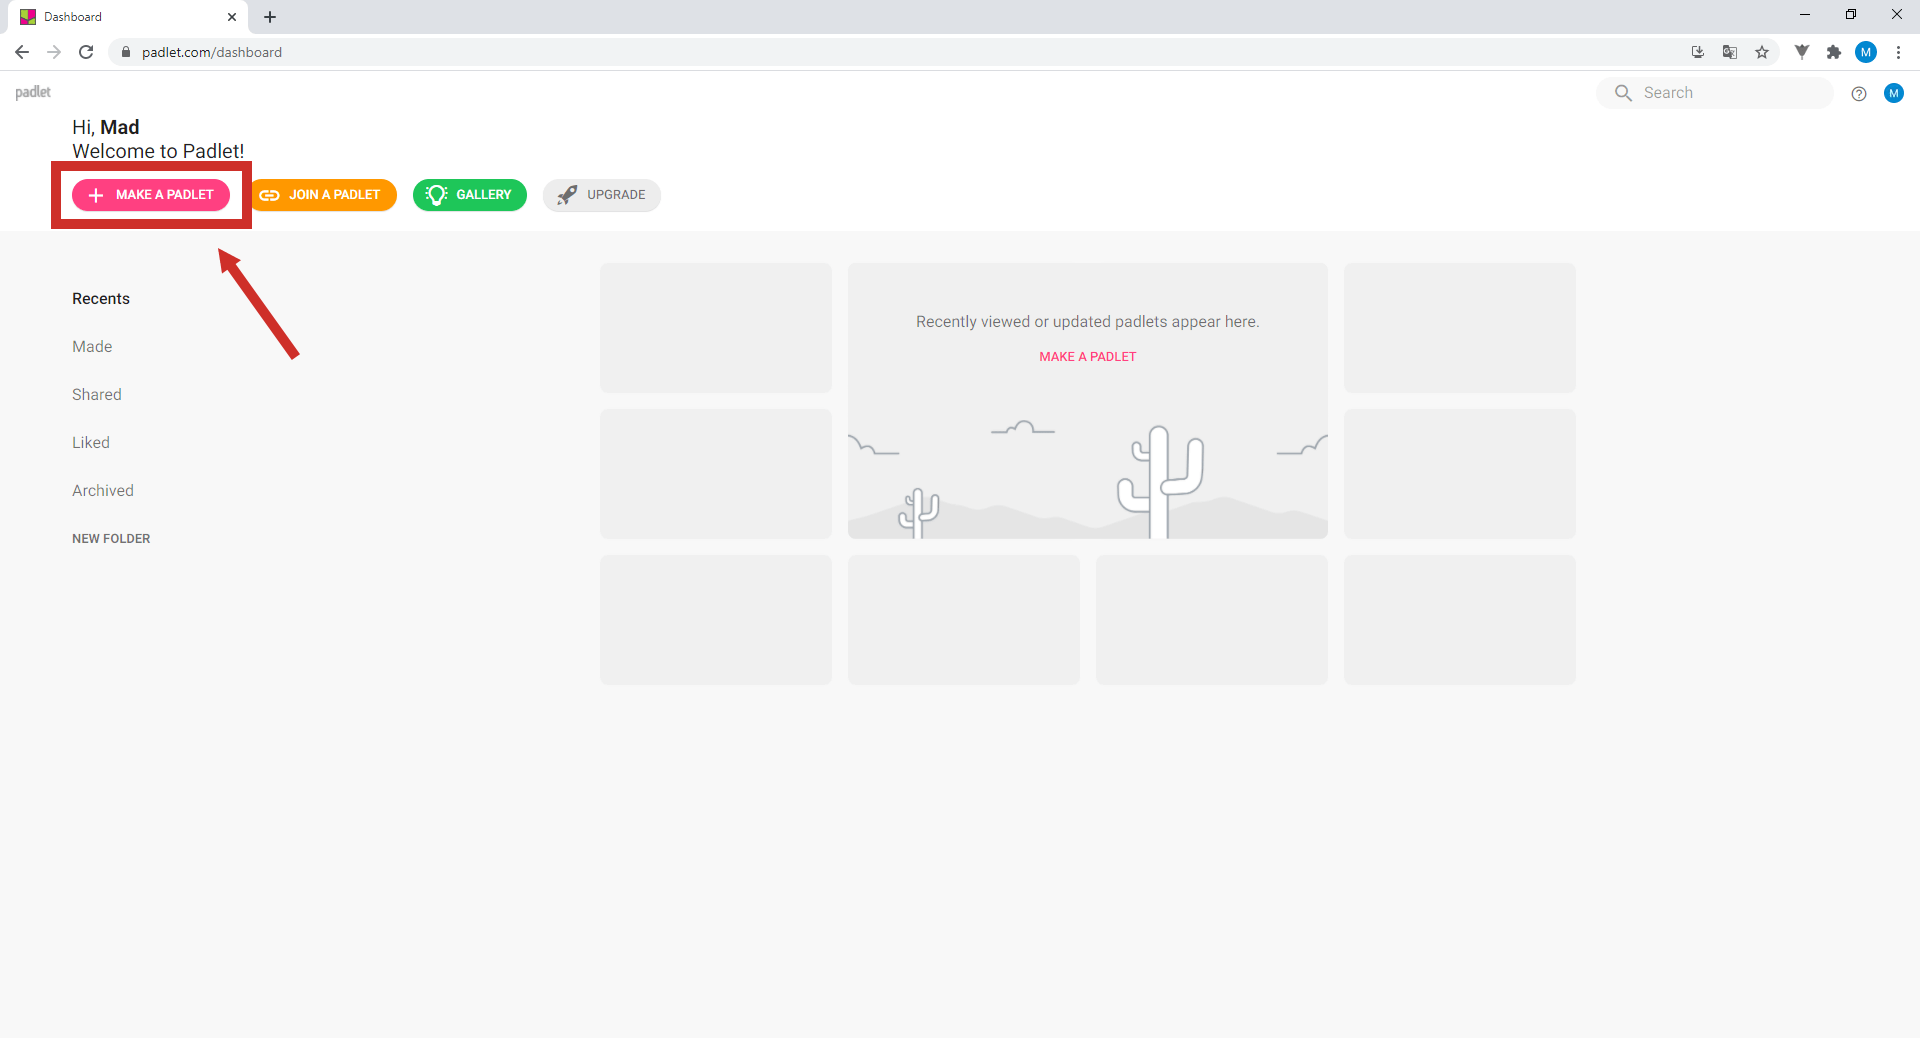
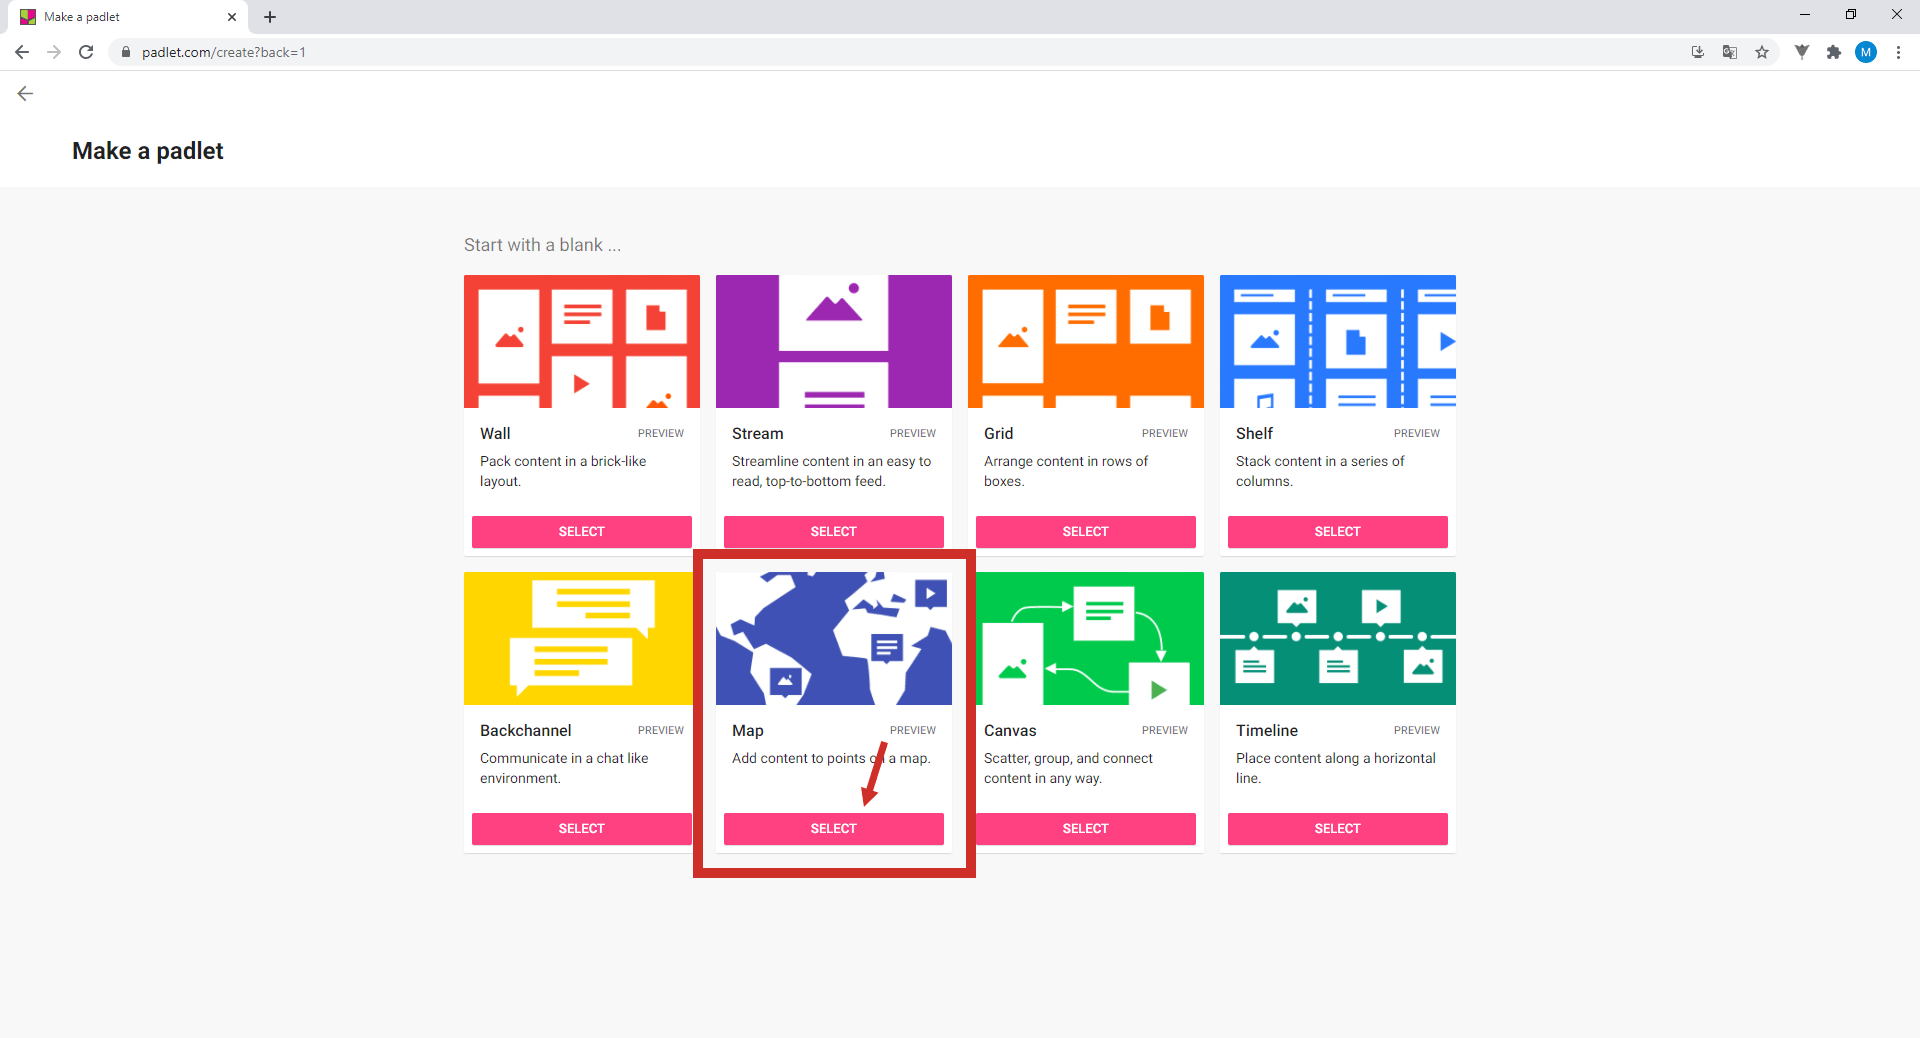
2. Padlet is a tool which can create virtual boards, in different formats, which can be changed at any time. There are various types of Padlets you can create: wall, canvas, shelf, stream, timeline, backchannel, map and grid. Choose MAKE A PADLET.
Since this topic is dedicated to maps, go to Map, then click on SELECT.
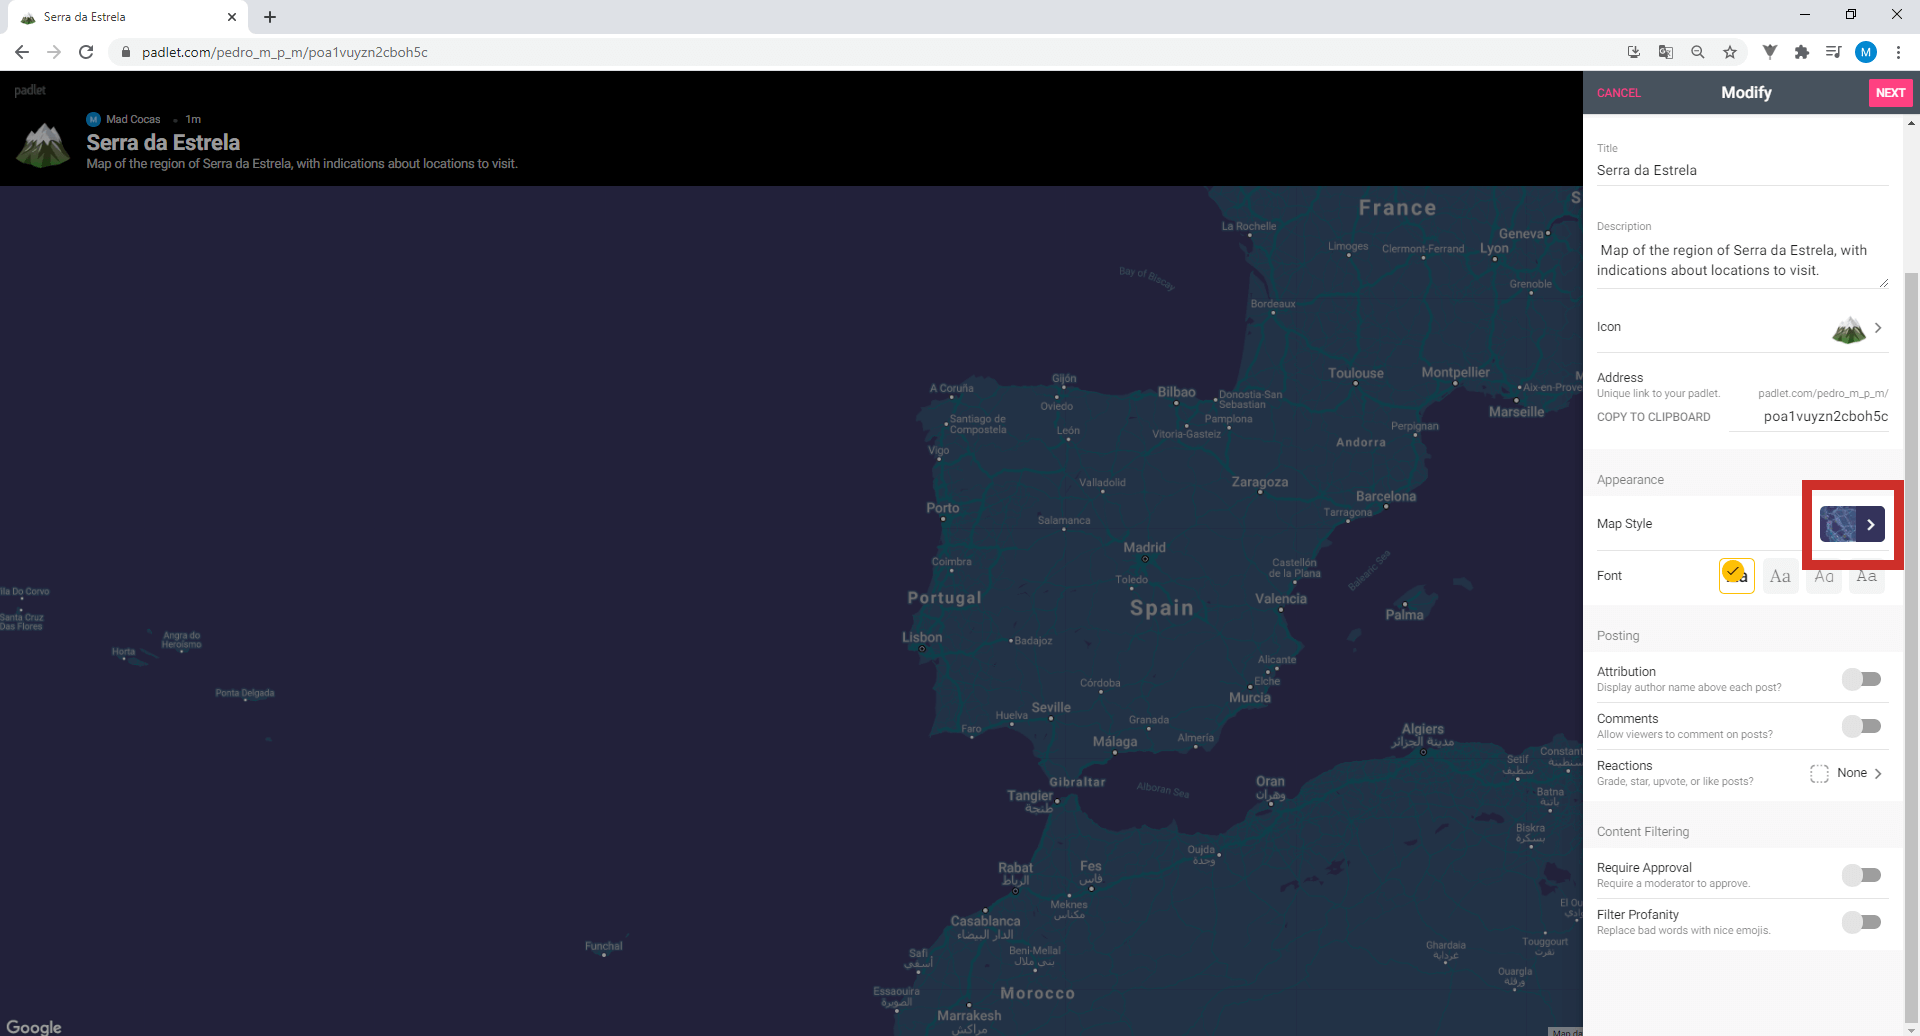
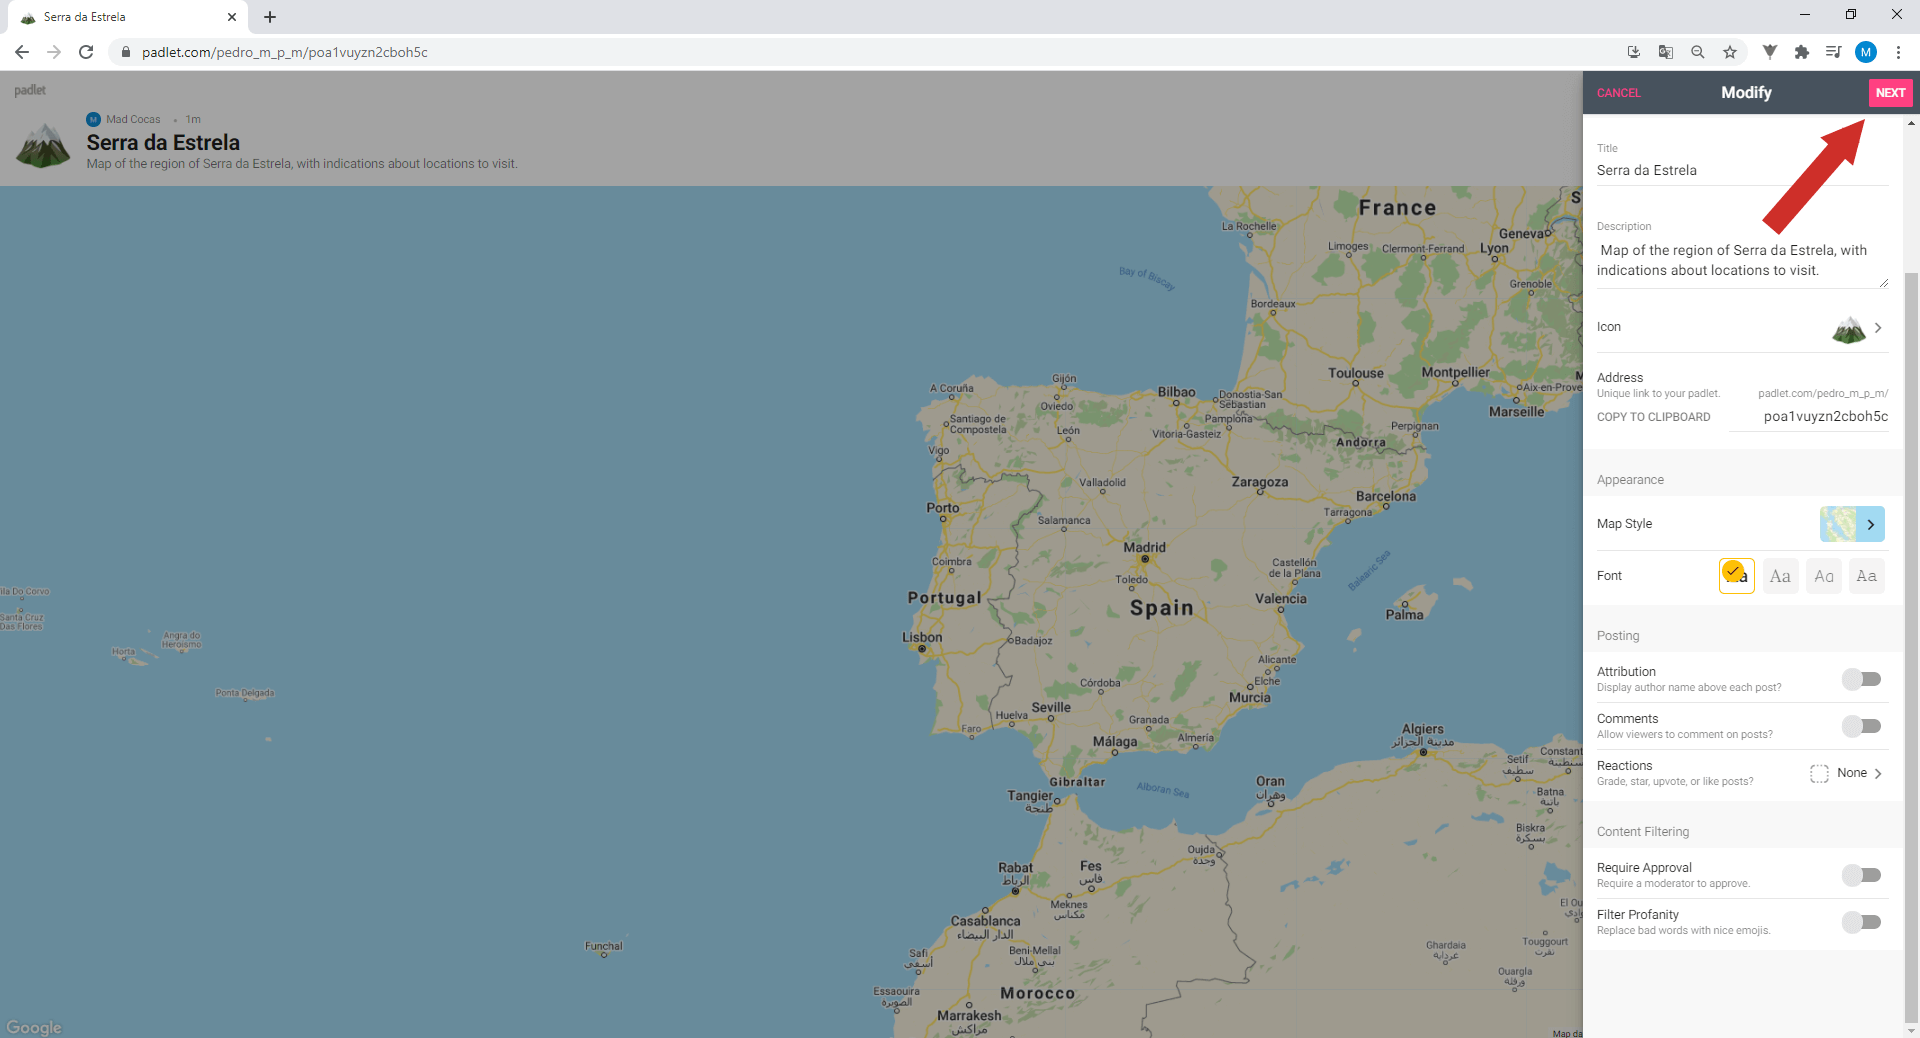
3. Padlet created! On the left, you can see your Padlet. On the right, there is a menu where you can choose the Title, Description, Icon and Appearance of the Padlet.
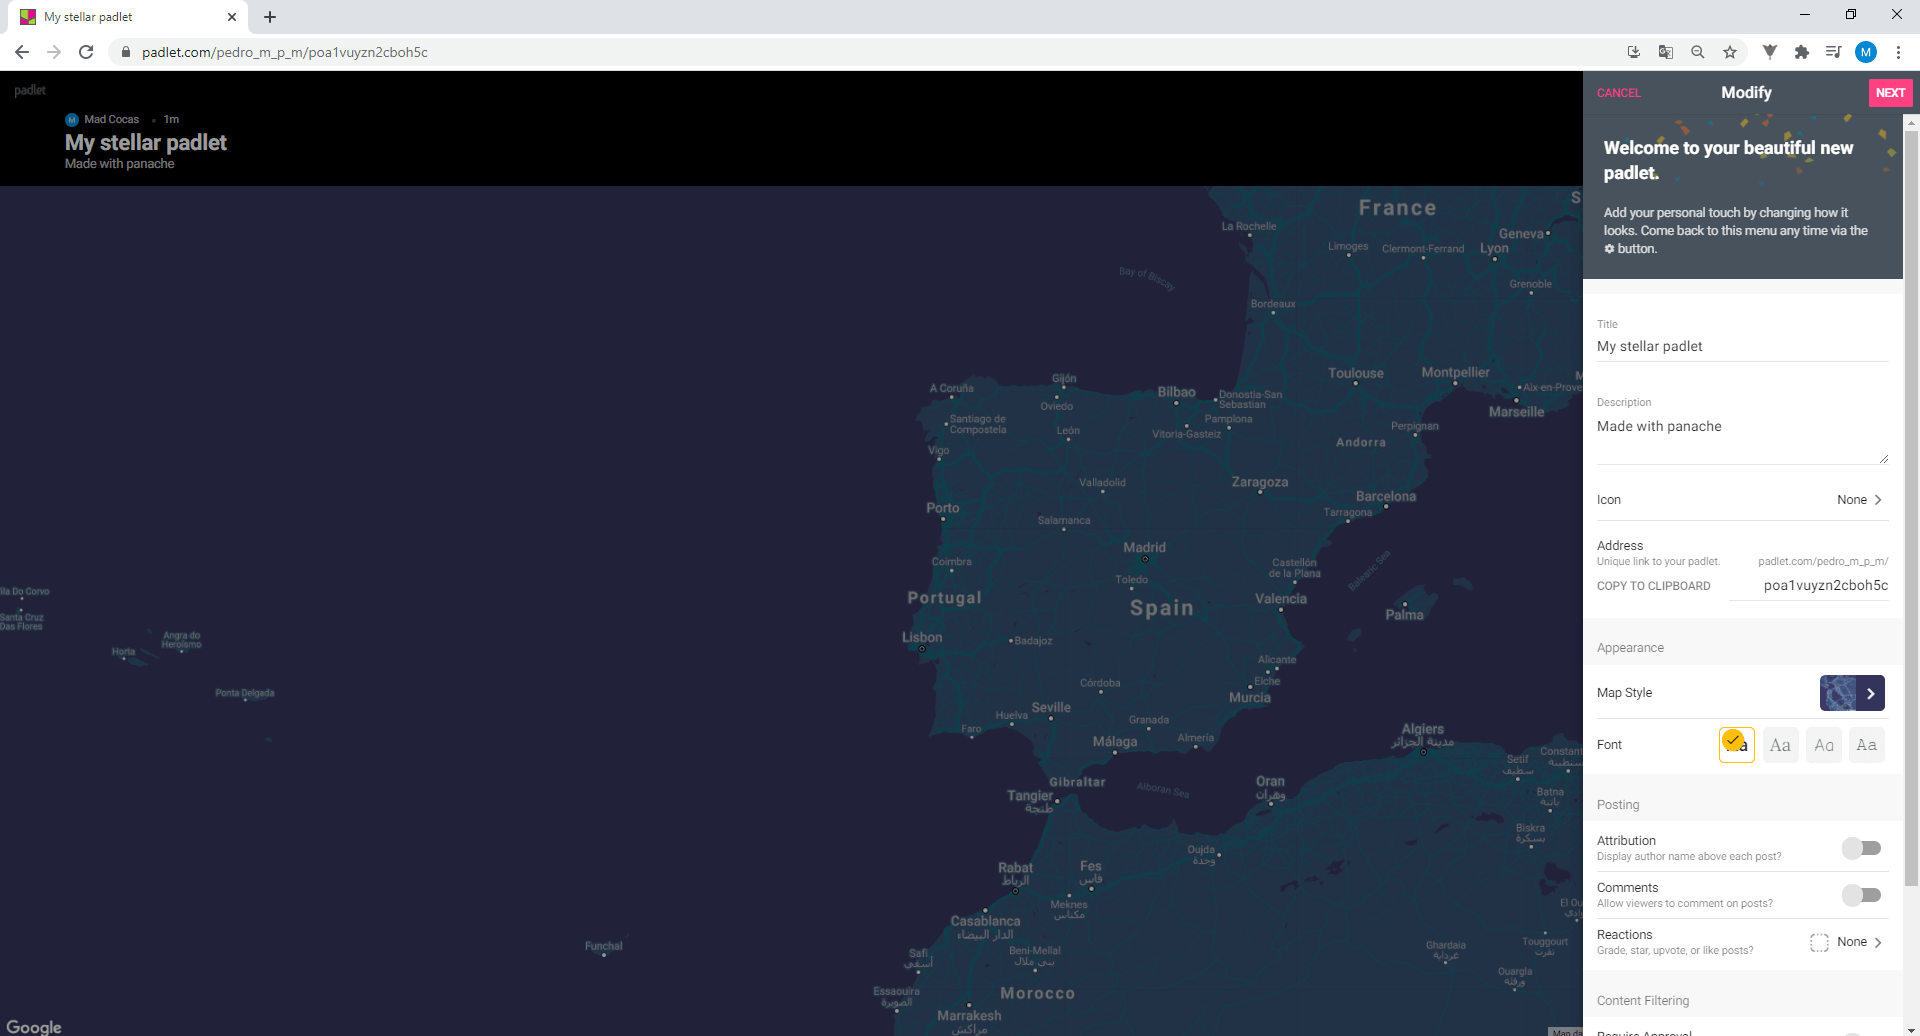
4. Click on the text below Title and change it to “Serra da Estrela”. Also change the Description, according to the image.
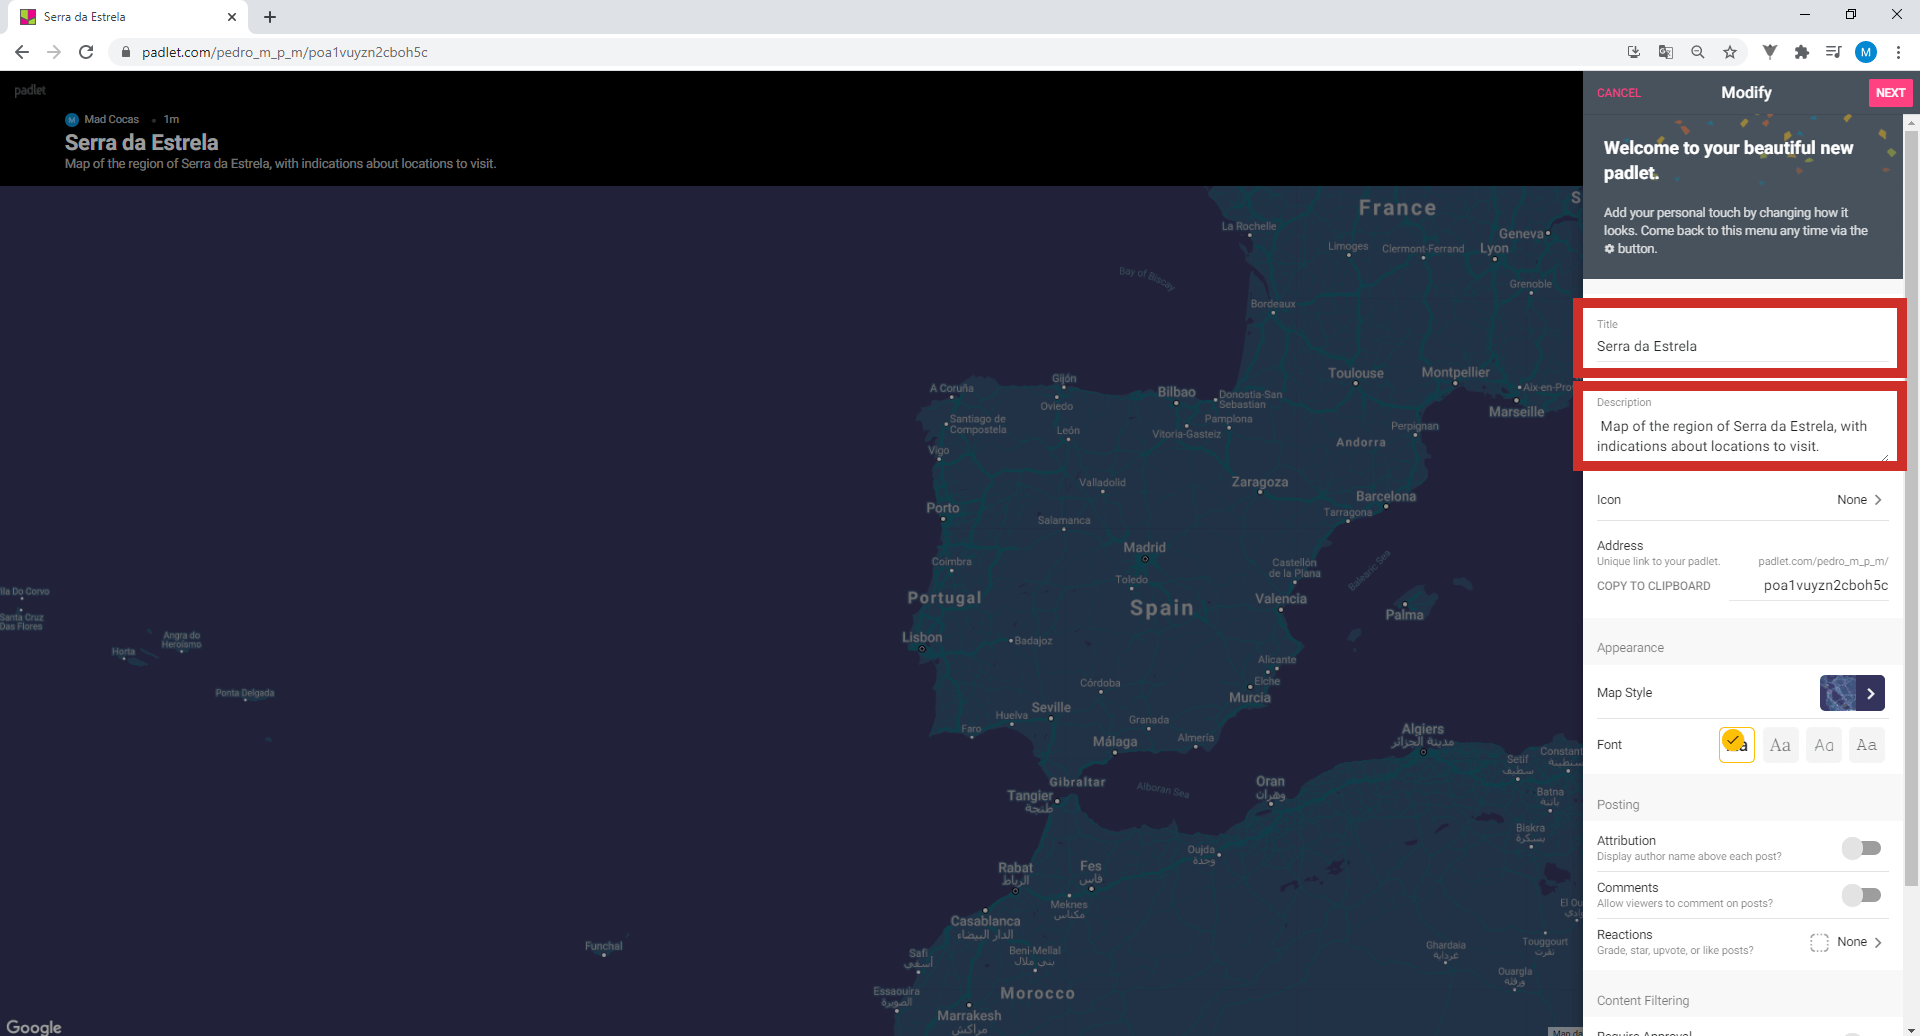
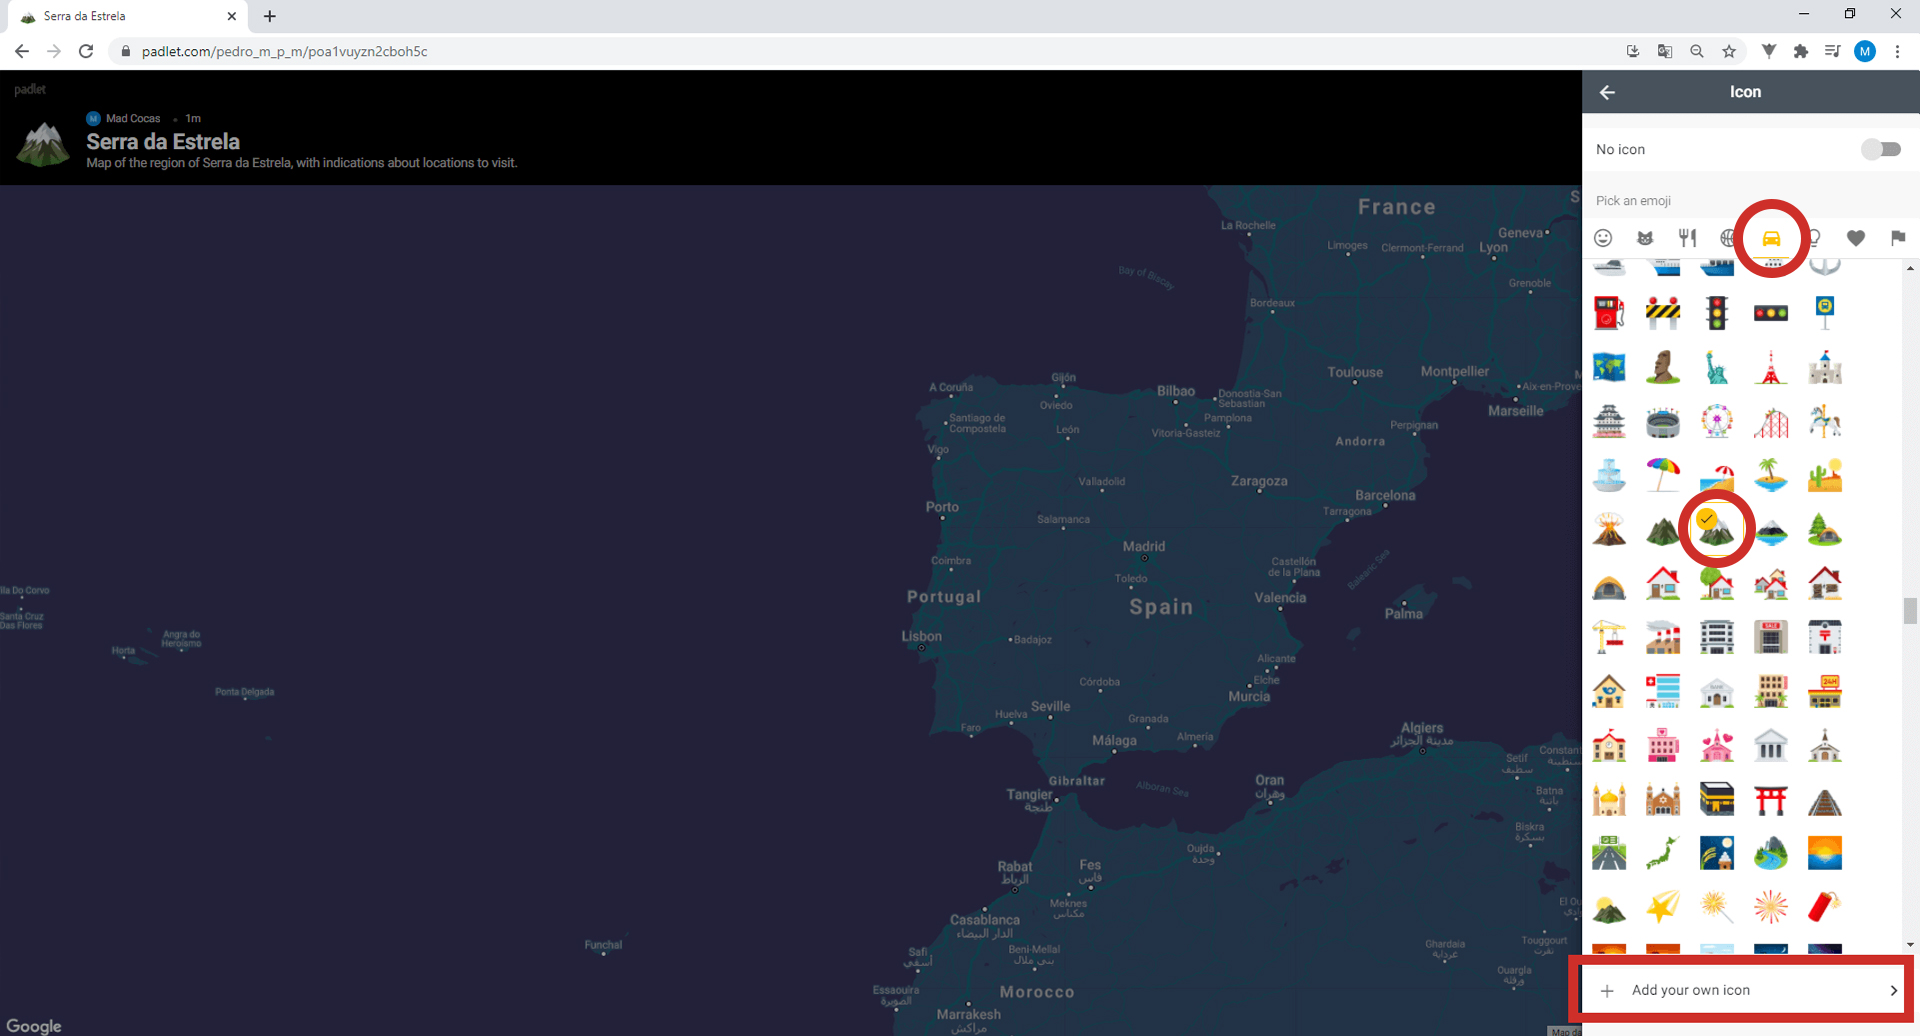
5. Next, click on the arrow to the right of Icon.
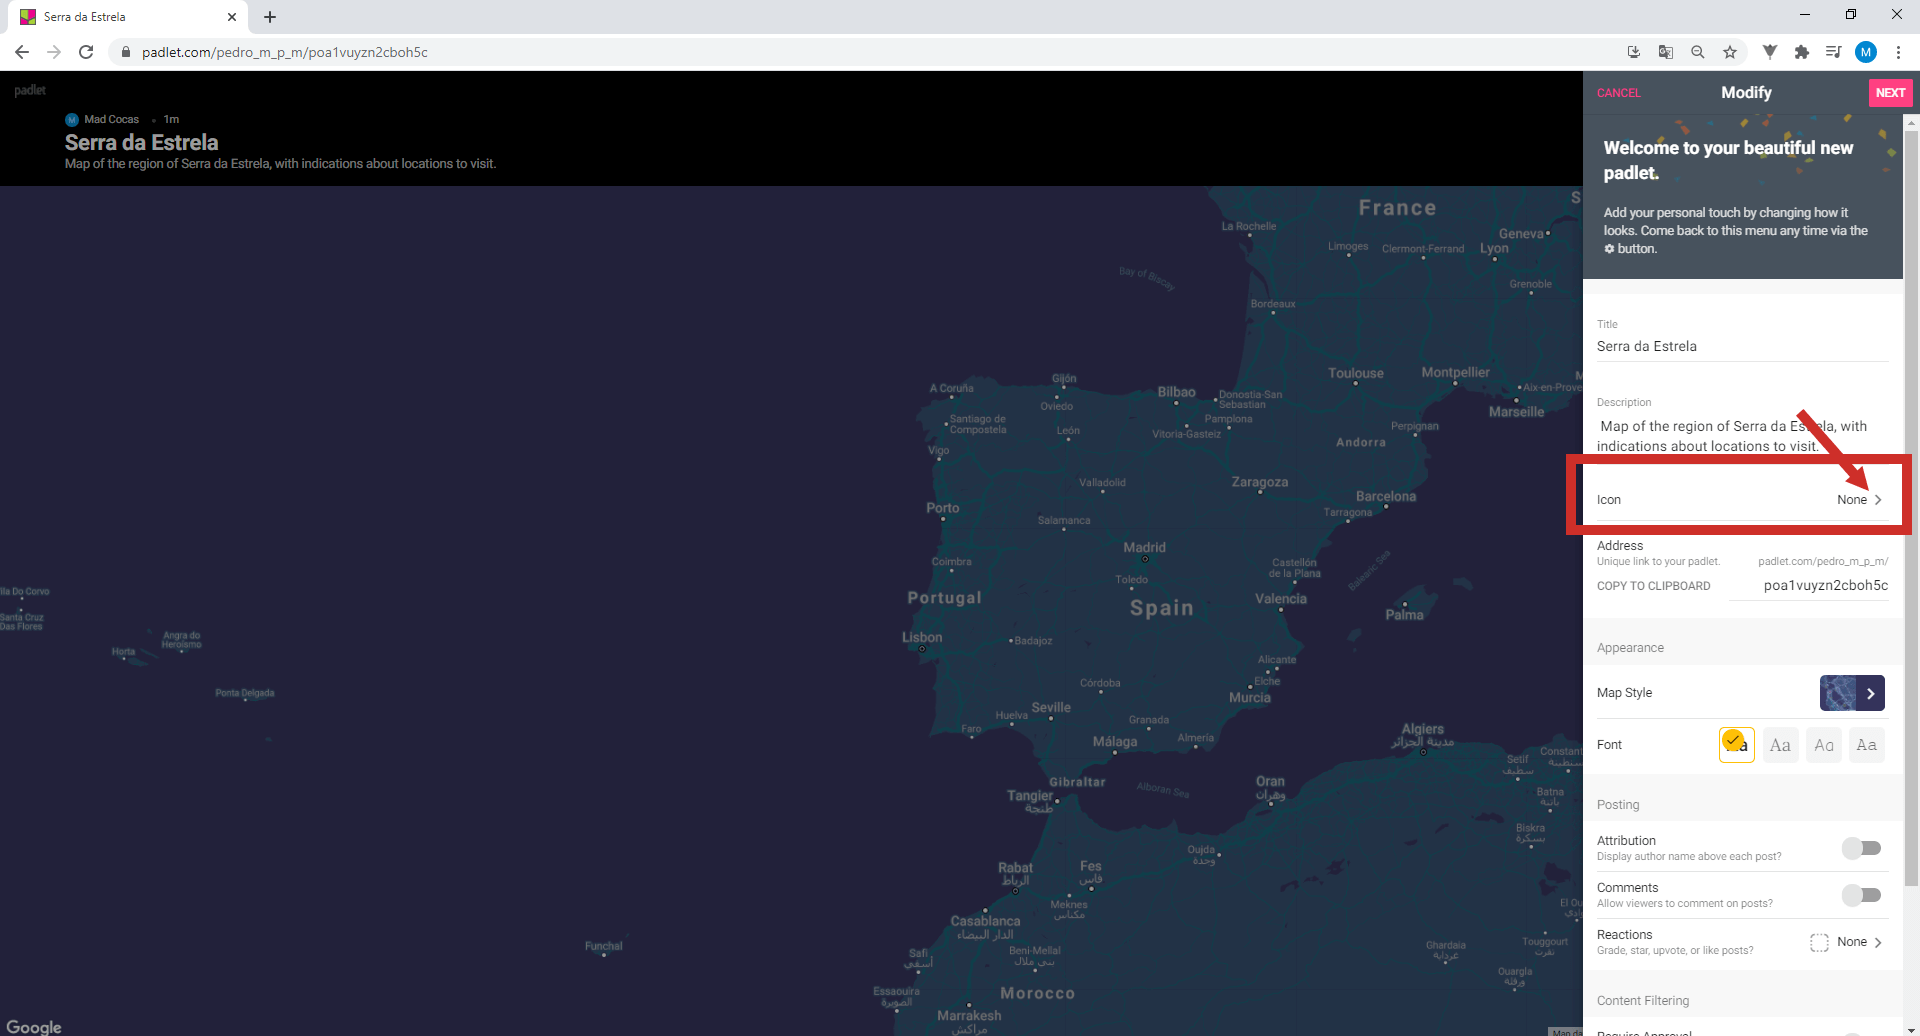
Right now, your Padlet has no associated icon. If you want to add one, choose one of the emojis and, for example, the mountain with snow icon. Did you see the icon appear up there, before the title of your Padlet?
If you prefer, you can add your own by clicking on Add your own icon.
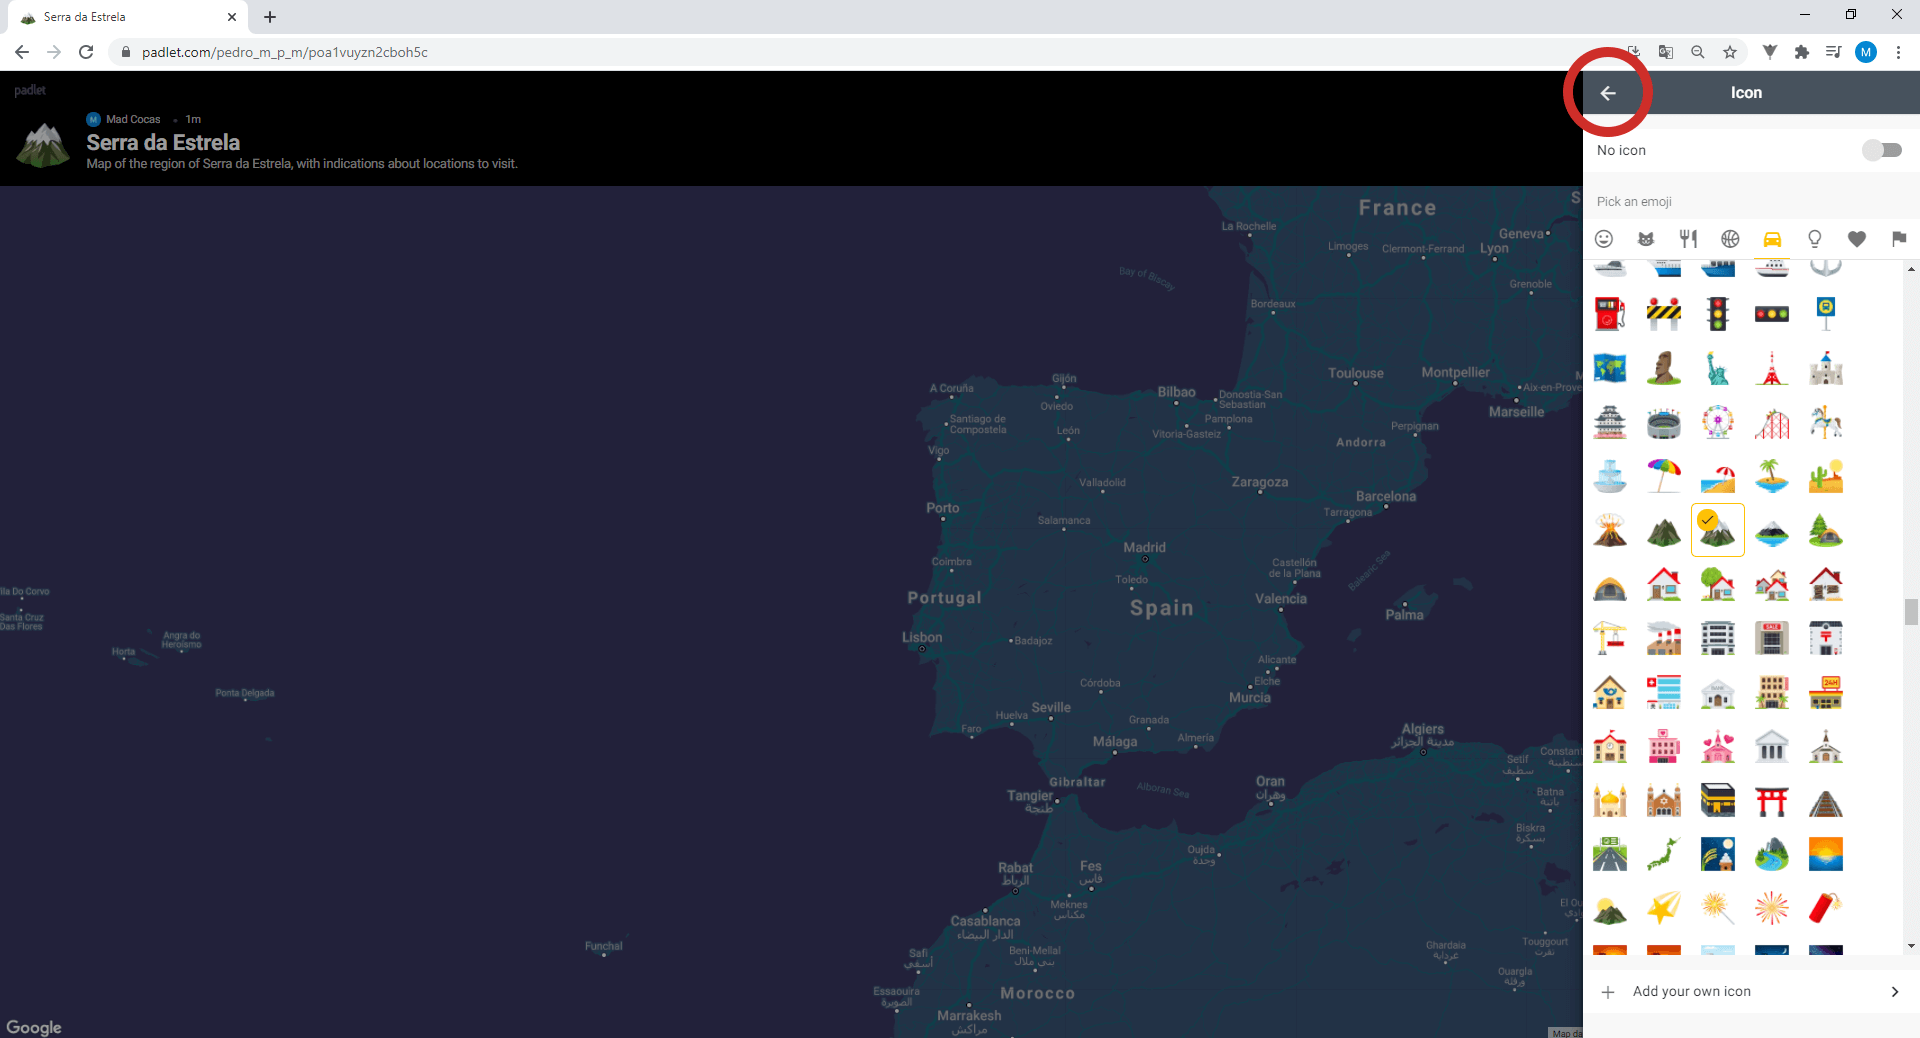
Now, go back by clicking on the arrow.
6. In Appearance, you can change the map’s Style and Font of the letters. Click on the arrow to the right of the Map Style.
Explore the different map styles and, in the end, choose the one you like most.
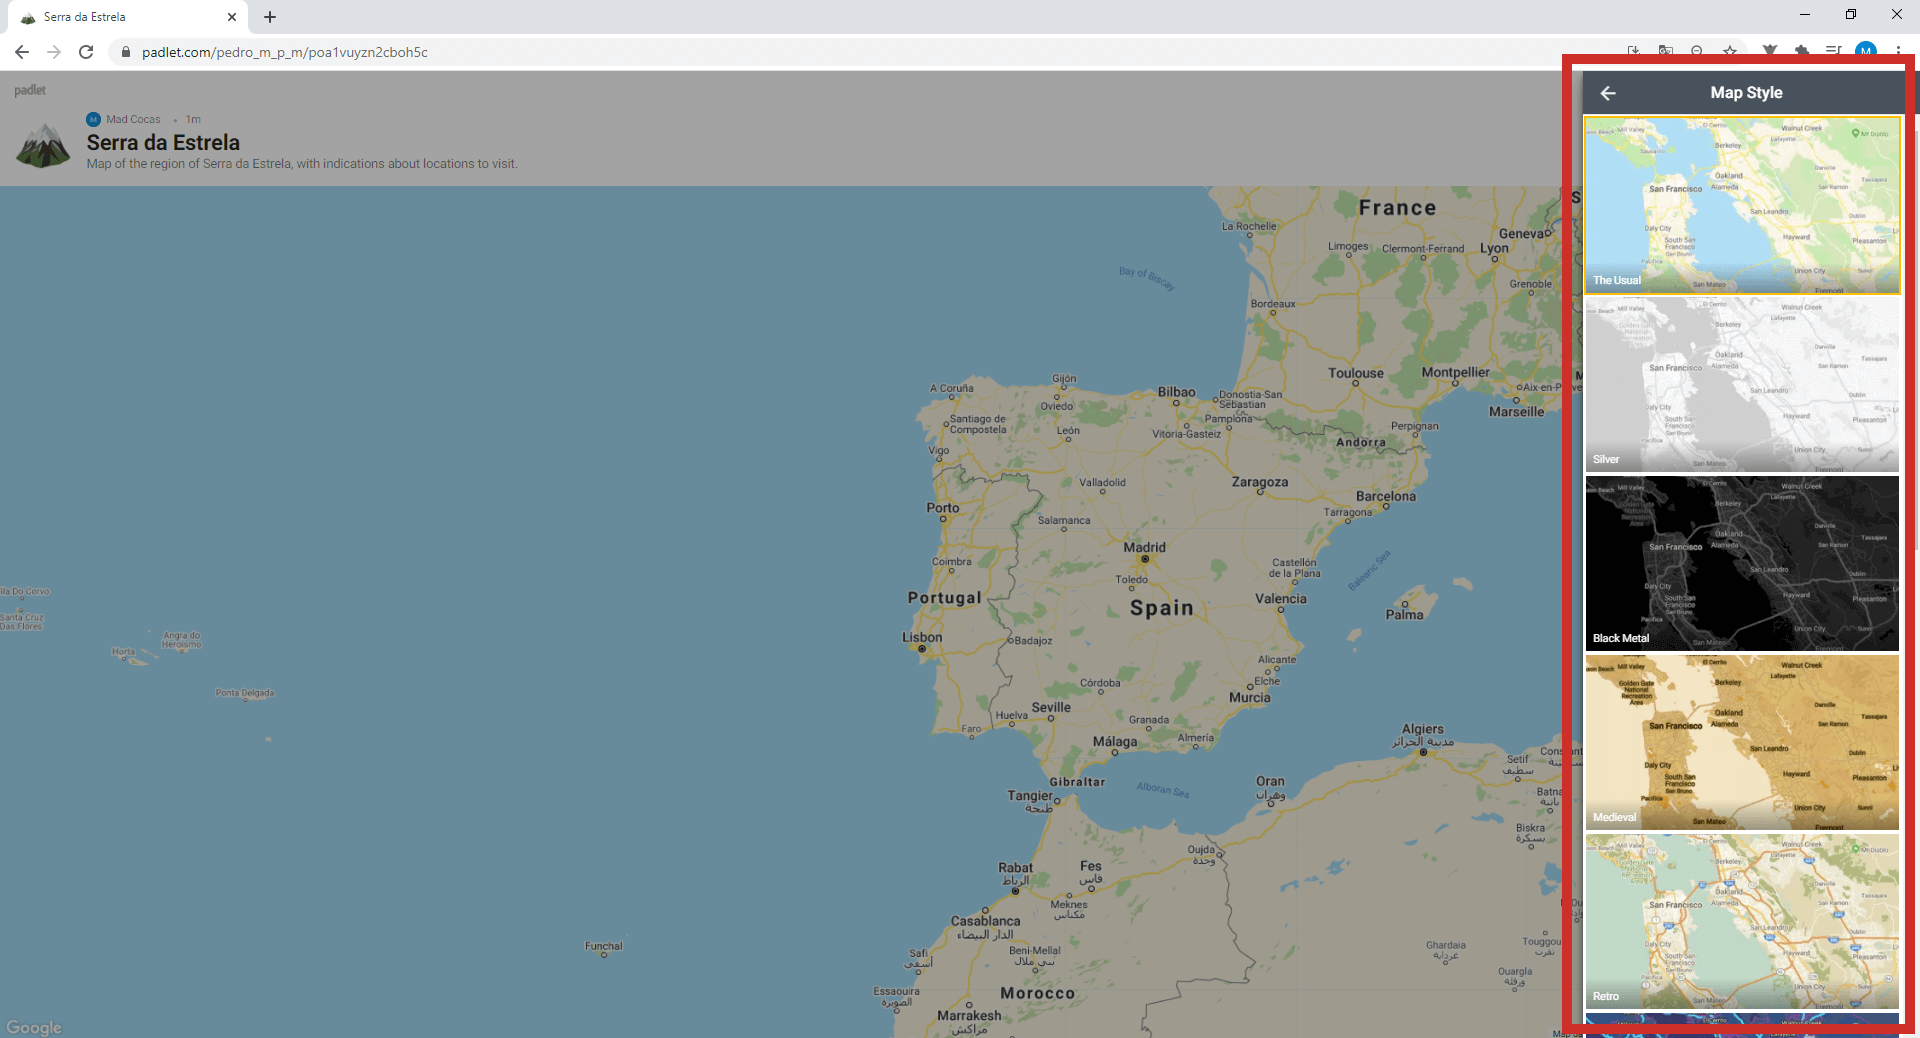
Now, go back by clicking on the arrow.

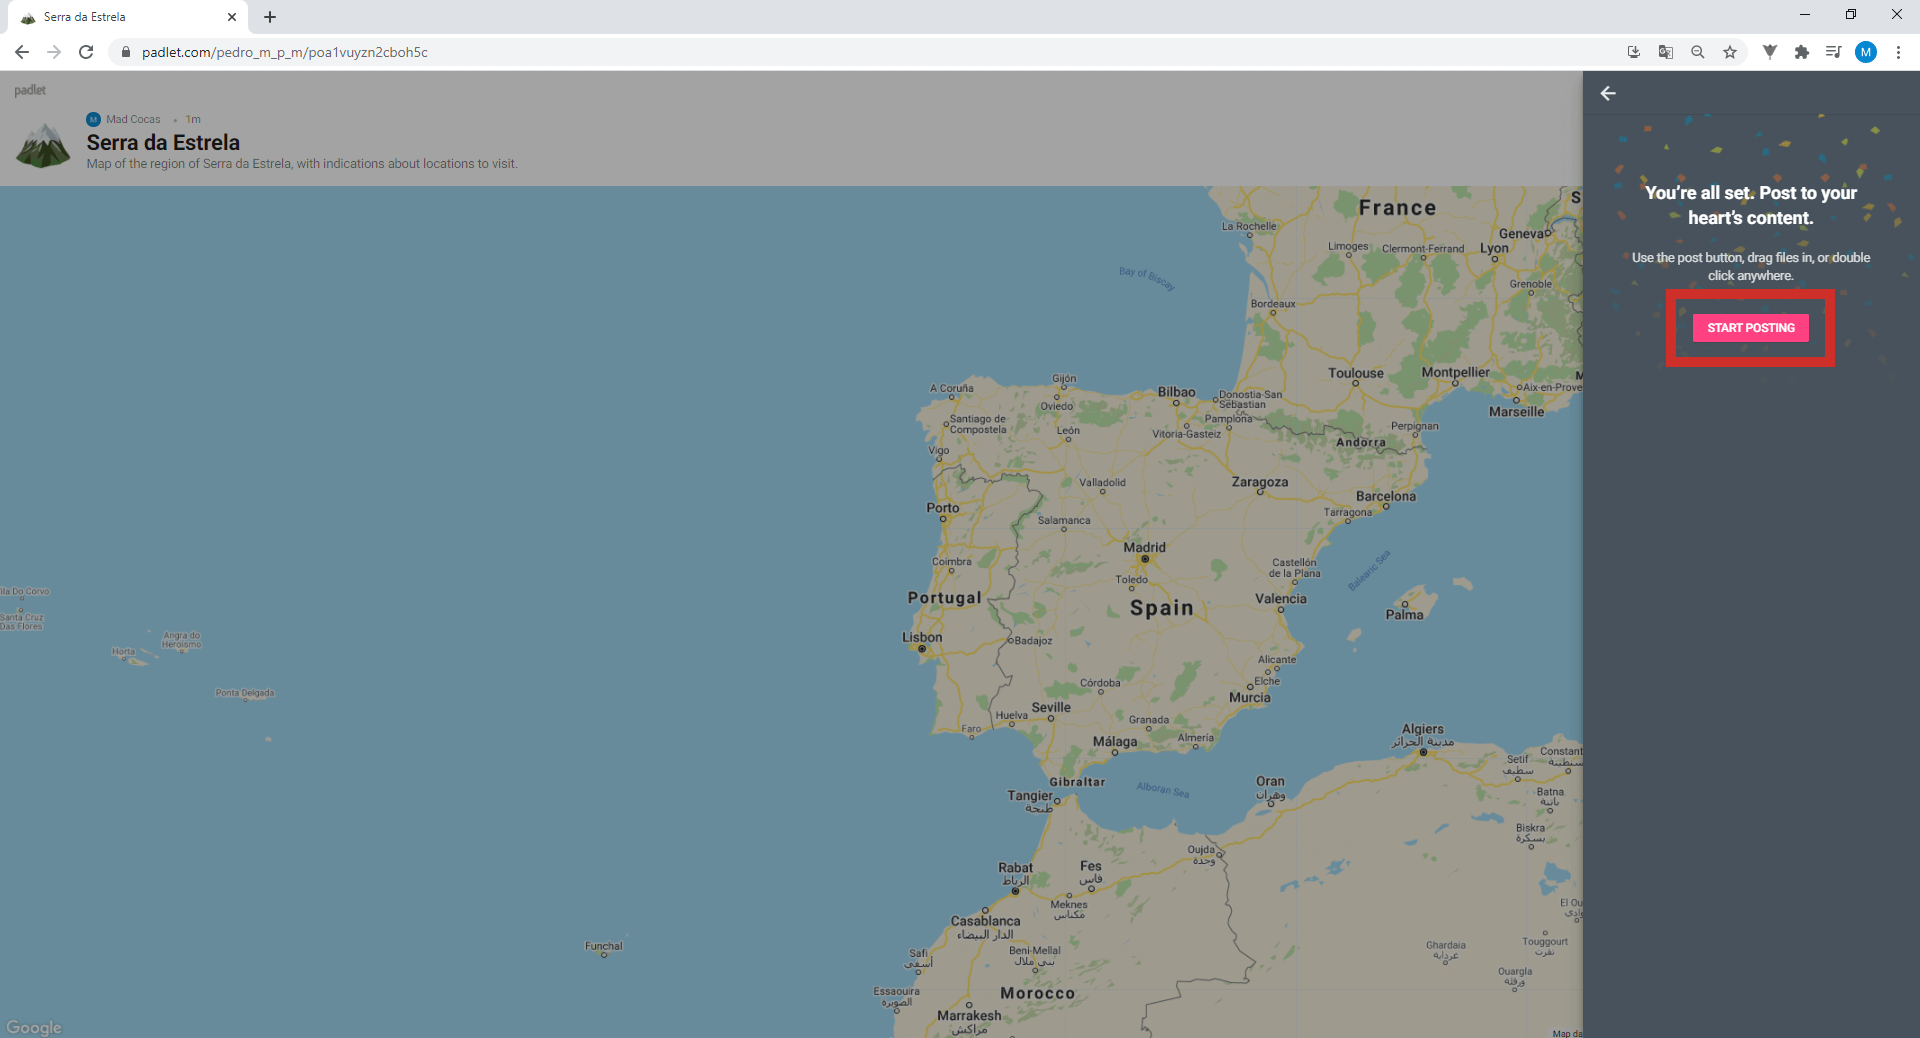
7. If you don’t want to change anything else, click on NEXT.
8. Select START POSTING.
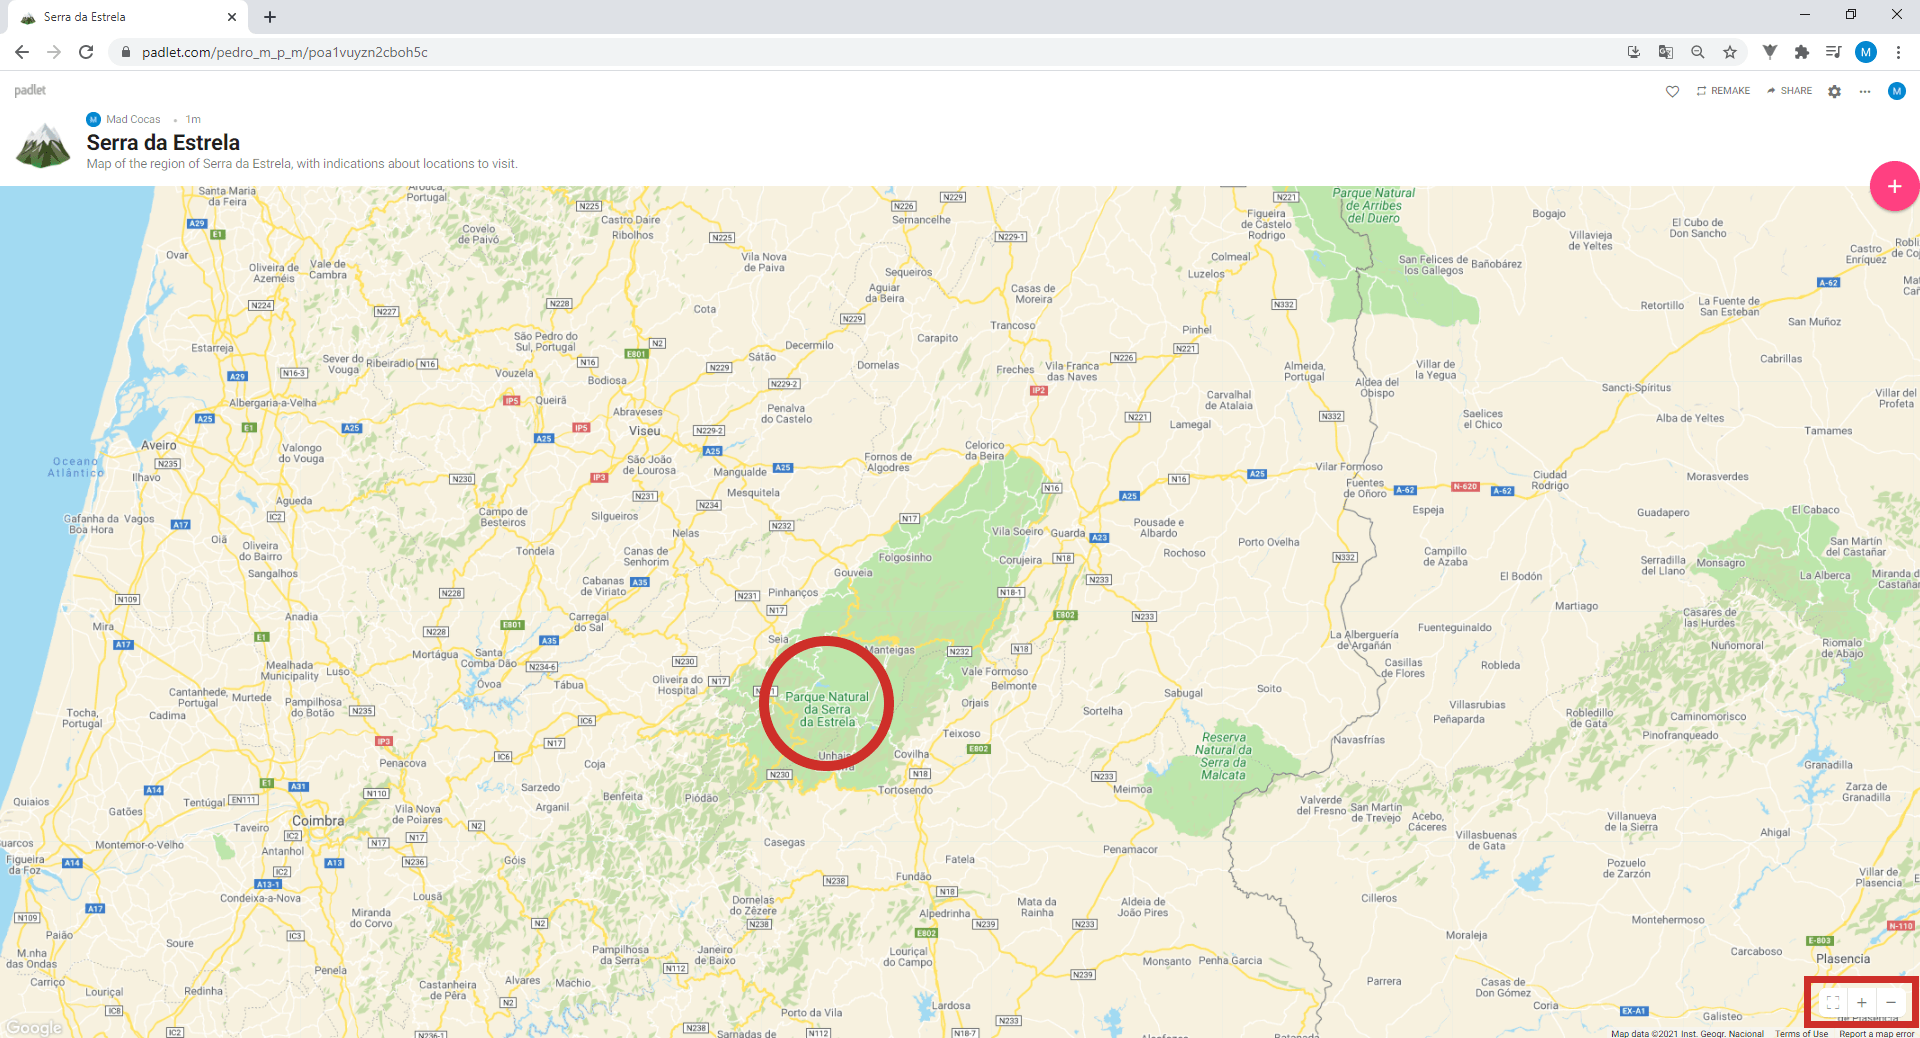
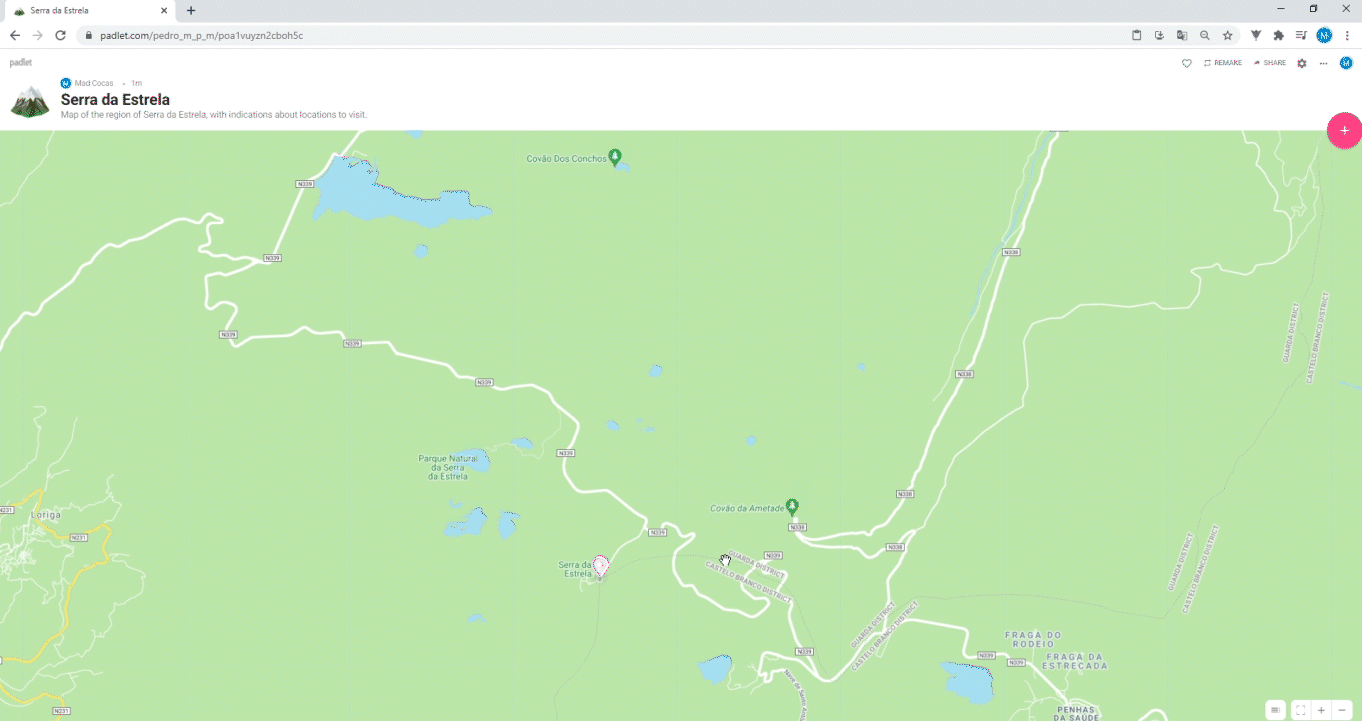
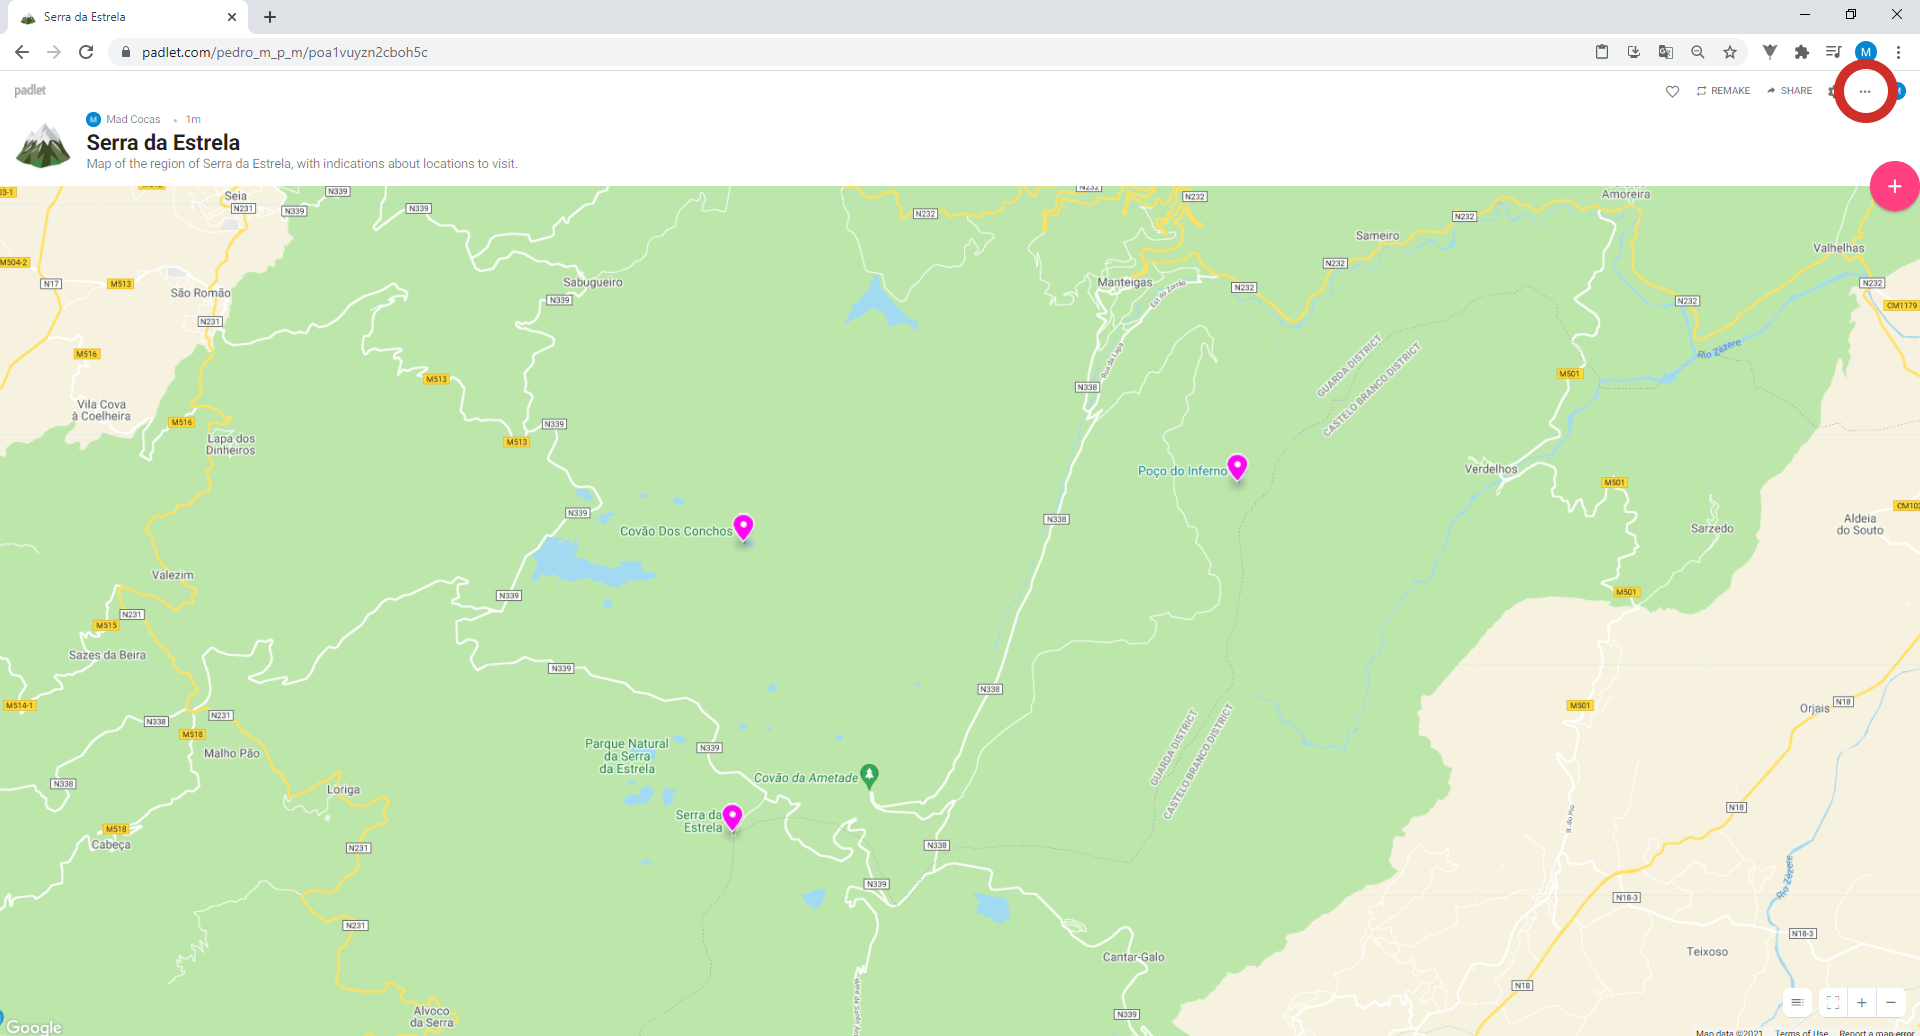
You can enlarge your map by clicking on the + in the lower right corner. To drag the map, click on it and hold the left mouse button down to drag it where you want. Use these techniques to find the Serra da Estrela Natural Park. Do you need some clues? It is the right of Coimbra, a bit below Viseu. Can you see it?
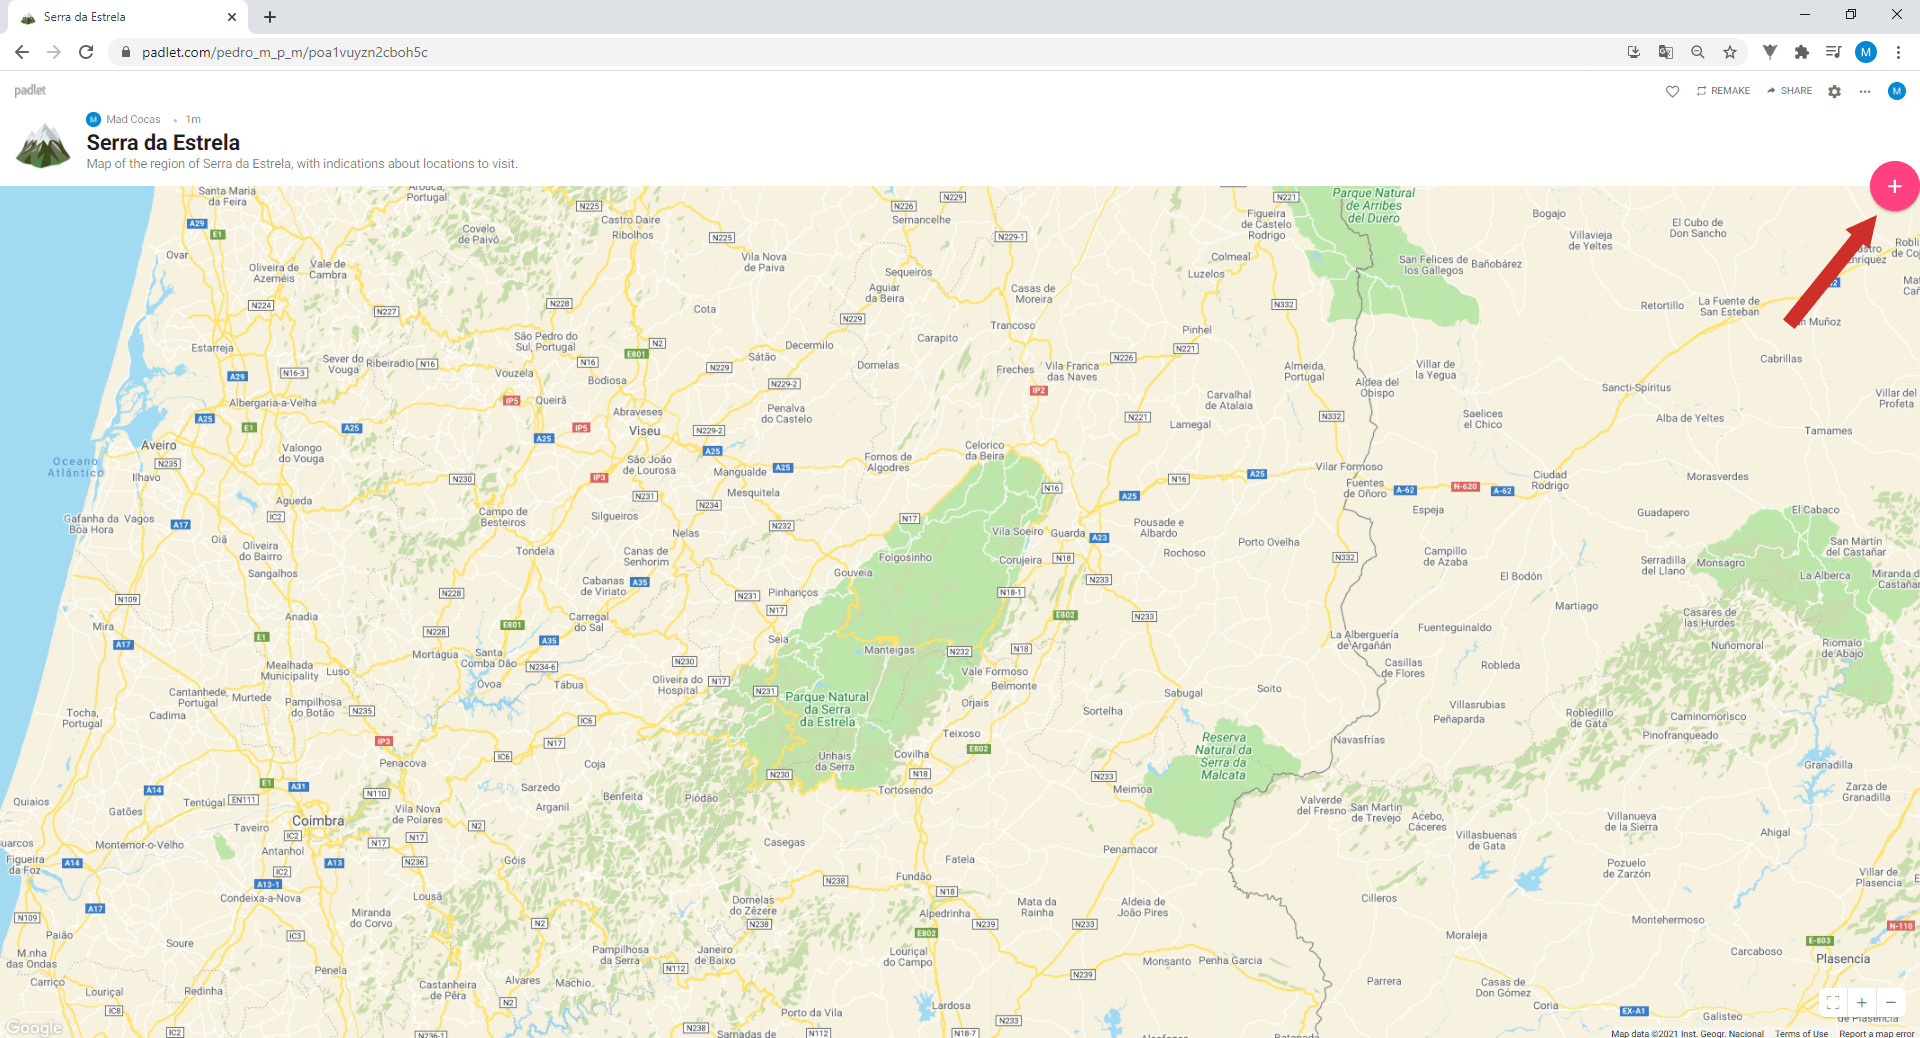
9. Good. Now, click on the + button in the upper right corner.
You are going to mark places of interest in the Serra da Estrela Natural Park and give them descriptions. There are two ways to do this: you can write the name of the place of interest in Option 1, or drag the red marker to the place of interest using Option 2.
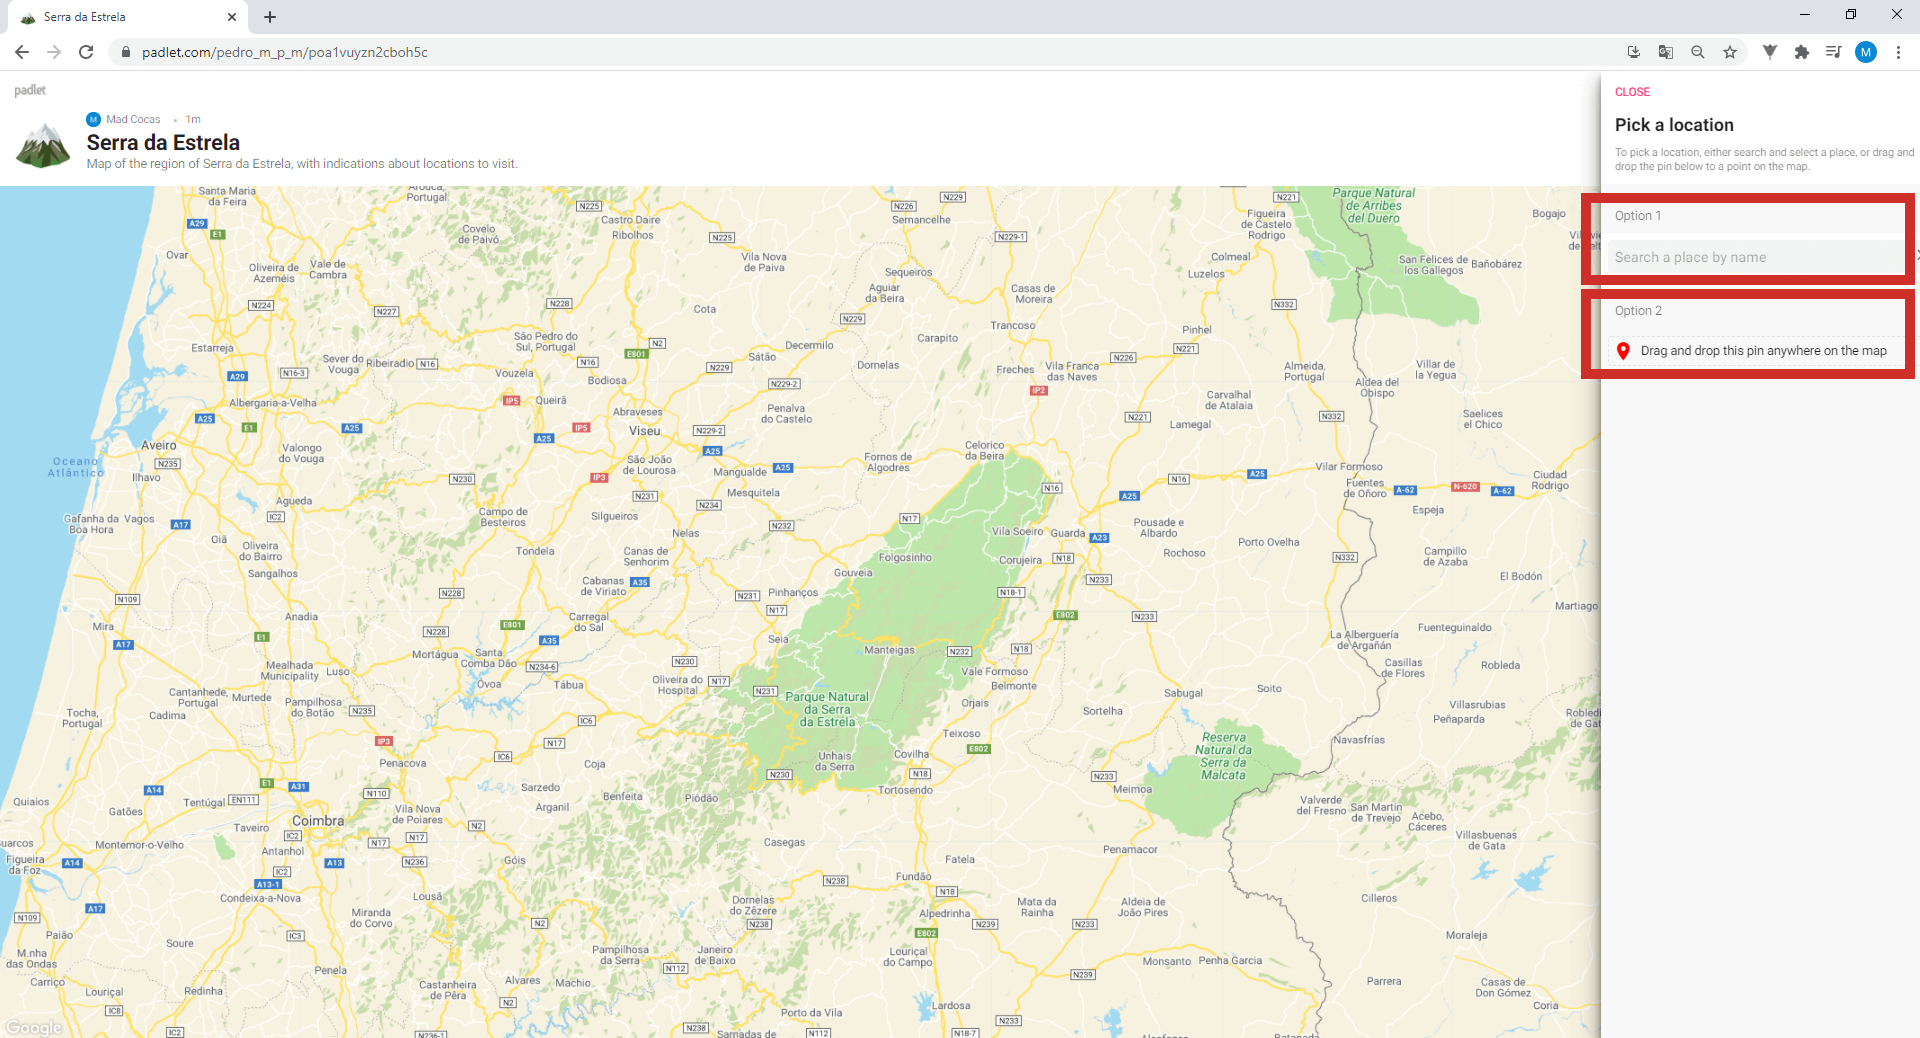
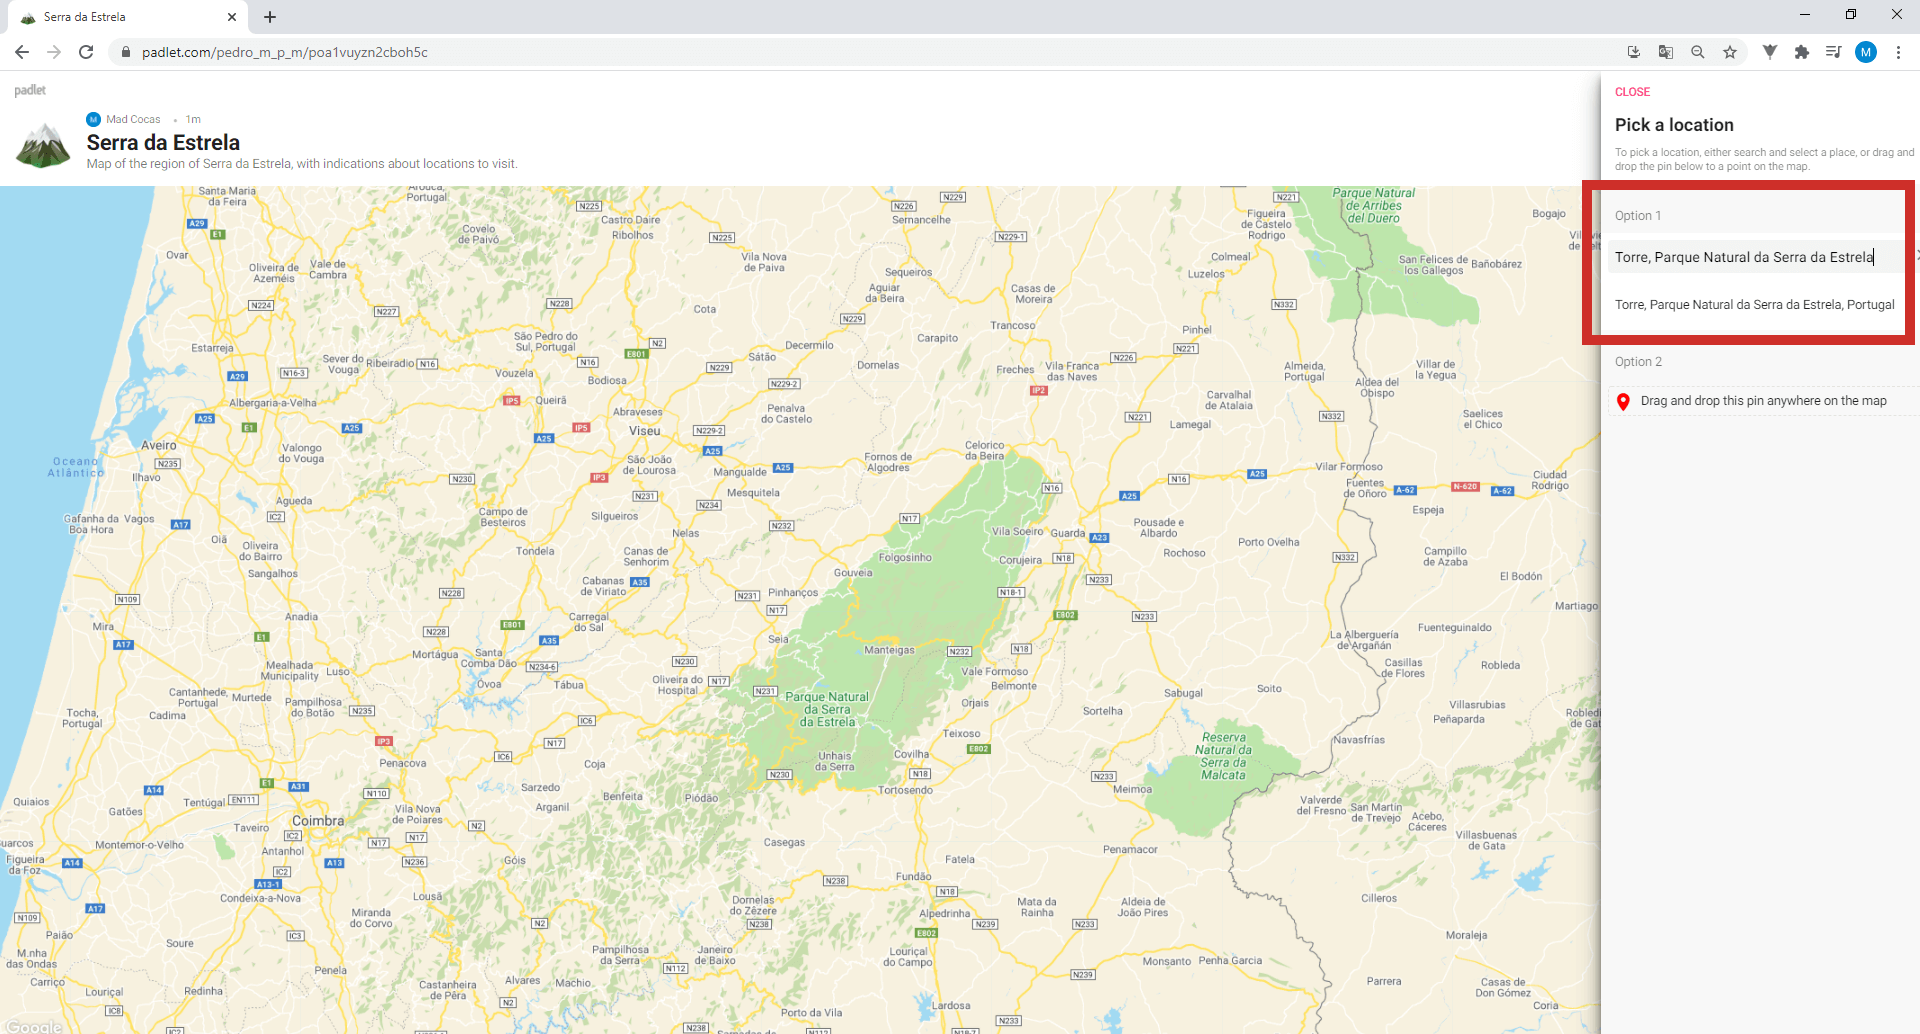
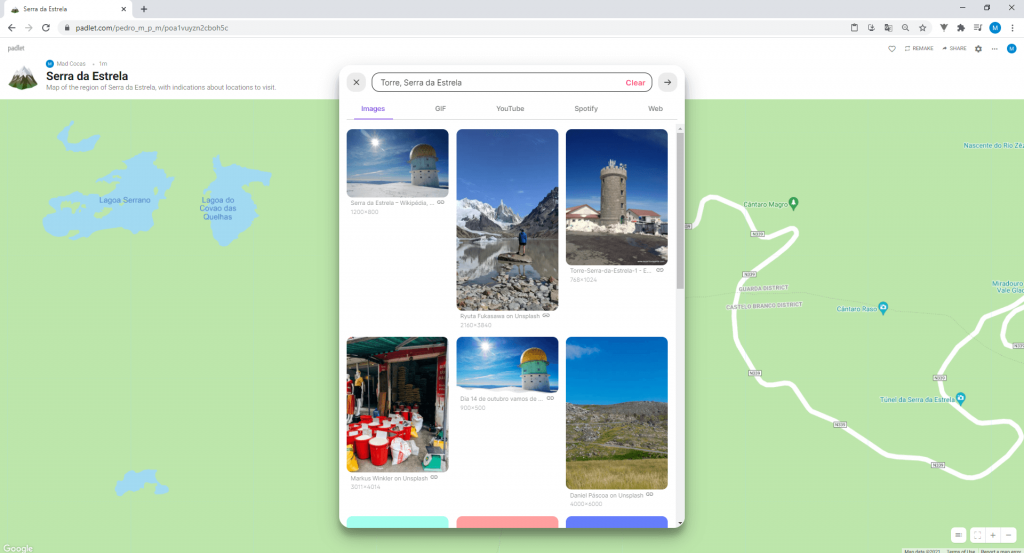
The first place to mark is Torre (the highest point on mainland Portugal), where we will use Option 1. Search and select “Torre, Parque Natural da Serra da Estrela”.
10. Torre has been marked! You can add videos, images or even links to this location by clicking on one of the following options:
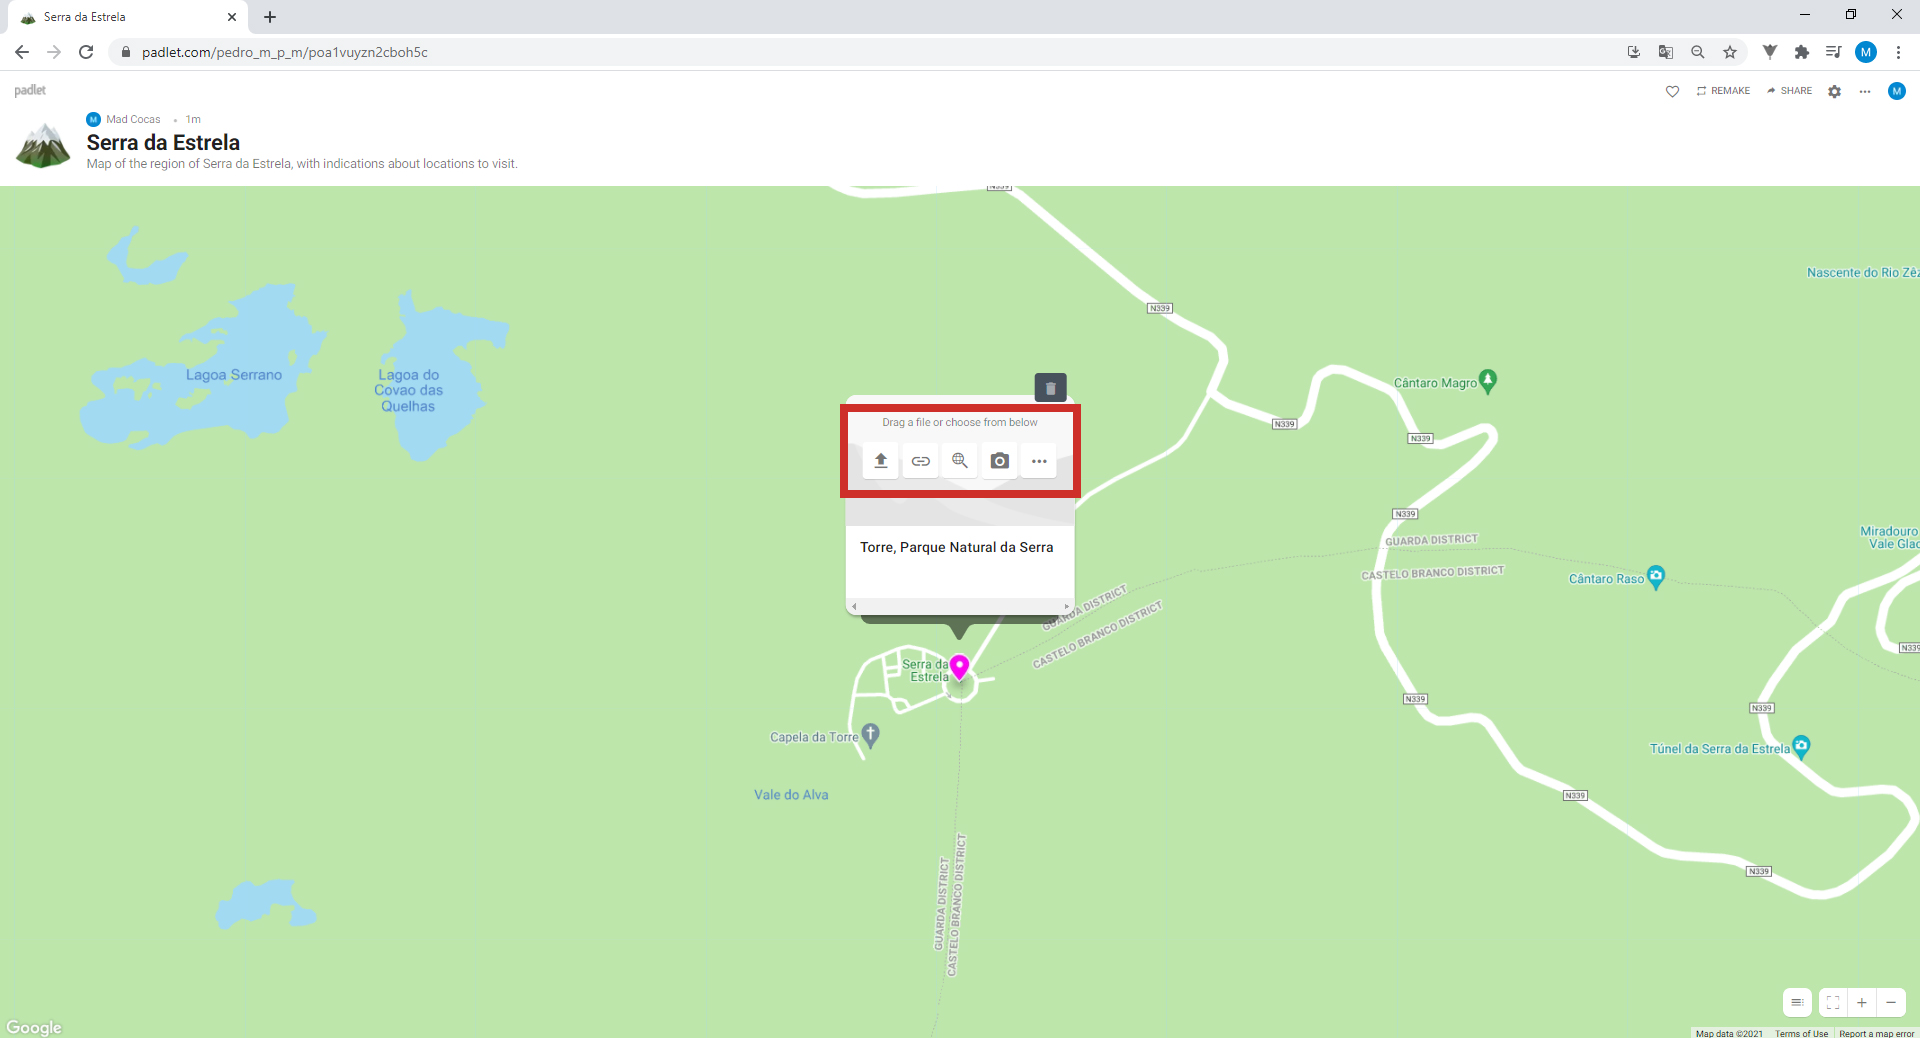
Click on Search. In this option, you can search for multimedia components directly on the Internet (image, video, GIFs…).
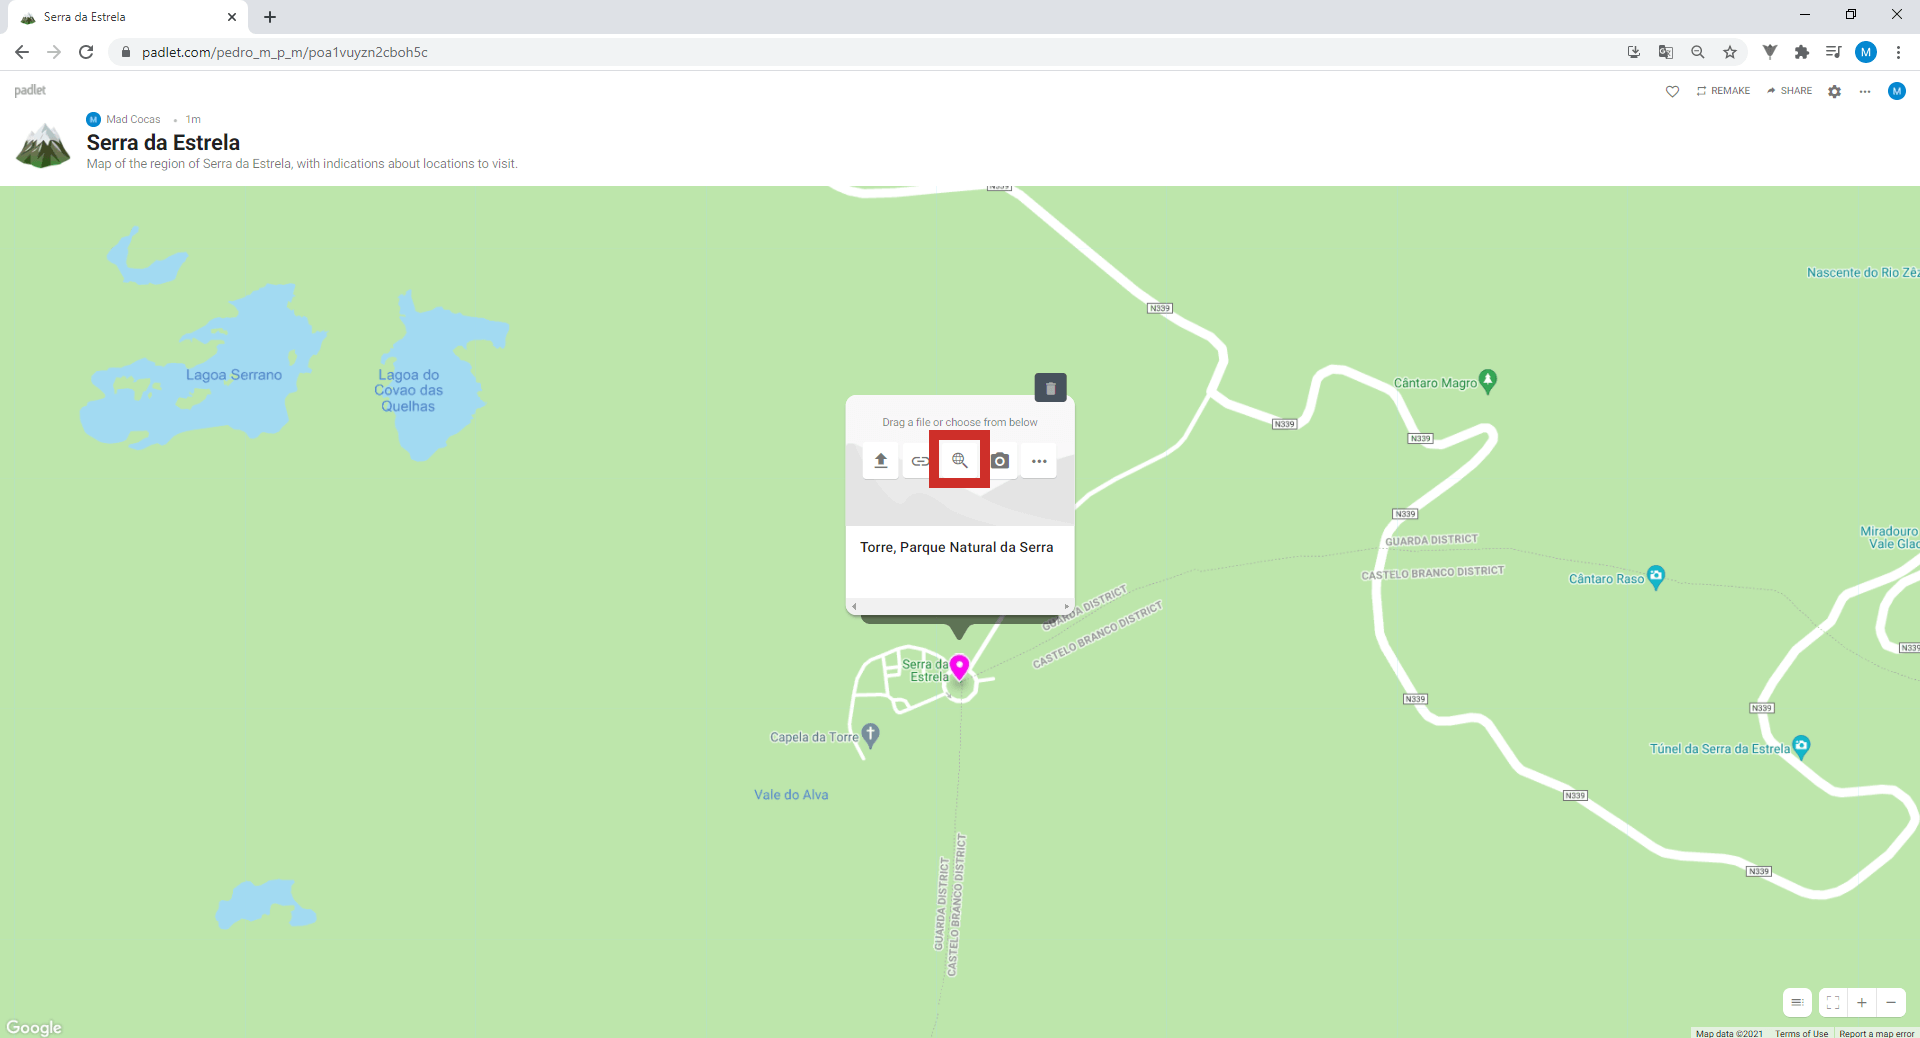
Find the image you like most and select it.
You now have an image! Now, below the location’s name, write a brief description of it, like in the image.
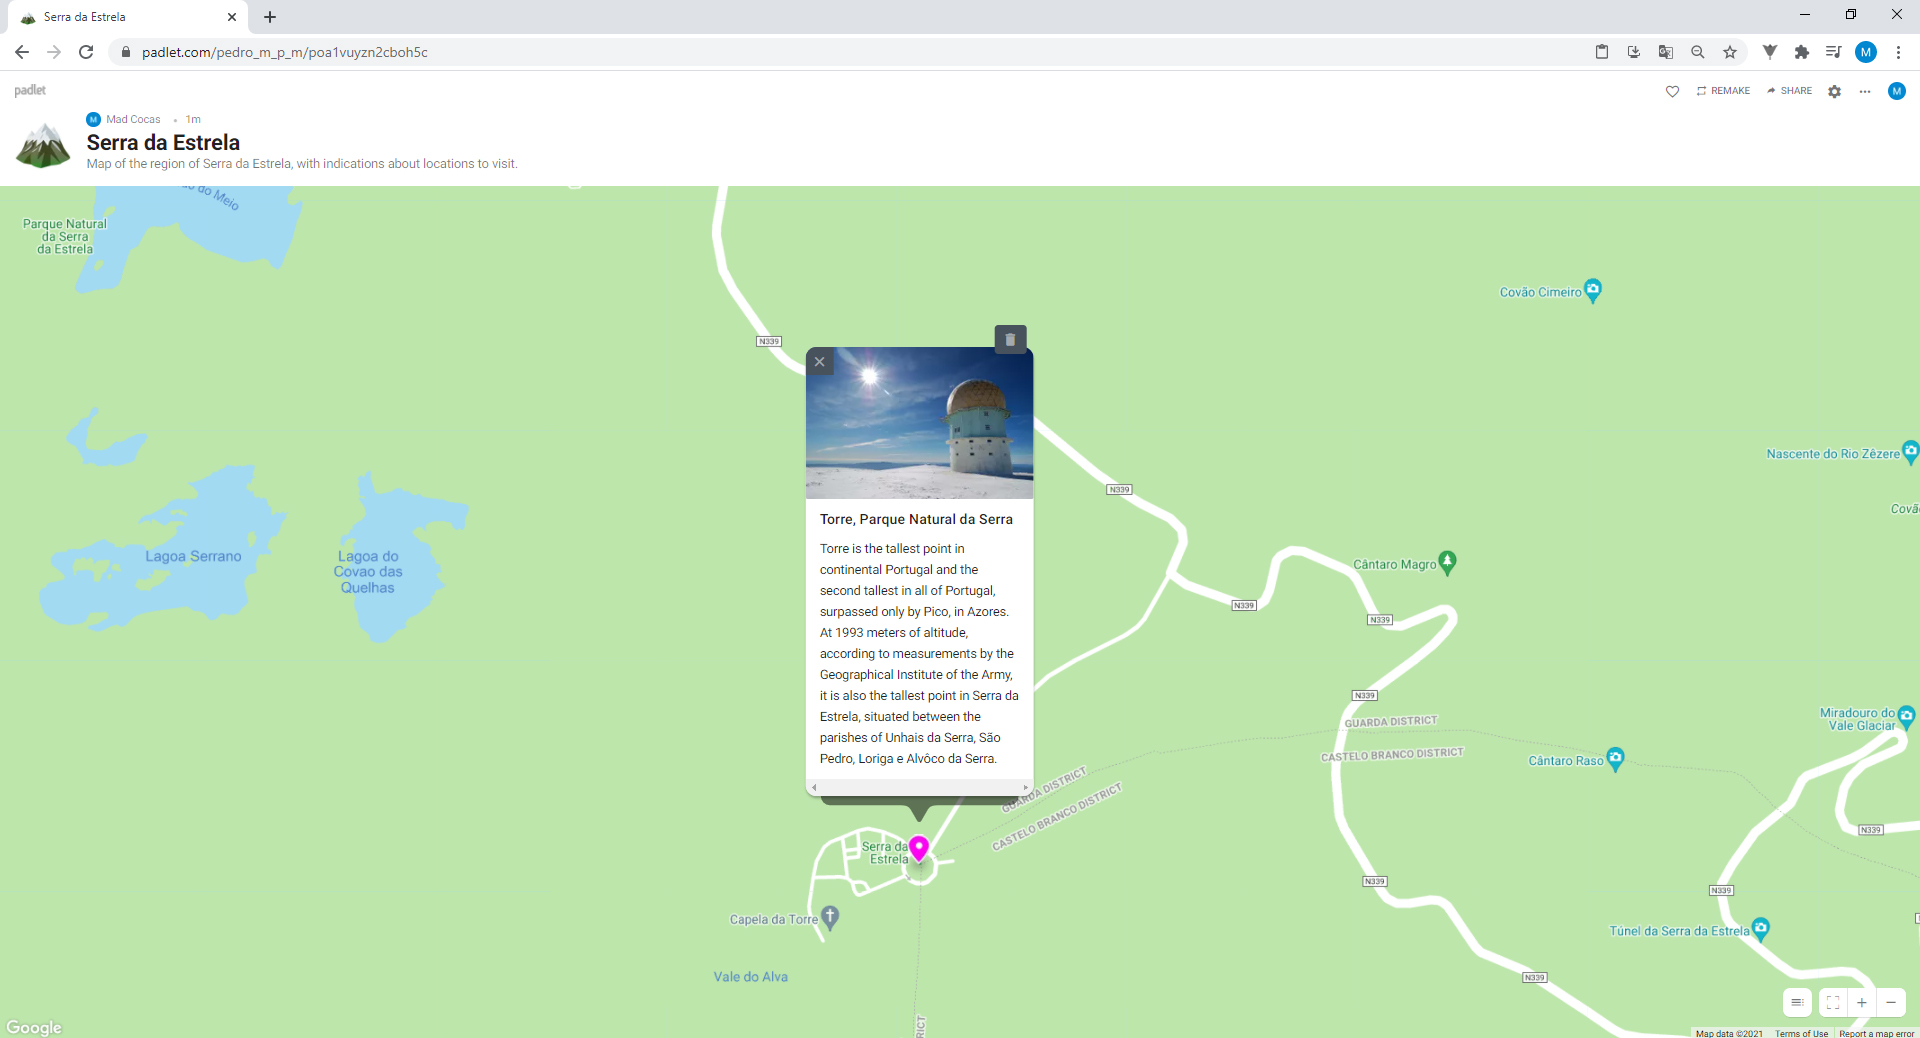
11. And that’s it! Your place of interest has now been marked on the map of the Serra da Estrela Natural Park. If you click on the location icon, the information disappears, but it will reappear if you click on it again!
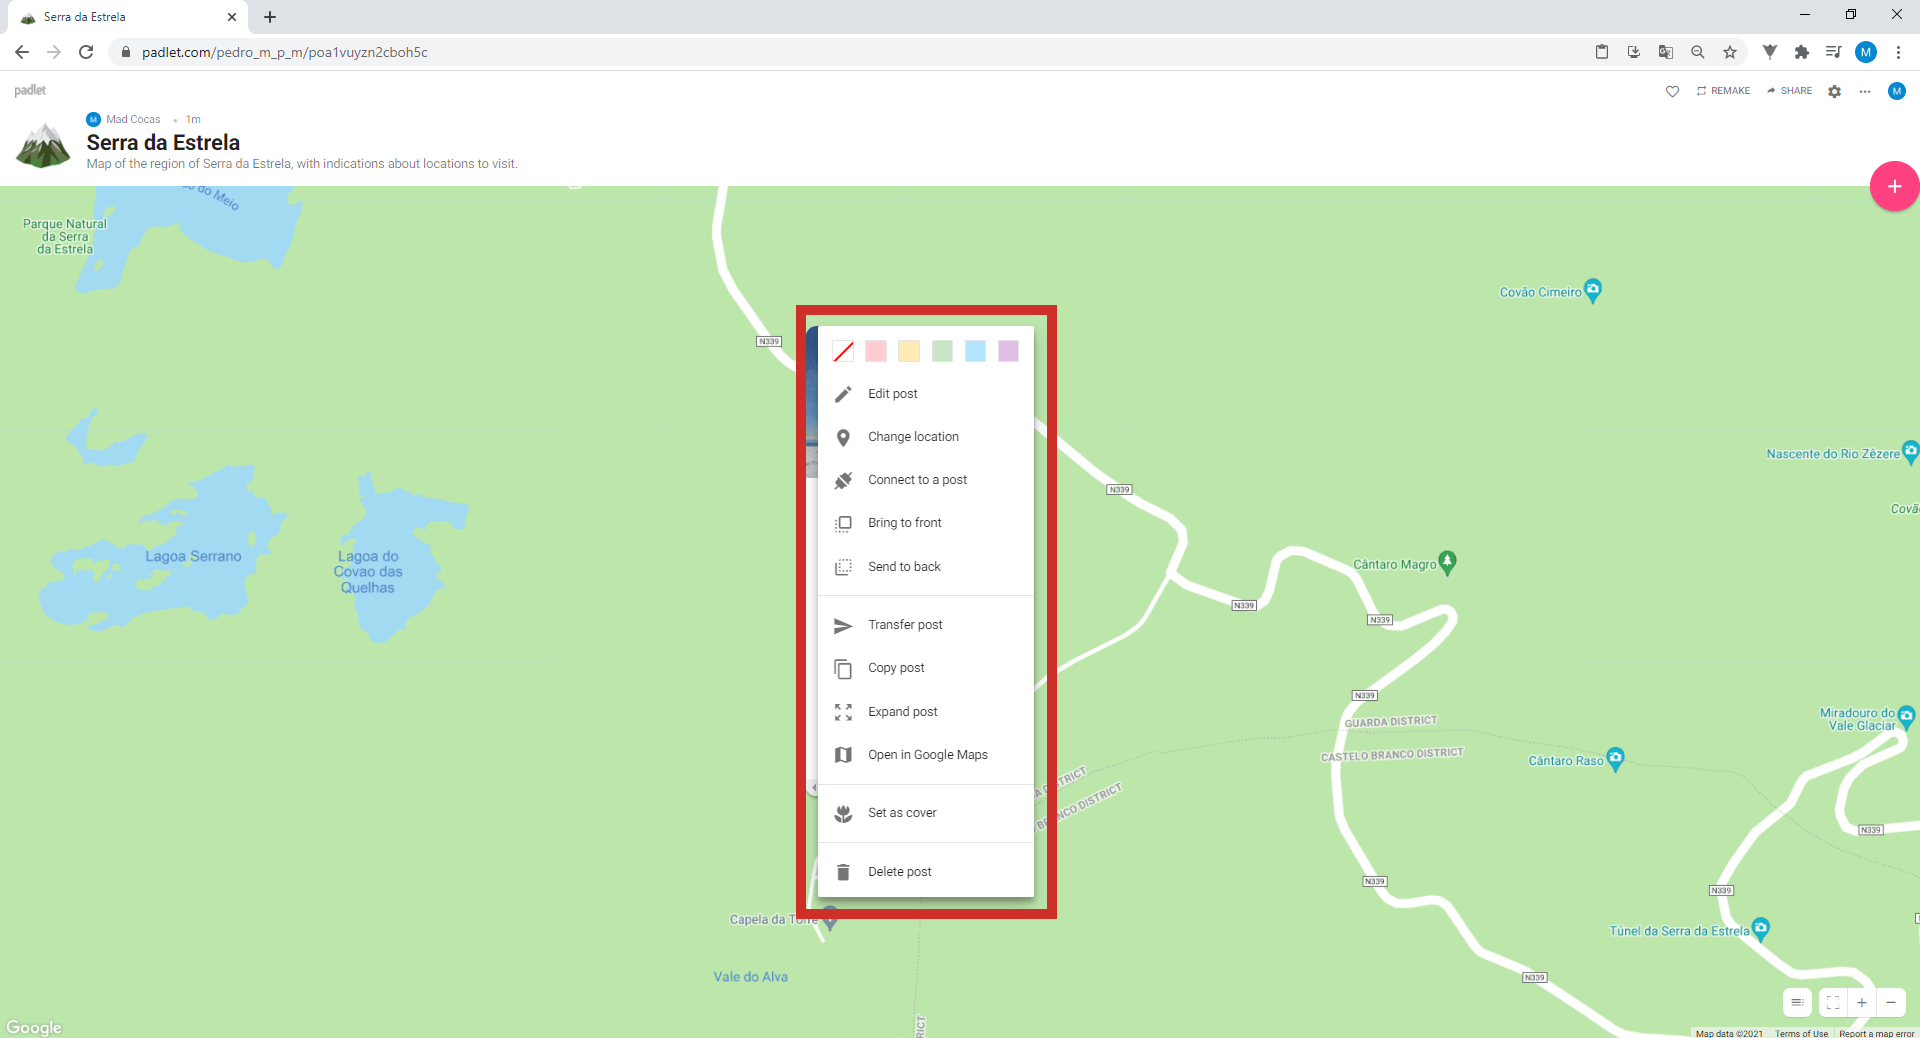
12. When you place the mouse’s cursor above the image of Torre, three icons appear. The first allows you to edit the location, and the second allows you to delete it. Click on the third: More actions.
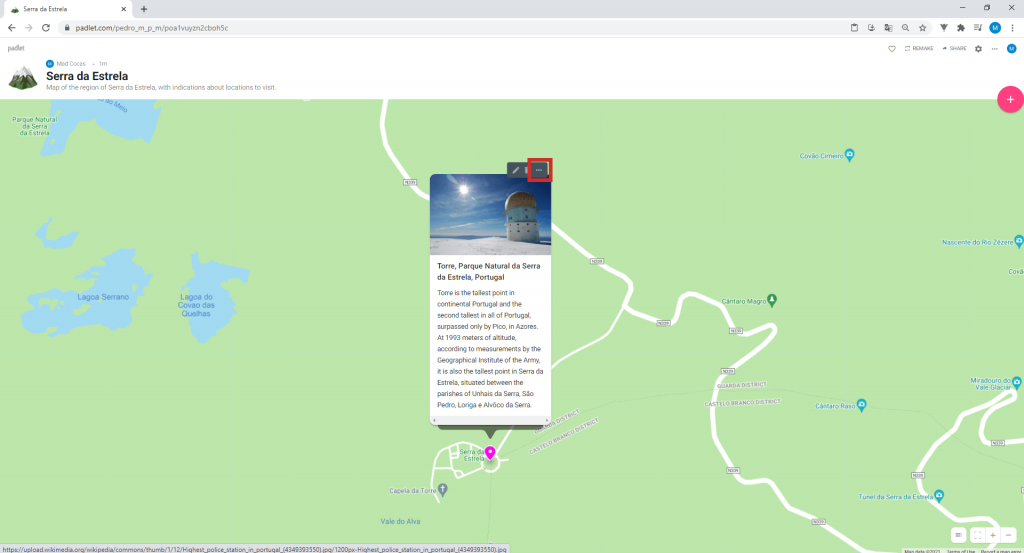
Here you can change the colour of the description’s background, edit the publication, change the location, connect your interactive map to another publication or even open the location in Google Maps. Google Maps is a Google service which, among other things, allows you to see satellite images and maps of the Earth, at no charge.
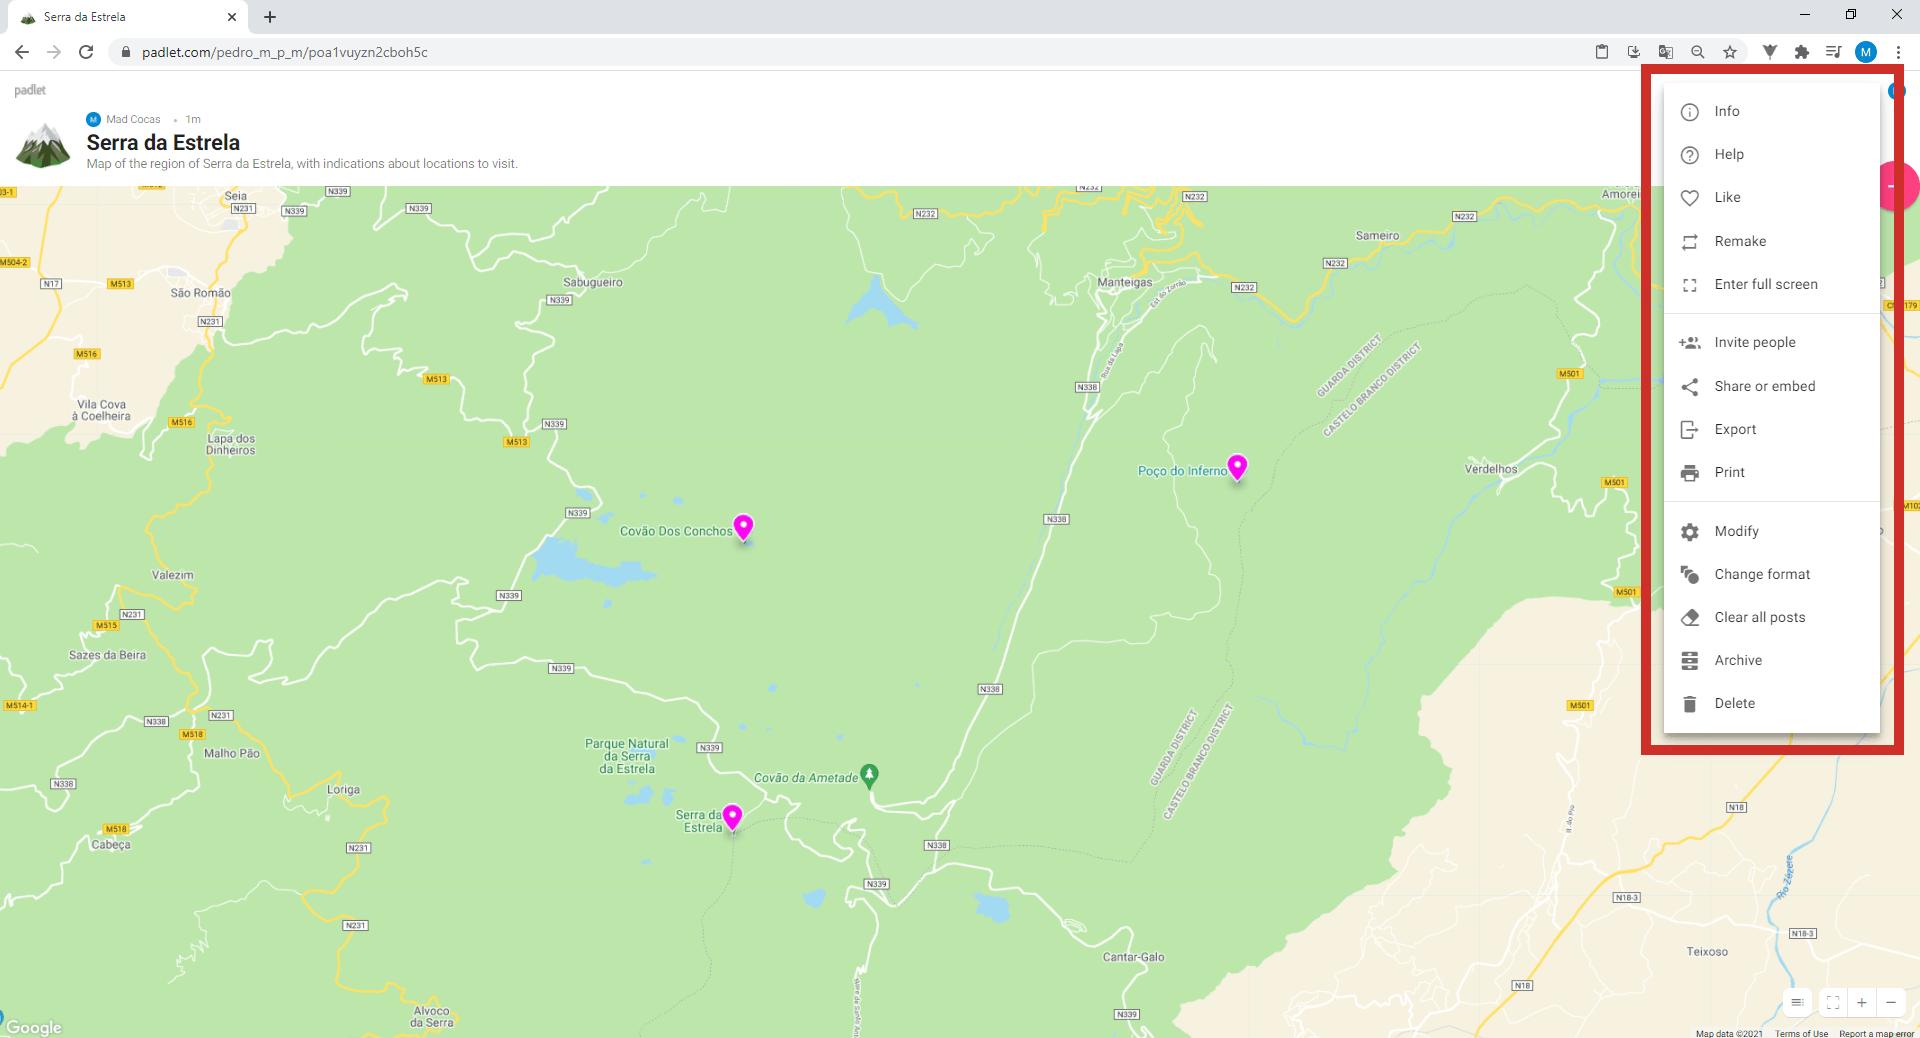
13. Search and mark other locations. When you finish your map, click on More (3 dots) in the upper right corner. Here, with the help of an adult, you can decide what to do with your project. You can invite people you know to see your map, share it with them or even print it! Before doing so, make sure the information in your Padlet doesn’t have any personal data.
14. Now that you have explored some of the features of Padlet, don’t forget how Padlet can help you the next time you need to create a presentation for an assignment! Have fun making maps of the most amazing locations and exploring the other formats of Padlet!