Activity
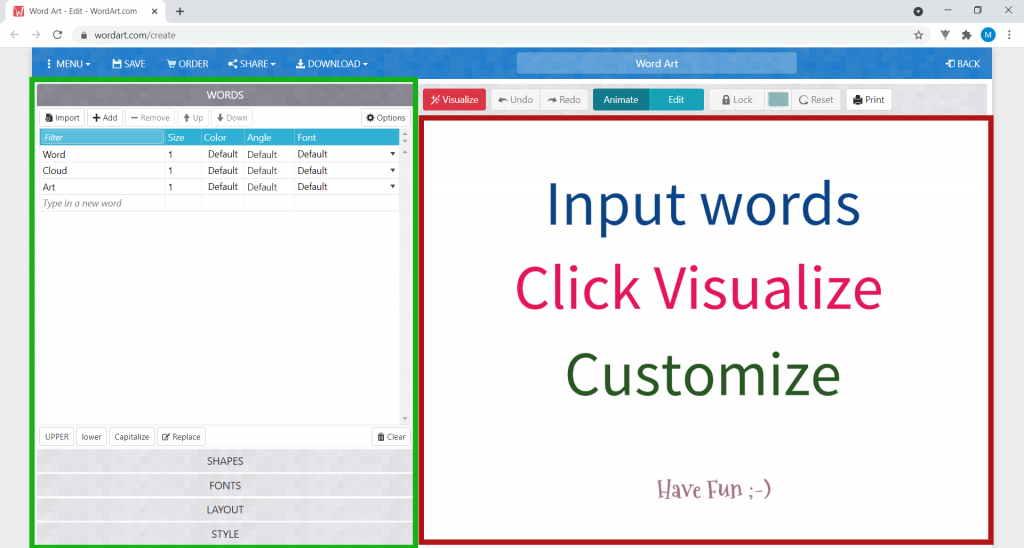
1. To start the activity, click on https://wordart.com/create.

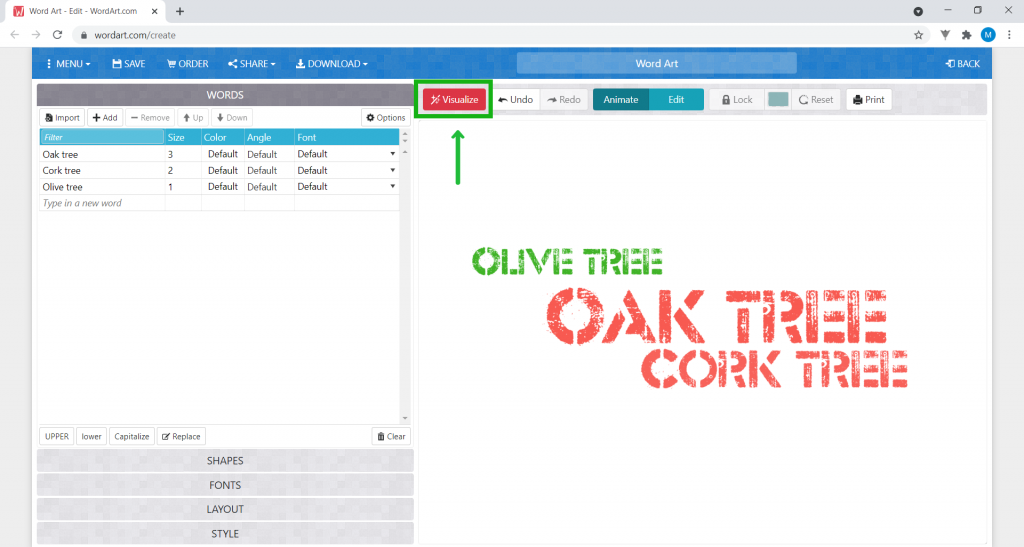
2. This is where you will do your activity. You will edit your word cloud in the area marked in green, and view it in the area marked in red.
SIDE NOTE: You may click the images to amplify.
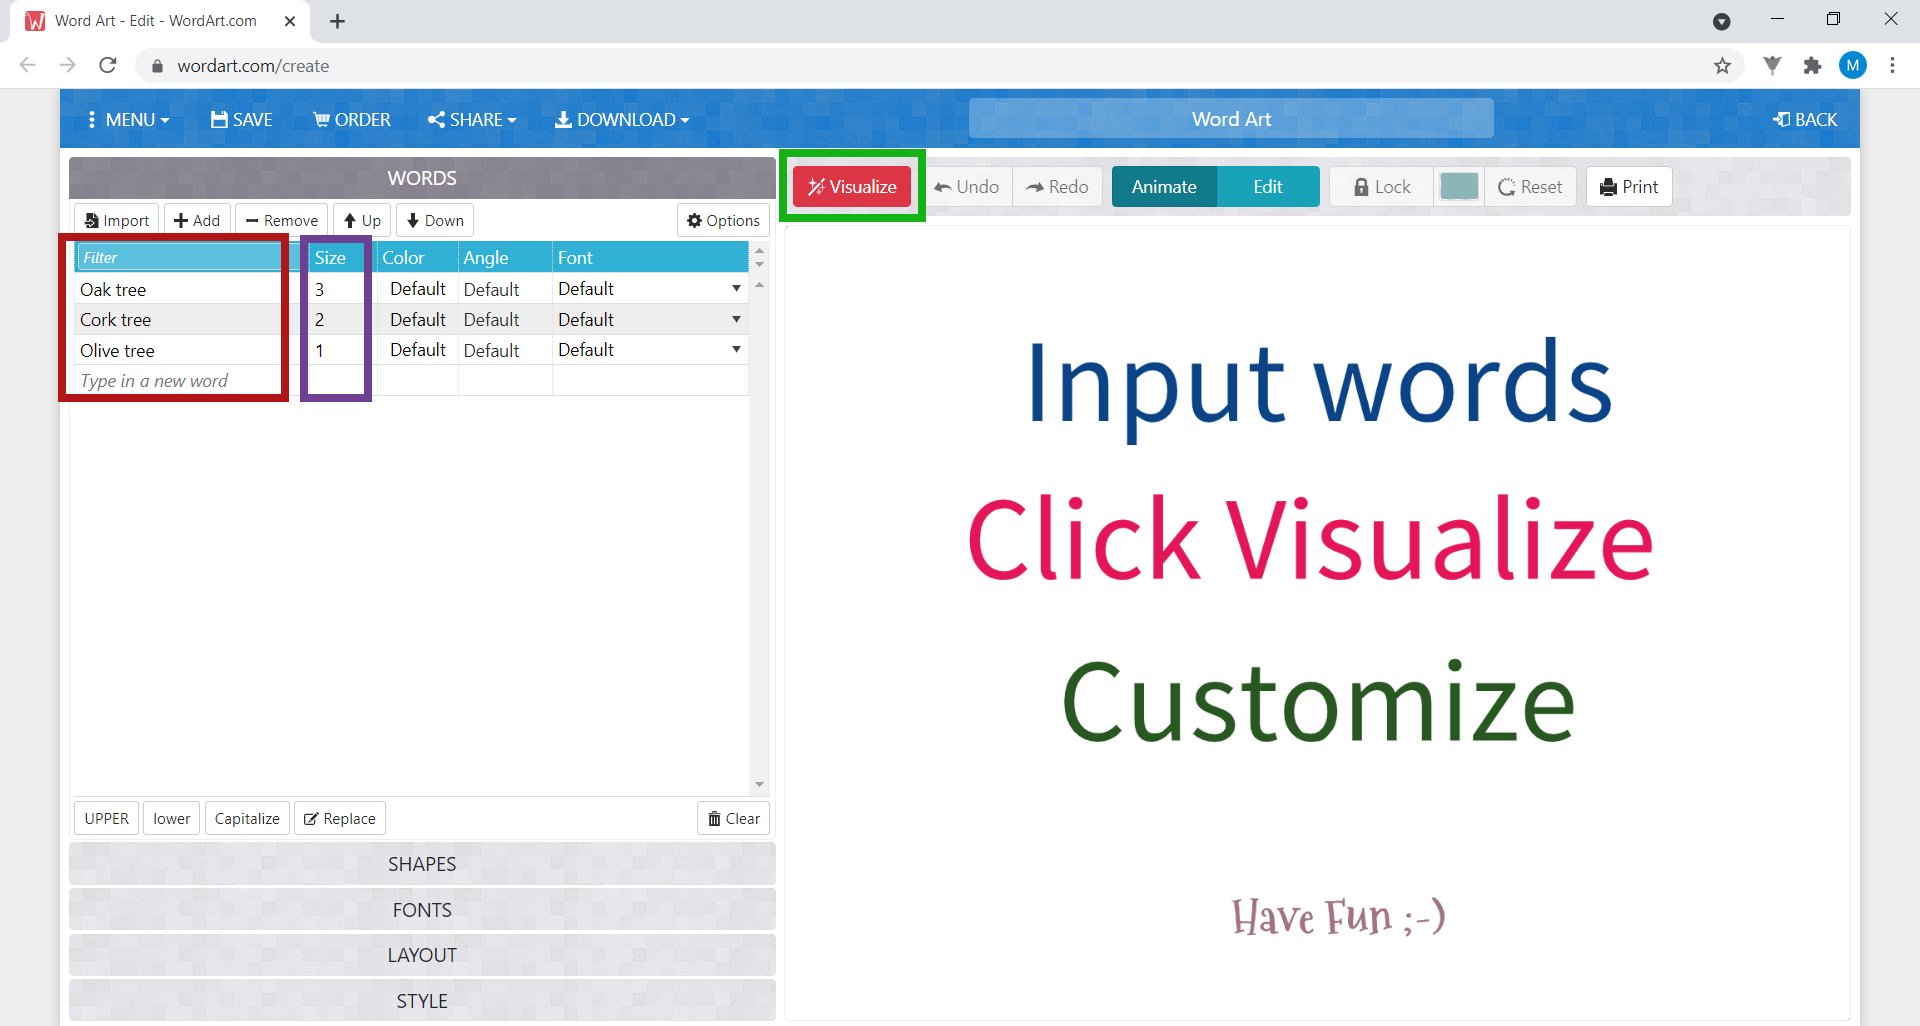
3. The word cloud you will make is about trees. First, in Filter, put the names of the trees, and in Size put the size: the bigger the number you put in this field, the larger the word’s size will be. When you’re done, click Visualize to view your cloud.
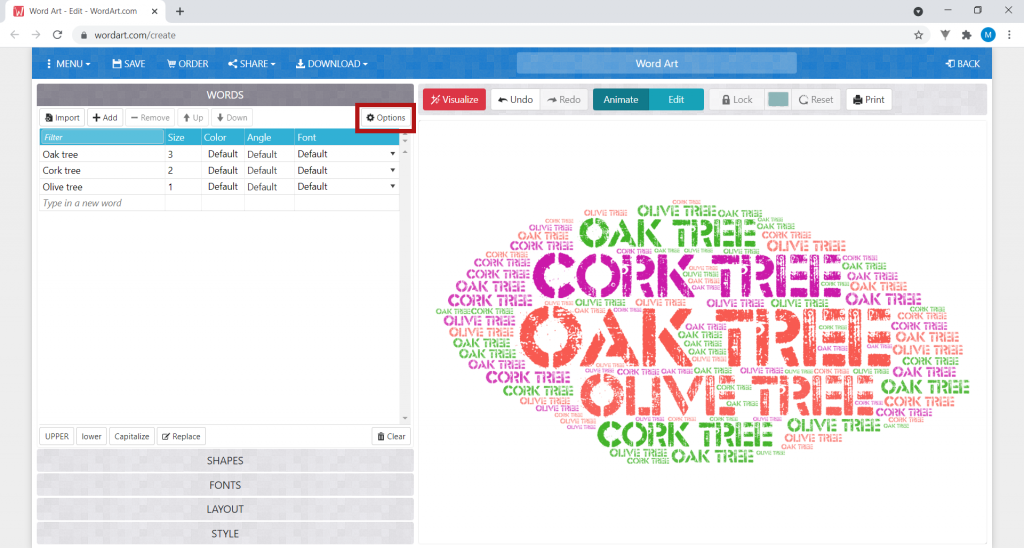
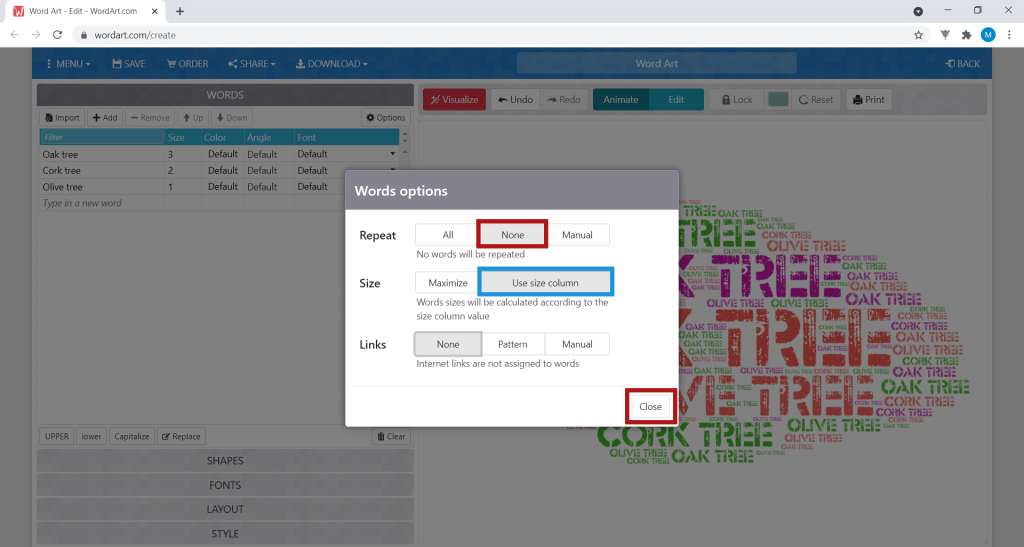
4. The names of the trees you have entered appear on the right hand side, repeated several times. Regarding the size, the program ignores what we have entered, and instead chooses randomly. To change the settings, click Options.
In Repeat, change to None, so that the words are not repeated. Under Size, change to Use size column, so that the size of the words in the cloud matches the number you entered. When you’re done, click Close.
Click Visualize again. The names of the trees are not repeated like before, just as their size now matches the number you wrote down for each one: as oak has the number 3, in Size, then the word “oak” will be the one that appears larger in the cloud on the right side, as you can see in the image.
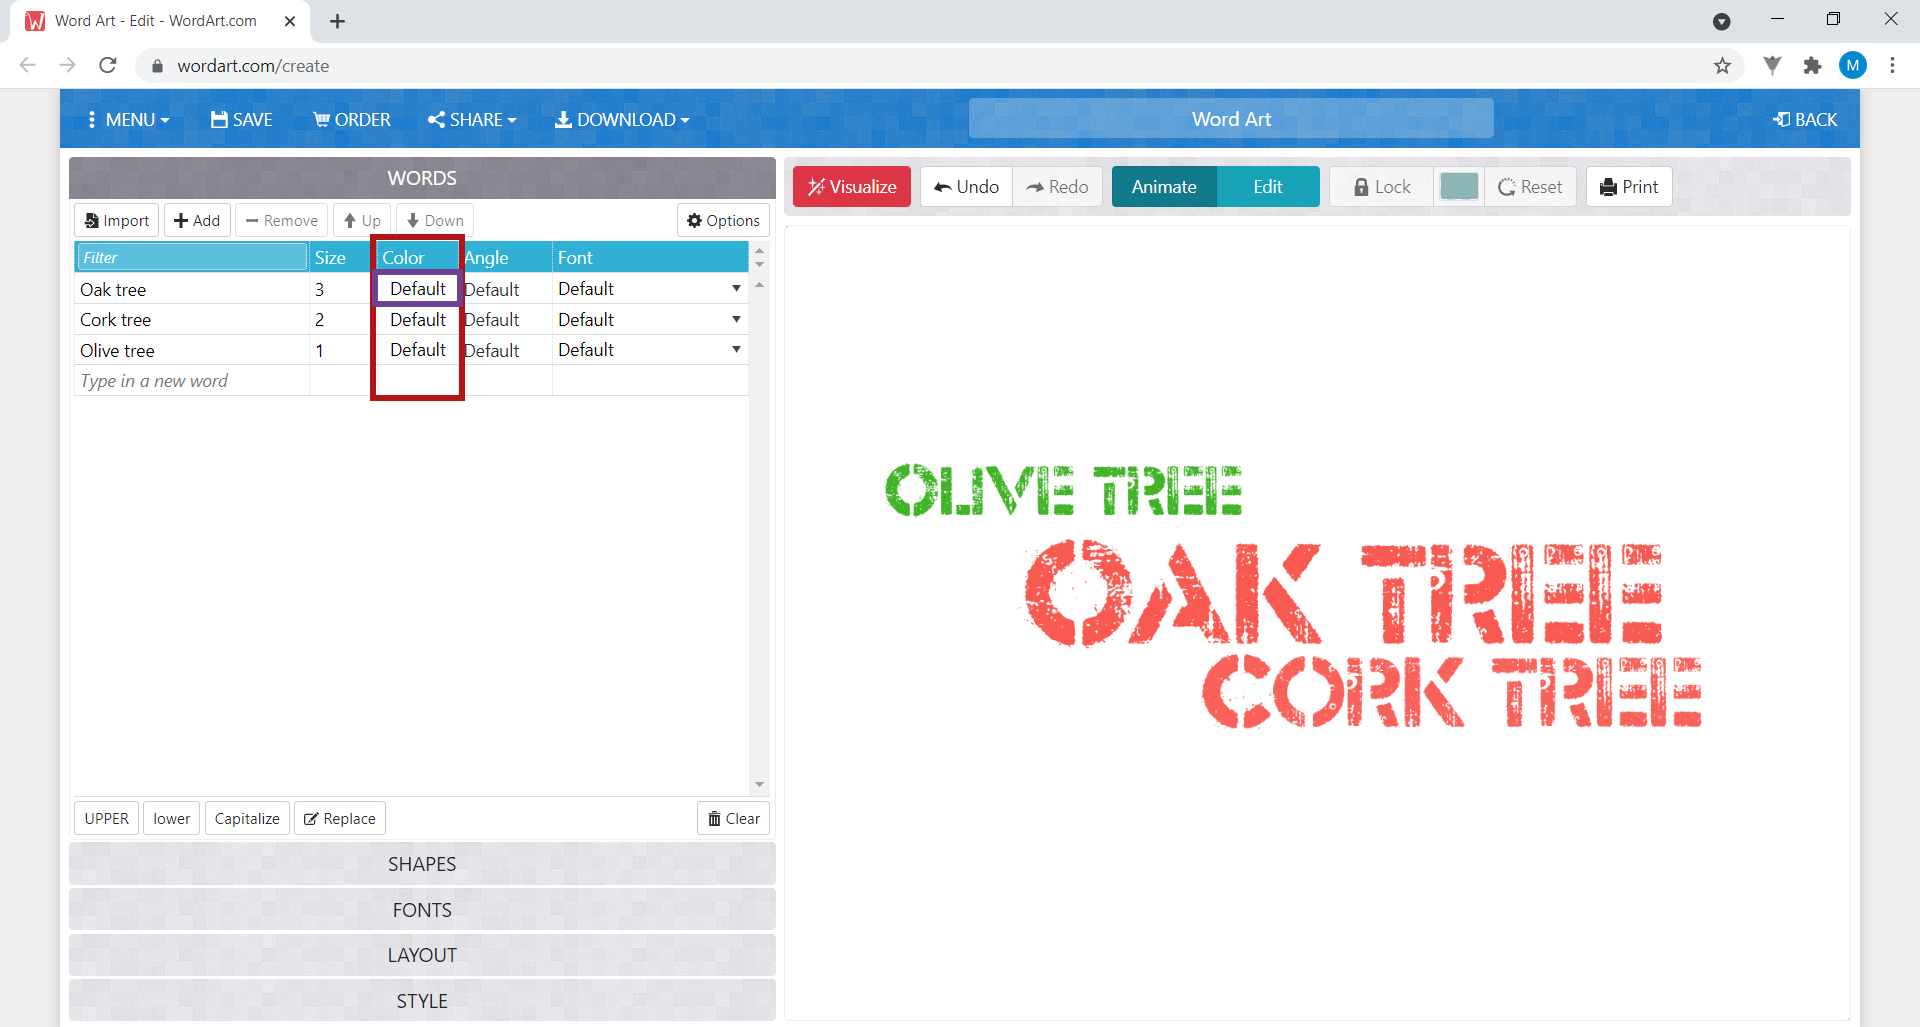
5. In the Colour column, you can change the colour of the words in the cloud by clicking on Default on the line of the word whose colour you want to change.
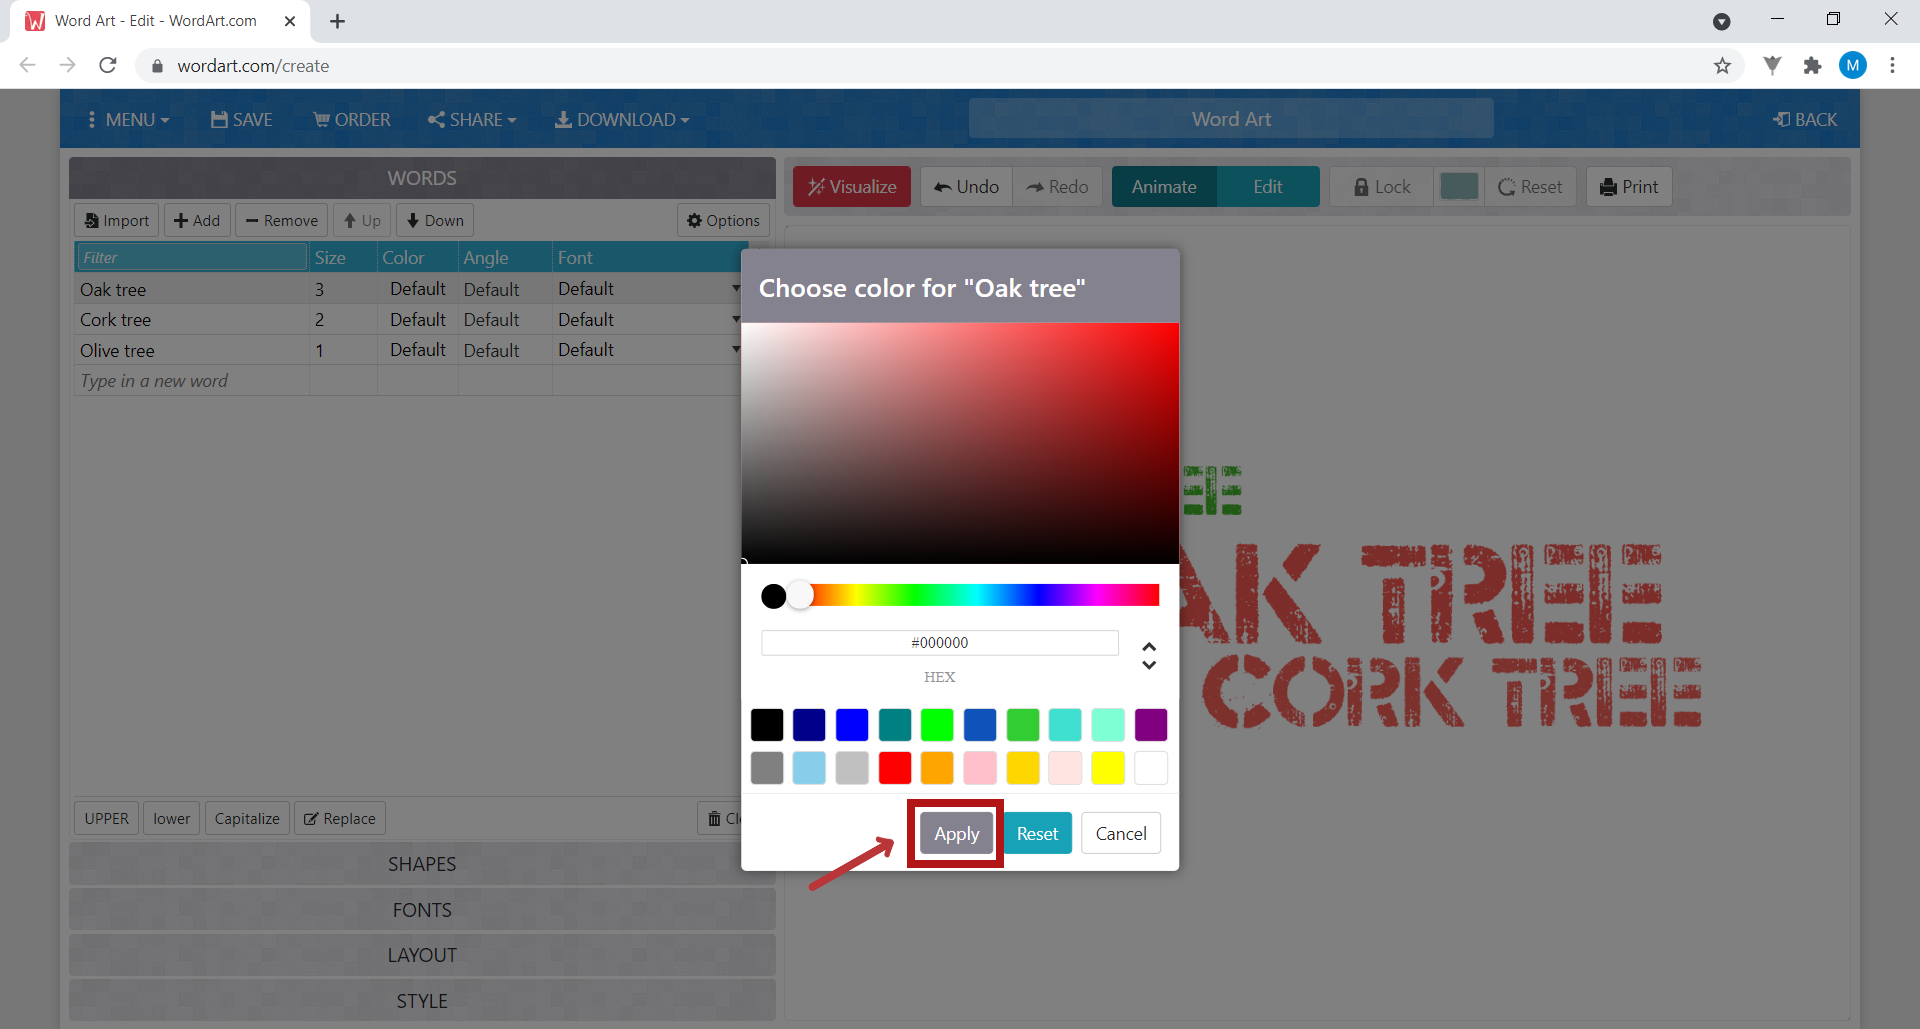
Choose the colour you want to use for your word, and click Apply.
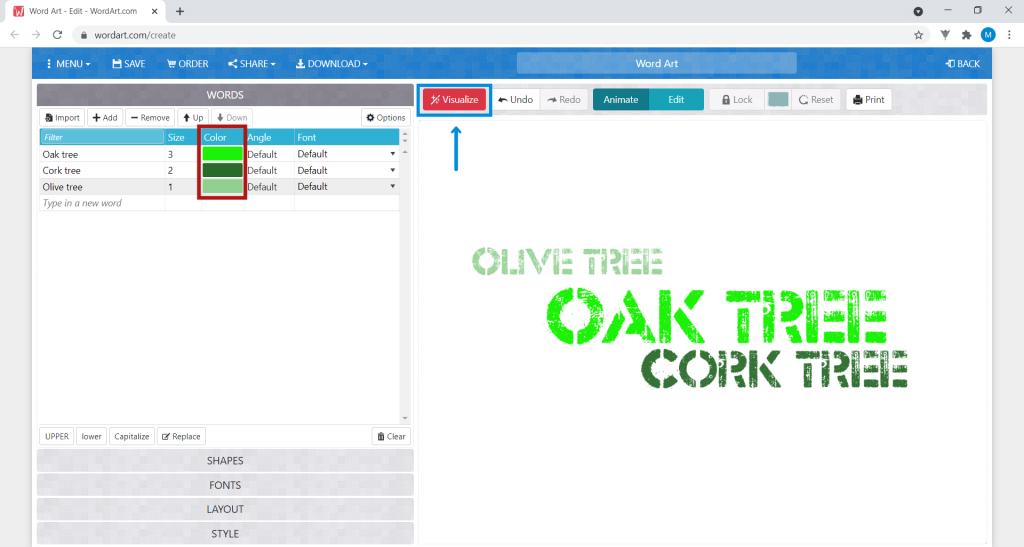
Change the colours of the remaining words, and click Visualize. Your words are now colourful!
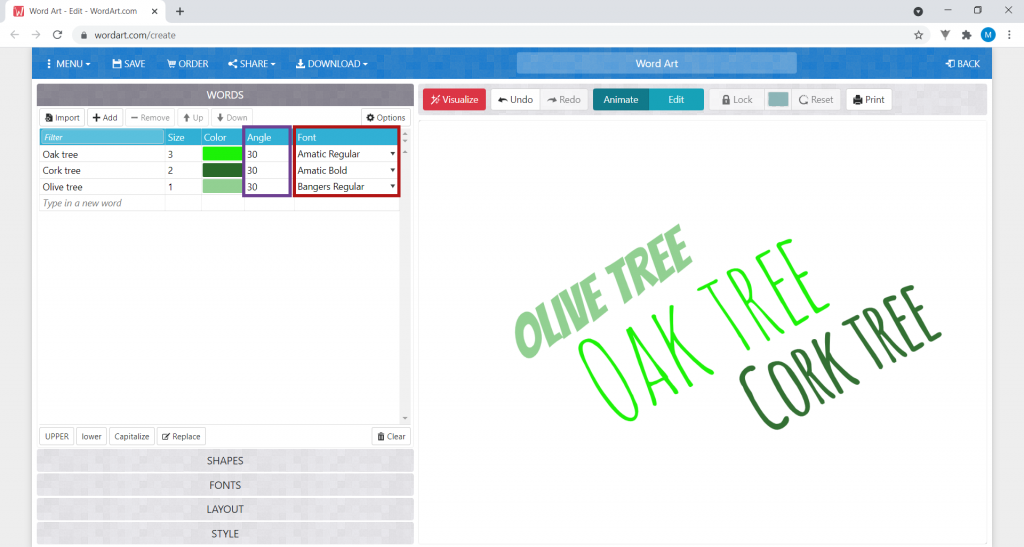
6. You can also change the slope of the words in the cloud, under Angle (column marked in red), by entering the value of the angle you want to use.
You can also change the Font (column marked in purple).
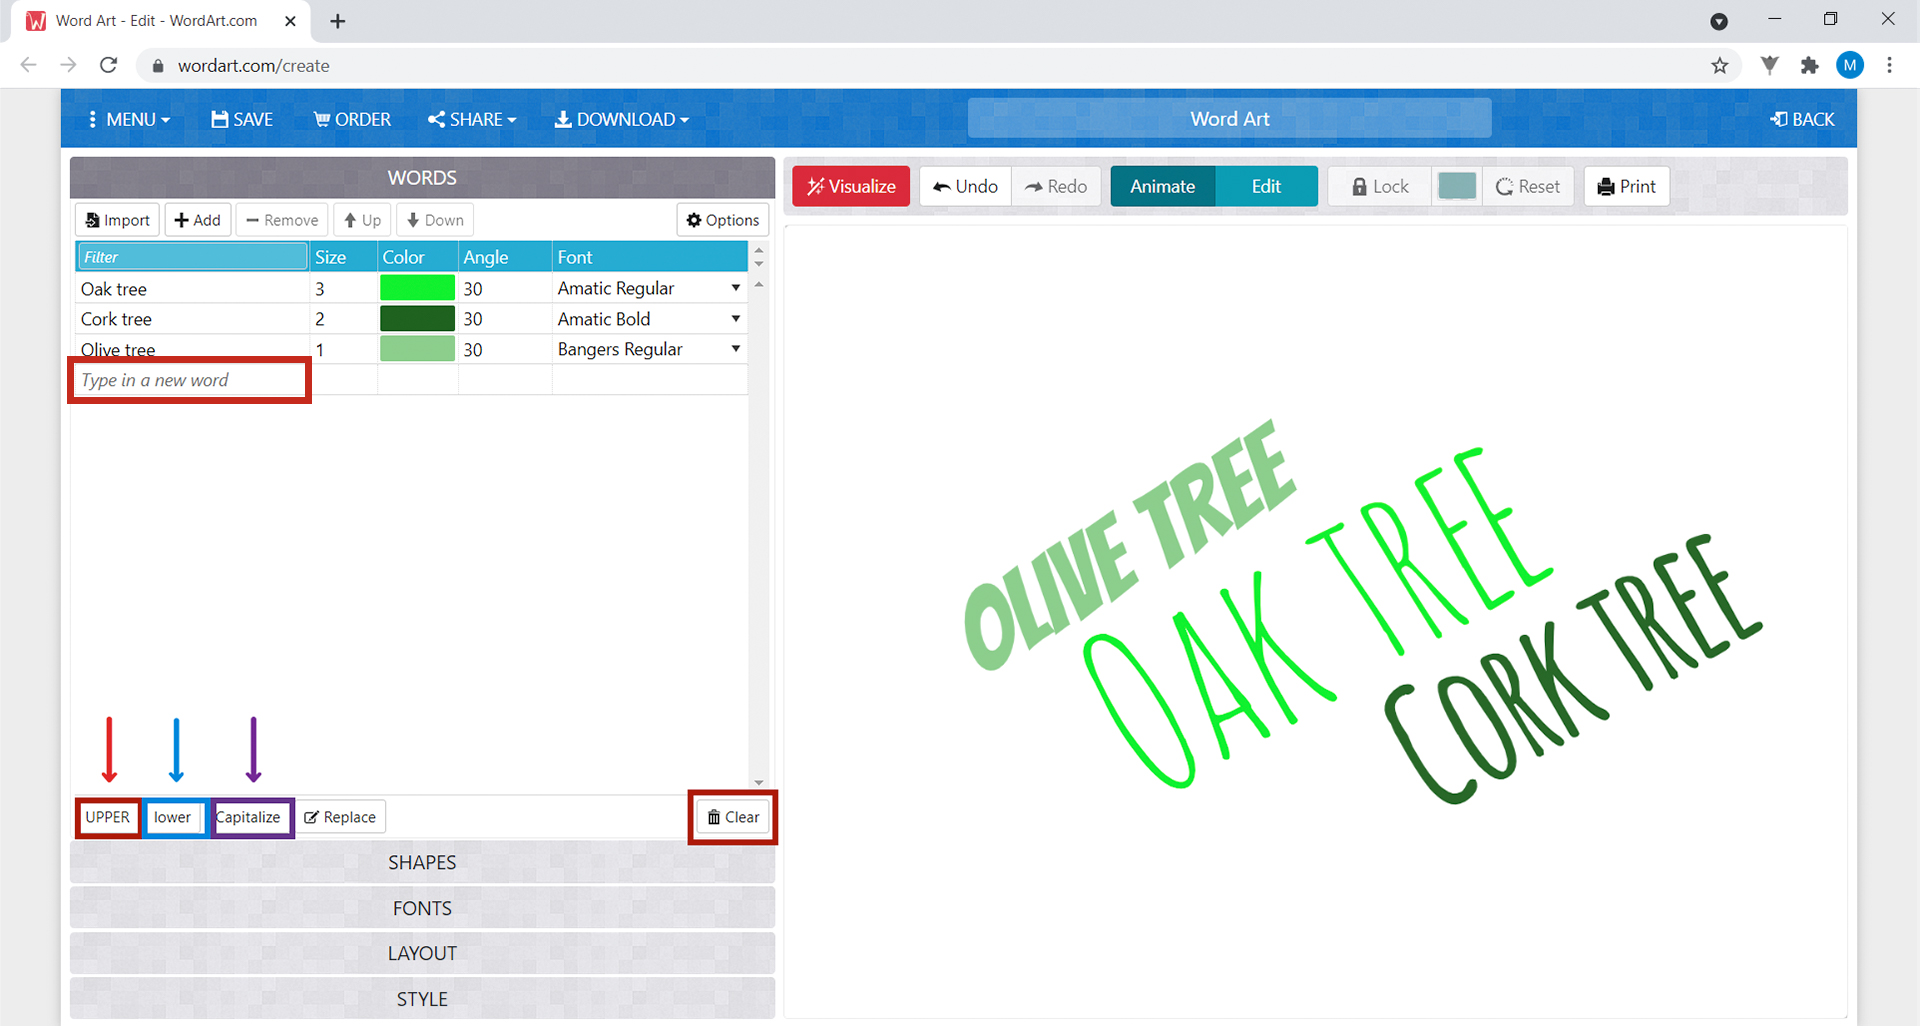
Add more tree names to your cloud by clicking Type in a new word, customizing them. You can also capitalize all tree names by clicking UPPER (marked red), put all tree names in lower case by clicking lower (marked blue), or have all tree names with the first letter capitalized and the rest in lowercase by clicking Capitalize (marked purple).
If you want to erase everything and start your cloud again, click on Clear.
To see the final result of your tree, click on Visualize.
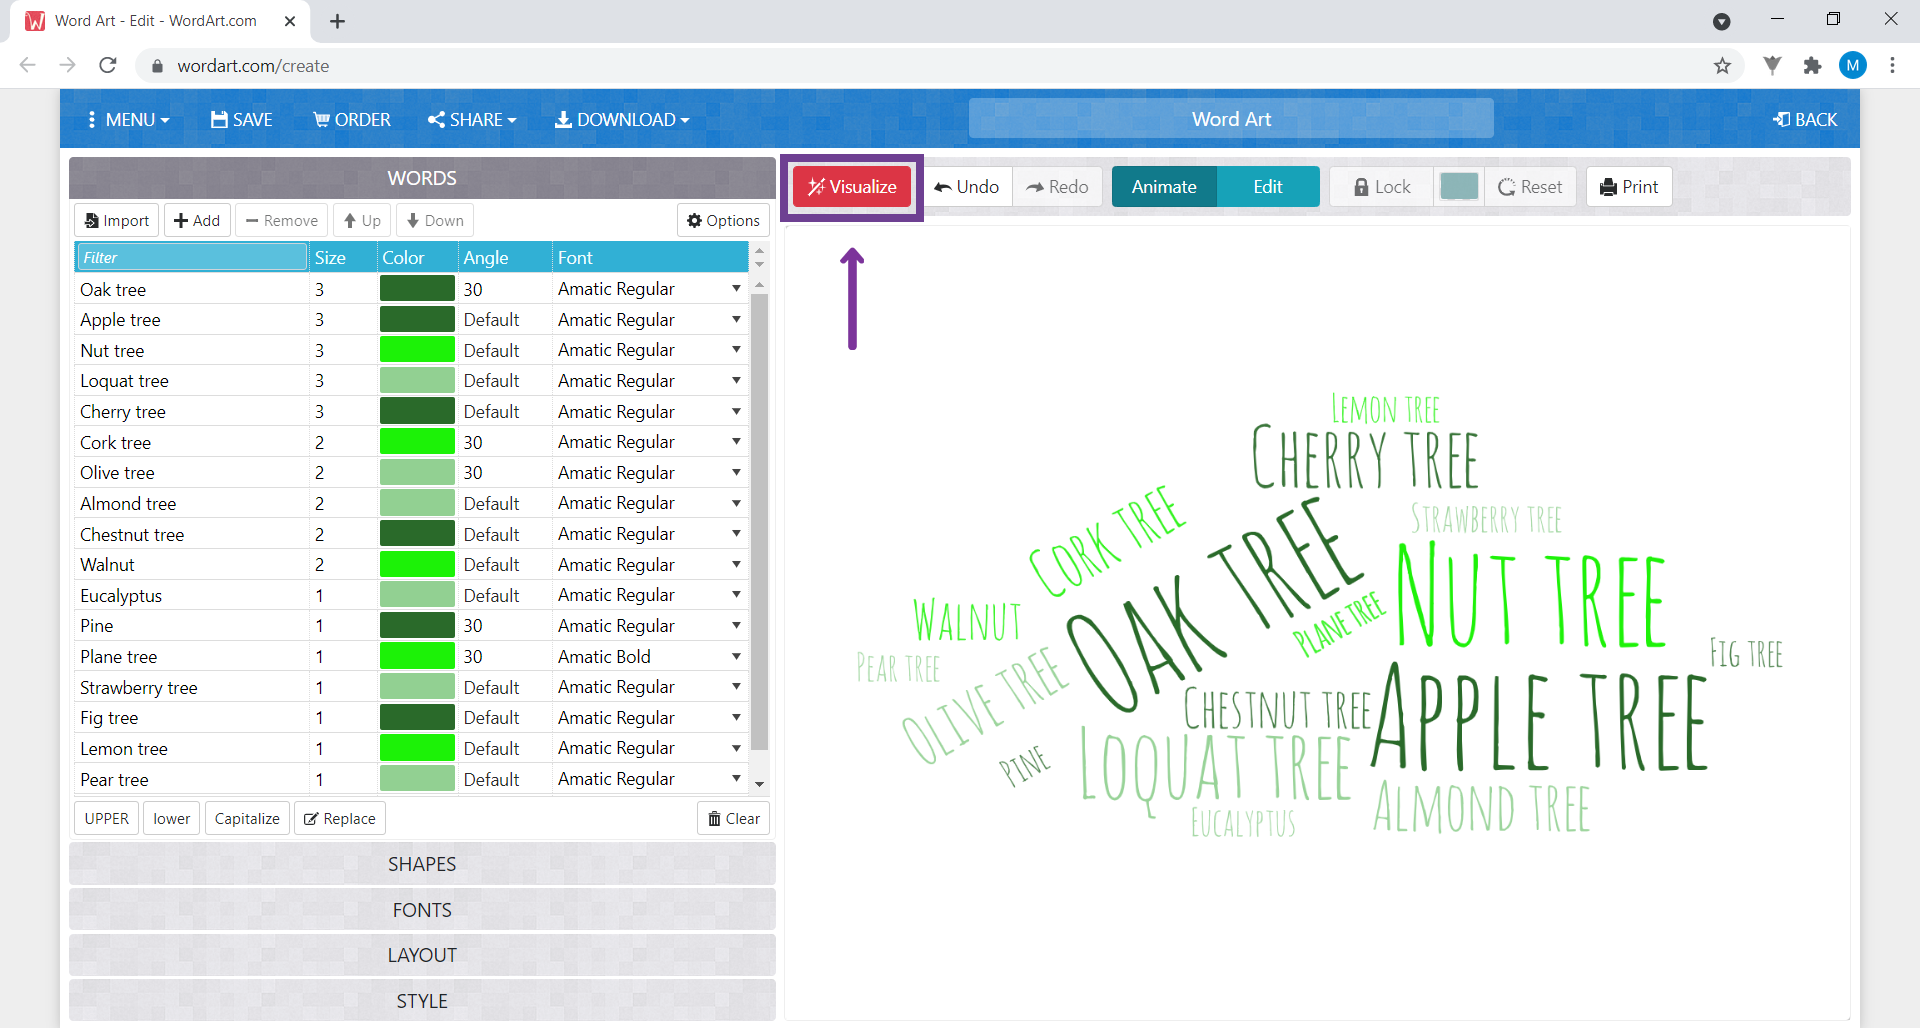
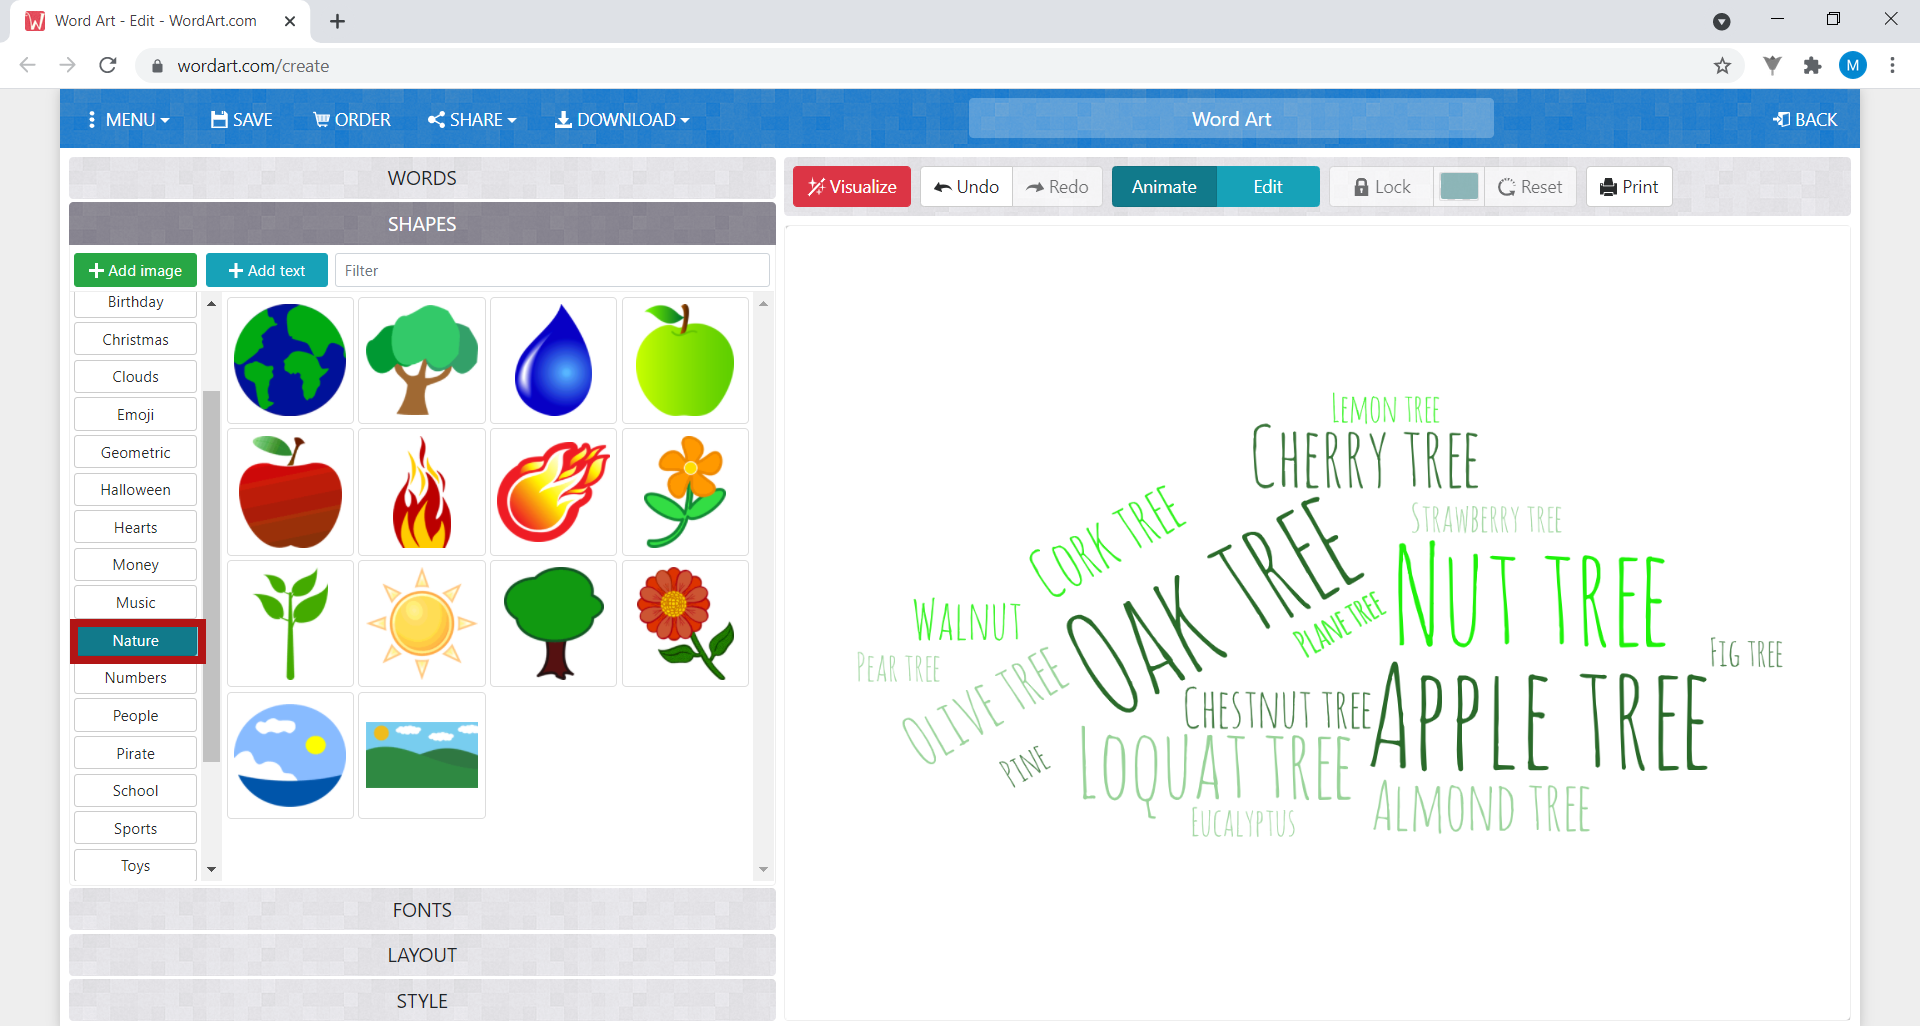
7. At this time, your cloud doesn’t have a shape. To give it one, click on Shapes.
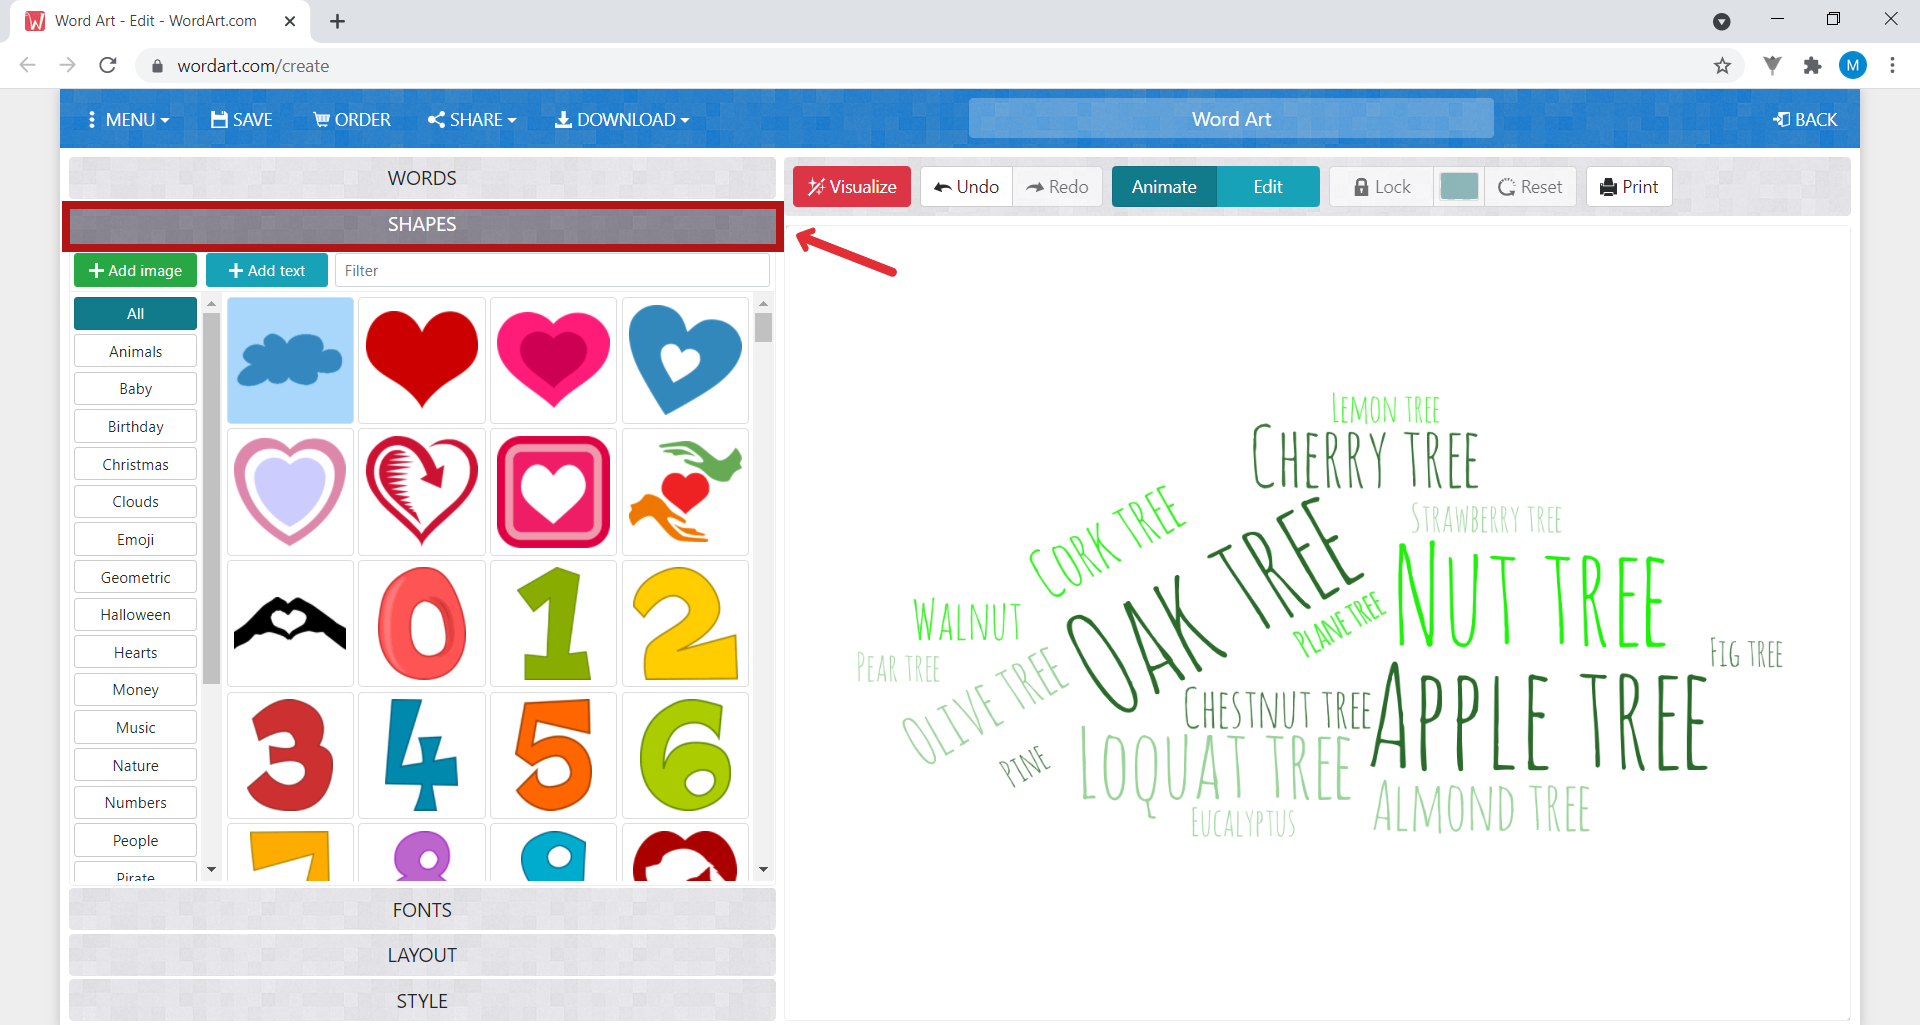
Here, you can choose the shape of your cloud. Click on Nature.
8. Select the first tree. Click on Visualize.
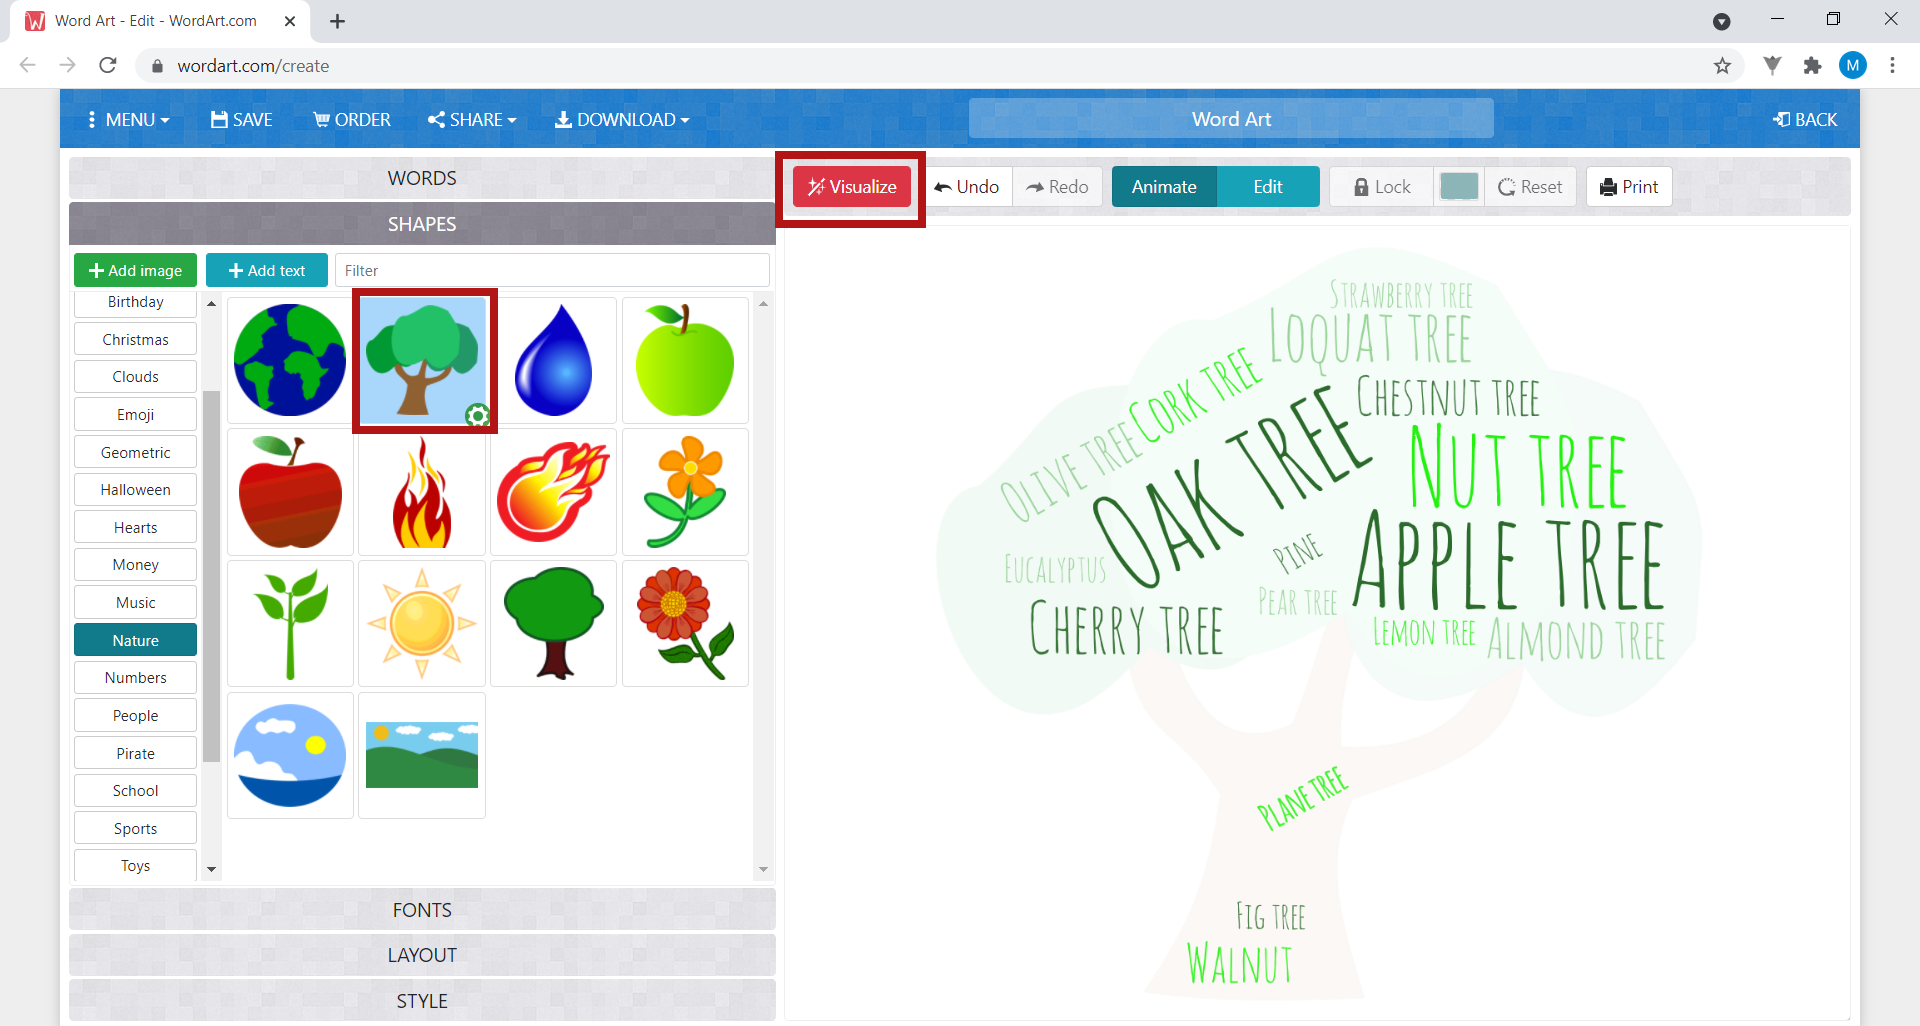
9. Your cloud is now shaped like a tree! If you want to change the position of a word, click on Edit on the right hand side.

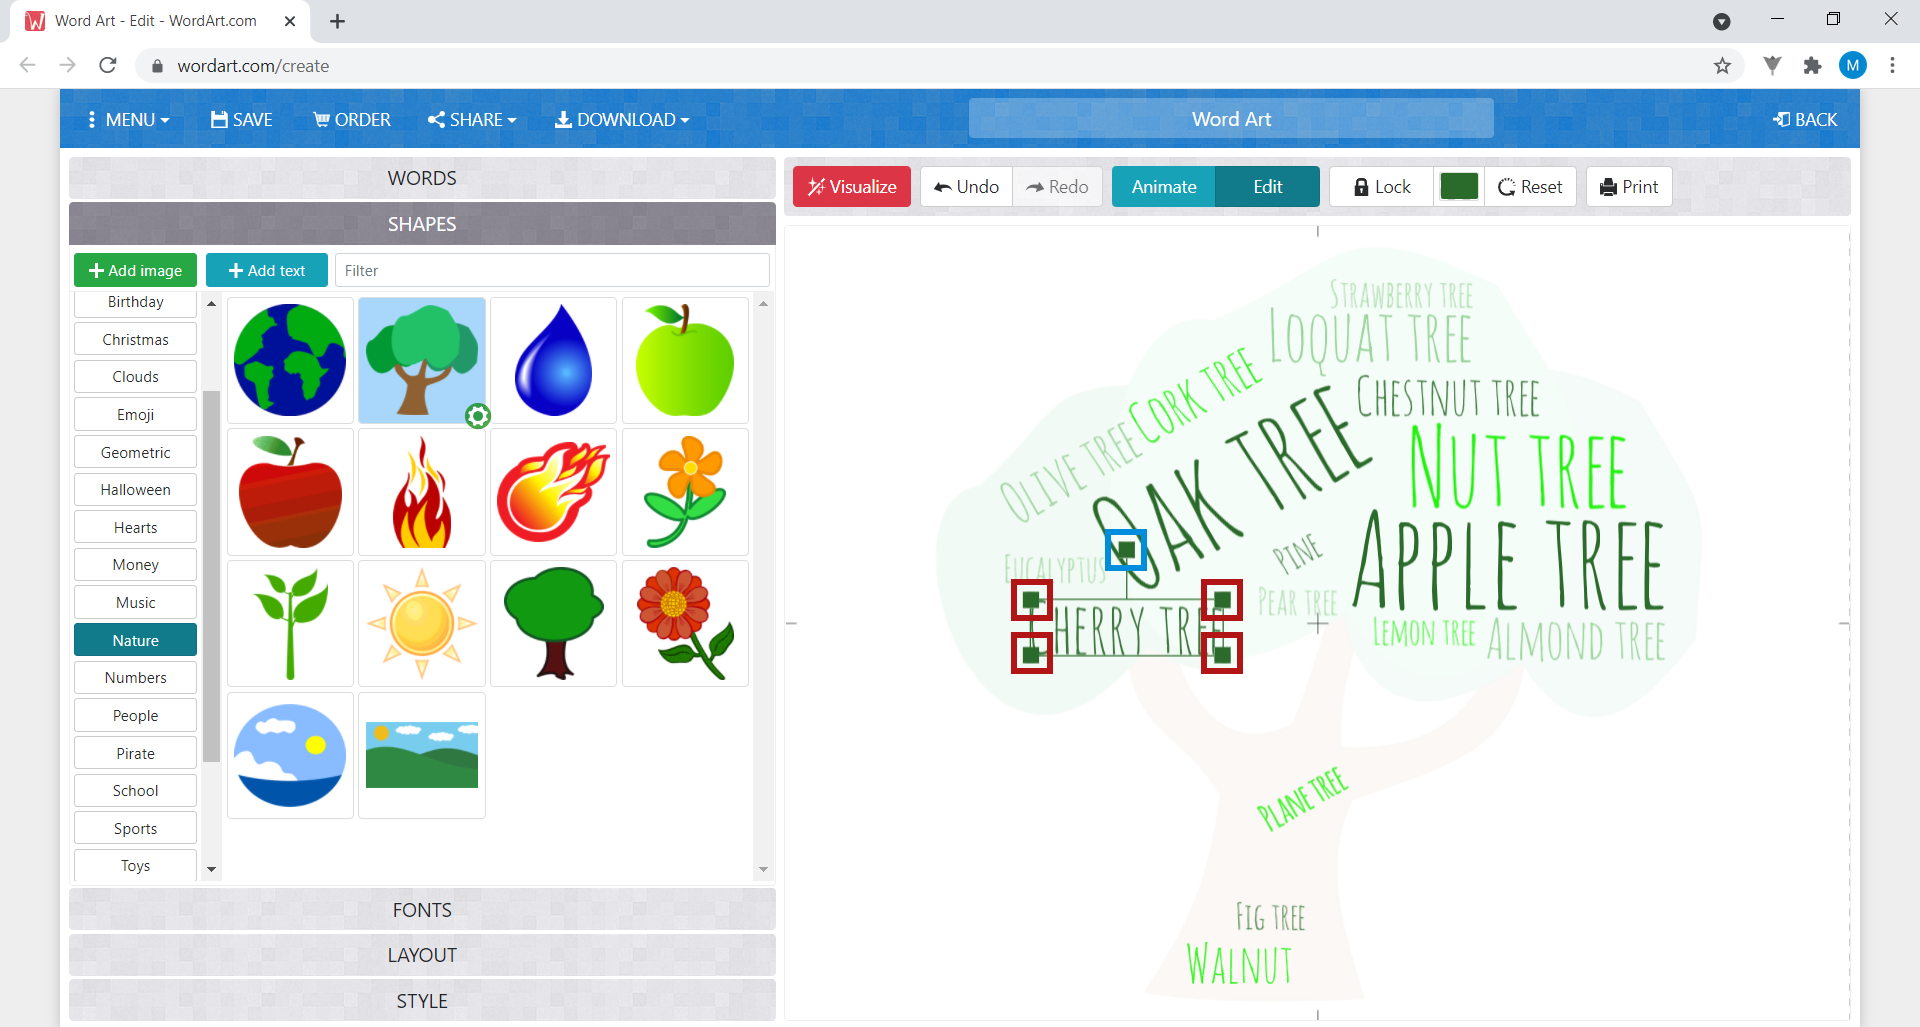
Click on the word you want to modify. By dragging the squares marked in the image, you can make the word bigger or smaller (squares marked in red), as well as change its direction (square marked in blue). You can also change their position in the tree, as well as their colour in the menu above.
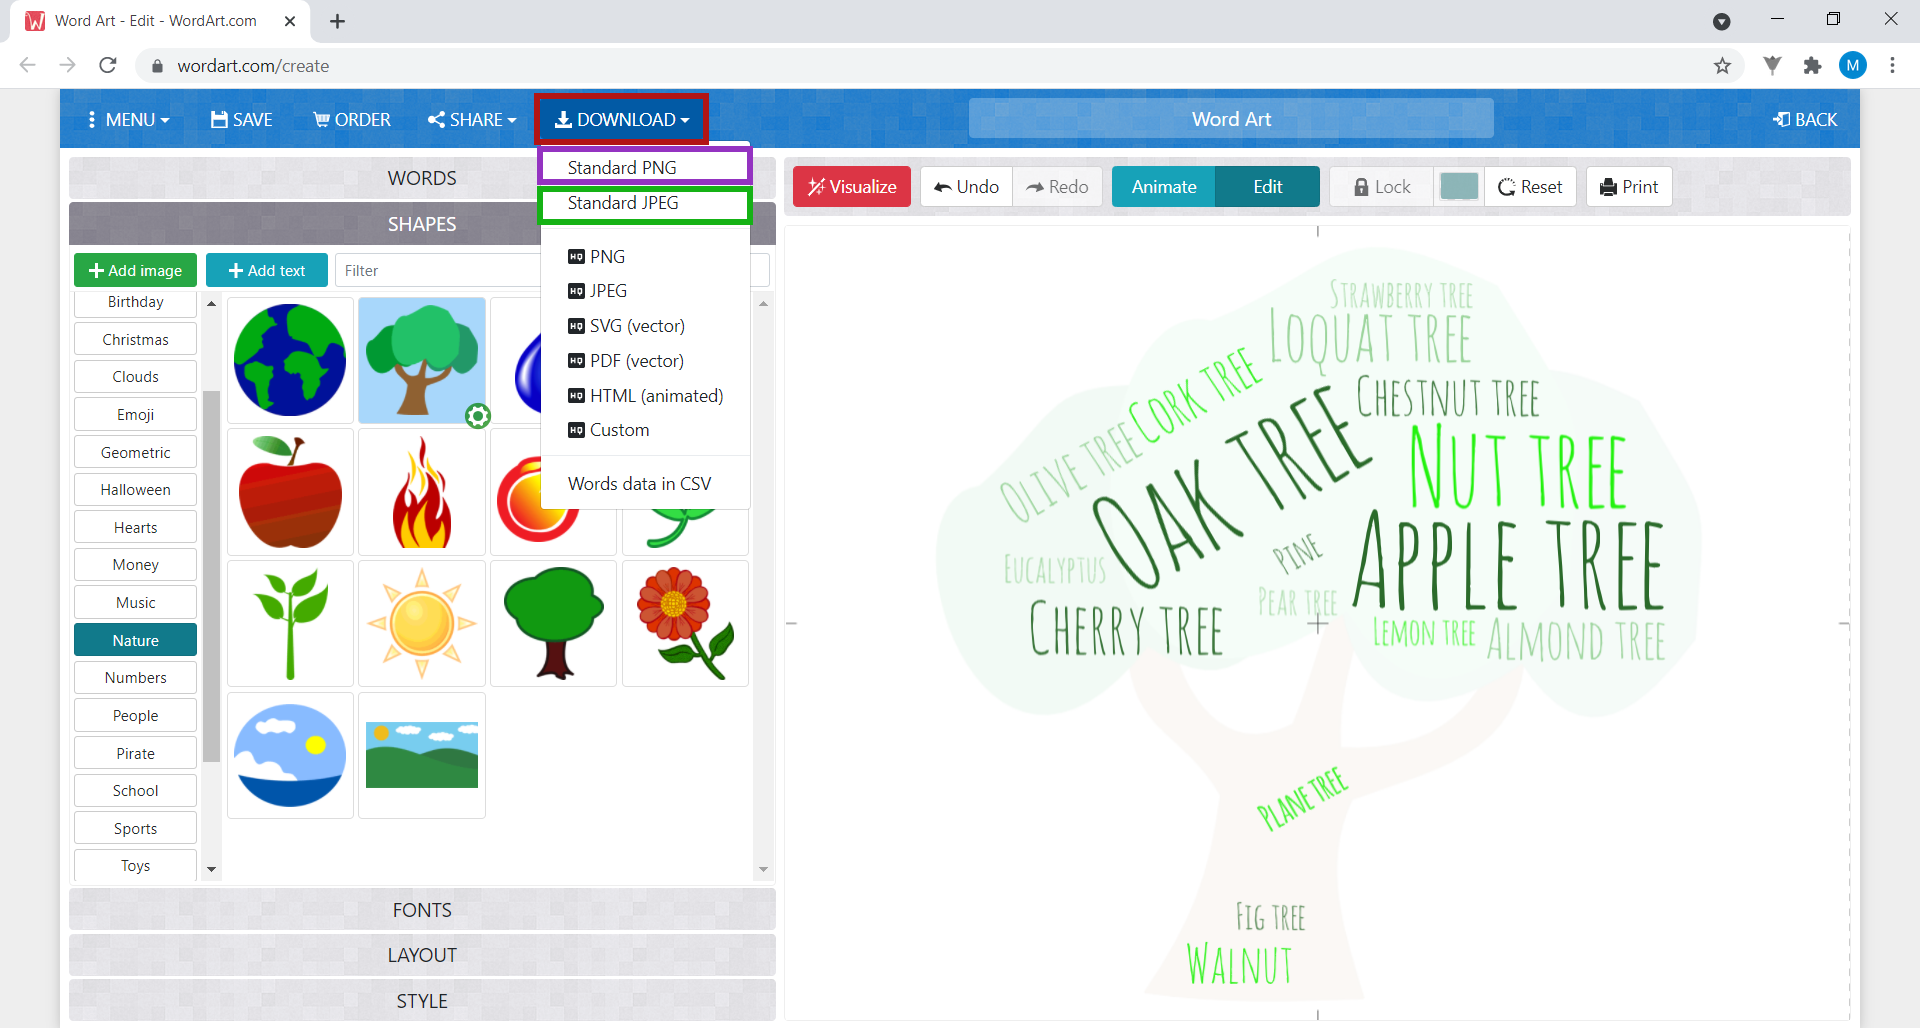
10. When you’re done, click Download.
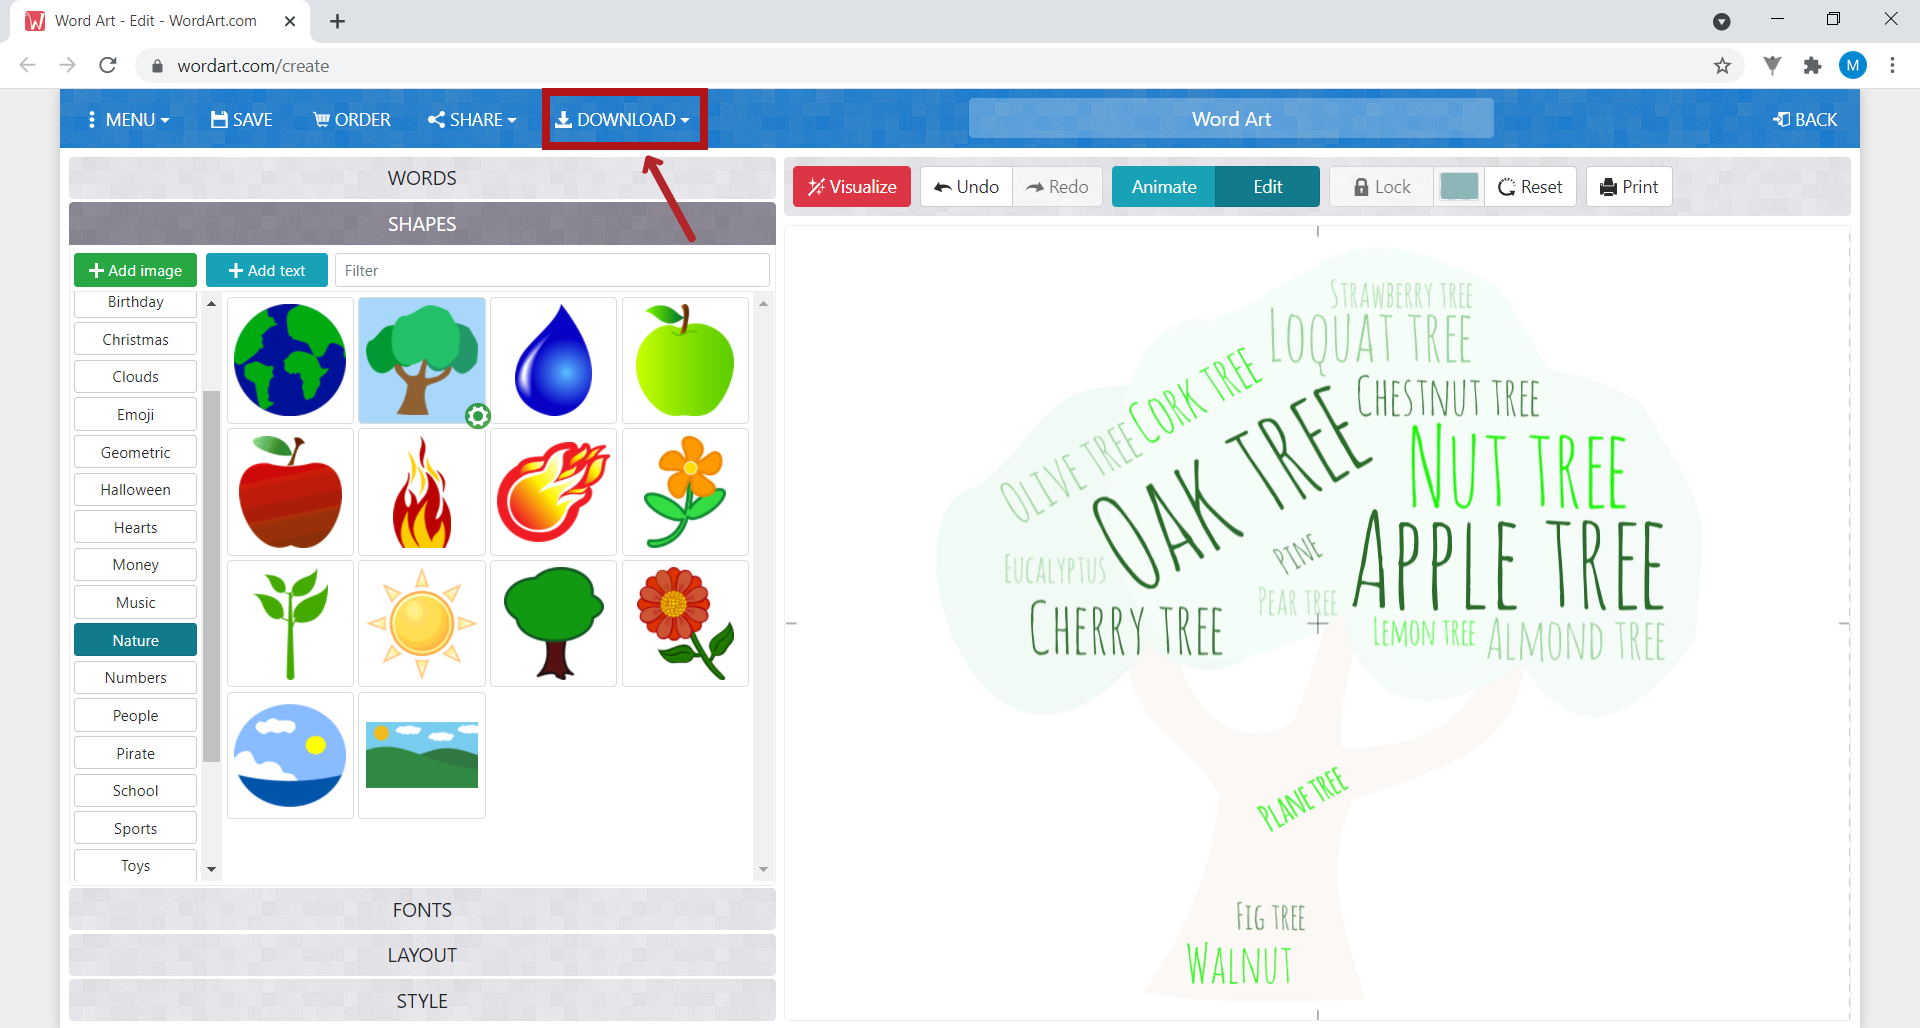
Under Download, select the option Standard PNG or Standard JPEG. The program automatically downloads the image to your computer.
11. Search for more trees and keep adding and adding and adding… more trees to your cloud!