Activity
1. What is Stop Motion? Stop motion is an animation technique that uses the sequential arrangement of different photographs of inanimate objects, whose position has been modified slightly to simulate movement. The photographs are taken from the same angle, so using the same frame, giving the illusion that the objects move, due to a phenomenon called persistence of vision.
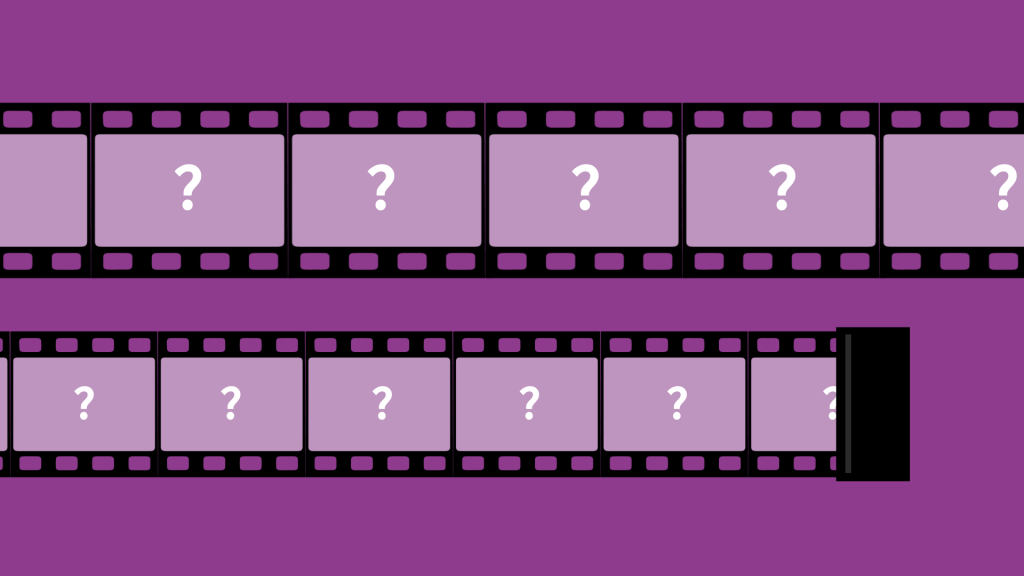
While photography aims to print a given image on paper or digital media, a frame is an image (in this case, a photograph) inserted into a film.
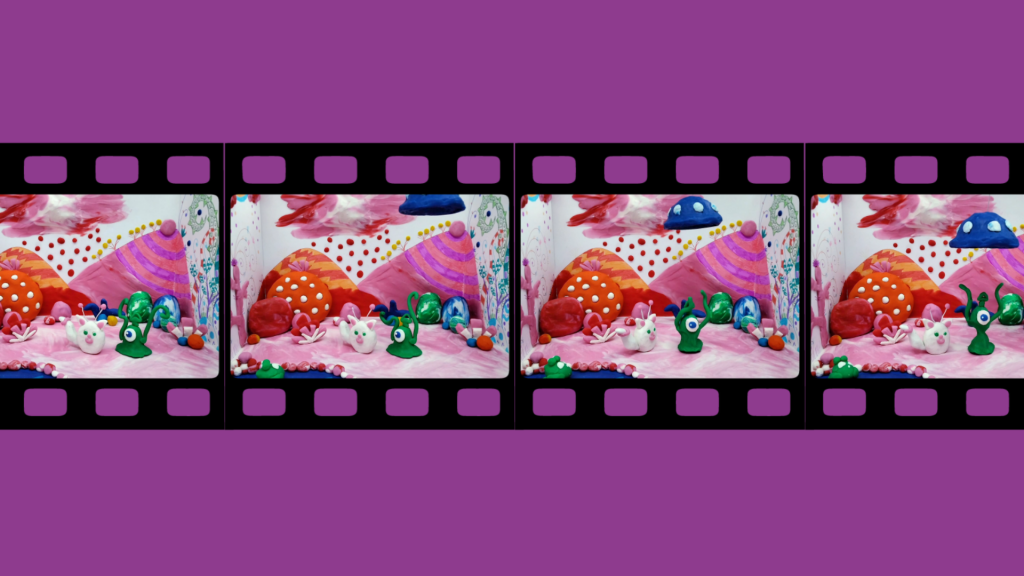
A film, then, is made up of lots of photographs, in other words, lots of frames!

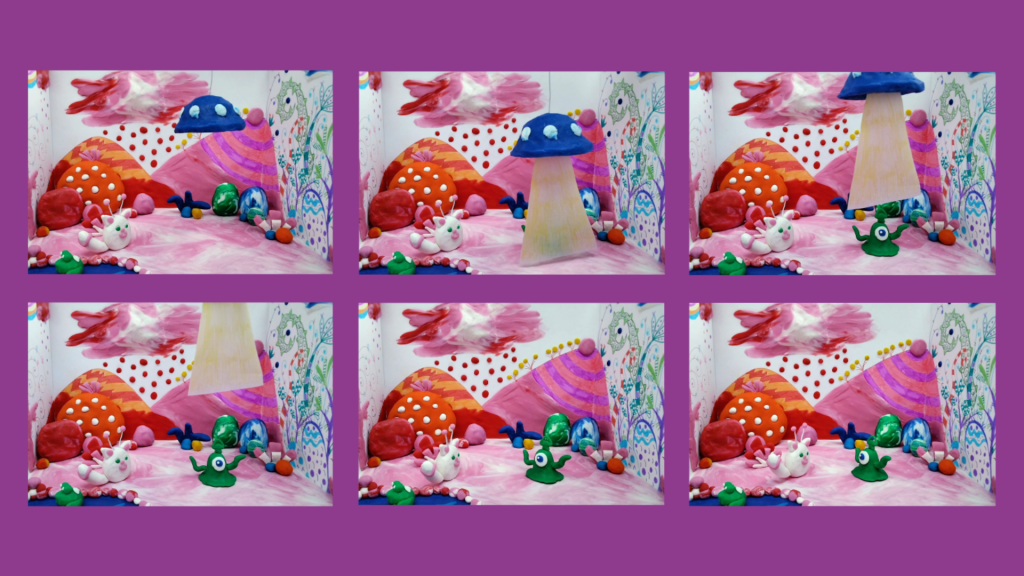
2. Now let’s see some examples of films made using Stop motion.
3. Next, you’ll outline your story, think about the characters and imagine what the movie set where your film takes place is going to look like. You can create your characters with plasticine, for example, or use toys or other objects that you have at home.
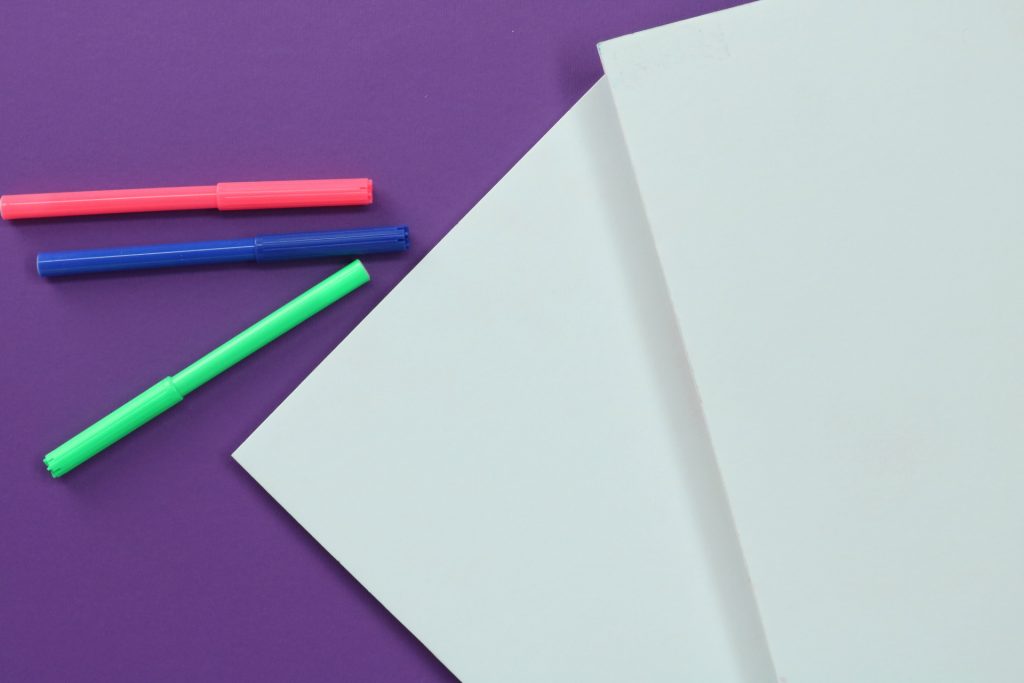
4. You’ll have to print some pages to be able to make your movie.
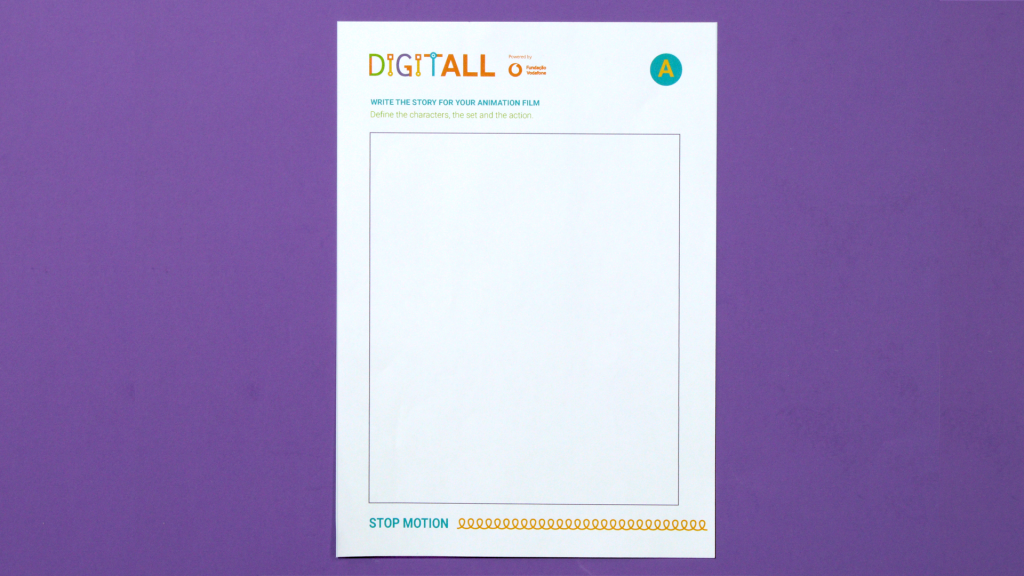
Write your story on Page A. Remember that any story always has a beginning, a middle and an end. The story should be short and simple: the longer and more complex it is, the more pictures you’ll have to take to create the animation.
Draw and color the movie set you want for your story on Page B. This is a draft! It serves to understand what you can improve, if the set works or if you have to change something.
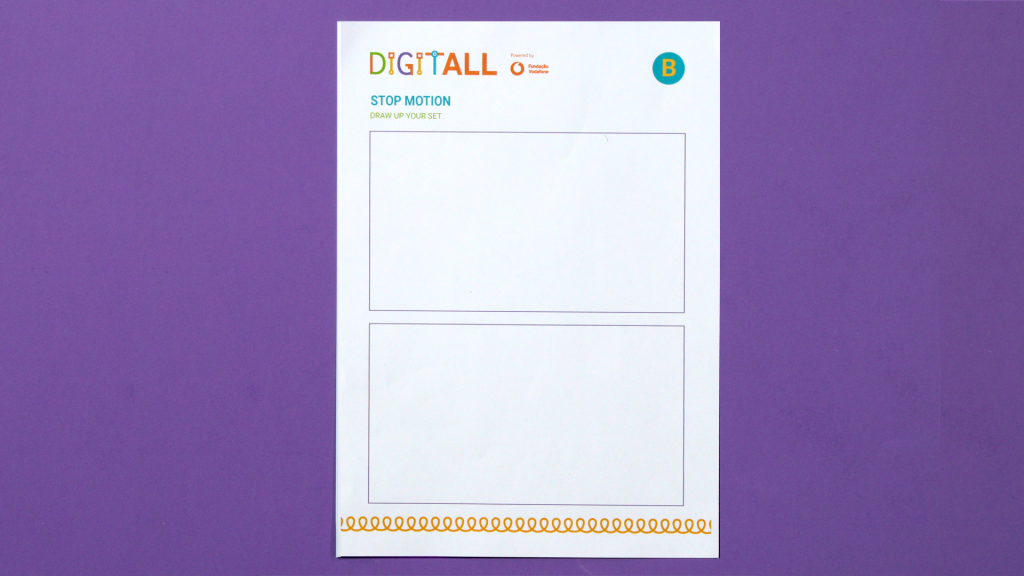
The page has two spaces for drawing. One of the spaces is for drawing the bottom part of the stage (the base where the characters will be) and the other space is for drawing the front part (the one that will appear behind the characters).

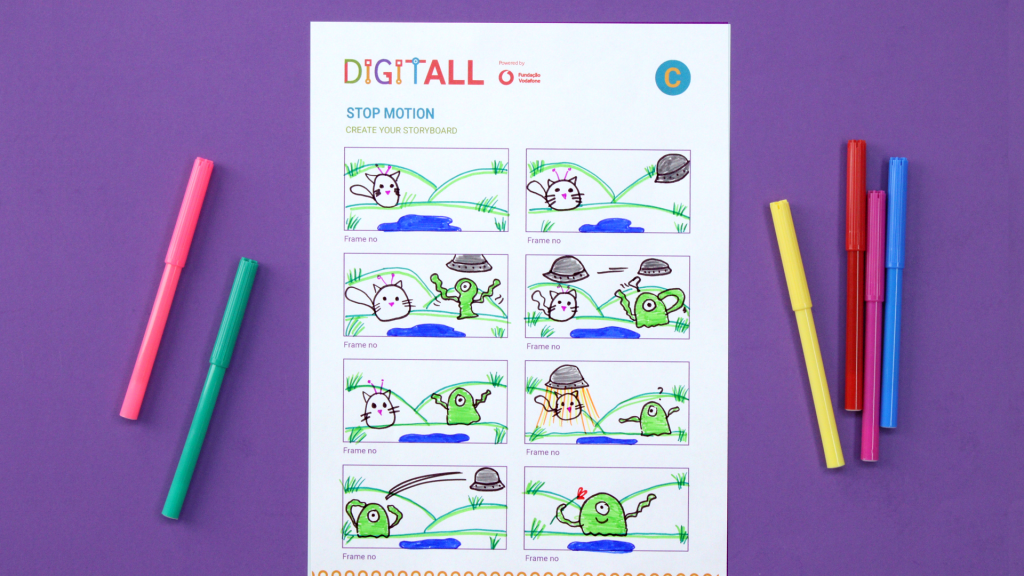
You’ve already defined the storyline, that is, you’ve already thought about what you’re going to do. The next step is to create a storyboard, for structuring the idea and making it even clearer! You’ll think about how everything you imagined can be organized in frames.
5. After Pages A and B are filled out, work out the photos (video frames) you’ll need to take and write this on Page C.
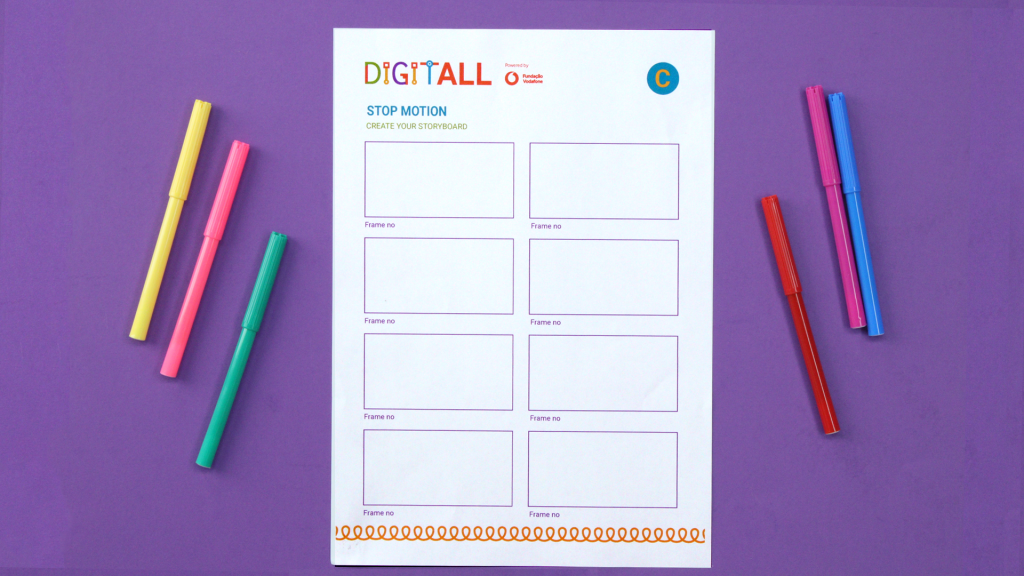
You can compare a storyboard to a comic strip. Each square is a “piece” of the whole that only makes sense when placed neatly alongside the other “pieces”. Think about the photos you’ll need to take so that you can make your idea a reality!
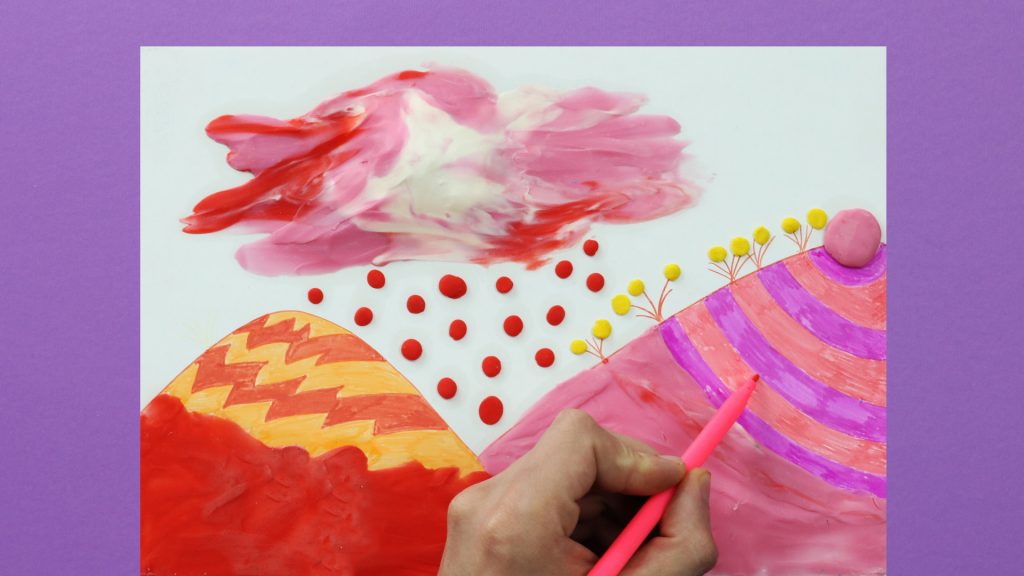
6. Once the storyboard is finished, you just need to build the set, based on the sketch you made!

Use 2 sheets of K-Line or 2 sheets of cardboard (you can use sheets of paper too). You can glue one on the base (on the table, for example) and another on a wall (for example), after drawing the movie set.
Draw the bottom part (the base where the characters will be placed) on one of the sheets. On the other, draw the background of the scene (the one that will appear behind the characters). Use the sketch you prepared on Page B.
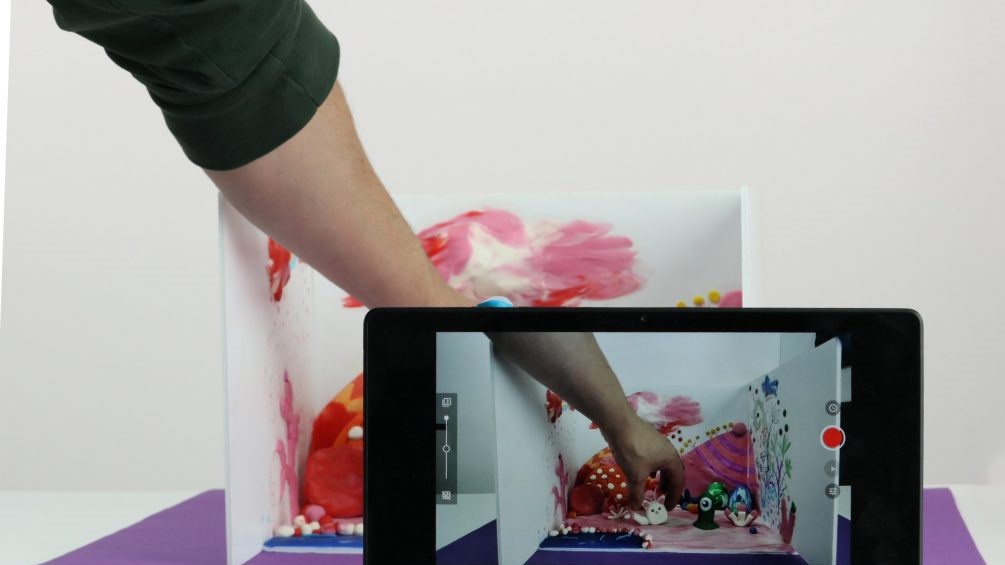
7. Build the set, make the characters with plasticine or use the toys you have at home. The bottom of the set should be glued to the table. The top part should be glued to a wall, making a right angle (90°) with the bottom part, as you can see in the image.
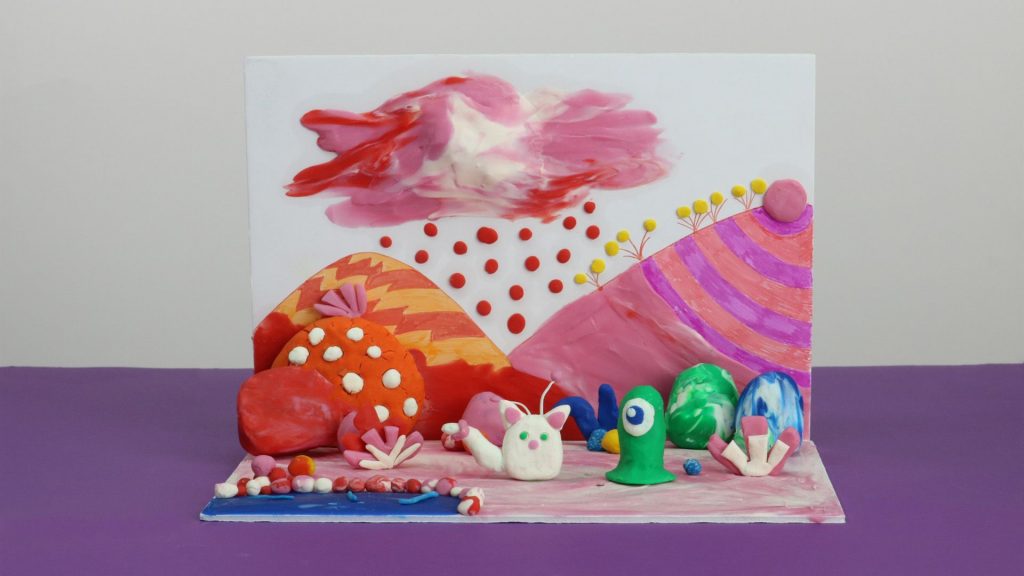
The goal is to have no movement of the background. A simple touch can put things out of their starting place and that makes all the difference!
8. Install the Stop Motion Studio app on a tablet or smartphone, from Google Play Store or the App Store.

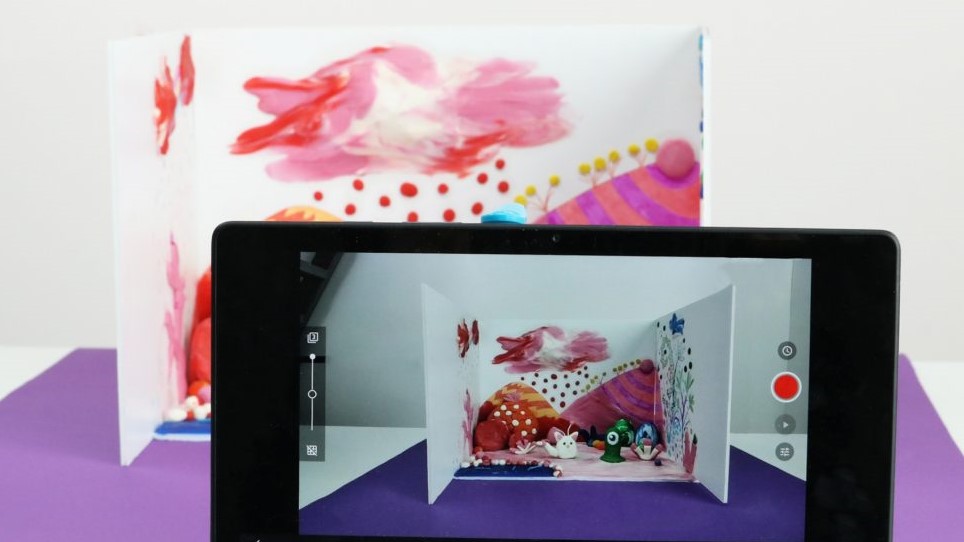
9. Open the Stop Motion Studio app and click in New Movie. What you see on the screen is what will be photographed. Mark the location where the tablet (or smartphone) will be, to make sure it always stays in place. The camera symbol is on the top right corner of the screen. Select that symbol and start shooting with the application. Make sure the tablet (or smartphone) doesn’t move.
10. Take a photo, move the character a little, take a photo, move the character a little more, take a photo … and so on. The more patient you are and the more attentive to detail you are, the better the film will look. Remember that for a minute of film to be perfect, 10 photos per second are necessary, that’s 600 photos! You don’t need the animation to be perfect, but you can try, right?
Don’t worry about how good or bad the photos are. You can always delete them in the end.
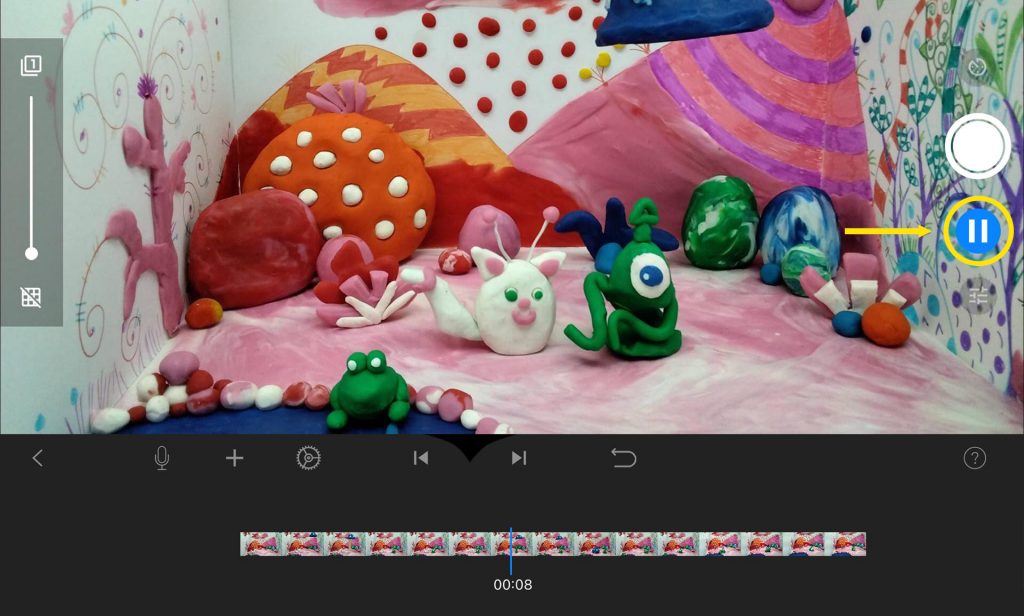
11. Click on play icon and you’ll see the characters coming to life!

There are probably some photos that didn’t look fantastic. You can fix them. You can also edit the animation! Press pause icon.
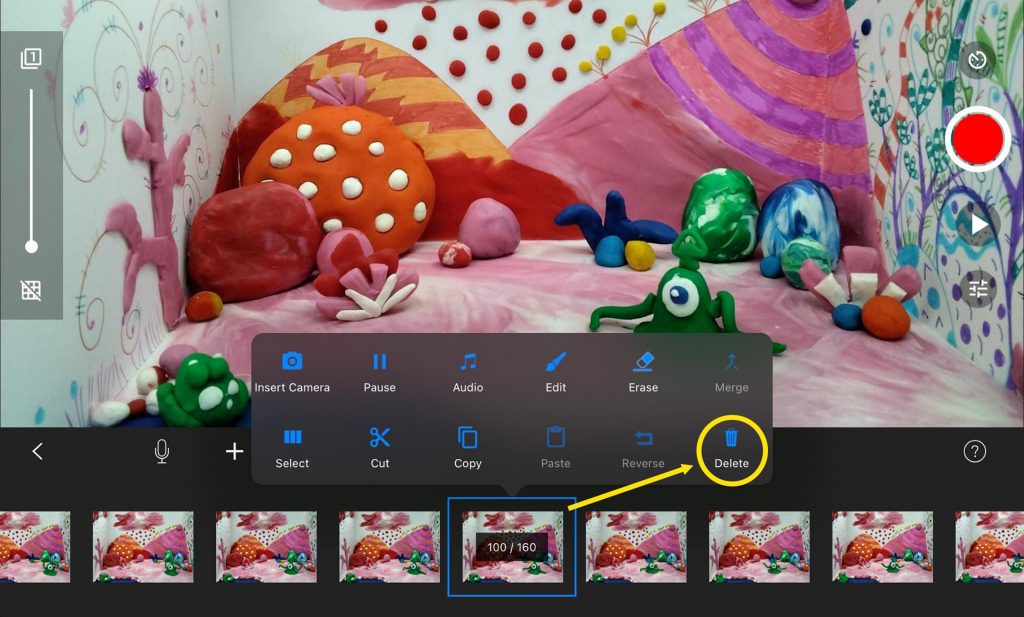
To delete a photo, just select it in the bar below and click on the Delete option. You can also edit the photo, rotating it or changing it from color to black and white. Explore all the available options.
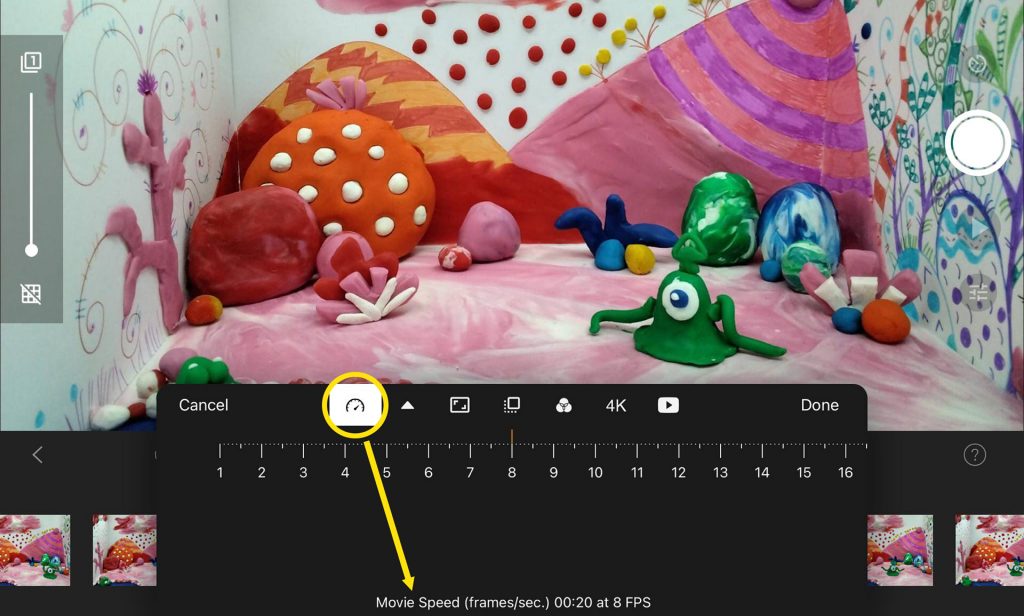
12. Once the photos have been chosen, click on the gear icon below the video. This will allow you to edit the entire movie.
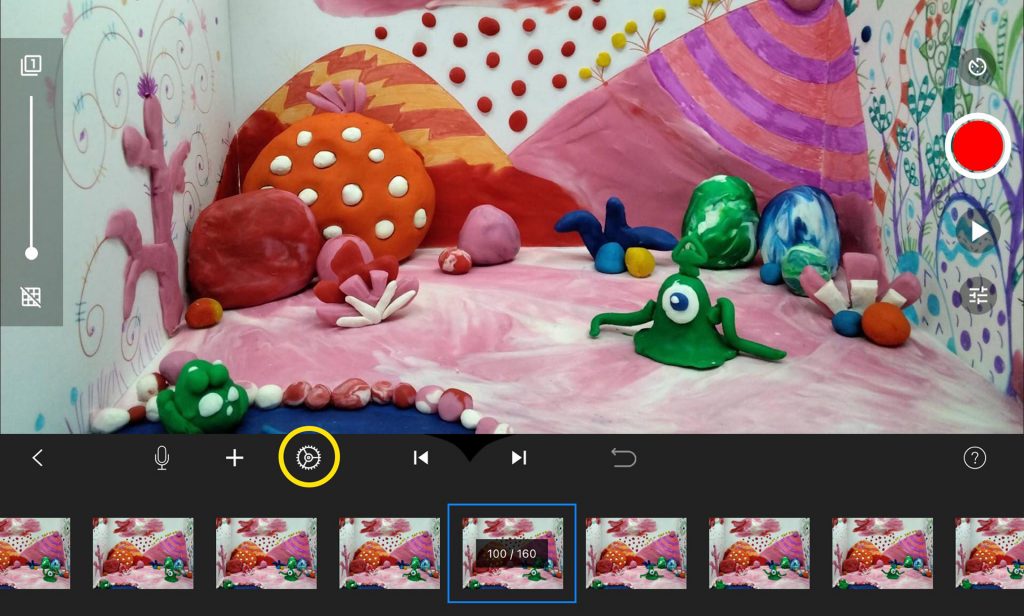
The first option that appears on the screen lets you choose the speed at which the photos change from one to the other: 3 FPS means 3 frames per second, that is, 3 photos per second. The more photographs there are per second, the faster the transitions between them.
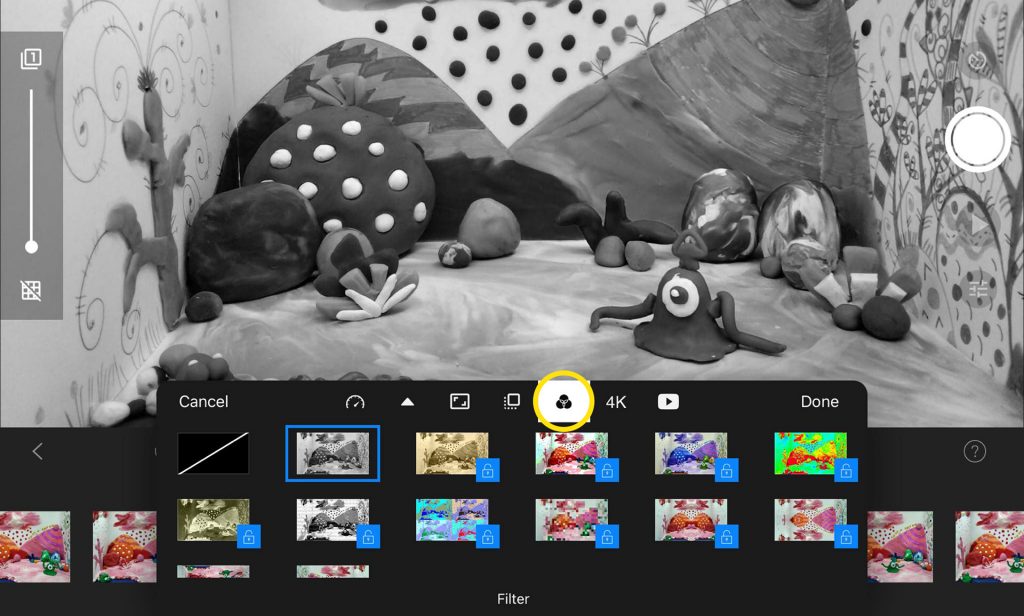
If you want the entire film to be in black and white, you can go to the filter option and choose the black and white option.
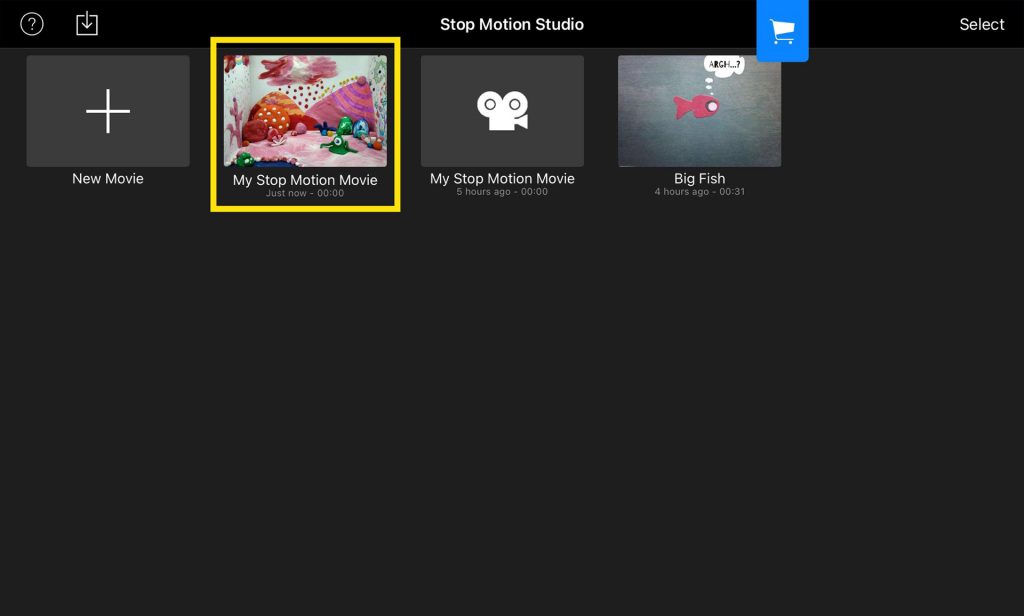
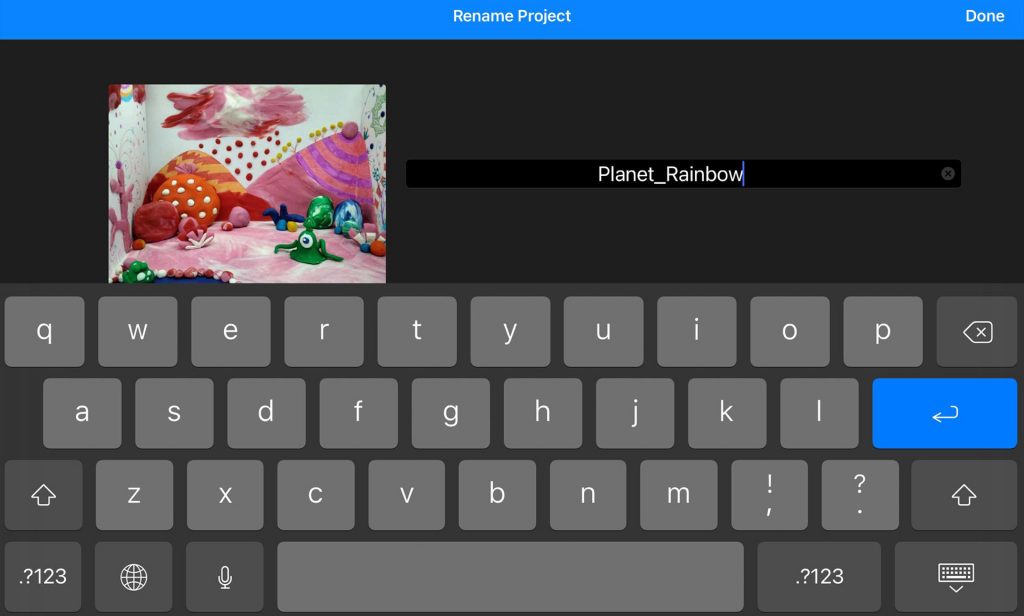
13. To save the project, go back to the main page and then click on the name of the film. This will let you change the name: put the name you want to give to your film.
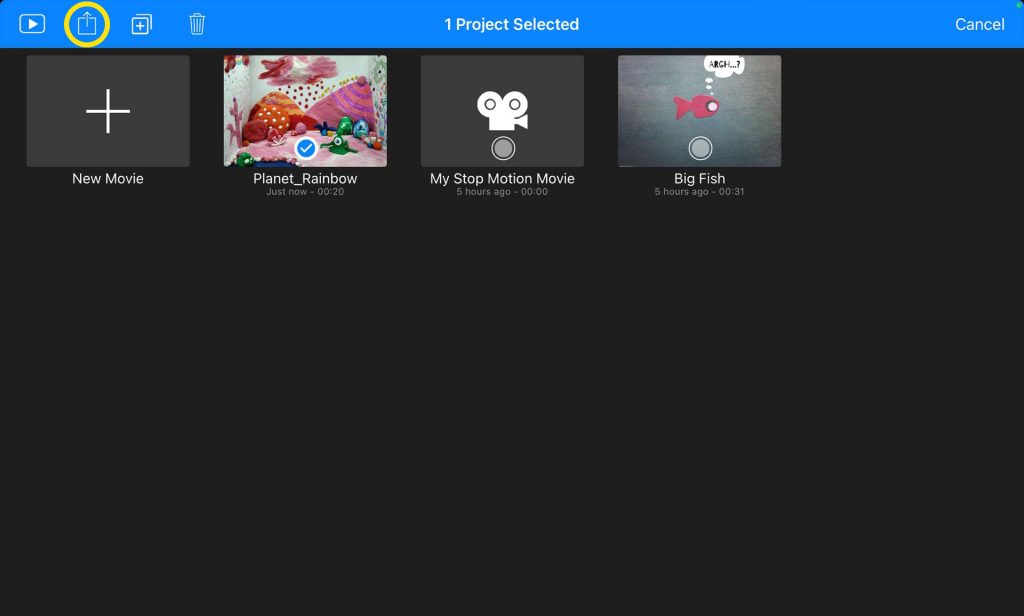
14. Press and hold the animation icon. Some options will appear, one of which is to share. Select that option and click on the Export Movie option so that you can export the movie to your tablet or mobile phone, just selecting the Save option. If you want to use another of the available options, ask an adult for help.
15. Have you finished your film? Great! Of course you want to show off the work of art you’ve been creating. Gather the whole family and have a movie session. Popcorn and all!